There’s something satisfying about turning a few simple ingredients into a refreshing, fizzy drink right in your own kitchen.
I love how homemade kombucha can be customized, from its tartness to the fruits and flavors you add along the way.
Still, that jar of sweet tea and SCOBY can feel a little intimidating when you’re making it for the first time. With the right kombucha recipe, the process becomes much easier to understand.
Once you become familiar with the basics, experimenting with different flavors and fermentation times can be part of the fun. A little patience and attention along the way can turn each batch into something uniquely yours.
Jump to recipe
What Is Kombucha and How Does It Work?
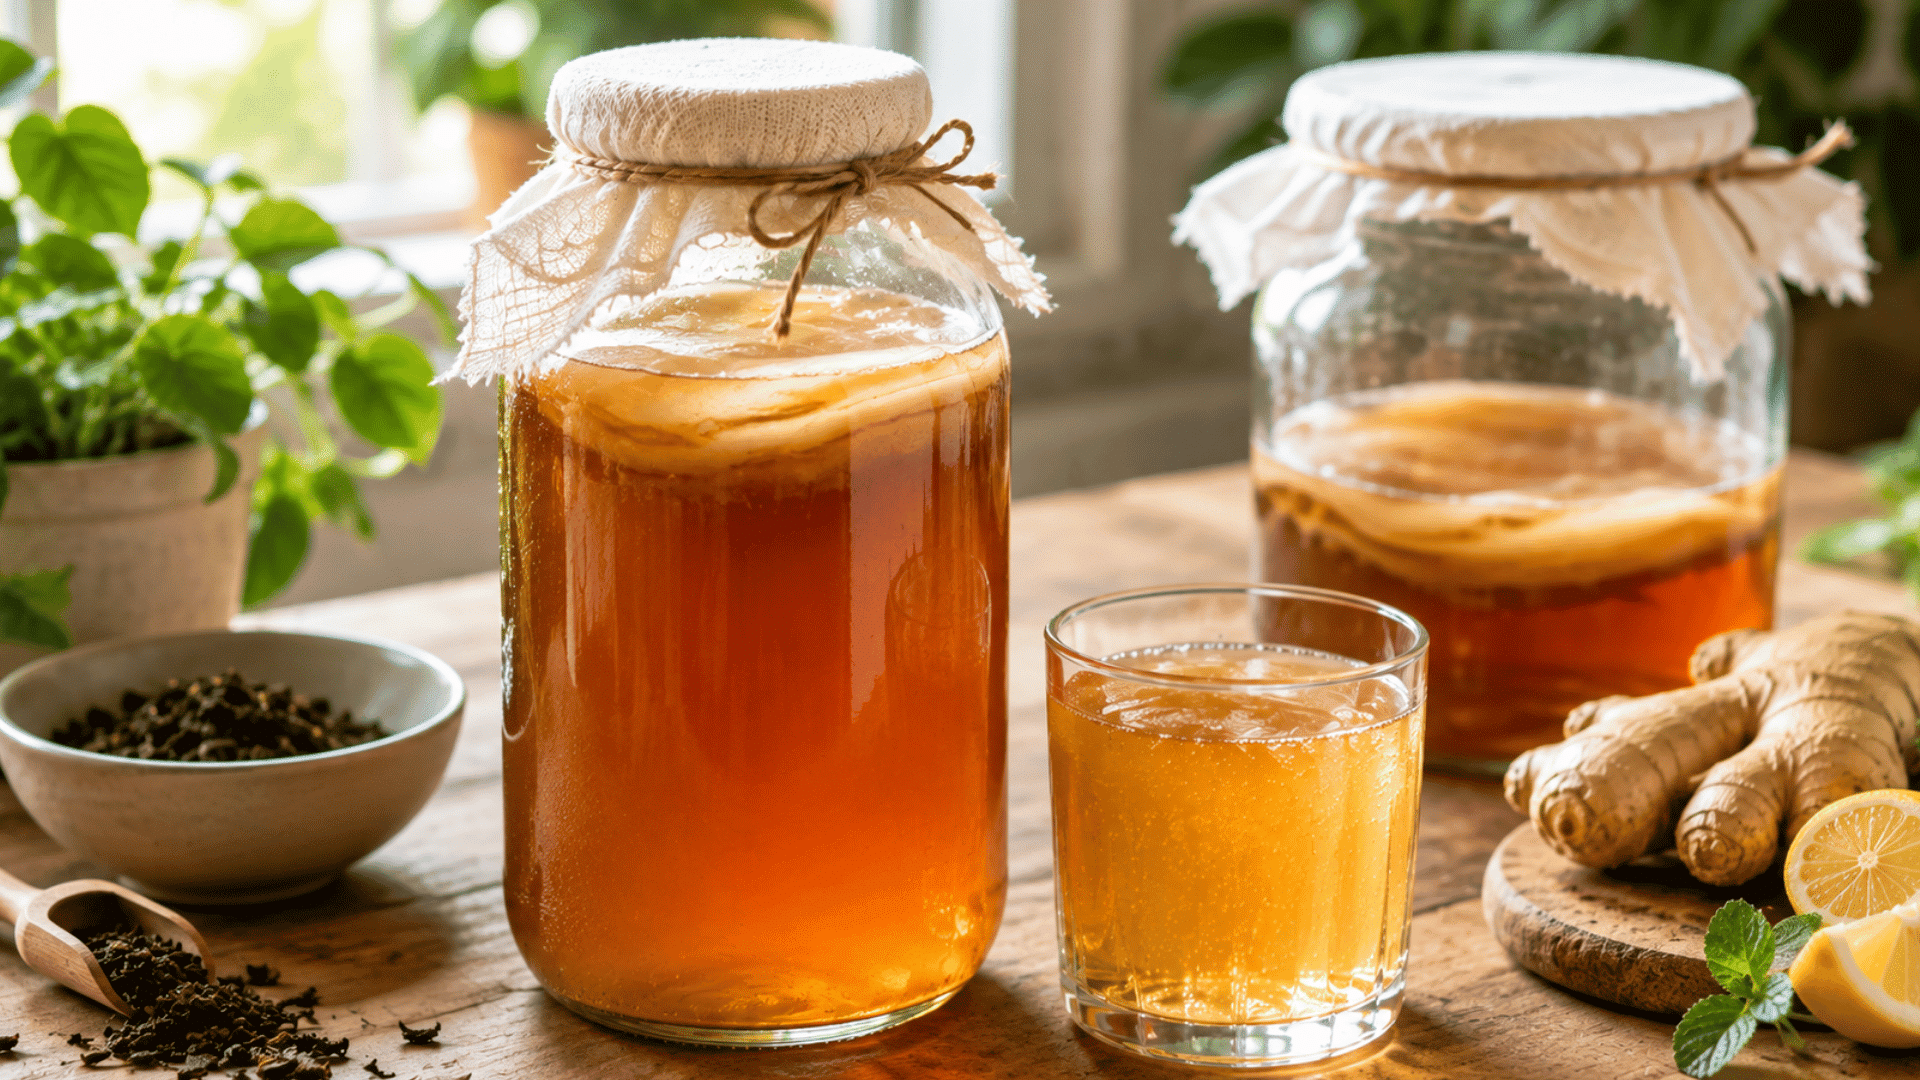
Kombucha is a fermented tea made with sweetened black or green tea, starter liquid, and a SCOBY, which contains bacteria and yeast.
During fermentation, the culture feeds on the sugar and gradually changes the tea into a tangy, lightly fizzy drink.
The flavor becomes less sweet and more acidic as fermentation continues. A typical kombucha recipe begins with a first fermentation, when the tea sits with the SCOBY for several days.
Understanding how kombucha fermentation works makes it easier to choose the right kombucha ingredients, control the taste, and recognize when a homemade batch is ready.
Kombucha Ingredients for a Homemade Kombucha Recipe
For a successful homemade batch, the right kombucha ingredients matter just as much as the brewing method.
- Black Tea: 10 grams
- Granulated Sugar: 100 grams
- Water: Enough for about 1 gallon
- Plain Kombucha: 1 bottle, original and unflavored
- Starter Liquid: 1–2 cups for future batches
- SCOBY: Grown from the initial batch and reused afterward
- Fresh Fruit: A few small pieces per bottle, optional
- Fresh Herbs: Basil or mint, optional
- Chia Seeds: About 2 tablespoons per bottle, optional
How to Make Kombucha at Home in Easy Steps
| Yield: About 1 gallon | First Fermentation: 7–10 days | Difficulty: Beginner |
Making kombucha at home becomes simple once the brewing and fermentation process is clear. Follow these eight steps to prepare, ferment, flavor, and bottle a fresh batch with confidence.
1. Brew the Black Tea
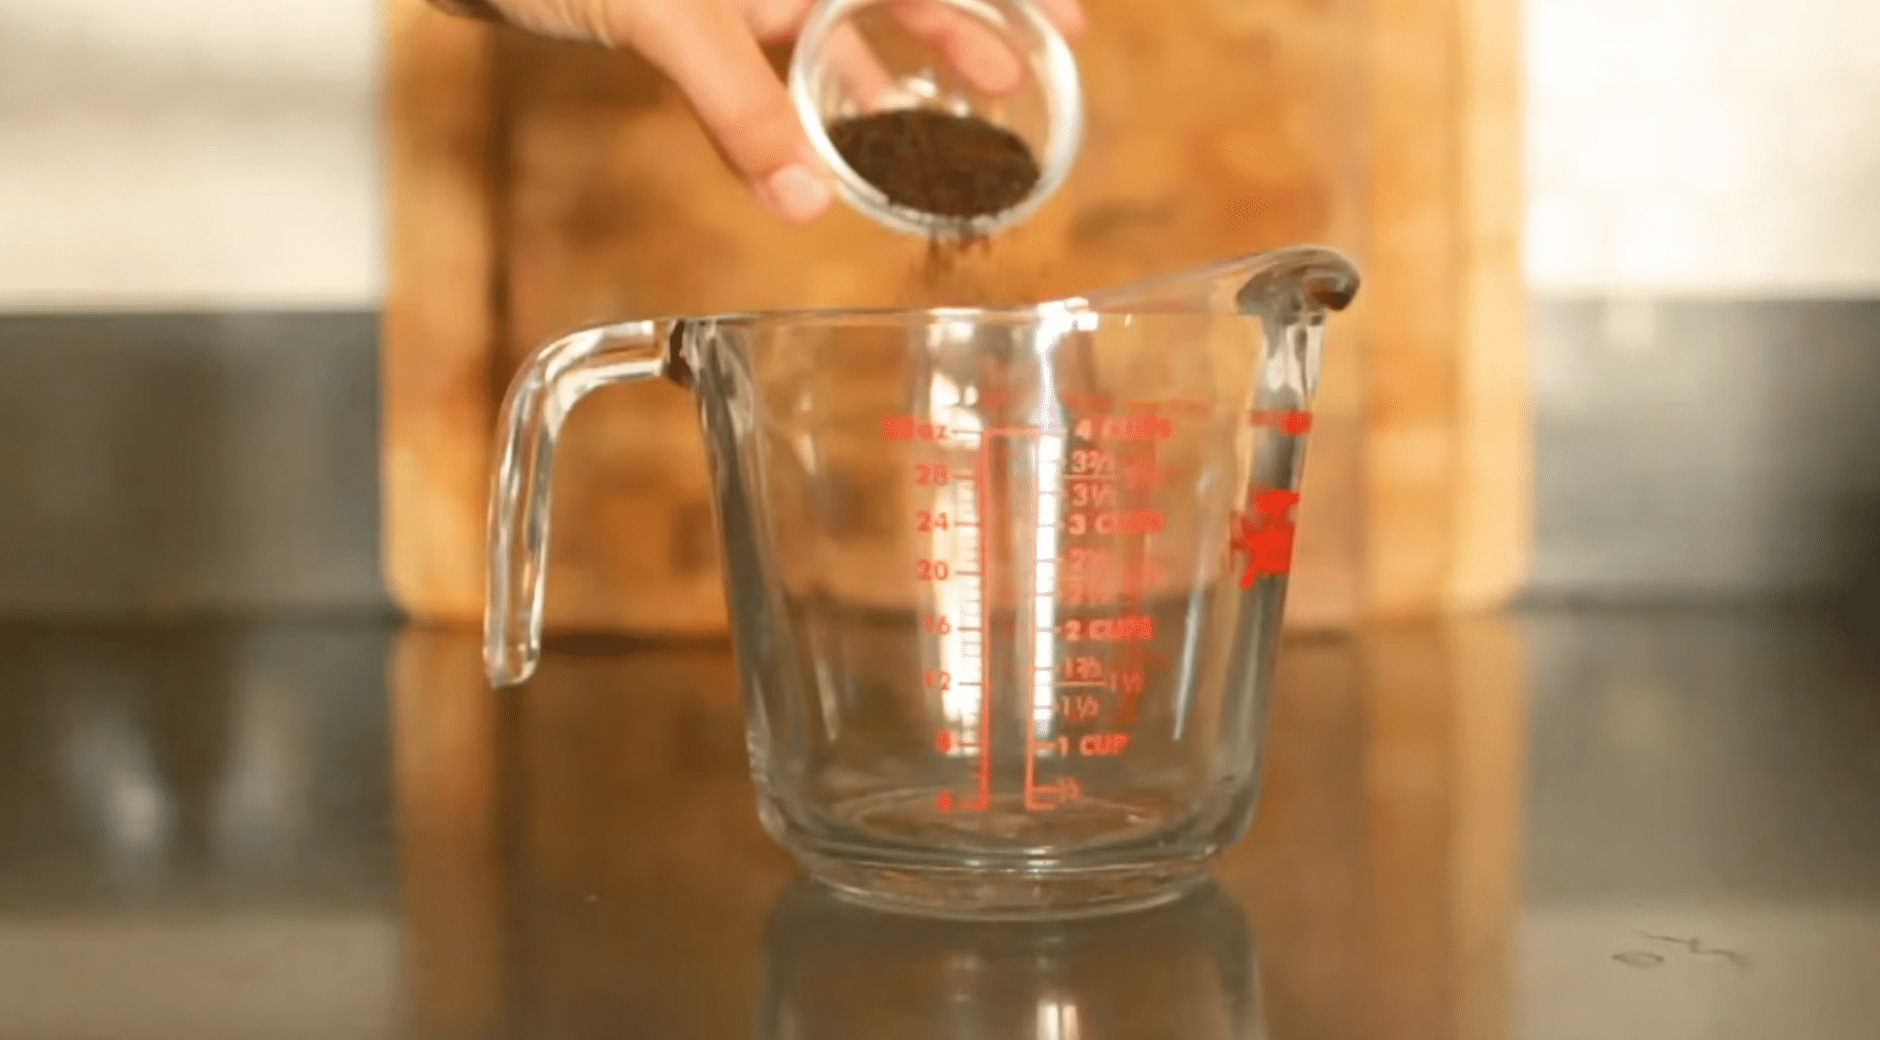
Add about 10 grams of black tea to ½ liter of hot water and steep for around 15 minutes. Strain the tea once it is strong enough.
Black tea is a good starting choice because it gives the kombucha culture a reliable base for fermentation.
2. Add Sugar and Cool the Tea
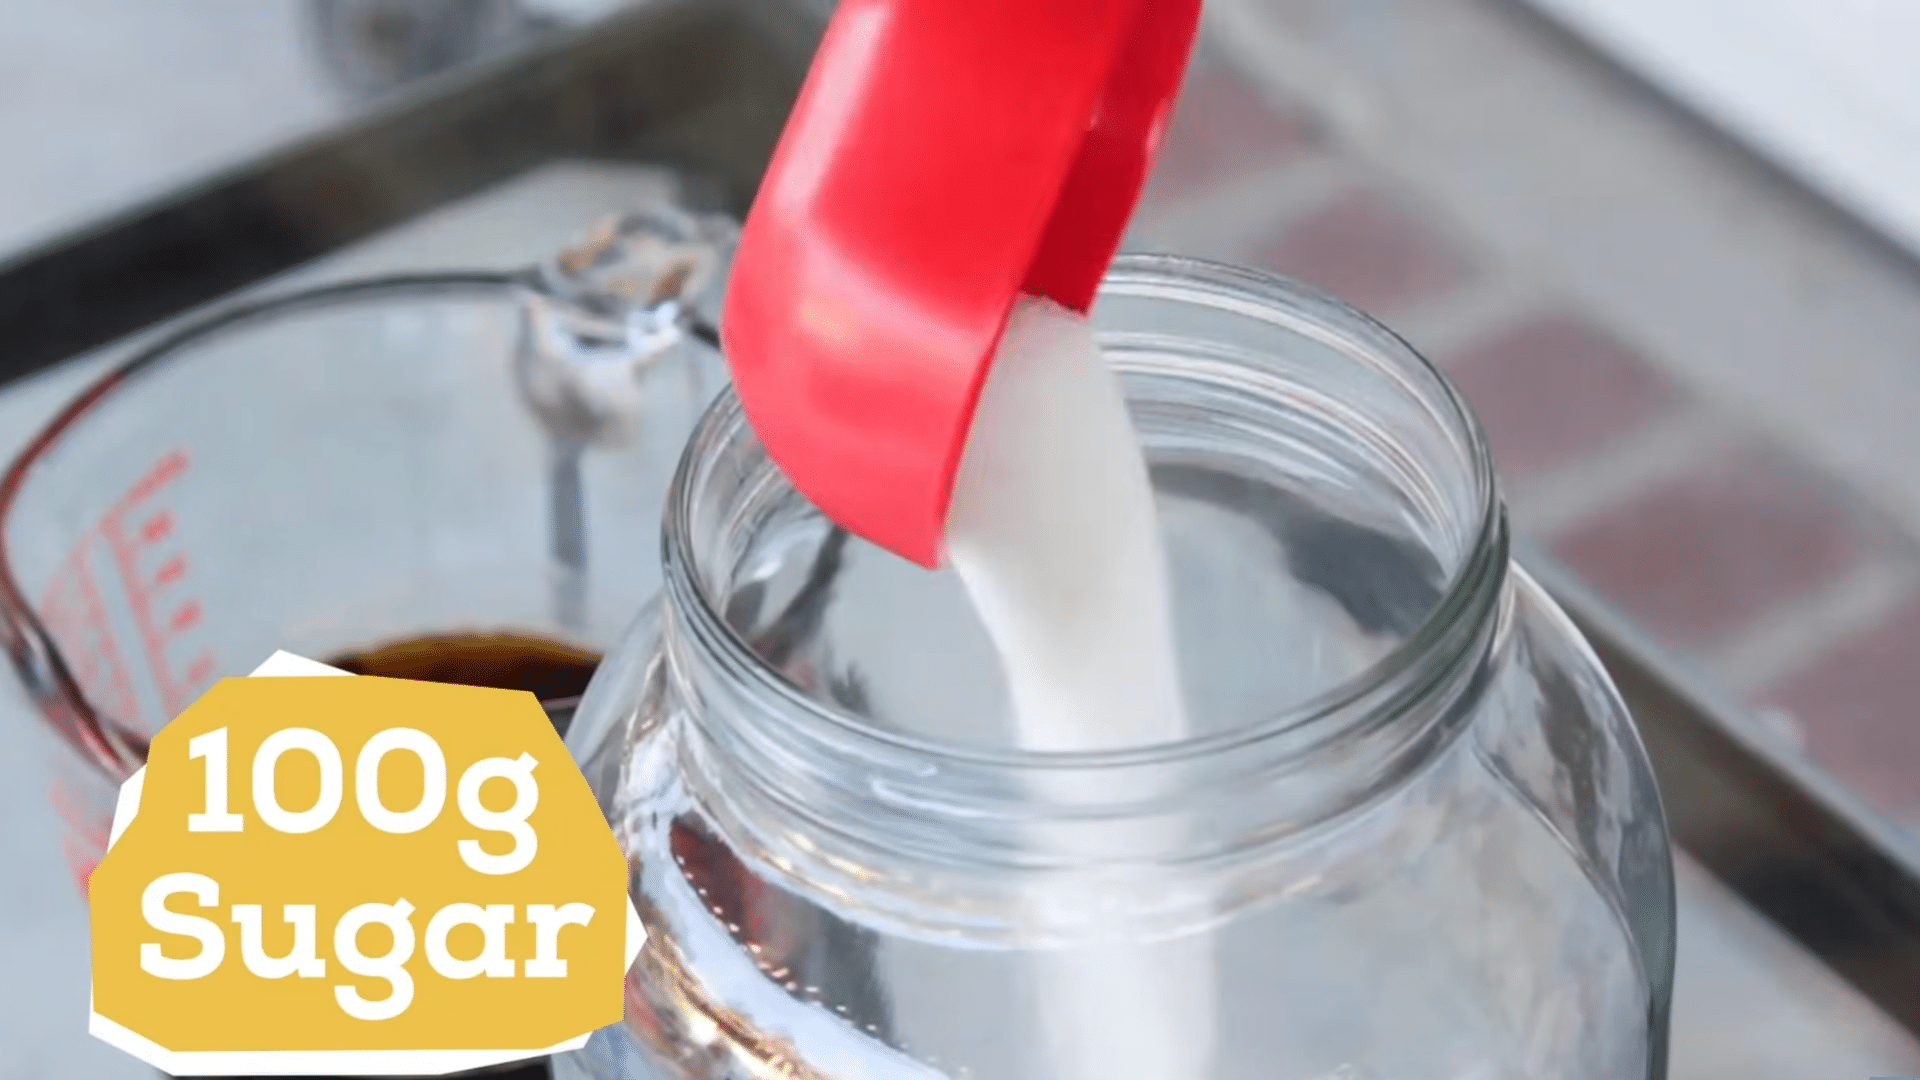
Stir about 100 grams of table sugar into the warm tea until fully dissolved. Add more water until the jar contains just under one gallon.
Allow the sweet tea to cool below 90°F before adding kombucha, since excessive heat can damage the living bacteria and yeast.
3. Add the Plain Kombucha
Pour one bottle of plain, original-flavor kombucha into the cooled sweet tea. The bottled kombucha provides the bacteria and yeast needed to establish the culture.
You do not need an existing SCOBY at this stage because the goal of this first batch is to grow one.
4. Cover and Begin the Fermentation
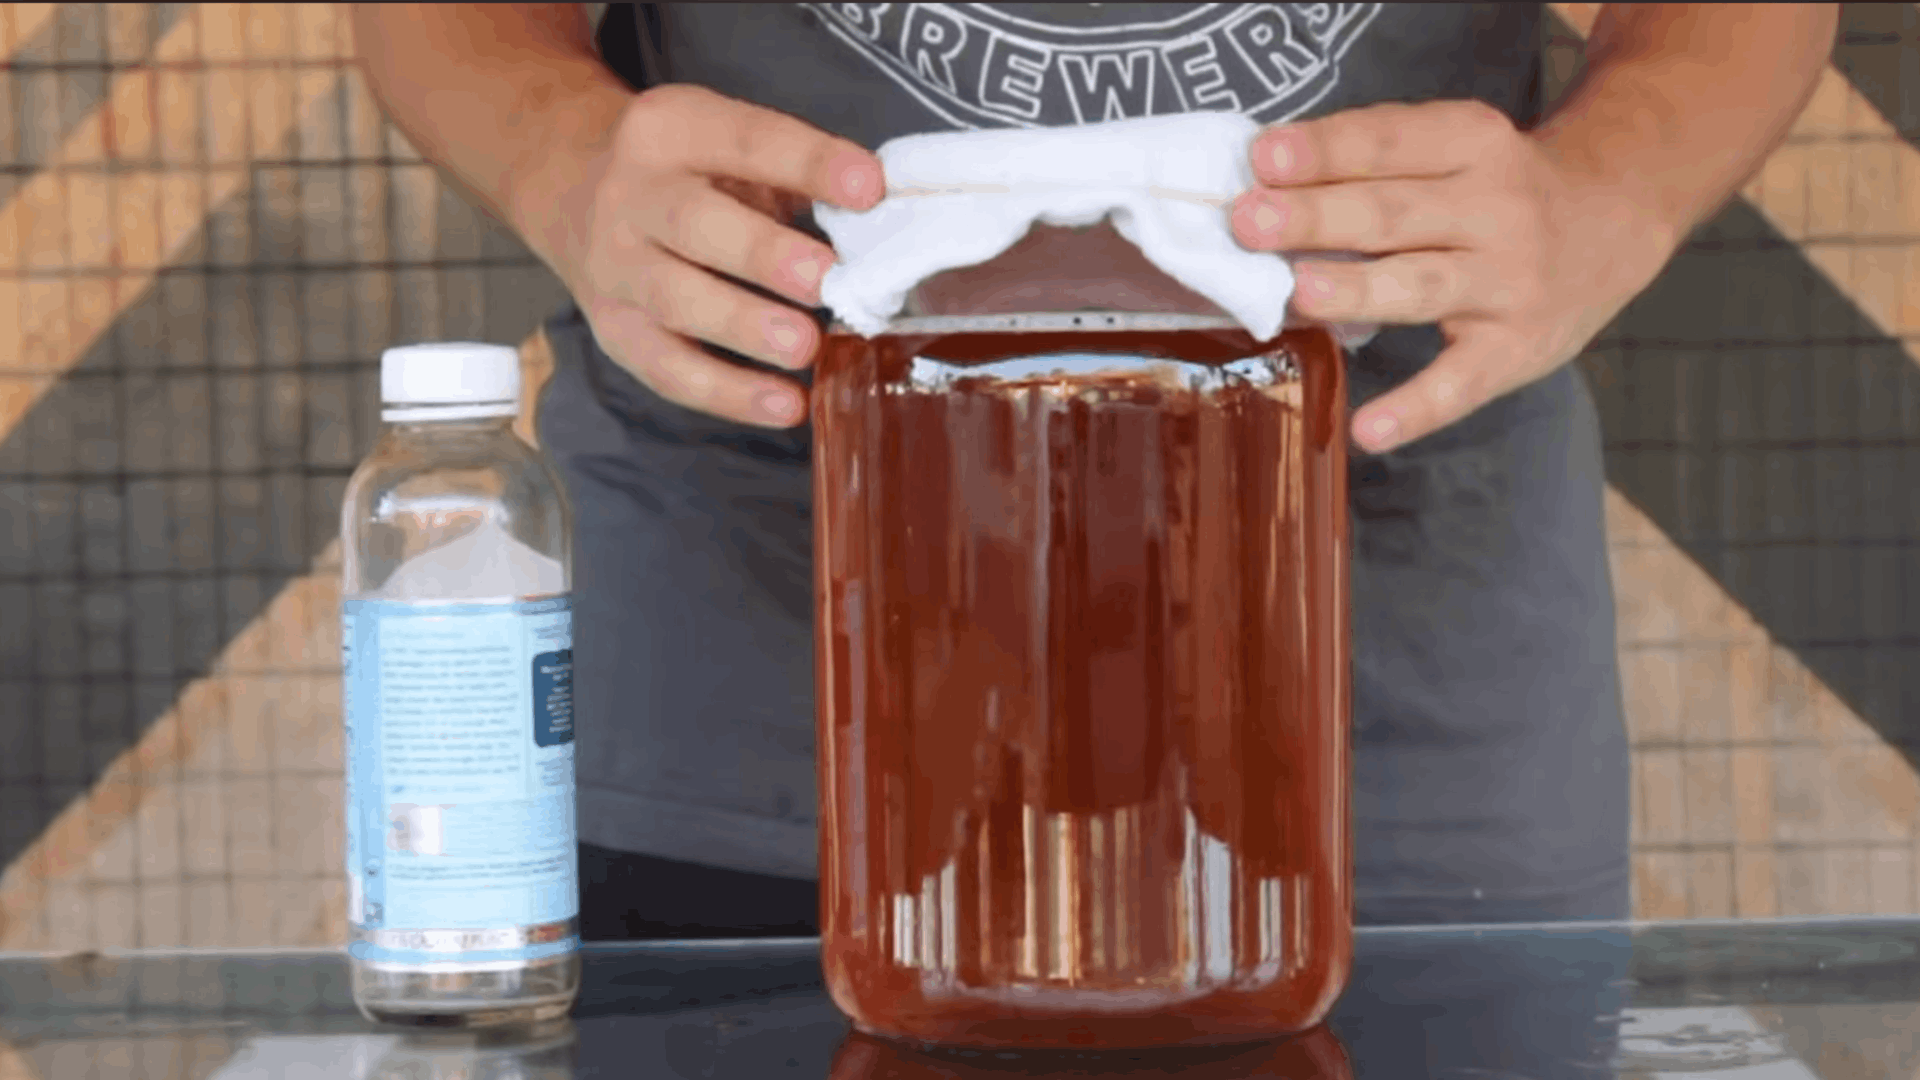
Cover the jar with a breathable cloth or napkin and secure it with a rubber band. Keep it at room temperature or slightly warmer, away from direct sunlight.
The breathable cover allows oxygen to reach the culture while protecting the kombucha as it ferments.
5. Let the SCOBY Develop
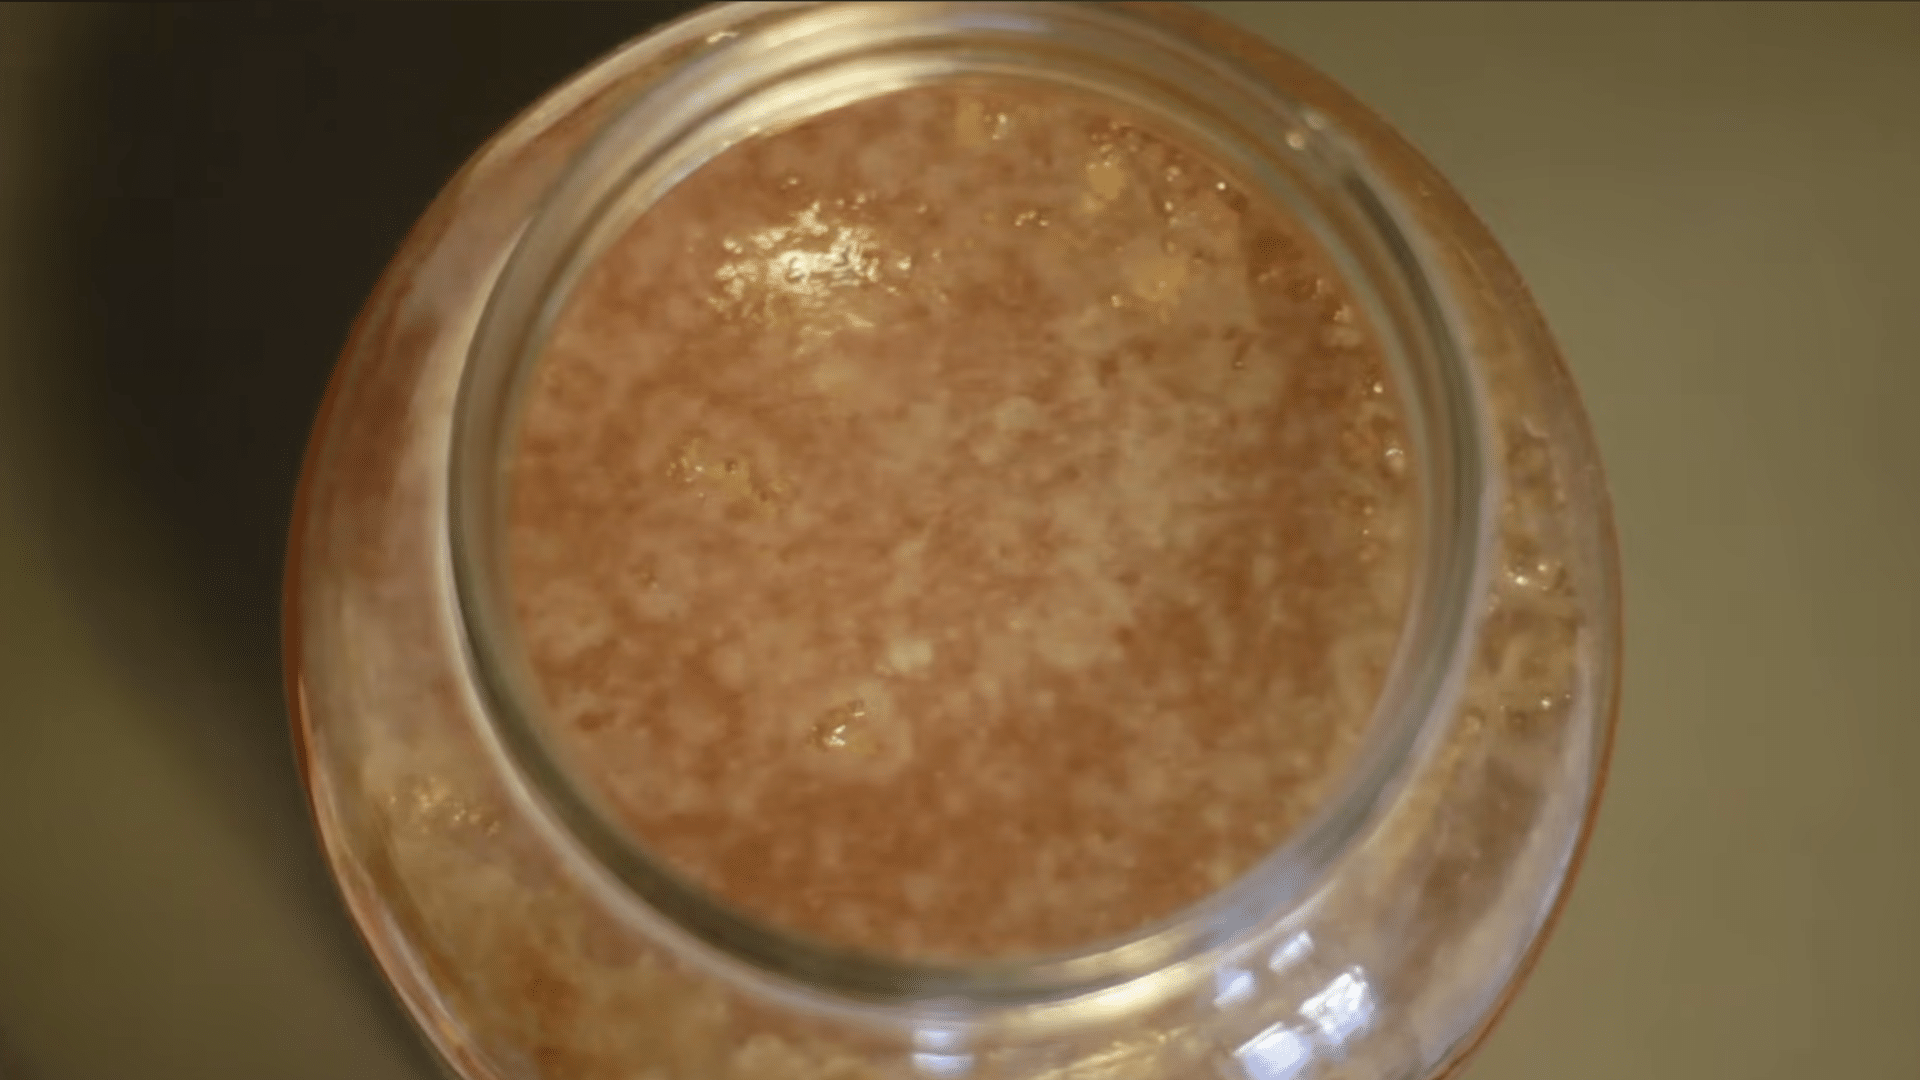
Leave the kombucha undisturbed for a few weeks. Depending on the temperature, SCOBY development may take anywhere from a couple of weeks to just over a month.
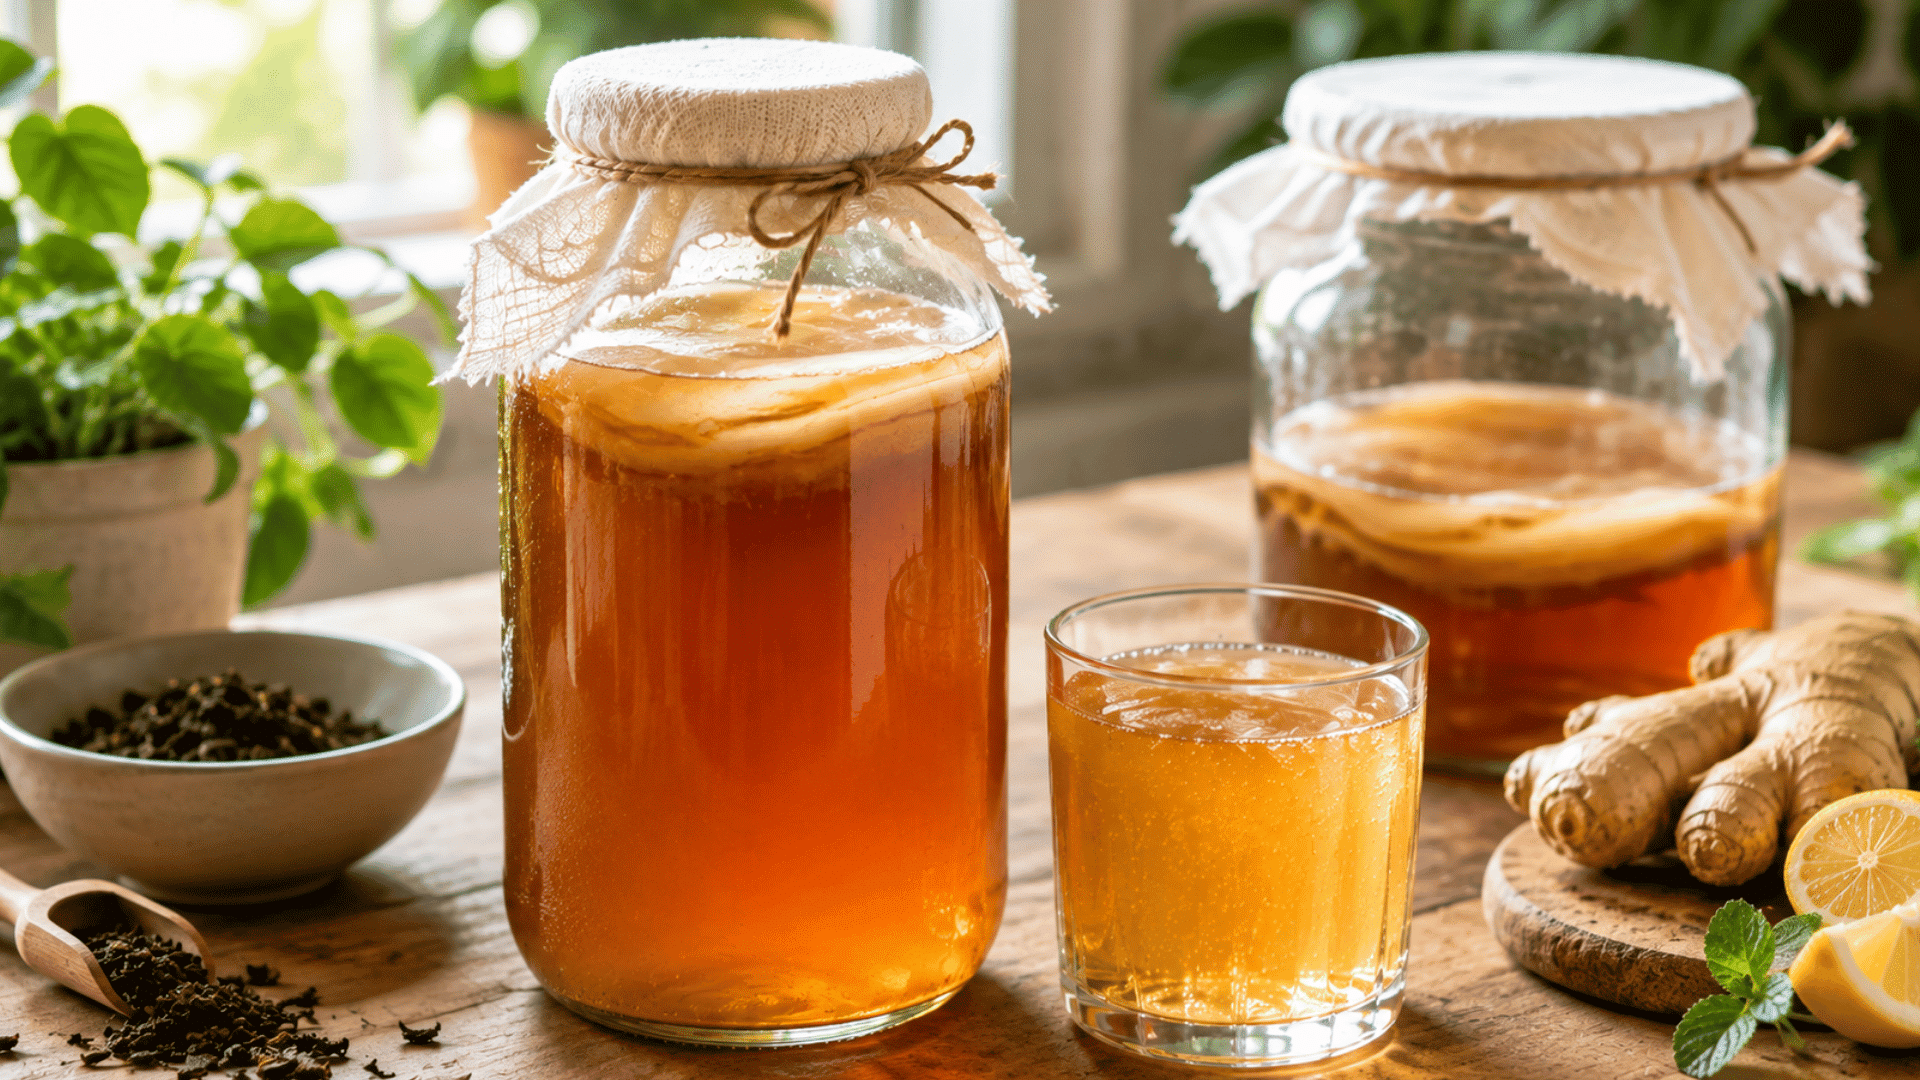
The tea may become cloudy, followed by wispy blobs and a thin film forming across the surface. This film gradually develops into the mother SCOBY.
| Note: Once the SCOBY has developed, save it with about 1–2 cups of starter liquid. Use both to make future batches, which typically ferment for about 4–6 days before you begin tasting for your preferred sweetness and tartness. |
6. Taste and Check the First Fermentation
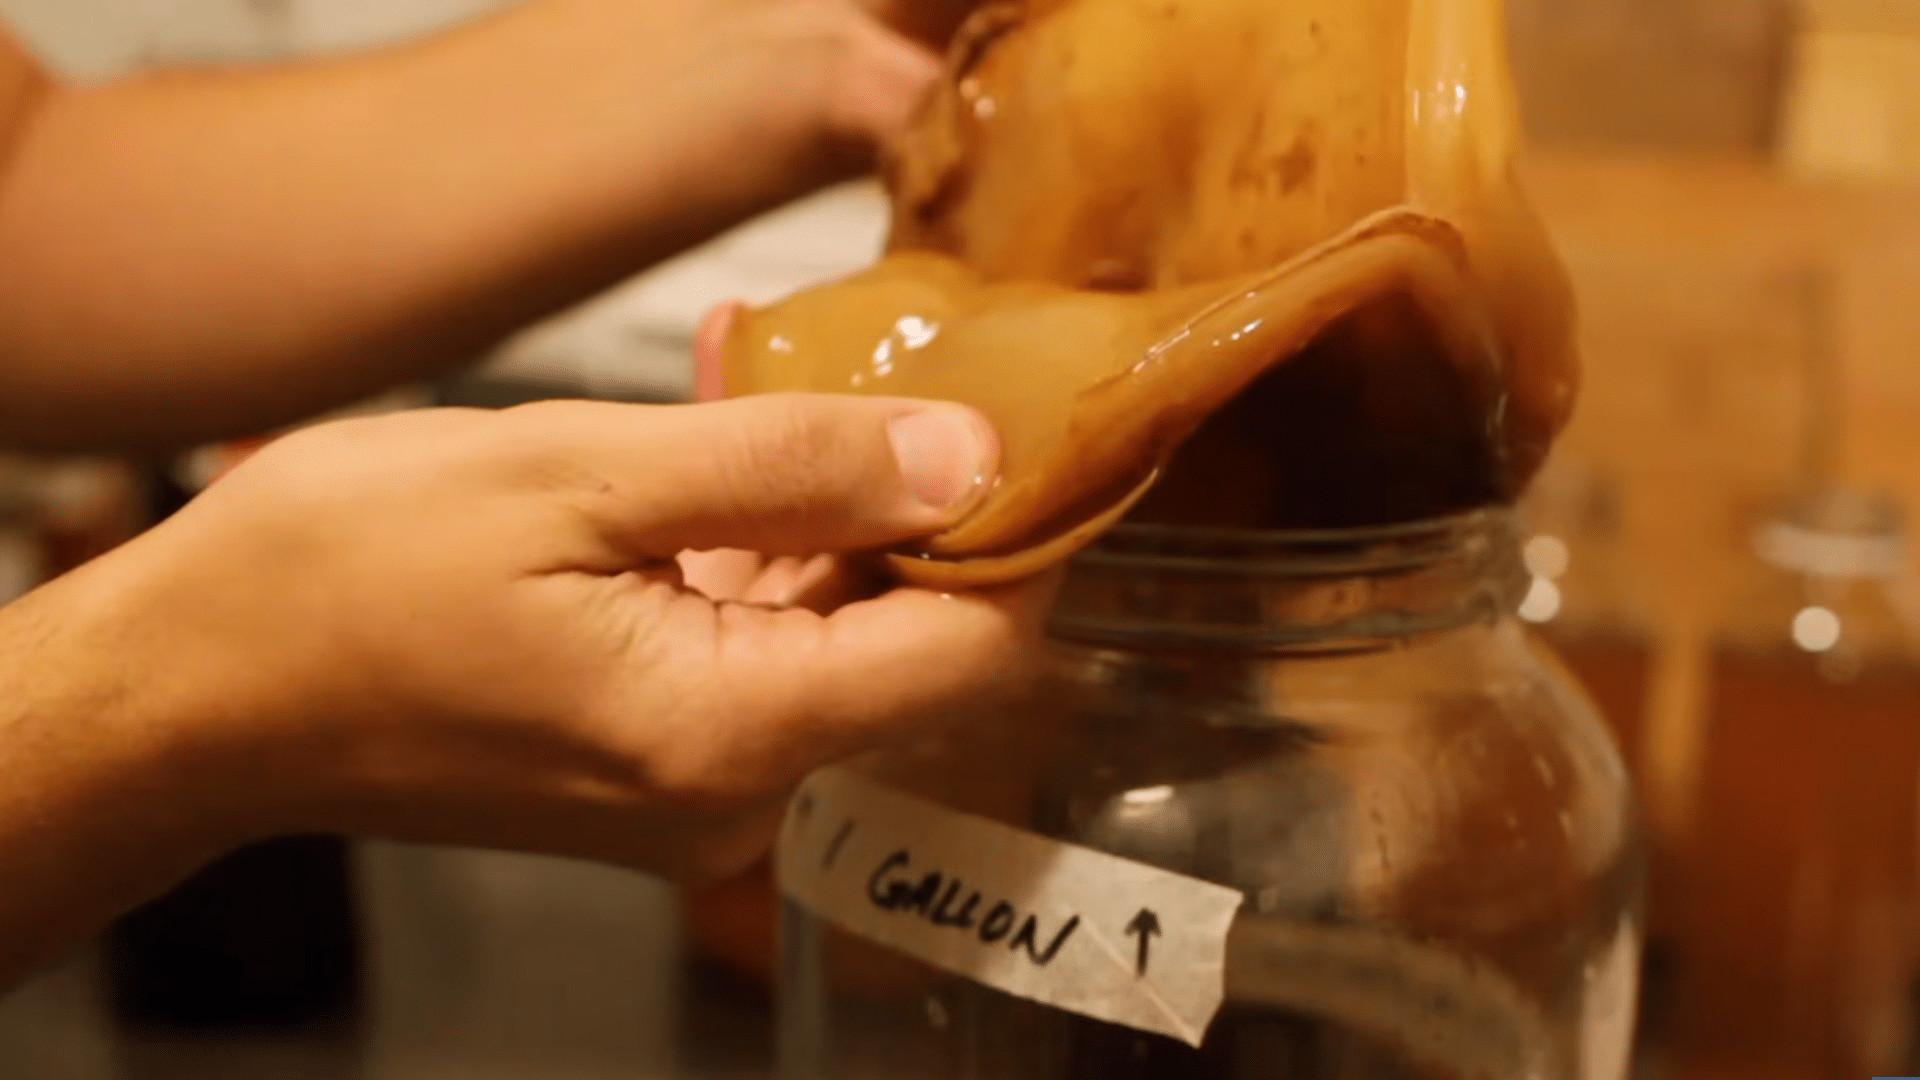
After about seven days, begin tasting the kombucha to check its balance of sweetness and tartness.
A shorter fermentation generally produces a sweeter drink, while longer fermentation creates a more tart, acidic flavor. Continue until the taste suits your preference.
7. Bottle and Add Flavorings
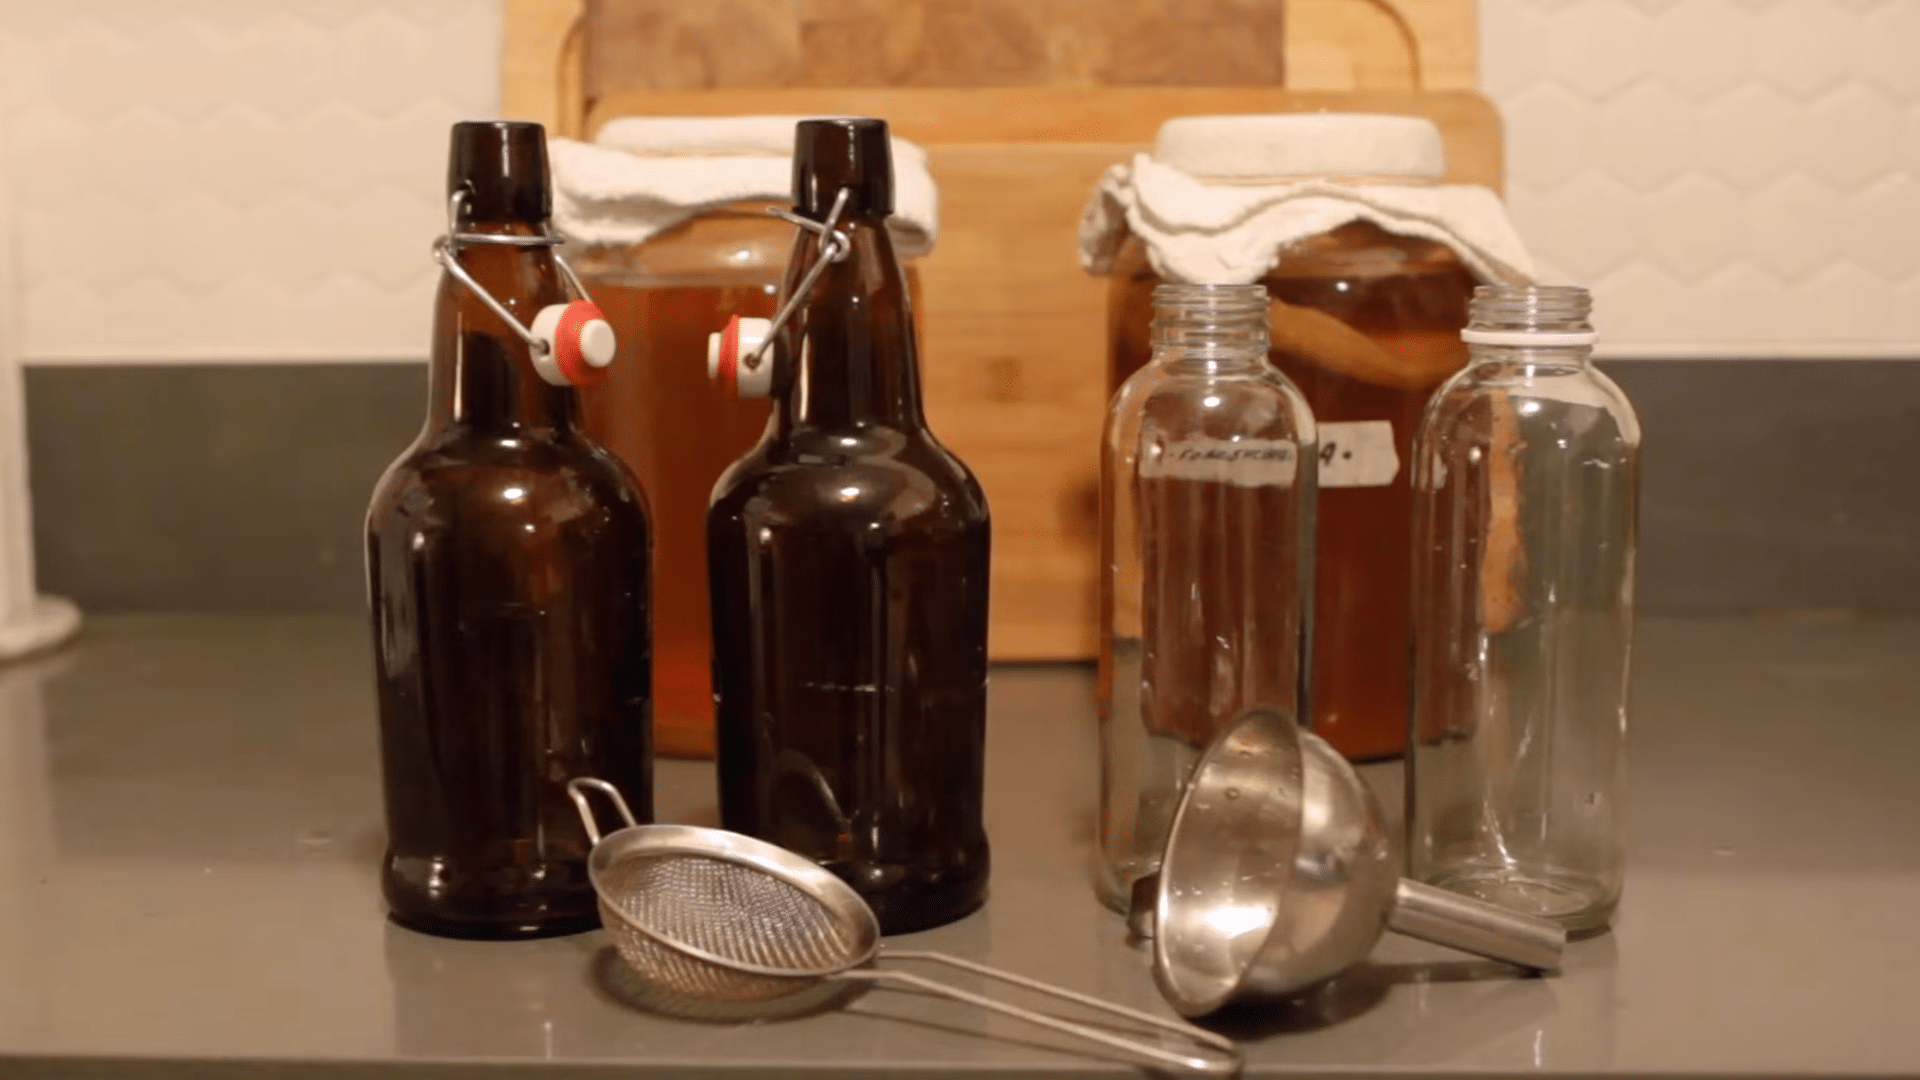
Reserve the SCOBY and one to two cups of starter liquid for the next batch.
Pour the remaining kombucha into fermentation-safe bottles and add small pieces of fruit, such as blueberries, pineapple, kiwi, or strawberries, to provide flavor and extra sugar.
8. Complete the Second Fermentation
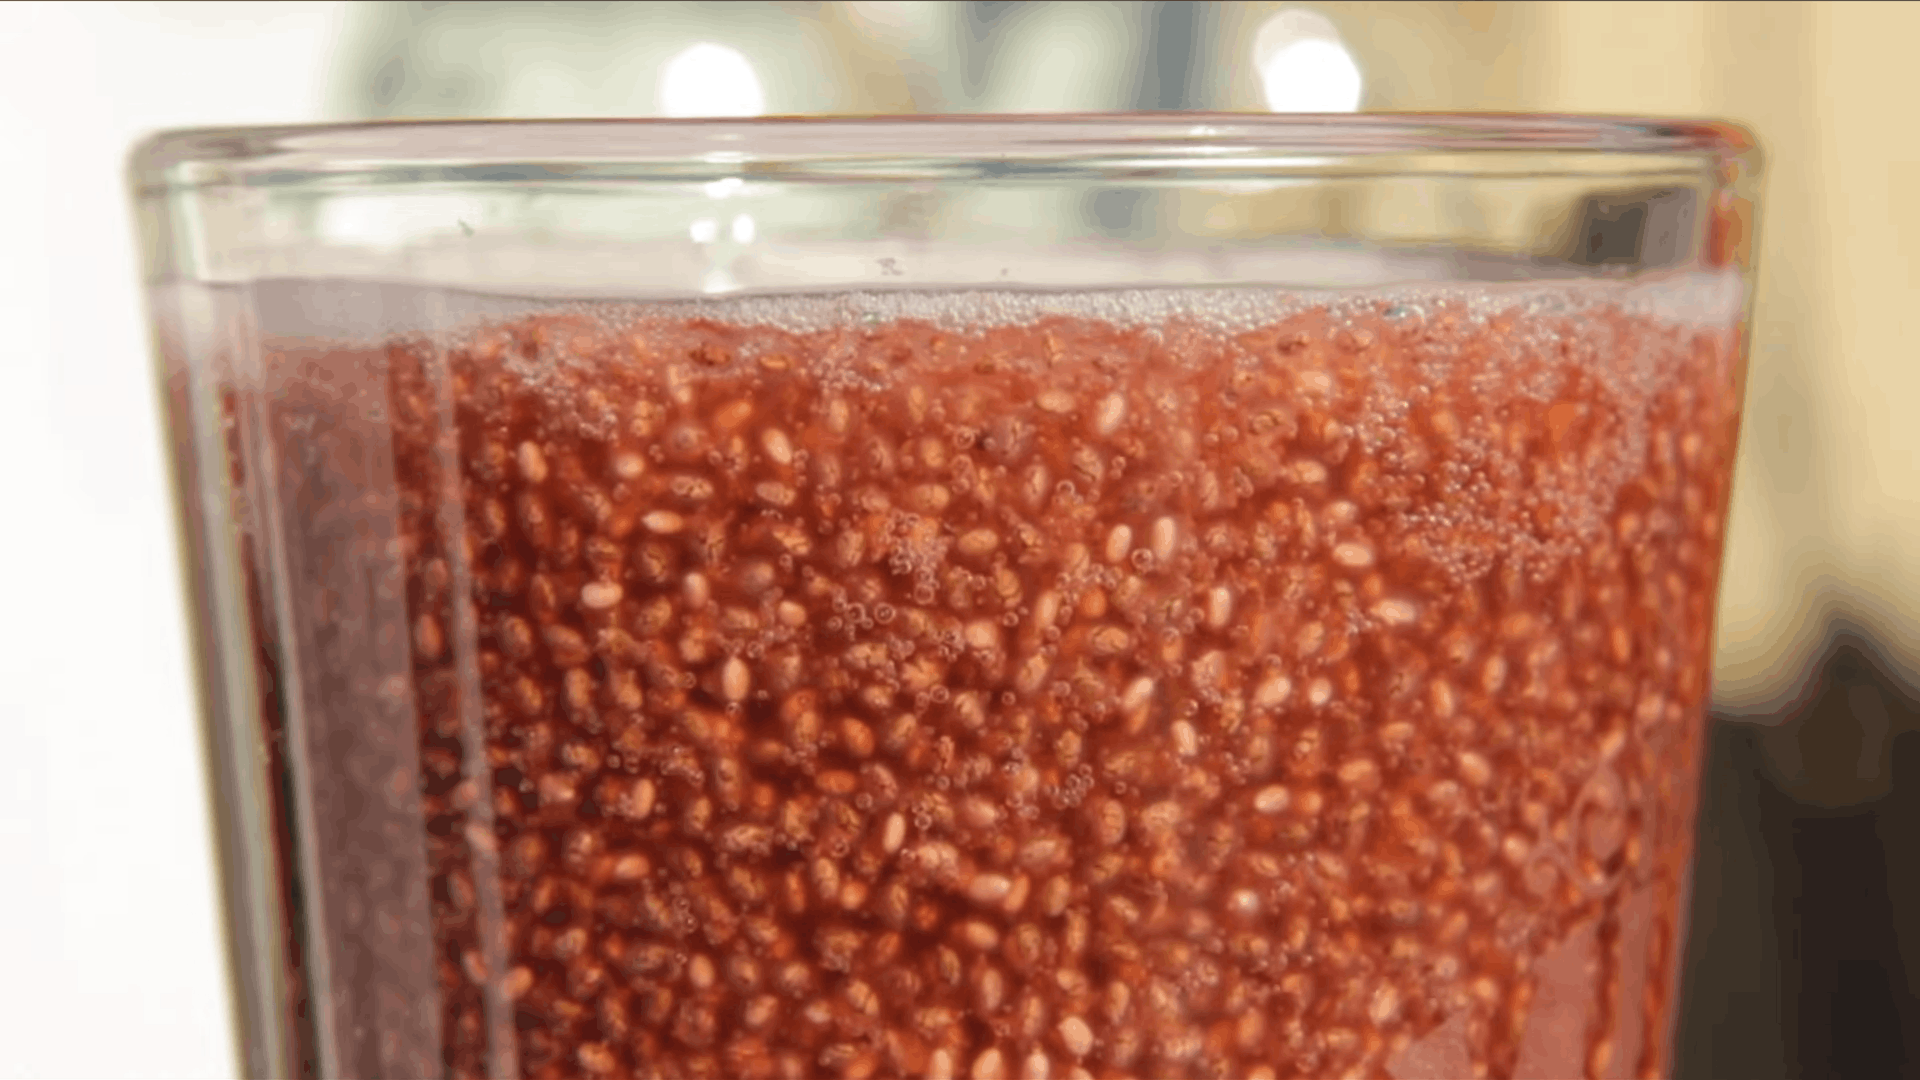
Leave one to two inches of space at the top of each bottle, seal securely, and keep the bottles at room temperature for about three days.
The added sugar creates carbonation during this second fermentation. Refrigerate afterward, chill completely, and open carefully before serving.
This tutorial is based on a helpful video by TheBruSho. You can check out the original video on their YouTube channel here or watch it below.
Equipment Needed to Make Kombucha at Home
The right kombucha equipment makes brewing, fermenting, and bottling easier. Most tools are simple kitchen items, but choosing clean, food-safe materials is important for a successful homemade batch.
| Equipment | Recommended Type | Safety Note |
|---|---|---|
| Brewing Jar | 1-gallon glass jar | Avoid reactive metals or damaged glass |
| Large Pot or Kettle | Stainless steel or food-safe | Keep it clean and free from residue |
| Measuring Cups | Standard kitchen set | Wash thoroughly before each use |
| Tea Strainer | Fine-mesh strainer or infuser | Use clean, food-safe materials |
| Breathable Cover | Clean cloth or coffee filter | Use a tight weave to help keep insects out |
| Rubber Band | Strong elastic band | Secure the cover firmly around the jar |
| Fermentation Bottles | Pressure-safe flip-top bottles | Use bottles designed to handle carbonation pressure |
How to Flavor Kombucha With Fresh Ingredients
Adding fresh ingredients during second fermentation lets you customize kombucha with fruity, citrusy, herbal, or spicy flavors. Simple combinations can also add natural sweetness and create a more refreshing finish.
- Choose Flavorings: Try strawberries, blueberries, pineapple, mango, ginger, lemon, mint, or basil.
- Prepare Ingredients: Wash and chop fruit into small pieces to help release the flavor.
- Fill Bottles: Add your flavorings to clean, pressure-safe bottles and pour in the finished kombucha.
- Leave Headspace: Leave 1 to 2 inches of space before sealing.
- Ferment Again: Leave sealed bottles at room temperature for about two to three days.
- Refrigerate: Chill thoroughly once the desired flavor and carbonation develop, then open carefully before serving.
Since the fruit you’re adding here does double duty as flavor, it’s worth pairing it with foods that support your wellness goals for the rest of your day, too.
Why Do You Need a SCOBY for Kombucha?
A SCOBY is a symbiotic culture of bacteria and yeast used to ferment sweet tea into kombucha.
It works with starter liquid to convert sugars in the tea into acids, gases, and other fermentation byproducts that give kombucha its tart flavor and light fizz.
A healthy SCOBY may look rubbery, uneven, or layered, and it can float or sink during brewing.
You need one because it helps maintain an active culture throughout fermentation and can be reused for future batches.
However, mature starter kombucha is equally important because it provides the acidic environment needed to begin fermentation properly.
Signs of Healthy Kombucha During Fermentation
Kombucha often changes in appearance as it ferments. Some changes may look strange at first, but they are usually normal signs that the culture is active.
- New SCOBY Layer: A cream or light tan film forming across the surface is typically a new SCOBY developing.
- Brown Yeast Strands: Stringy brown pieces hanging from the SCOBY or floating in the tea are usually normal yeast growth.
- Floating or Sinking SCOBY: A SCOBY may float at the top, sink to the bottom, or sit sideways without affecting fermentation.
- Small Bubbles: Tiny bubbles around the SCOBY or sides of the jar can indicate fermentation activity.
- Cloudy Appearance: The tea may gradually become cloudy as yeast and bacteria become active.
- Bottom Sediment: Brown sediment at the bottom of the jar is commonly settled yeast and can be strained out later.
- Watch for Mold: Dry, fuzzy patches in colors such as green, blue, black, or white may indicate mold. Discard the batch rather than tasting it
Kombucha is best consumed in moderation, as research published by the National Library of Medicine suggests that it may influence urinary and plasma metabolites.
First Fermentation vs. Second Fermentation at a Glance
The first and second fermentation stages serve different purposes when making kombucha. Understanding the difference can help you manage flavor, carbonation, and timing more easily.
| Feature | First Fermentation | Second Fermentation |
|---|---|---|
| Purpose | Creates the kombucha base | Adds flavor and carbonation |
| SCOBY | Stays in the brewing jar | Removed before bottling |
| Container | Jar with breathable cover | Sealed pressure-safe bottles |
| Flavorings | Usually not added | Fruit, juice, ginger, or herbs |
| Typical Time | About 7–10 days | About 1–3 days |
| Result | Tart fermented tea | Flavored, fizzier kombucha |
How to Store Homemade Kombucha Properly?
Once your kombucha has finished fermenting, pour it into clean, airtight bottles designed to handle carbonation, the refrigerate.
The cold temperature slows fermentation, helping preserve the flavor while reducing further pressure buildup. Store bottles upright to prevent leaks and allow sediment to settle naturally.
If you plan to reuse the SCOBY, keep it fully submerged in mature kombucha with some starter liquid for your next batch.
Before serving, check the kombucha for mold, unusual odors, or damaged bottles, and discard it if you notice signs of contamination.
Final Thoughts
Brewing kombucha at home may seem complicated at first, but each batch becomes more familiar once you get comfortable with the process.
From preparing sweet tea and caring for the SCOBY to watching fermentation develop, every stage gives you more control over the final flavor.
I especially like that homemade kombucha leaves plenty of room to experiment. You can adjust the fermentation time, try different fruits and herbs, or keep things simple with an unflavored batch.
Start with the basics, keep your equipment clean, and pay attention to how your brew changes along the way. Once you find a combination you love, save it for your next batch and keep experimenting with new flavors.
Frequently Asked Questions
Why Do I Feel Buzzed After Drinking Kombucha?
Kombucha can contain small amounts of alcohol from fermentation, which may cause a mild buzz, especially after larger servings or in people sensitive to alcohol.
How Can I Make a SCOBY at Home?
Mix cooled sweetened black tea with plain raw kombucha, cover with a breathable cloth, and ferment at room temperature until a new SCOBY forms on the surface.
How Long Can a SCOBY Live in a Jar?
A SCOBY can live for months or even years in a jar when kept submerged in mature kombucha and stored under clean, suitable conditions.