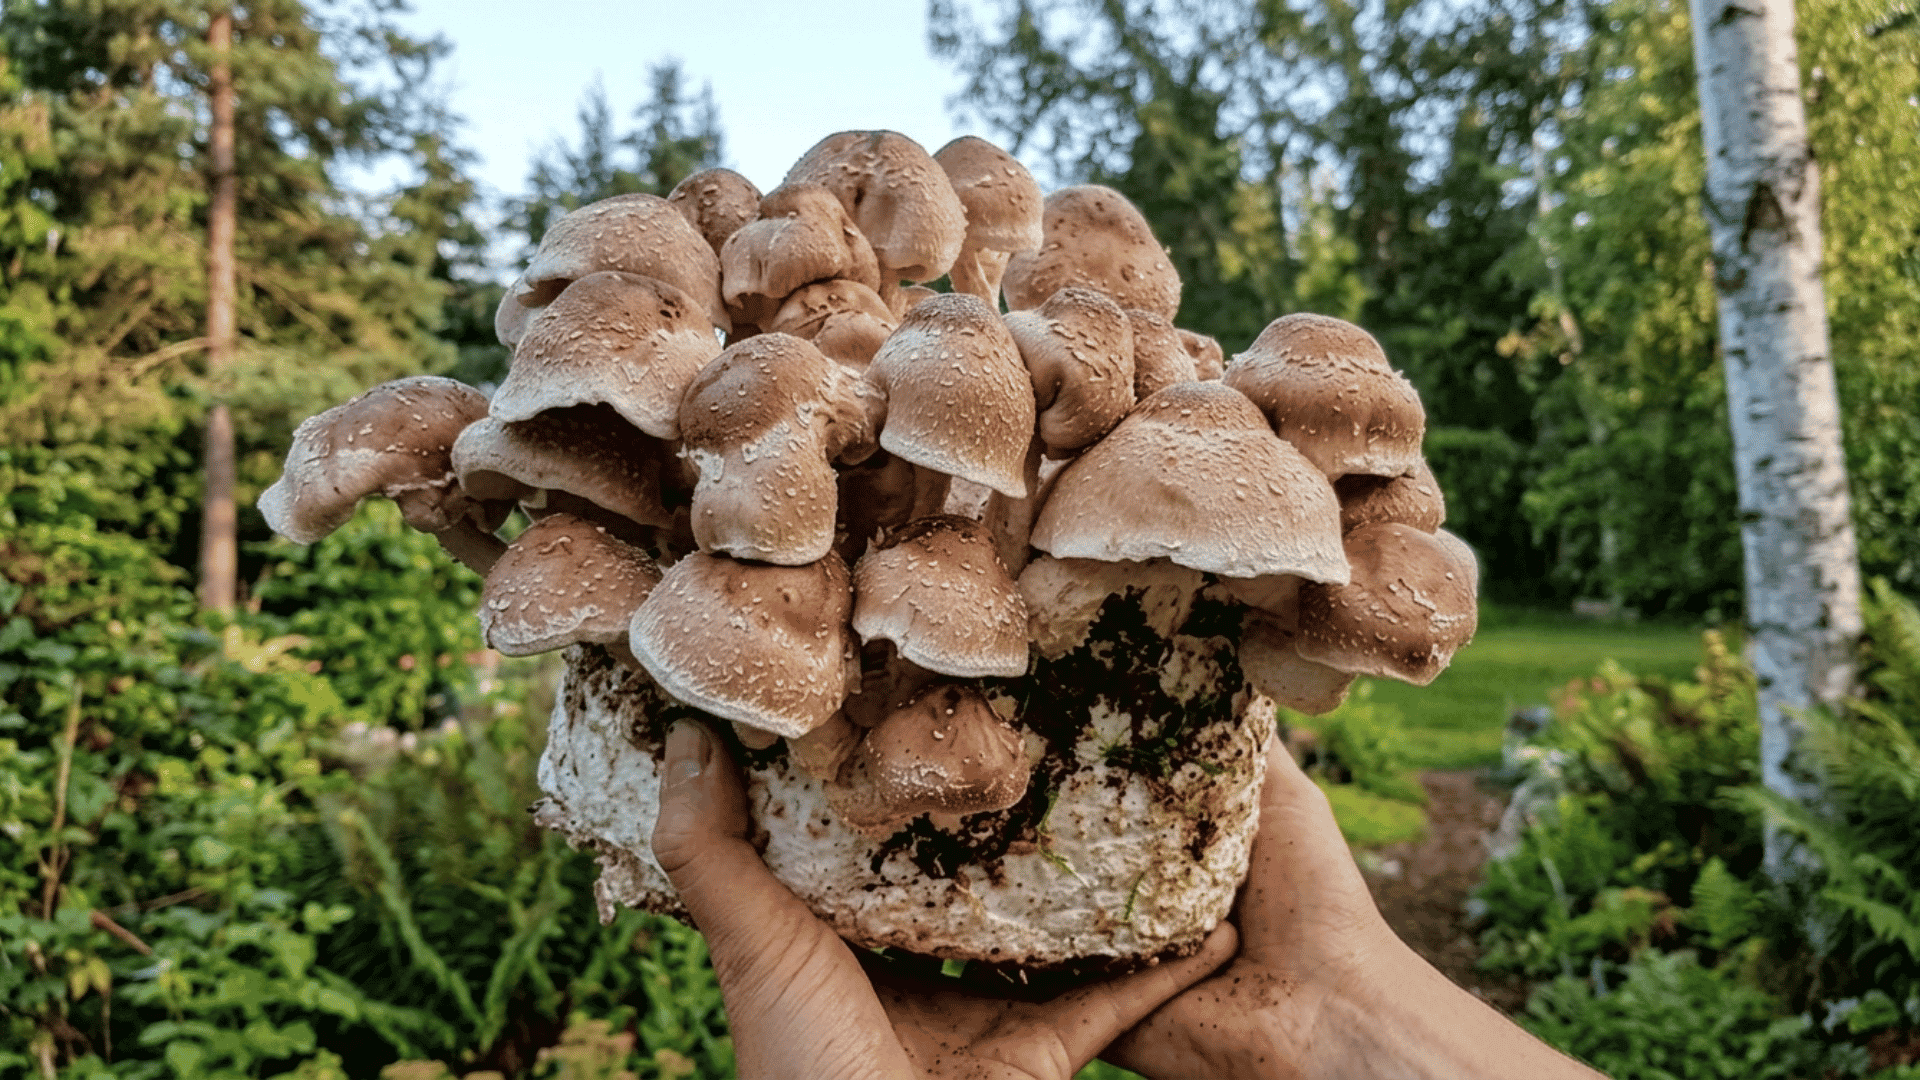
A tiny corner of your home can hold the beginning of a surprisingly rewarding growing project.
I still find it fascinating how something as simple as a small growing setup can turn into a fresh harvest with patience and care.
If you have ever wanted to try something different from regular gardening, learning how to grow mushrooms can be an exciting way to start.
What Do You Need to Grow Mushrooms?
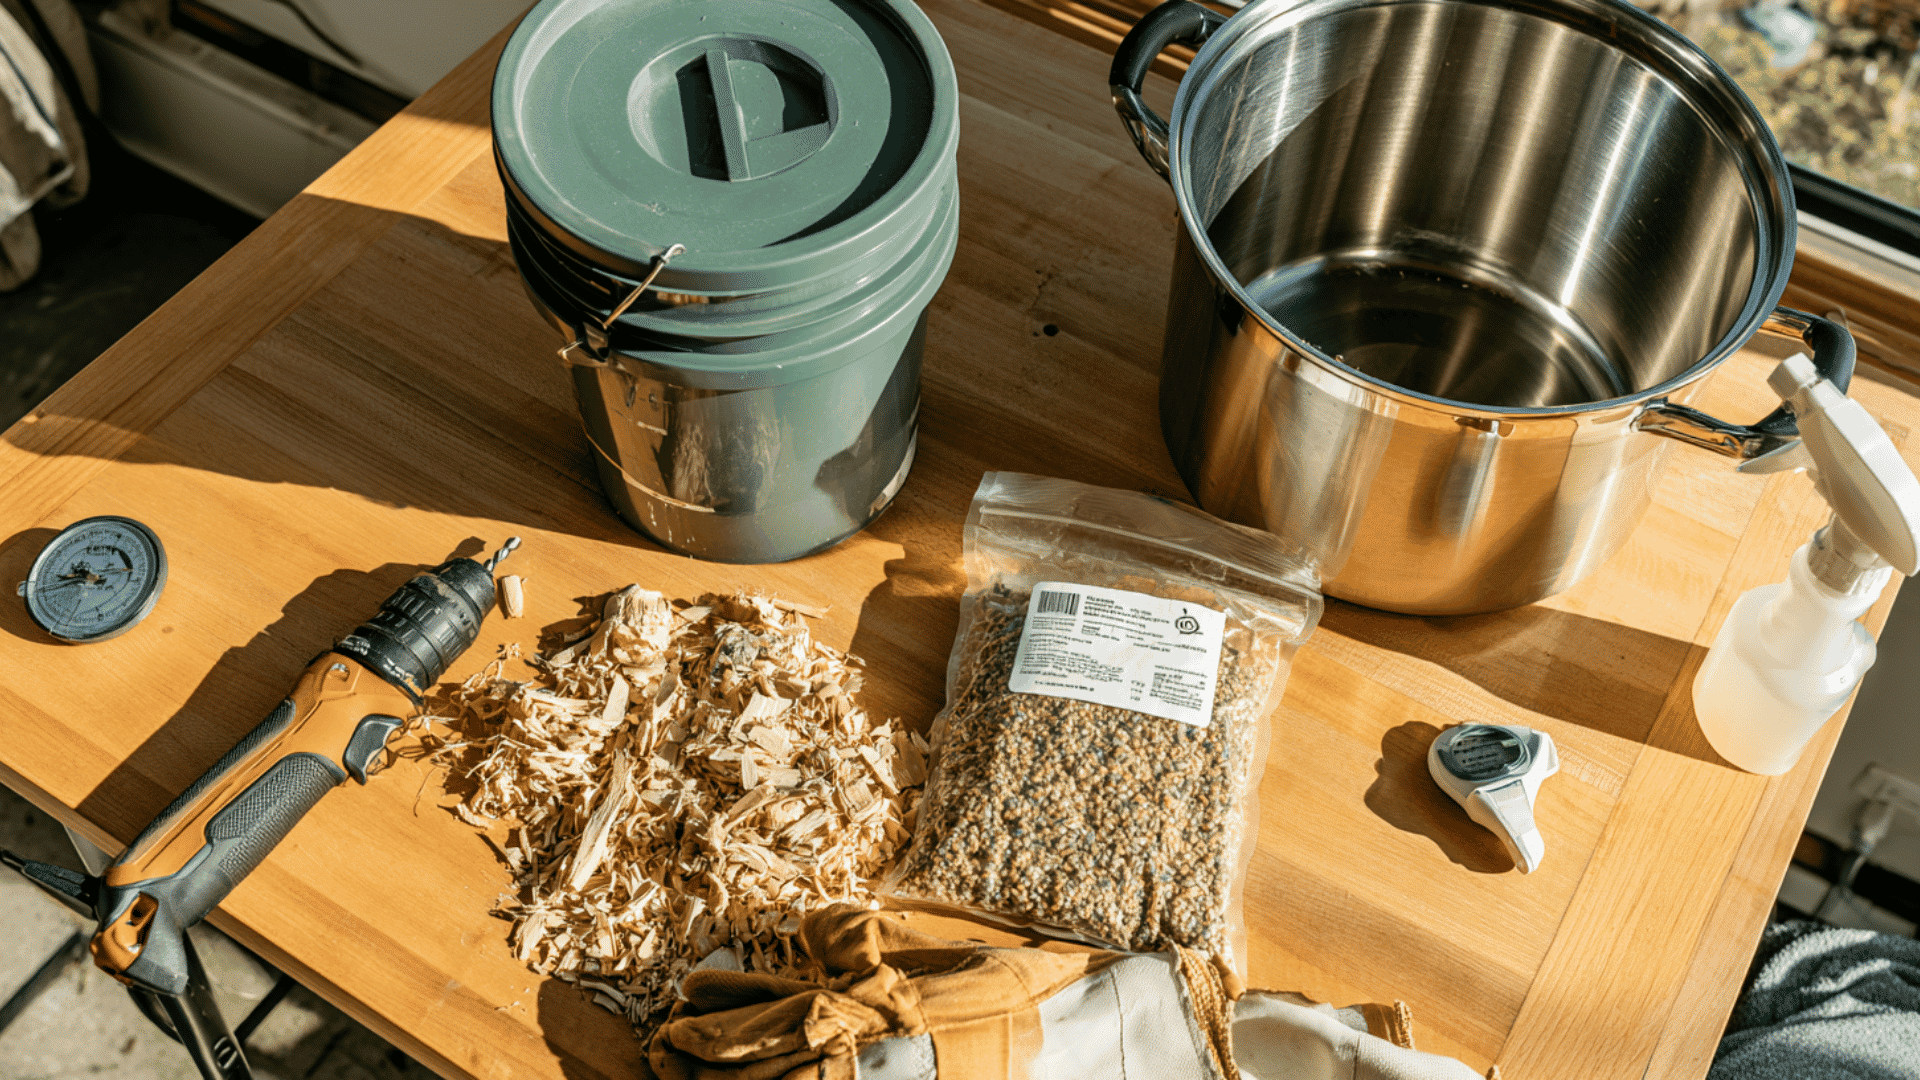
Growing mushrooms requires only a few supplies, with each item supporting clean preparation, steady conditions, and healthy growth.
- Spawn or Fruiting Block: Use mushroom spawn or a colonized fruiting block suited to the species and selected growing method.
- Suitable Substrate: Choose straw, sawdust, wood chips, compost, or another substrate that meets the mushroom species’ nutritional needs.
- Growing Container: Select a clean bucket, bag, tray, garden bed, or hardwood log based on available space and method.
- Clean Tools: Wear clean gloves and use sanitized scissors or a knife to reduce contamination during preparation and handling.
- Moisture Control: Keep a spray bottle nearby to maintain moisture without soaking the substrate or causing mushroom pins to develop.
- Monitoring Tools: Use a thermometer and humidity gauge to monitor growing conditions.
How to Grow Oyster Mushrooms in a Bucket Step By Step?
Growing oyster mushrooms in a bucket requires a few basic supplies, proper substrate preparation, clean handling, and the right conditions for healthy mushroom development.
Step 1: Gather the Supplies and Prepare the Bucket
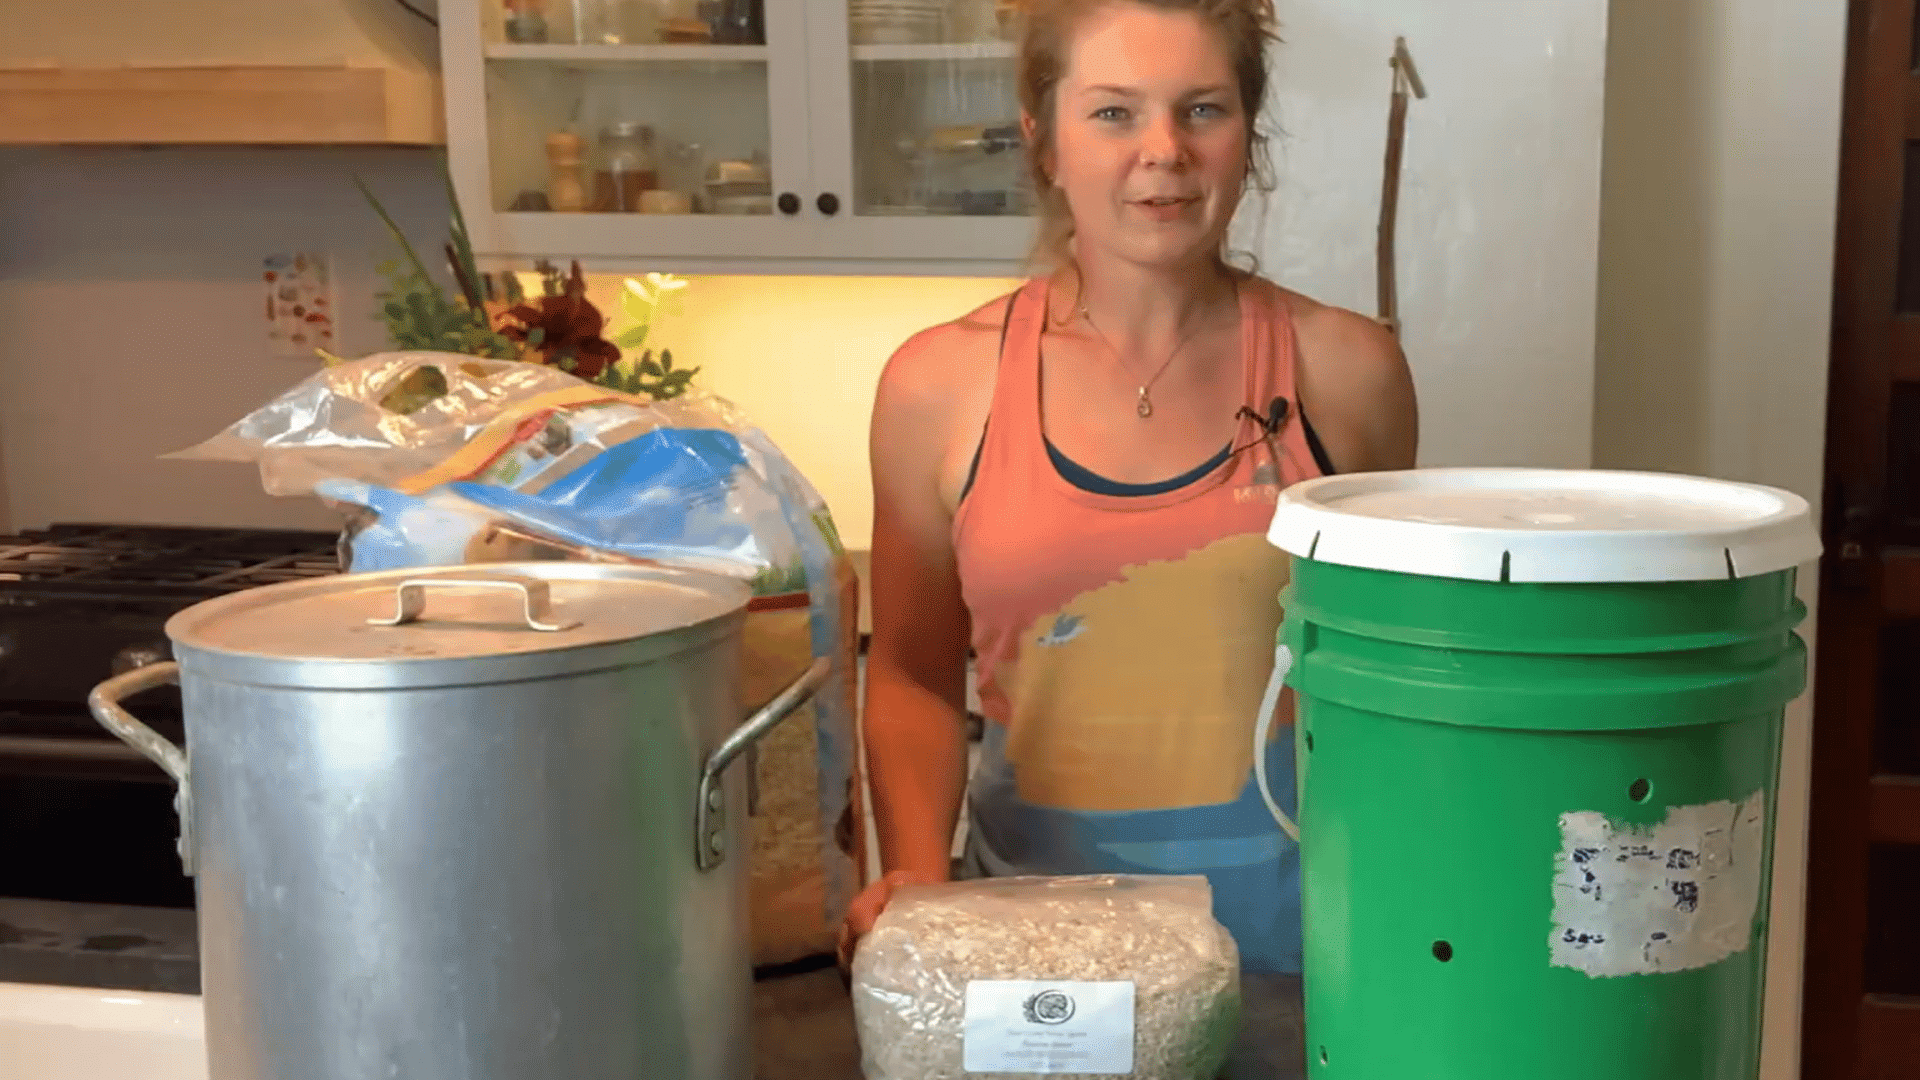
Collect a five-gallon bucket with a fitted lid, a 12-millimeter drill bit, a large cooking pot, aspen shavings, and oyster mushroom grain spawn.
Drill holes around the bucket in a diamond pattern, leaving about six inches between them.
These openings allow mushrooms to grow from the sides. A four-pound bag of grain spawn is enough for two buckets.
Step 2: Boil the Water and Measure the Shavings
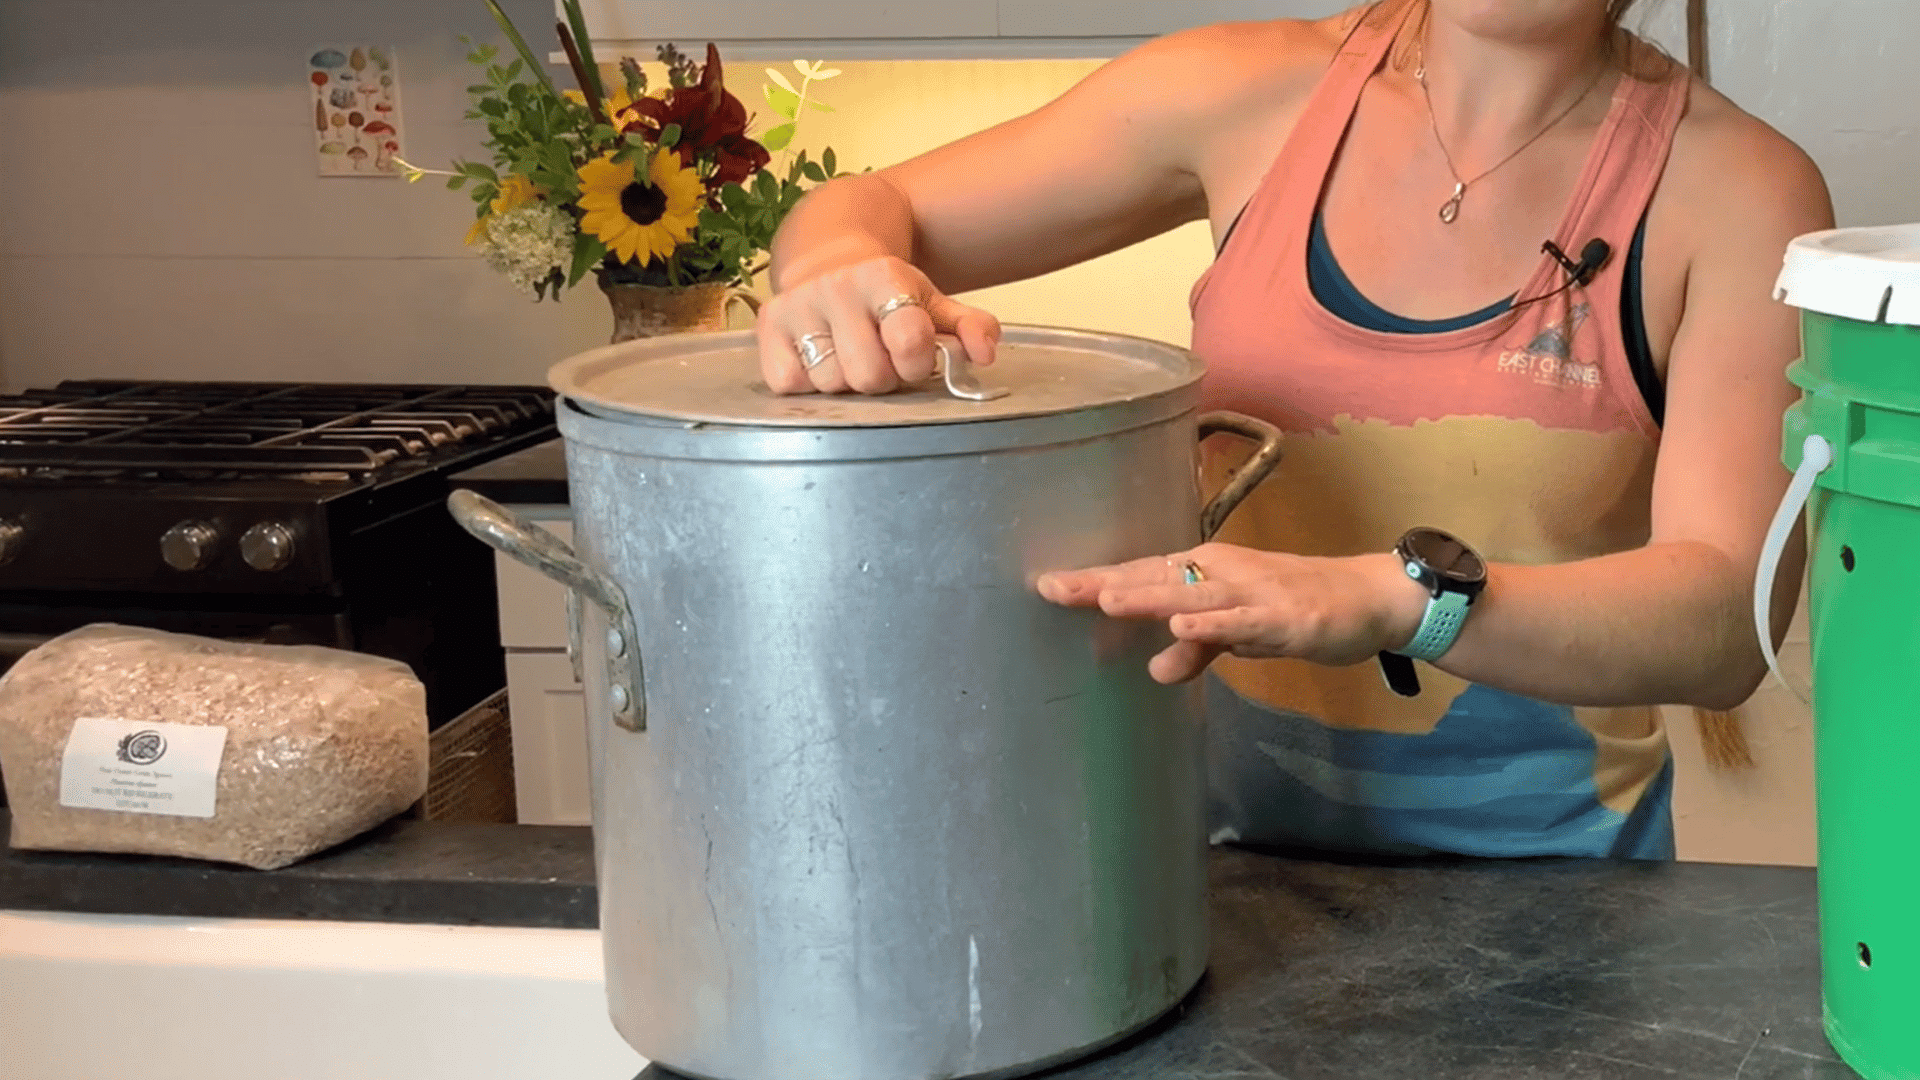
Fill a large pot with enough water to soak the aspen shavings, then bring it to a boil.
While the water heats, measure the substrate by loosely filling the growing bucket with shavings.
Stop slightly below the rim rather than packing the bucket completely. Two smaller pots work if all the shavings soak fully and evenly.
Step 3: Soak and Cool the Aspen Shavings
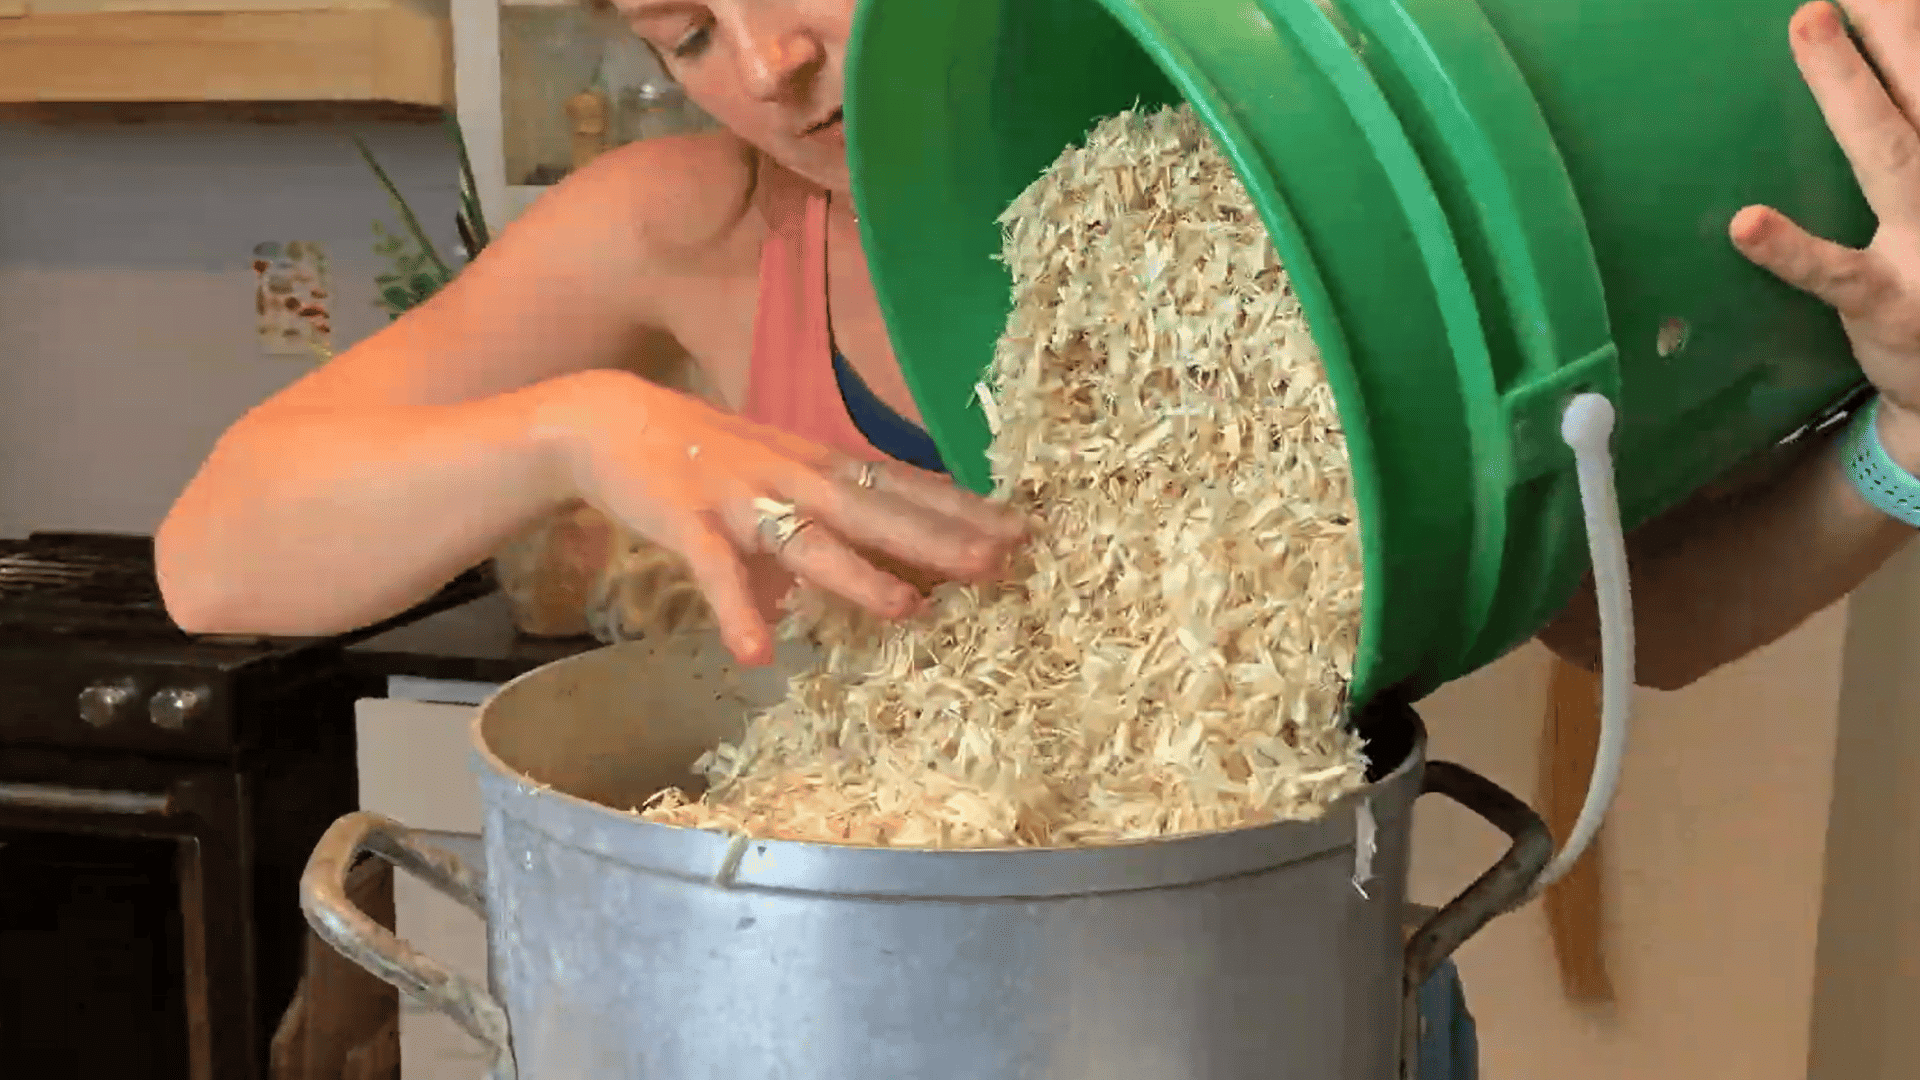
Once the water reaches a boil, carefully pour the measured aspen shavings into the pot.
Make sure the hot water reaches the entire batch so the material absorbs moisture evenly. Leave the shavings to soak and cool for at least eight hours.
A resting period of eight to twelve hours gives the substrate enough time to rehydrate before adding the mushroom spawn.
Step 4: Drain the Rehydrated Substrate
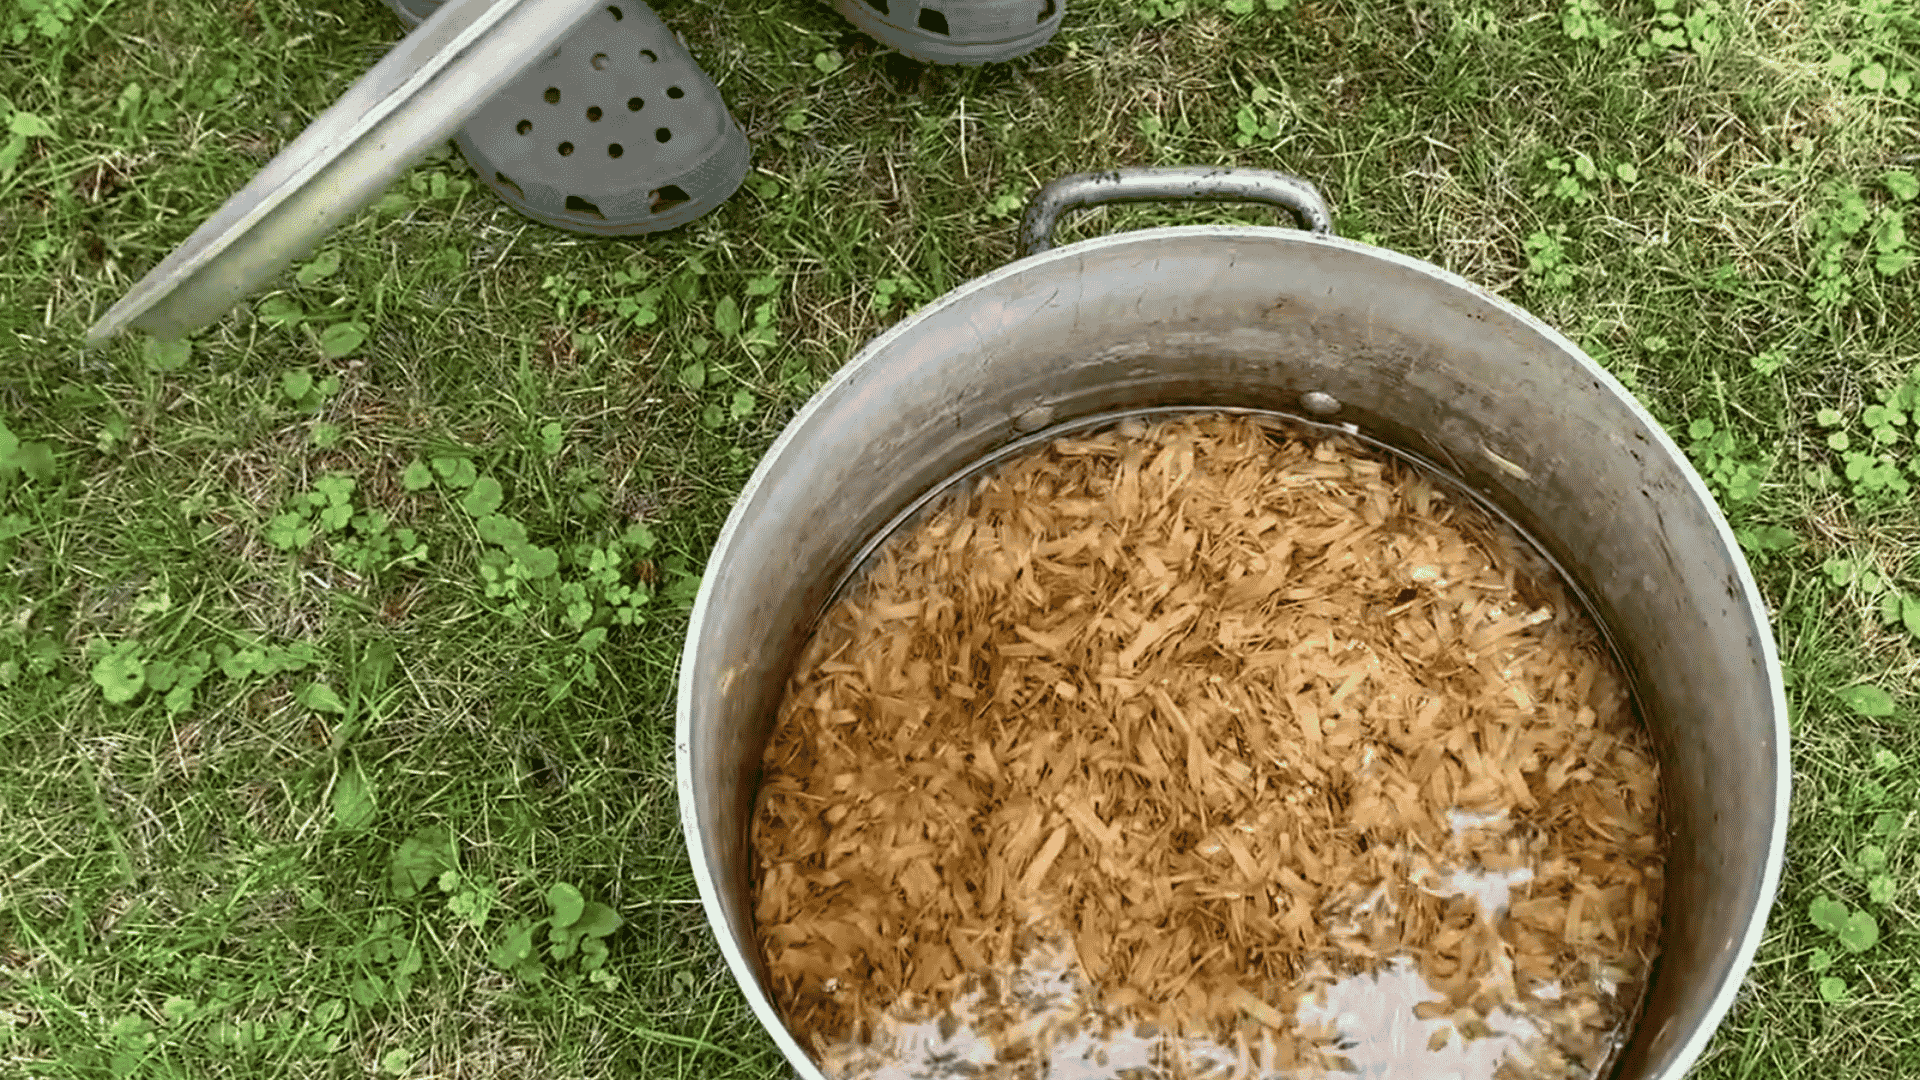
Drain all excess water after the shavings have cooled completely. Hold the pot lid slightly open while tipping the water away, keeping the substrate inside.
The shavings should remain damp but should not release streams of water when handled.
Proper drainage creates a moist growing environment while reducing the risk of bacterial growth and overly wet patches.
Step 5: Layer the Shavings and Grain Spawn
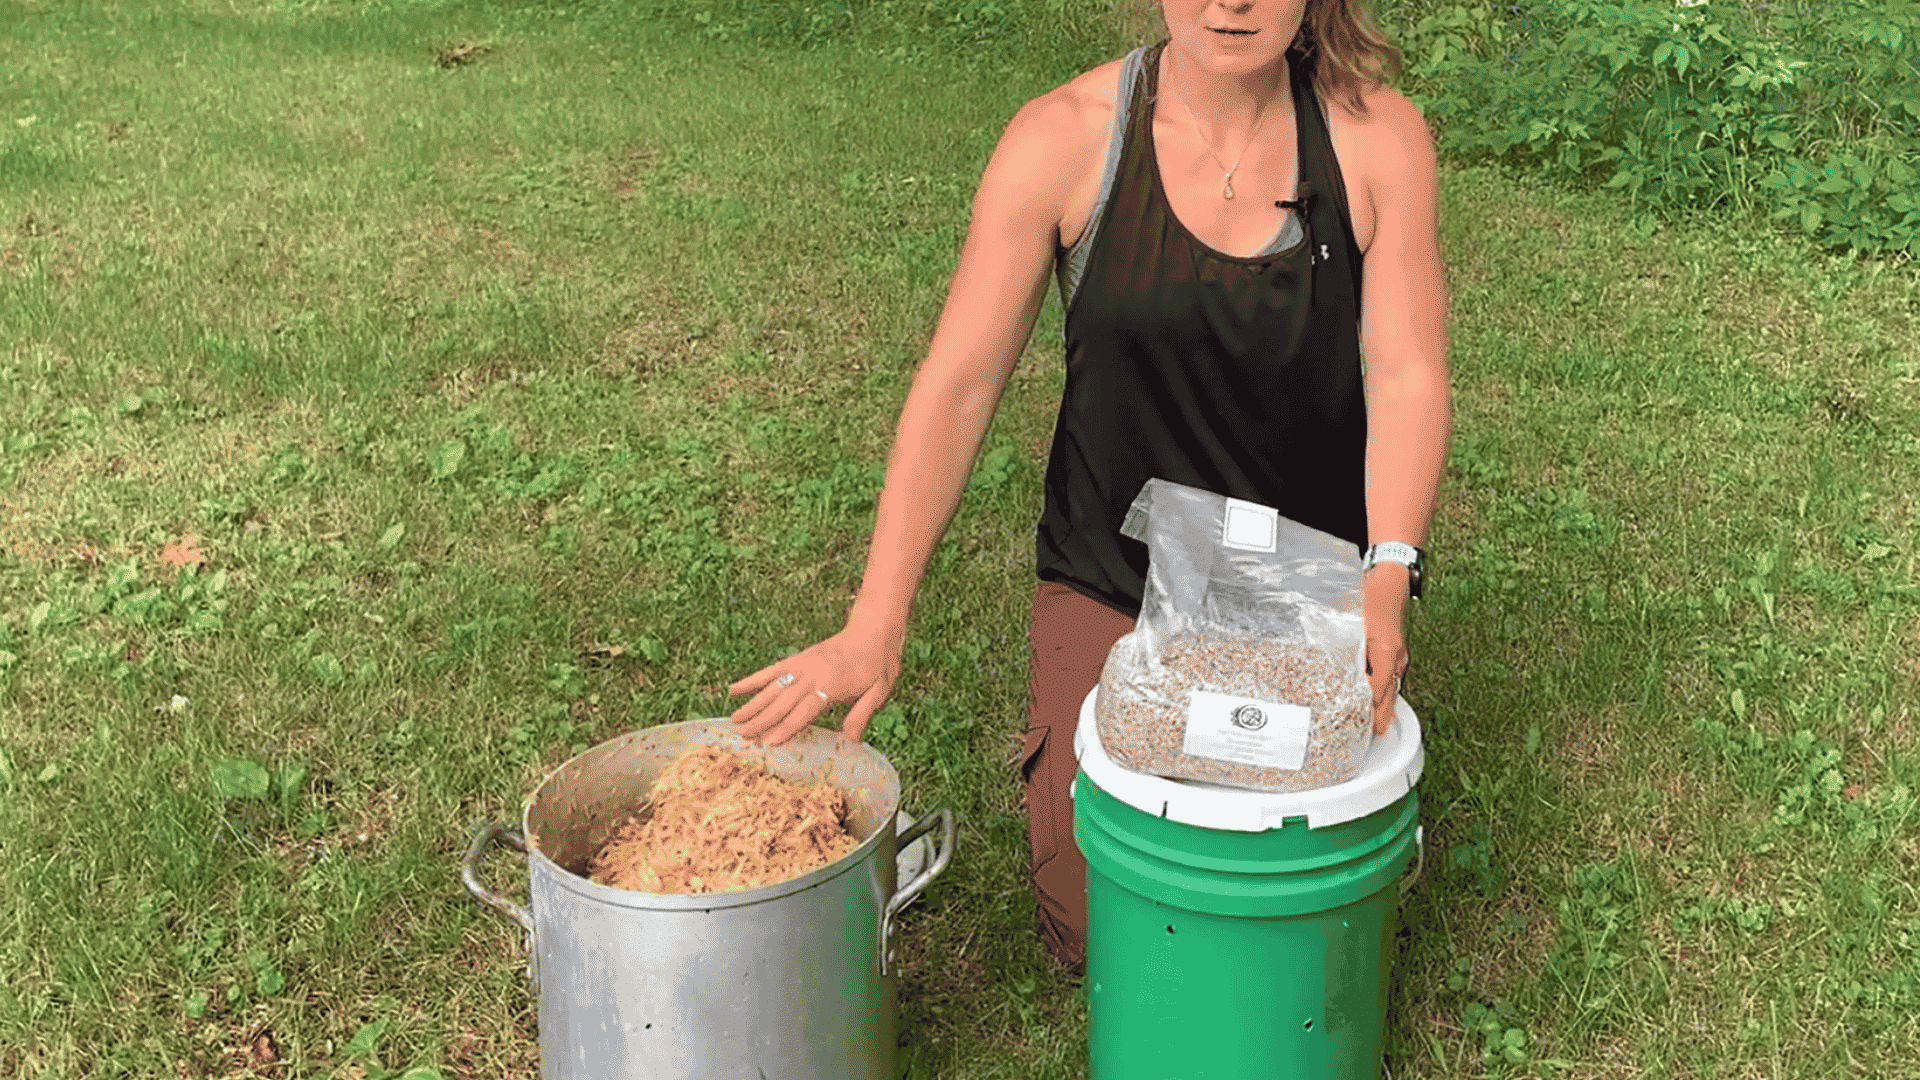
Wash and dry your hands thoroughly before safely touching the cooled substrate or oyster mushroom grain spawn.
Add roughly two inches of aspen shavings to the bucket, followed by a light, even layer of spawn.
Alternate layers until the bucket is nearly full, using two pounds of spawn and finishing with shavings.
Step 6: Cover the Bucket and Allow Colonization
Secure the lid firmly and place the filled bucket in a quiet indoor corner where it will not be moved or disturbed.
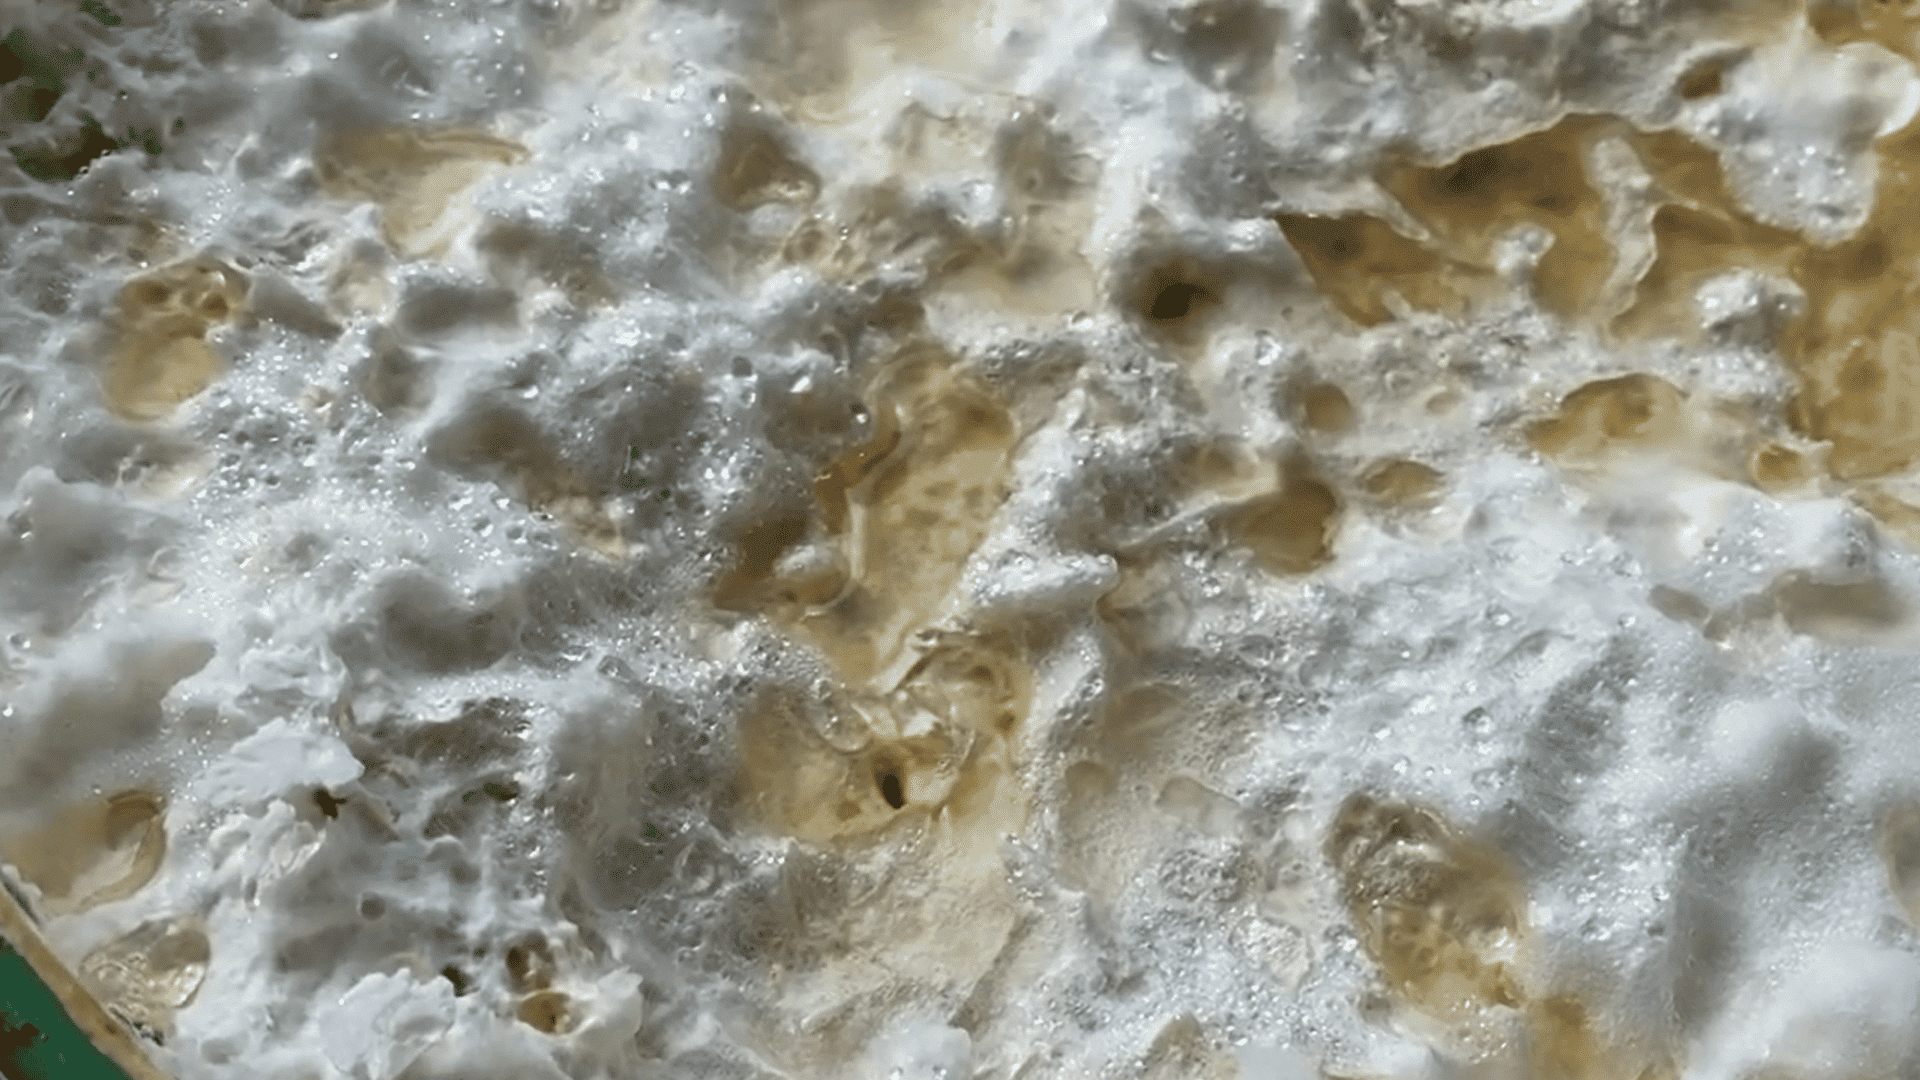
During colonization, oyster mushroom mycelium gradually spreads through the damp aspen shavings. Keep the bucket closed to reduce the risk of contamination.
Avoid opening the lid or checking the substrate unnecessarily until white mycelium fills the material and pins begin appearing.
Step 7: Move the Bucket and Grow the Mushrooms
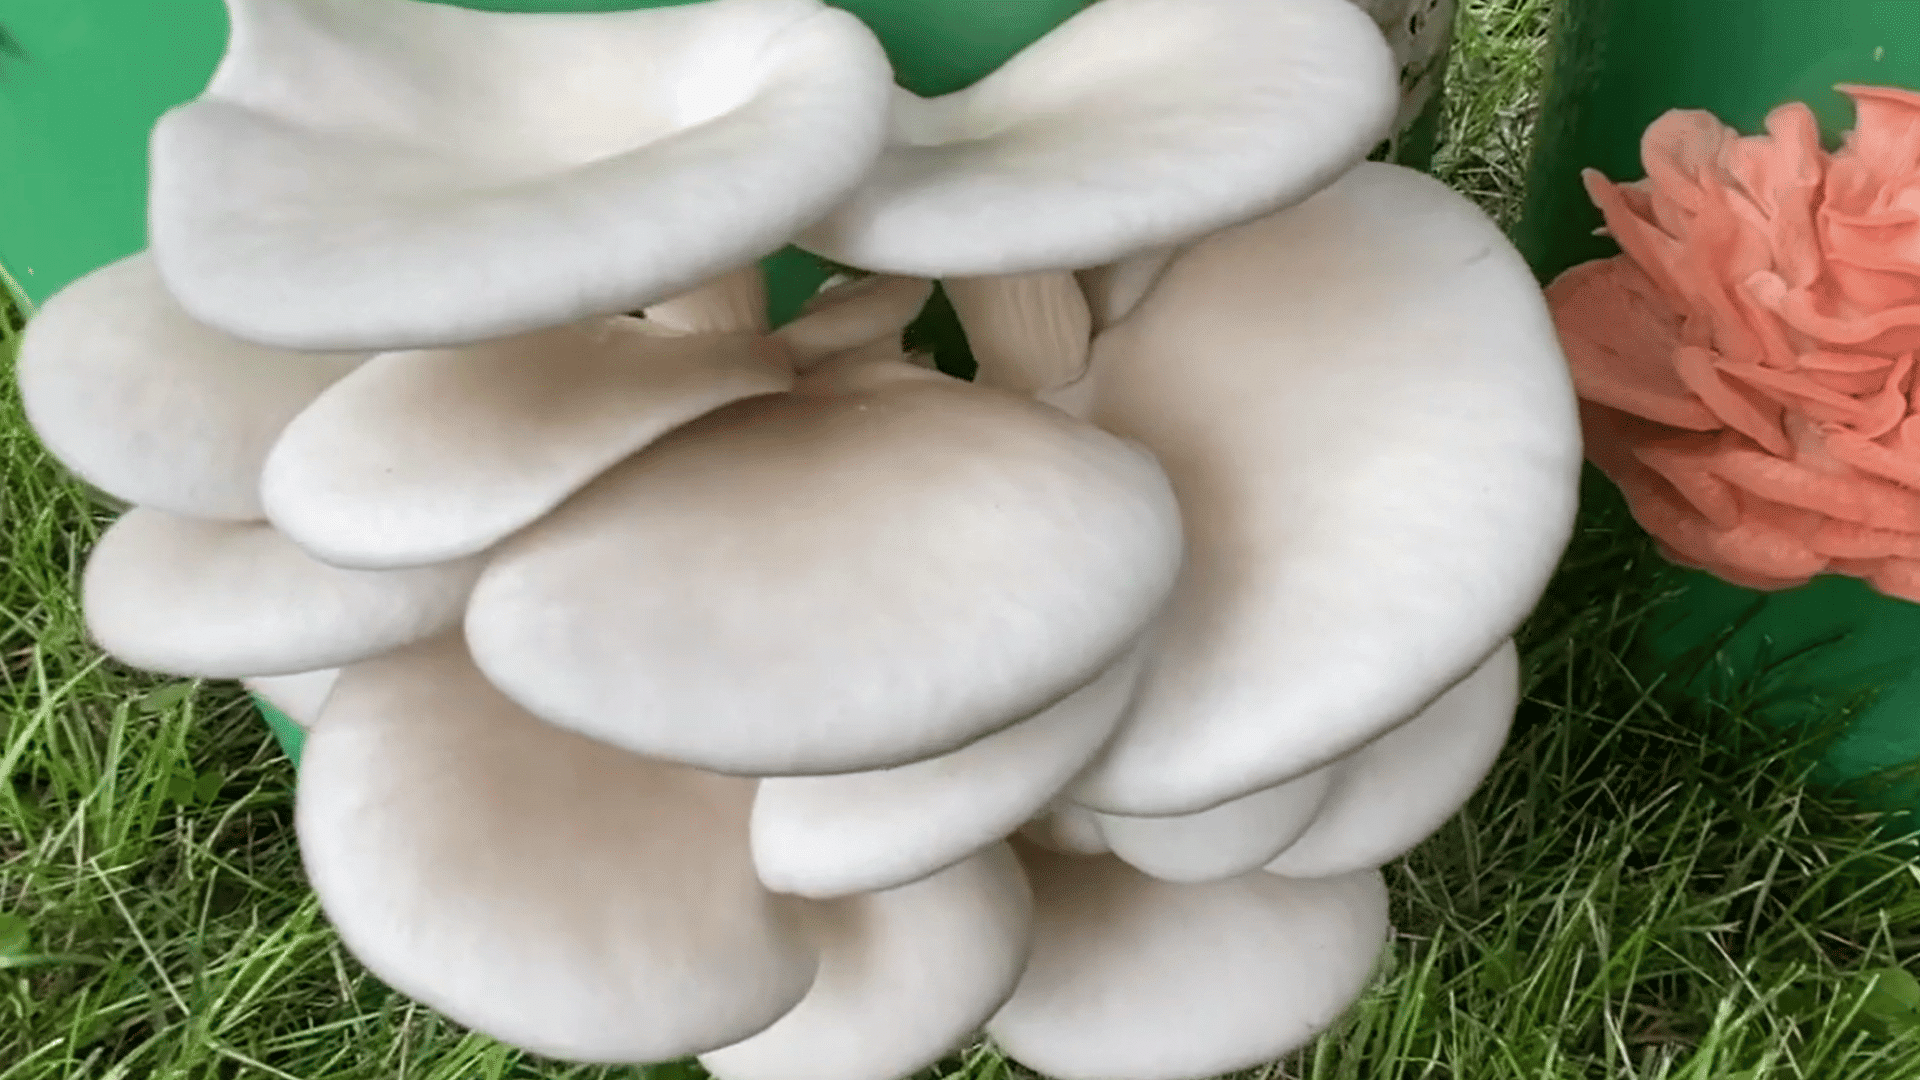
Check the bucket regularly and move it to indirect light with fresh airflow when mushroom pins appear.
Maintain suitable humidity so the developing mushrooms do not become dry or cracked.
Let each cluster expand, then harvest before the caps flatten completely or start releasing large amounts of spores.
These steps are inspired by a useful video from Field & Forest Products Mushrooms. You can watch the original tutorial on their YouTube channel here or view it below.
How to Use a Ready-to-Fruit Mushroom Kit?
A ready-to-fruit kit removes substrate preparation and offers a simpler starting method for home growers.
- Read the instructions: Read the supplier’s species-specific instructions before opening the kit, since setup and fruiting requirements can vary.
- Open and position: Cut or open the bag exactly as directed, then place the block in indirect light away from sunlight.
- Manage conditions: Mist the block as recommended, maintain humidity without standing water, and provide steady fresh airflow daily.
- Check and harvest: Check developing clusters daily and harvest at the supplier’s recommended stage before caps flatten or release heavy spores.
- Prepare another flush: Prepare the block for another flush by resting, soaking, or rehydrating it according to supplier instructions.
Note: Supplier directions should take priority because mushroom strains, block recipes, and fruiting requirements differ between kits.
Best Mushrooms to Grow at Home for Beginners
The best mushrooms to grow at home depend on the space available, the growing material, and how quickly a first harvest is expected.
| Factor | Oyster | Lion’s mane | Shiitake | Wine cap | Button, cremini, portobello |
|---|---|---|---|---|---|
| Method | Block or bucket | Fruiting block | Block or log | Garden bed | Growing kit |
| Substrate | Straw or pellets | Hardwood sawdust | Sawdust or logs | Wood chips | Compost |
| Difficulty | Easy | Easy to moderate | Moderate | Easy | Moderate |
| Colonization | 10 to 21 days | 2 to 4 weeks | 6 to 12 weeks* | 2 to 6 months | 2 to 3 weeks |
| Harvest | 2 to 4 weeks | 3 to 6 weeks | 2 to 4 months* | 3 to 12 months | 6 to 10 weeks |
| Location | Indoors | Indoors | Indoors or outdoors | Outdoors | Indoors |
NOTE : Oyster mushrooms are the most practical first choice because purchased spawn is widely available and works with kits, buckets, bags, straw, and hardwood substrates.
Other Easy Methods to Grow Mushrooms Indoors and Outdoors
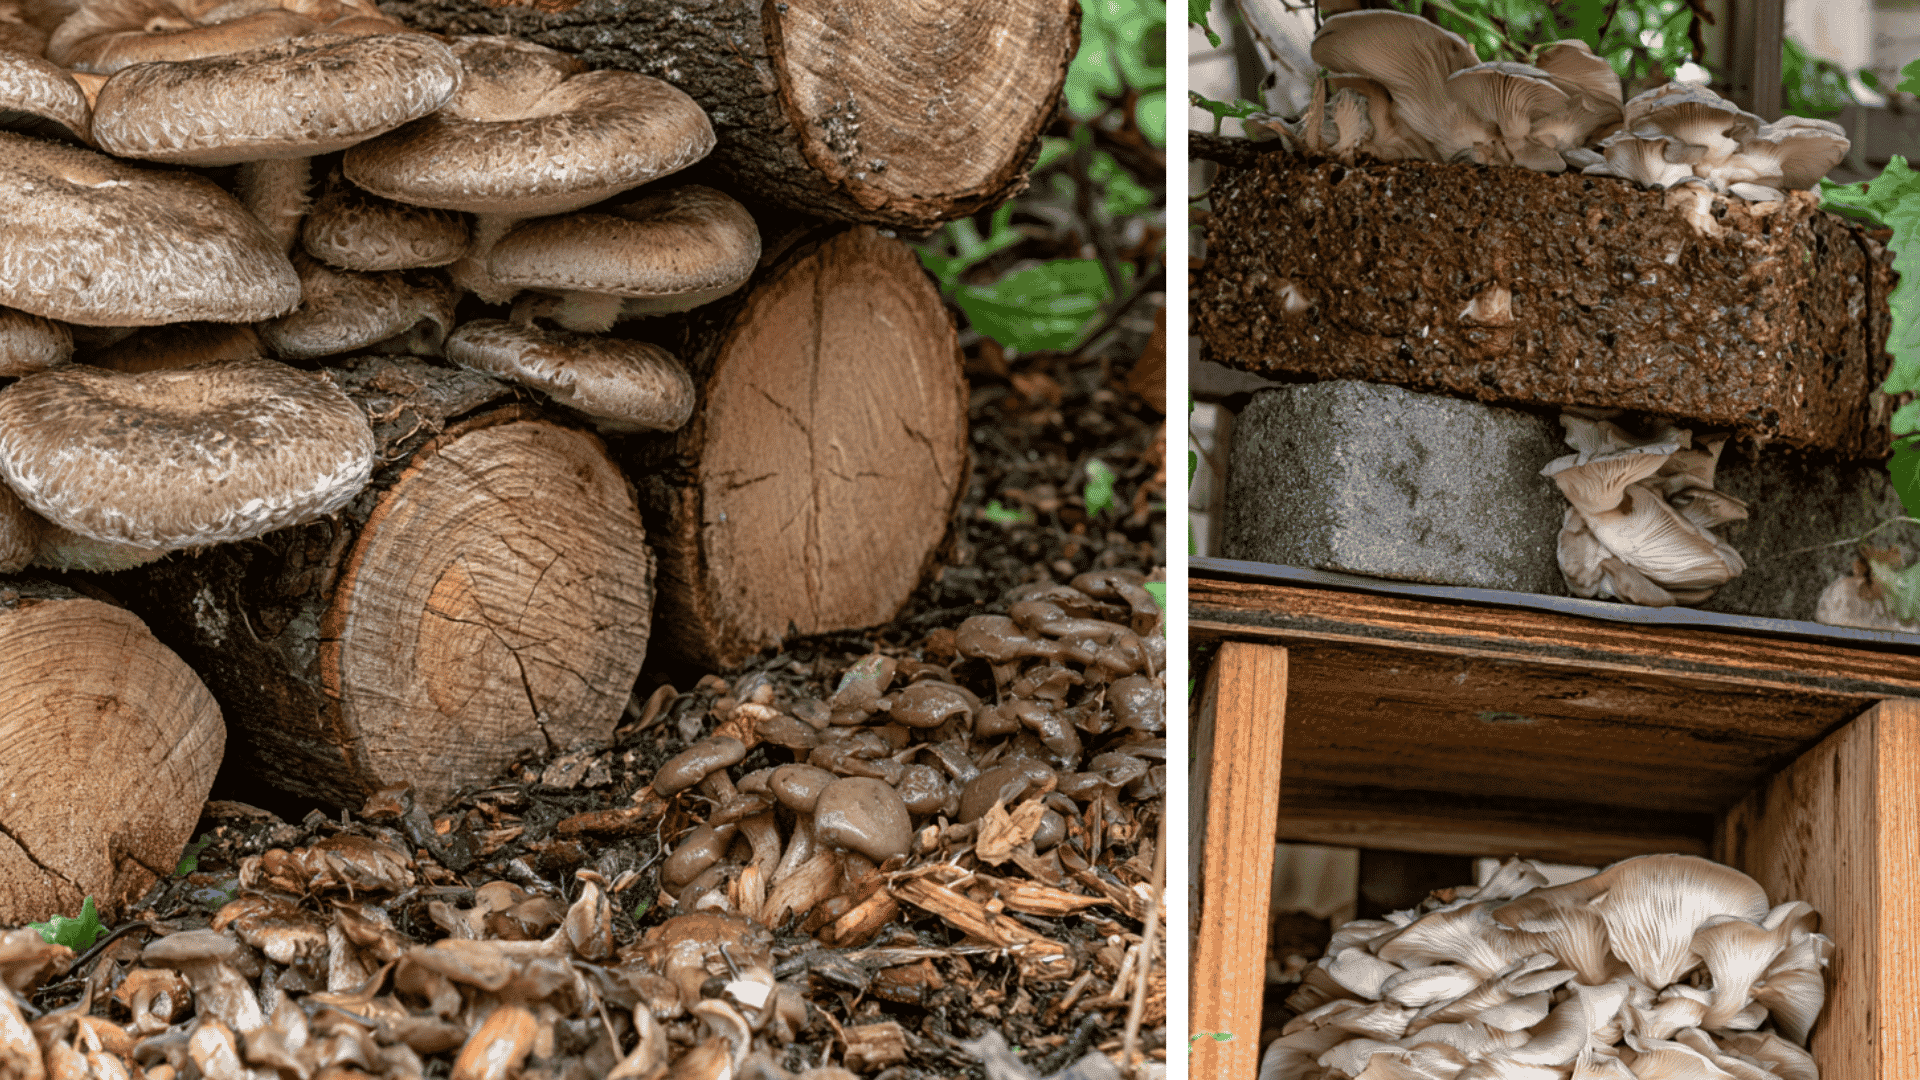
You can also try other beginner-friendly methods for growing mushrooms indoors or outdoors using simple materials and easy steps.
1. Grow Wine Cap Mushrooms in Wood Chips
Choose a partly shaded area with plain wood chips. Scatter wine cap spawn in small patches, then cover with moist chips.
Water whenever the surface begins to dry. The mycelium feeds on the wood as it breaks down.
Harvest may take several months or longer, so check the bed after rainfall and collect mushrooms before strong sunlight dries them.
2. Grow Shiitake Mushrooms on Hardwood Logs
Use freshly cut oak, maple, beech, or sweetgum logs measuring three to six inches in diameter and three to four feet long.
Drill one-inch-deep holes in a diamond pattern, spacing holes six inches apart along rows two to three inches apart.
Insert spawn, seal each hole with food-safe cheese wax, then allow 6 to 18 months before spring and fall fruiting.
3. Plant a Colonized Mushroom Block in a Garden Bed
Remove a fully colonized mushroom block from its bag and bury it in an existing garden bed. Cover the block with soil and add mulch to retain moisture.
Choose a shaded bed or place the block near taller vegetables. Add shade cloth if needed. Water it during normal garden care.
Spent mushroom blocks may also support garden productivity by adding organic matter to the soil as they break down.
4. Grow Fruiting Blocks in an Indoor Mushroom Tent
Place fully colonized fruiting blocks on shelves inside a small greenhouse-style tent.
Connect a humidifier and exhaust fan, cut each block as directed, and monitor pins, humidity, and airflow.
Harvest mature clusters before heavy spore release. Clean the tent regularly. Keep each block for another flush or bury the spent block outdoors.
5. Grow King Oyster Mushrooms on Recycled Cardboard
Remove tape, labels, plastic, glossy coatings, and heavily printed parts from plain cardboard. Tear it into pieces and boil it for twenty minutes.
Cool the cardboard in a clean tub and squeeze out extra water. Layer it with king oyster spawn inside a filter patch bag.
Seal the bag without blocking its filter. When the cardboard turns white, cut the bag and move it into humid fruiting conditions.
Which Mushroom Growing Method Should You Choose?
Choose a mushroom growing method based on available space, budget, patience, and the preferred indoor or outdoor setup.
| Mushroom Growing Method | Best For | Space Needed | Time to Harvest | Experience Level |
|---|---|---|---|---|
| Ready-to-Fruit Kit | Beginners who want a quick first harvest | Very little space | Short | Beginner |
| Five-Gallon Bucket | Growing oyster mushrooms repeatedly | Small indoor or sheltered area | A few weeks | Beginner |
| Grow Bag | Growing oyster, lion’s mane, or shiitake mushrooms | Shelf or small fruiting space | Varies by mushroom type | Beginner to Moderate |
| Monotub | Producing larger indoor harvests | Larger indoor growing area | Few weeks to two months | Moderate |
| Wood Chip Bed | Growing wine cap mushrooms outdoors | Shaded garden bed | Several months to a season | Beginner |
| Hardwood Log | Growing shiitake or oyster mushrooms outdoors | Shaded yard space | Many months | Moderate |
How Long Does It Take to Grow Mushrooms at Home?
Growing mushrooms at home can take anywhere from a few days to several months, depending on the mushroom variety, growing method, and care provided.
Ready-to-fruit oyster mushroom kits are the quickest option and may produce a harvest within 7 to 14 days. Oyster mushrooms grown in straw buckets usually take around 3 to 5 weeks, while shiitake blocks need several weeks before harvesting.
Outdoor methods require more patience, with wine cap beds taking 2 to 6 months and shiitake logs sometimes needing 6 to 18 months.
Maintaining proper moisture, airflow, temperature, and humidity helps mushrooms grow successfully.
Common Mistakes to Avoid While Growing Mushrooms
Avoiding mushroom cultivation mistakes protects the substrate, supports healthy mycelium, and improves the likelihood of a successful harvest.
- Wrong Substrate: Using the wrong growing material can prevent mycelium from getting the nutrients it needs to grow and produce mushrooms.
- Warm Substrate: Adding mushroom spawn before the substrate cools completely can damage or kill the mycelium.
- Excess Water: Too much moisture reduces airflow and creates conditions that encourage bacteria and mold growth.
- Limited Airflow: Poor ventilation increases carbon dioxide levels, leading to weak stems and poorly developed mushroom caps.
- Contamination: Unclean tools or growing areas can introduce mold and other organisms that compete with mushroom growth.
- Late Harvesting: Waiting too long to harvest can affect mushroom texture, flavor, and overall quality.
Harvesting and Storing Homegrown Mushrooms
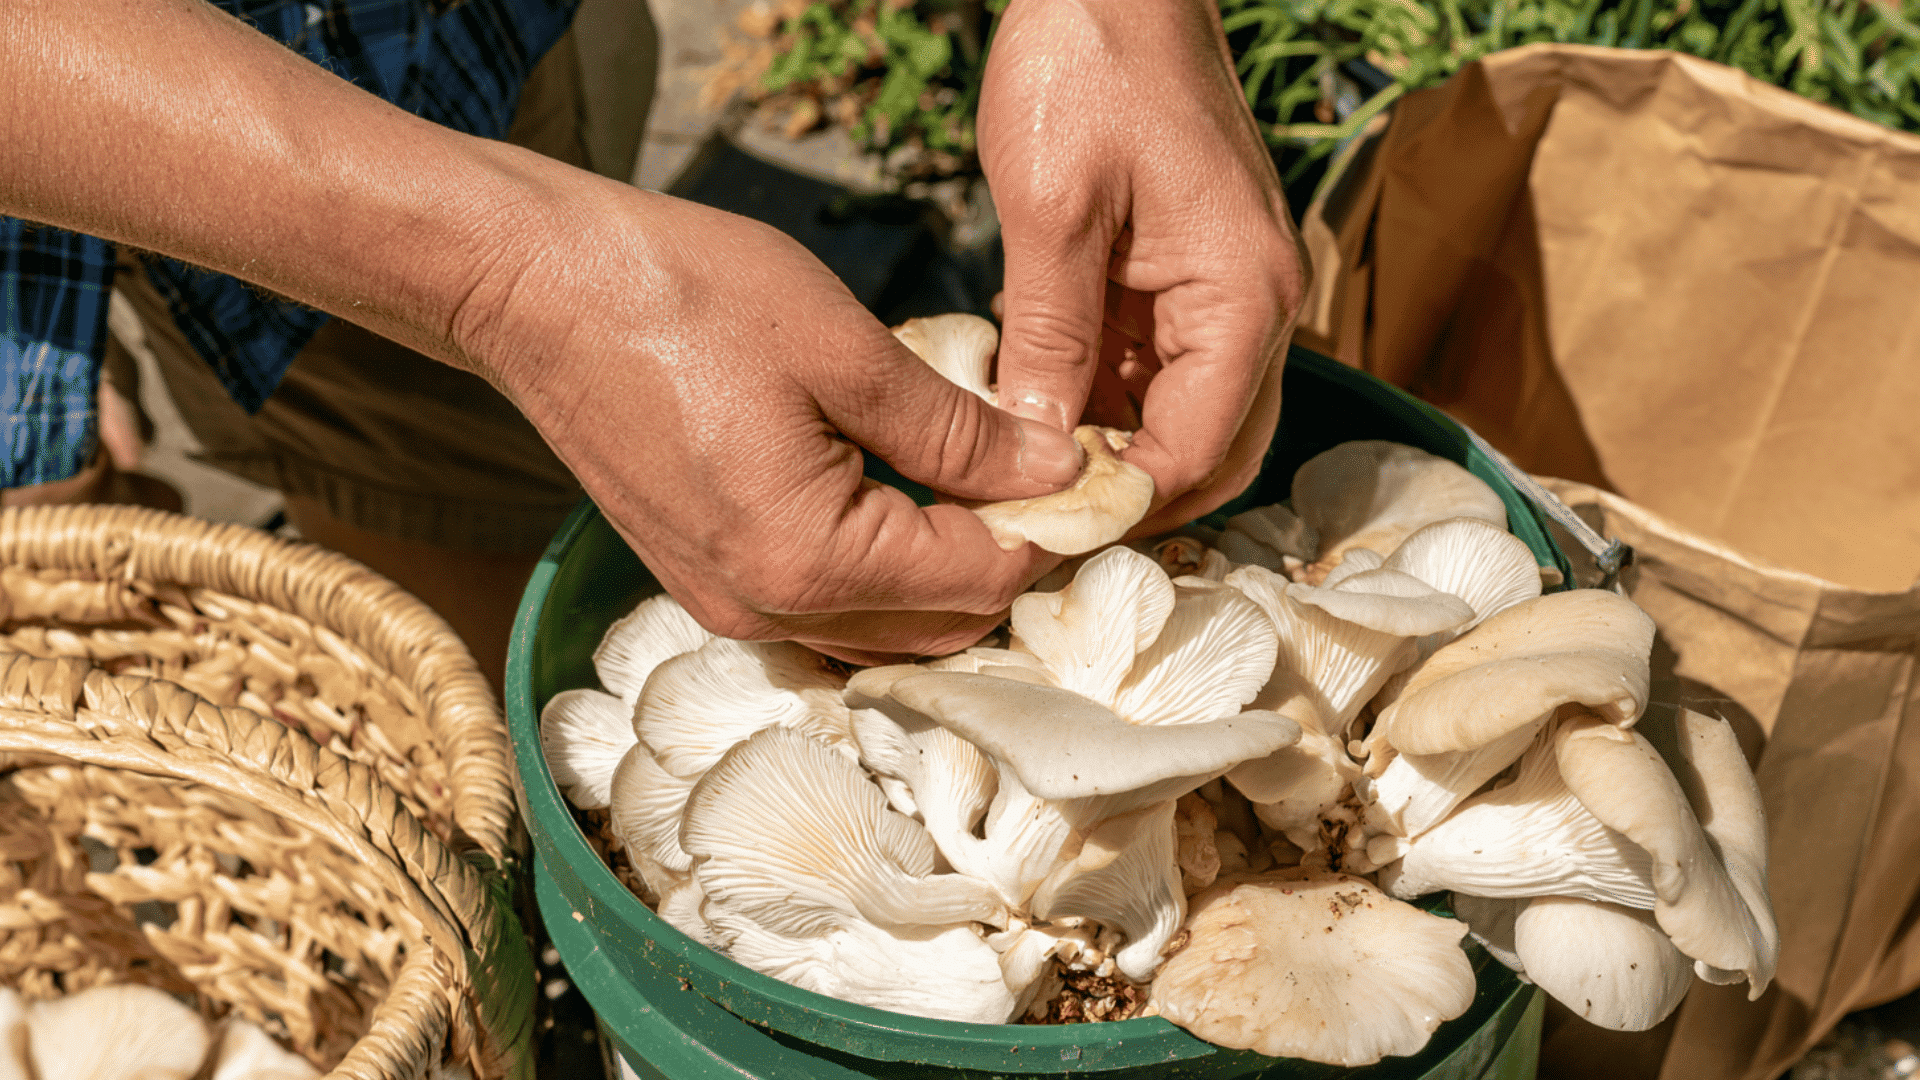
Harvesting mushrooms at the right stage helps preserve their flavor, texture, and freshness. Pick them while they are firm and mature, before caps become too large, flatten completely, or release heavy amounts of spores.
Signs of readiness vary by type, such as flattened oyster mushroom caps, longer lion’s mane teeth, or slightly curled shiitake edges.
Use a clean knife to remove mushrooms from the substrate and avoid damaging the growing area. Store unwashed mushrooms in a paper bag or breathable container in the refrigerator to reduce moisture buildup.
Clean them only before cooking, and discard mushrooms with mold, slime, decay, or unusual odors. Never eat unidentified outdoor mushrooms.
Final Thoughts
Learning how to grow mushrooms at home starts with one species, one suitable substrate, and a little patience.
I recommend beginning with oyster mushrooms because they grow quickly and work well in kits, buckets, straw, or cardboard.
Keep the substrate moist, provide fresh air and indirect light, and watch closely for changes in color, smell, or growth.
The first crop may teach more than any guide, so record what works and adjust the next batch.
Choose your growing method today, gather the supplies, and start preparing your first homegrown mushroom crop.
Frequently Asked Questions
Is It Legal to Grow Edible Mushrooms at Home?
Generally, growing common edible mushrooms at home is legal in the United States. Local rules may apply if you grow mushrooms for sale.
Do Mushrooms Grow Back After Harvesting?
Many colonized blocks produce additional flushes after harvesting. Continue providing moisture and fresh air, though each later crop may be smaller.
Can Mushrooms Be Grown Indoors Year Round?
Yes. A stable indoor setup with suitable temperature, humidity, fresh air, and indirect light can support mushroom production throughout the year.