This pretzel jello recipe is a classic dessert that shows up at holidays, potlucks, and family get-togethers for a reason.
It has everything in one dish: a salty pretzel crust, a creamy middle layer, and a bright strawberry Jell-O topping with fresh strawberries. Even though it looks impressive, it’s simple to make when the steps are followed in the right order.
This blog covers the exact ingredients needed, the best way to keep the pretzel crust crunchy, and clear step-by-step instructions for building each layer.
It also includes common mistakes to avoid, storage tips, and easy variations for trying other flavors once the strawberry version is mastered.
What Is Pretzel Jello Salad?
Pretzel jello salad is a cold, layered dessert that mixes crunchy, creamy, and fruity in one bite. The bottom is a baked pretzel crust made with crushed pretzels, butter, and a little sugar, so it tastes salty-sweet and stays firm.
The middle layer is a smooth cream cheese filling, usually mixed with whipped topping, which gives it a light and fluffy feel.
The top layer is strawberry gelatin that sets into a bright red finish, and you can add sliced strawberries for extra flavor and texture.
Strawberry is the most popular choice because it tastes fresh, looks pretty on the table, and pairs perfectly with the creamy layer.
Strawberry Pretzel Jello Recipe (Step-by-Step Instructions)
This strawberry pretzel jello recipe is easy to follow and layered for the best texture: a crunchy crust, a creamy center, and a fruity strawberry topping.
Serves: 12
Prep Time: 30 Mins + 4 Hrs Chilling
Ingredients You’ll Need
- Pretzels (crushed): 2 cups (about 4–5 oz / 120–140g)
- Unsalted butter (melted): 3/4 cup (12 tbsp / 170g)
- Granulated sugar: 3 tbsp (for crust) + 1 cup (200g) (for filling)
- Cream cheese (softened): 8 oz (225g)
- Whipped topping (thawed): 8 oz (about 3 cups / 225g)
- Strawberry gelatin (Jell-O): 6 oz (two 3-oz boxes / 170g)
- Boiling water: 2 cups (480ml)
- Cold water: 2 cups (480ml)
- Fresh strawberries (sliced): 2 cups (about 10–12 oz / 300–340g)
Step 1: Making the Pretzel Crust
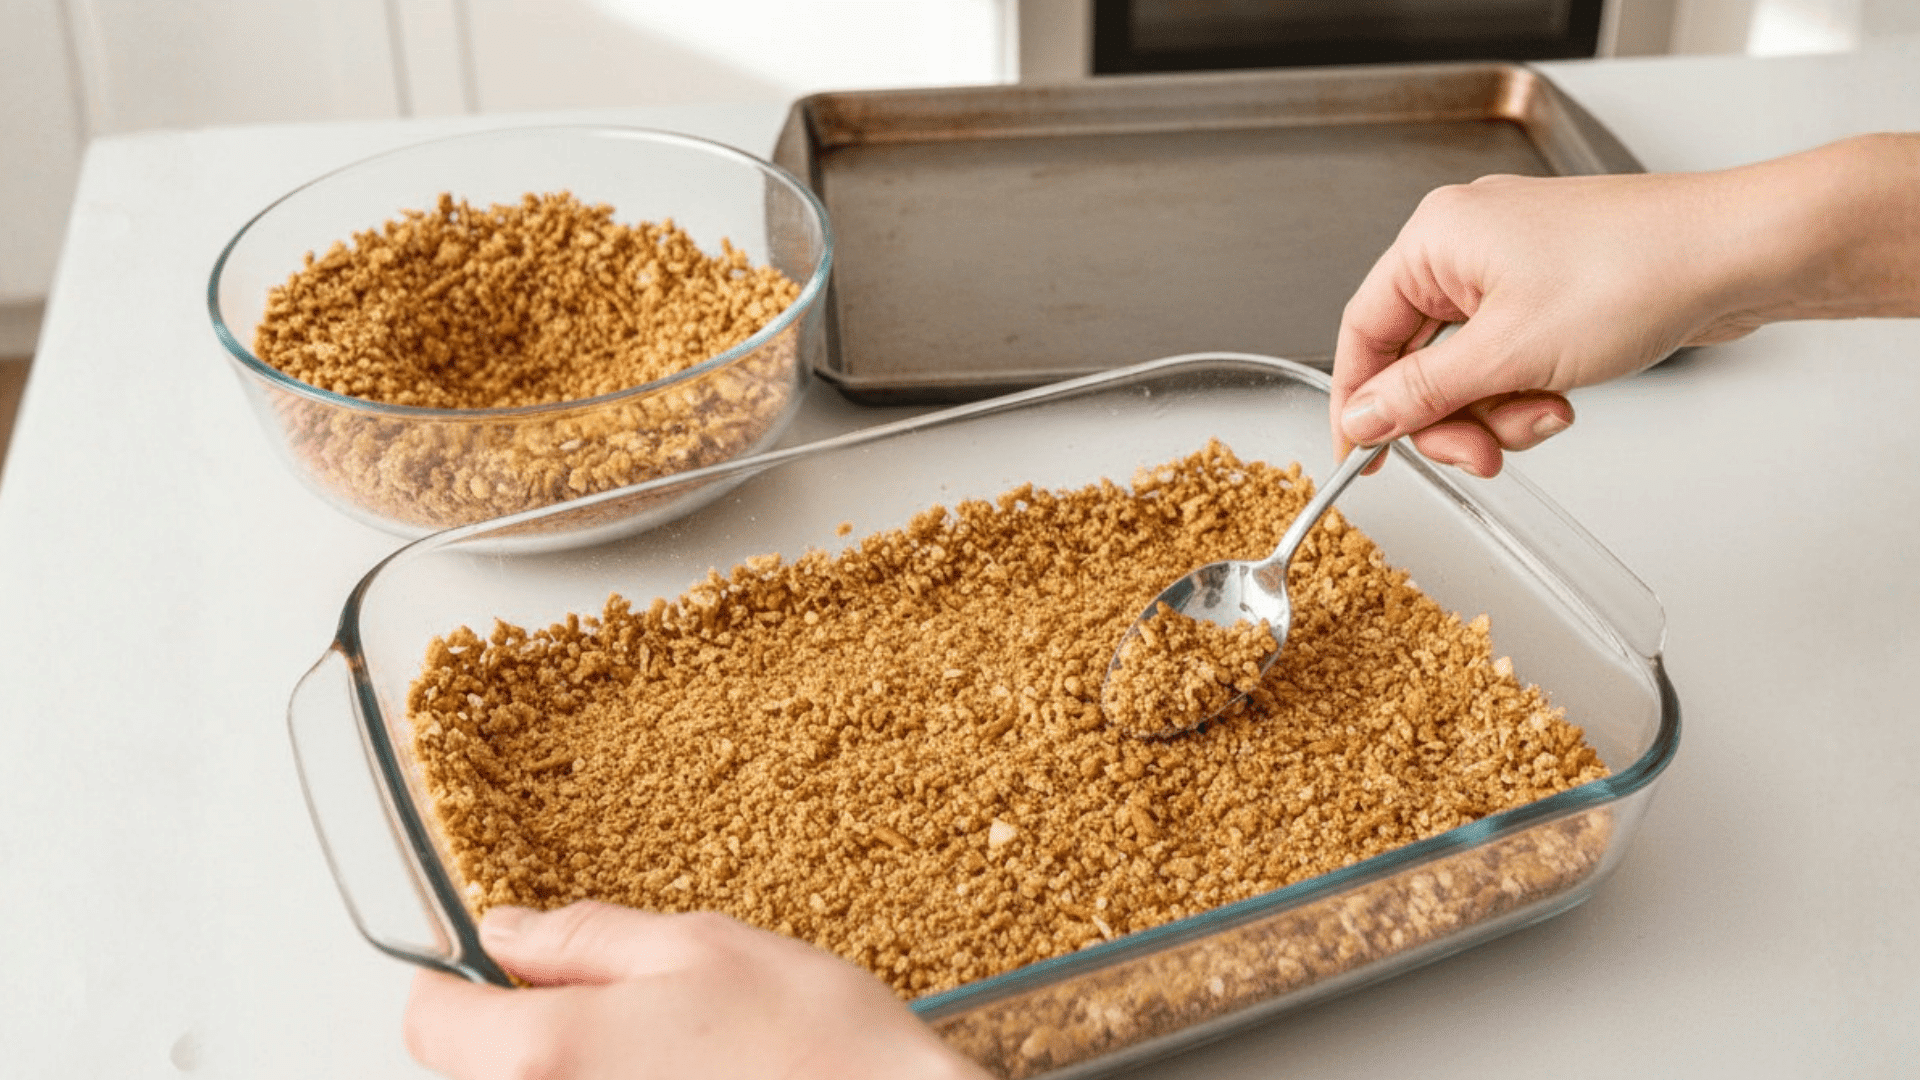
Crush pretzels into small pieces (not powder). Mix with melted butter and 3 tbsp sugar, then press firmly into a 9×13-inch pan to form an even layer.
Bake at 350°F for 10 minutes. Let it cool completely before adding the creamy layer, or it may melt and turn runny.
Step 2: Cream Cheese Layer
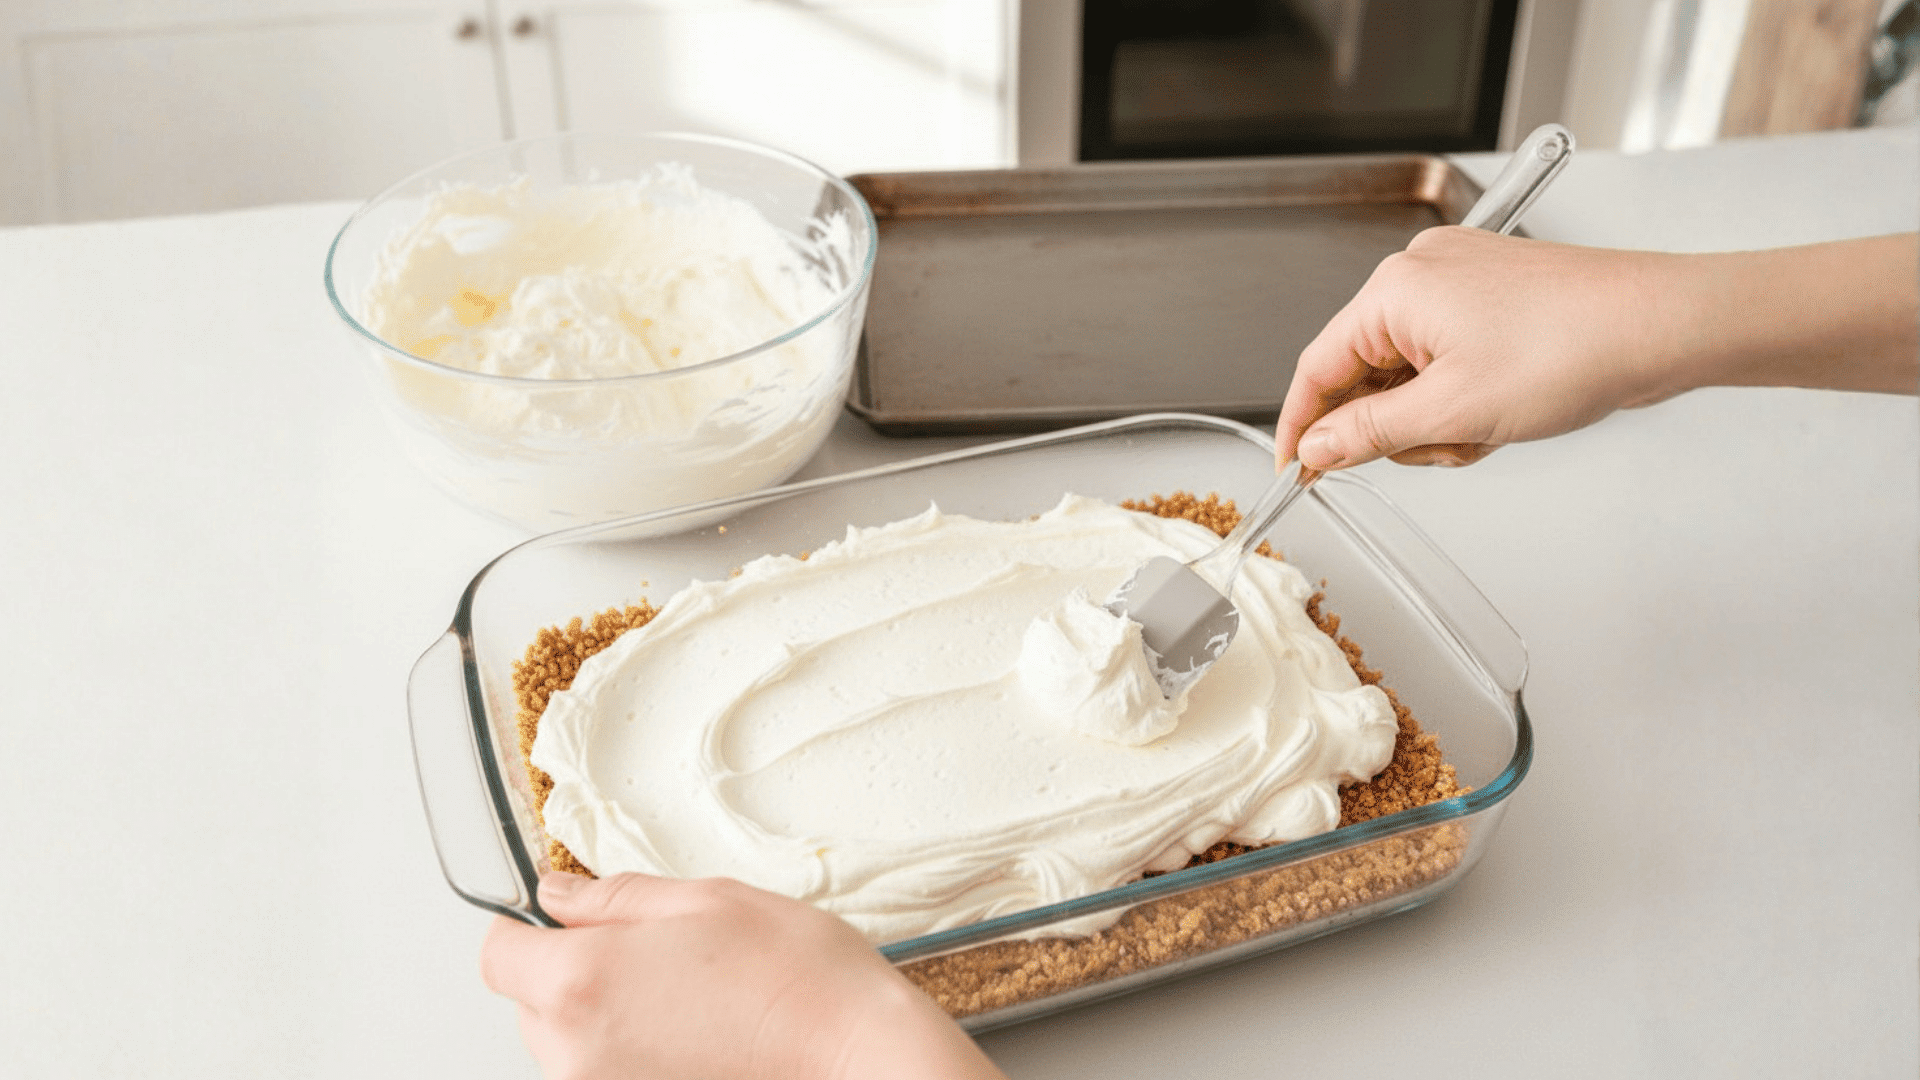
Beat softened cream cheese with 1 cup sugar until smooth and fluffy, with no lumps. Fold in whipped topping gently so it stays light and airy.
Spread the mixture evenly over the cooled crust, pushing it all the way to the pan edges to fully seal it. This helps stop the jello from soaking in and making the crust soggy.
Step 3: Strawberry Jello Layer
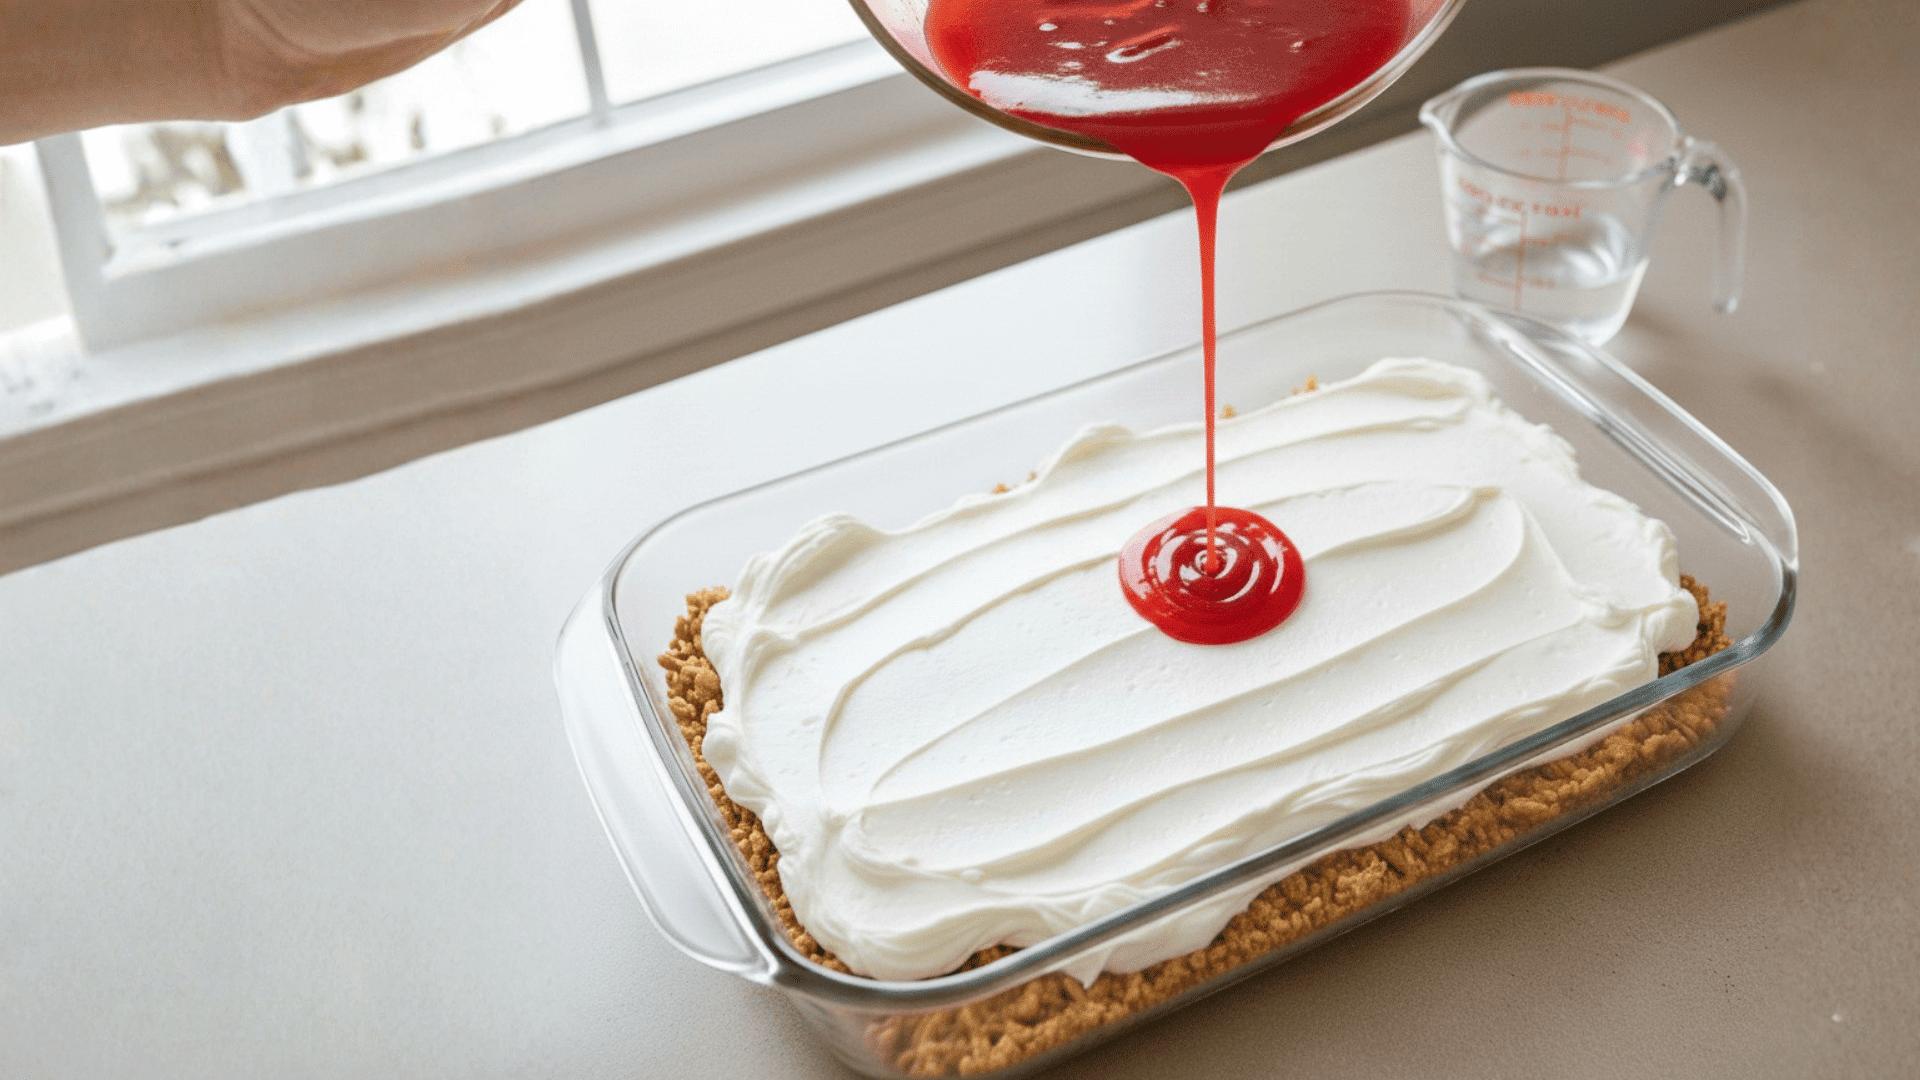
Dissolve strawberry gelatin in 2 cups of boiling water, stirring until it turns fully clear with no grains. Add 2 cups of cold water and let it cool until slightly thickened (not set).
Stir in the sliced strawberries, then gently pour over the cream layer. Chill in the fridge until firm, glossy, and easy to slice.
Step 4: Chilling and Serving
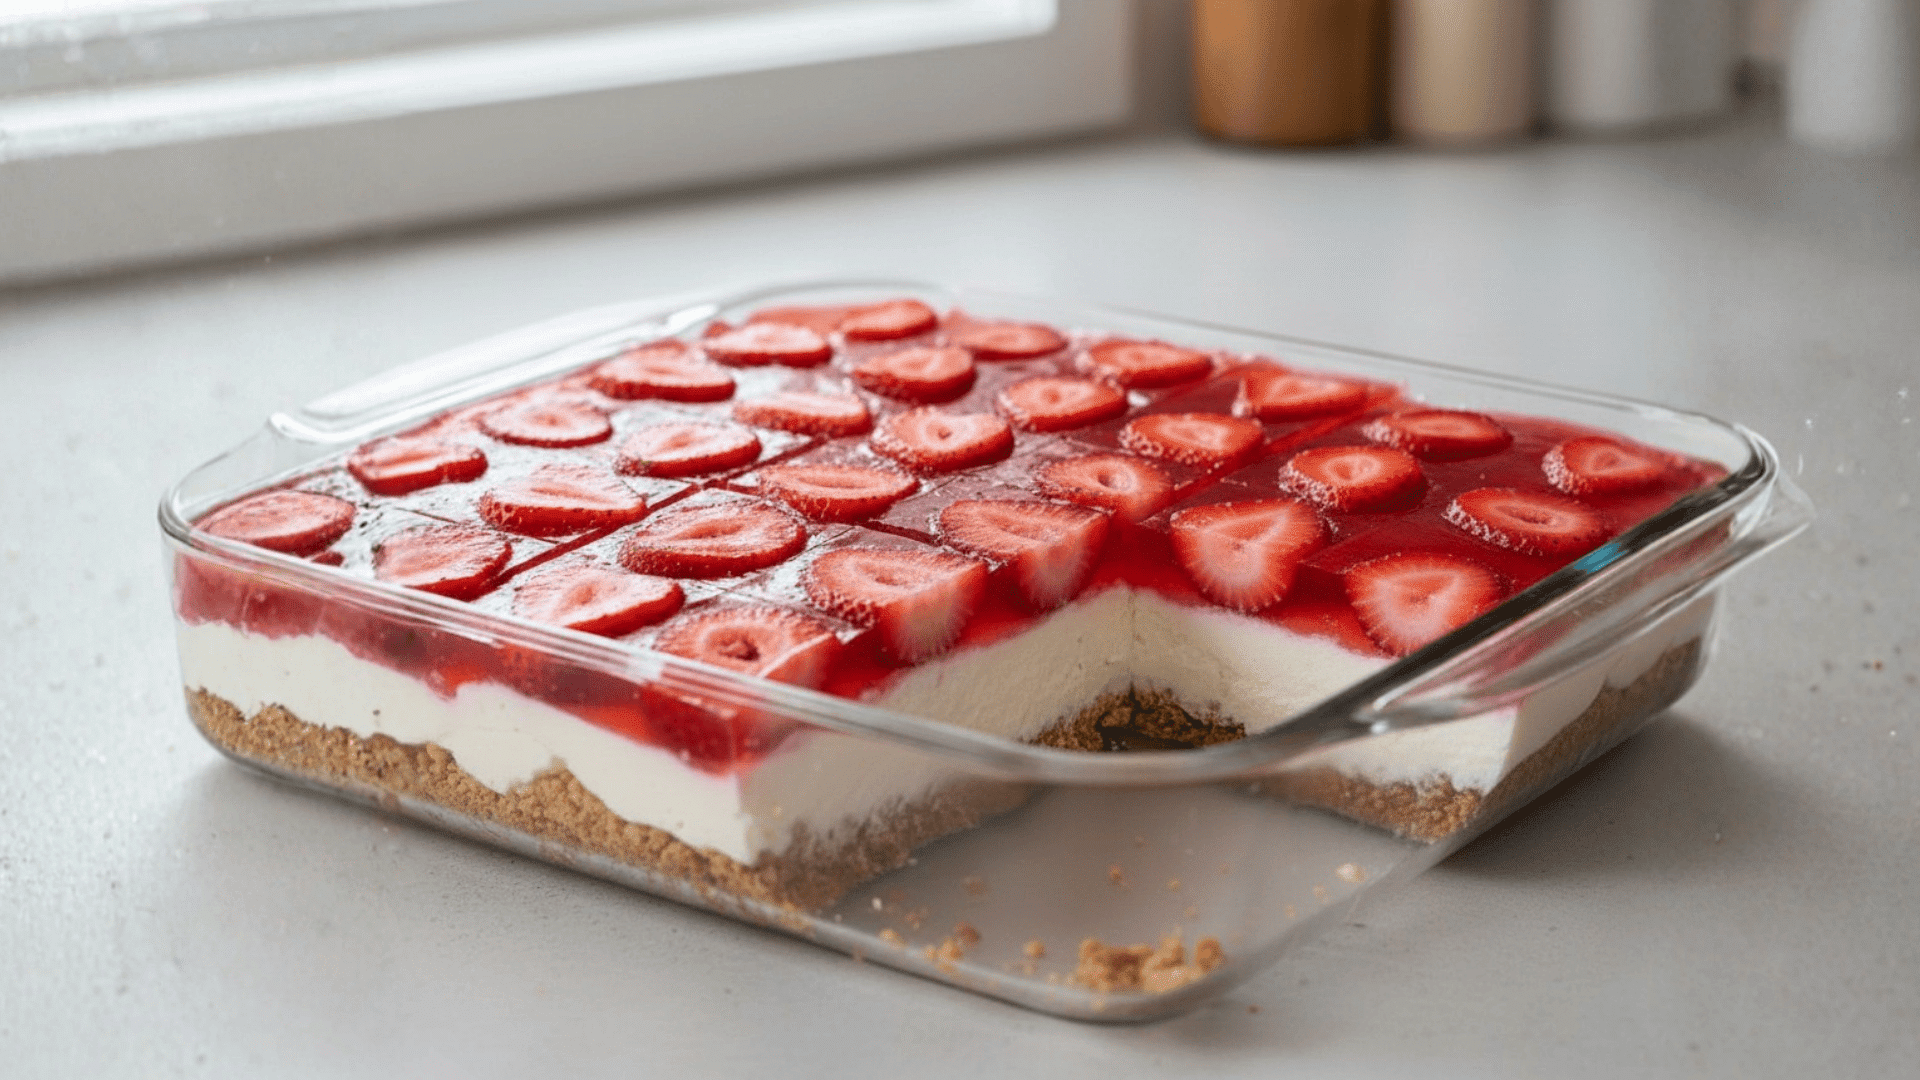
Place the dish in the refrigerator and chill for at least 4 hours, or until the gelatin layer is fully set and firm. For best results, let it chill overnight so the layers hold their shape.
Once ready, slice into clean squares with a sharp knife. Serve cold for the best texture, clear layers, and refreshing strawberry flavor.

Tips for the Perfect Pretzel Jello Recipe
These quick tips help your pretzel jello recipe set cleanly, stay crunchy, and slice beautifully, especially when you’re making the classic strawberry version.
- Keep the crust crunchy: Bake the pretzel crust, then let it cool completely before adding the filling. Press firmly so it holds together and doesn’t crumble.
- Stop jello from leaking: Spread the cream layer completely to the edges, sealing every gap. Let it set before pouring cooled jello to avoid seepage.
- Use the right pan size: A 9×13-inch pan gives even layers and clean slices. Glass pans work great because you can see the layers and thickness.
- Cool jello before pouring: Let the strawberry jello cool until slightly thick, not warm. Warm jelly can melt the cream layer and ruin the sharp layers.
- Avoid common mistakes: Don’t crush pretzels into dust, don’t rush chilling, and don’t pour jello too soon. Patience gives the prettiest, firmest dessert.
Follow these tips and your strawberry pretzel jello salad will look neat, taste balanced, and impress everyone.
Strawberry Pretzel Jello Variations
If you love the classic pretzel jello recipe, these strawberry-focused twists help you match different needs without losing that sweet-salty crunch.
Try a no-bake version by chilling the crust longer instead of baking it, and pressing it firmly to hold its shape.
For a lighter option, use reduced-fat cream cheese, sugar-free strawberry gelatin, and a light whipped topping still creamy, just less heavy.
Need party-friendly servings? Make mini cups in clear plastic or glass so the layers look pretty and are easy to grab.
Want something extra fun? Turn it into a frozen strawberry pretzel dessert by freezing slices until firm, then letting them sit 5 minutes before serving.
Final Thoughts
Making this pretzel jello recipe doesn’t have to feel hard, and I hope this guide made it simple and stress-free.
From the crunchy pretzel crust to the creamy middle and the fruity strawberry top, every layer comes together beautifully when you follow the steps.
I shared tips, variations, and answers to common questions so you don’t feel stuck at any point. This strawberry pretzel jello salad works great for family dinners, parties, or even just a weekend treat.
If you try this recipe, let me know how it turned out, and feel free to share it with someone who loves easy desserts. Give it a try and enjoy every bite!