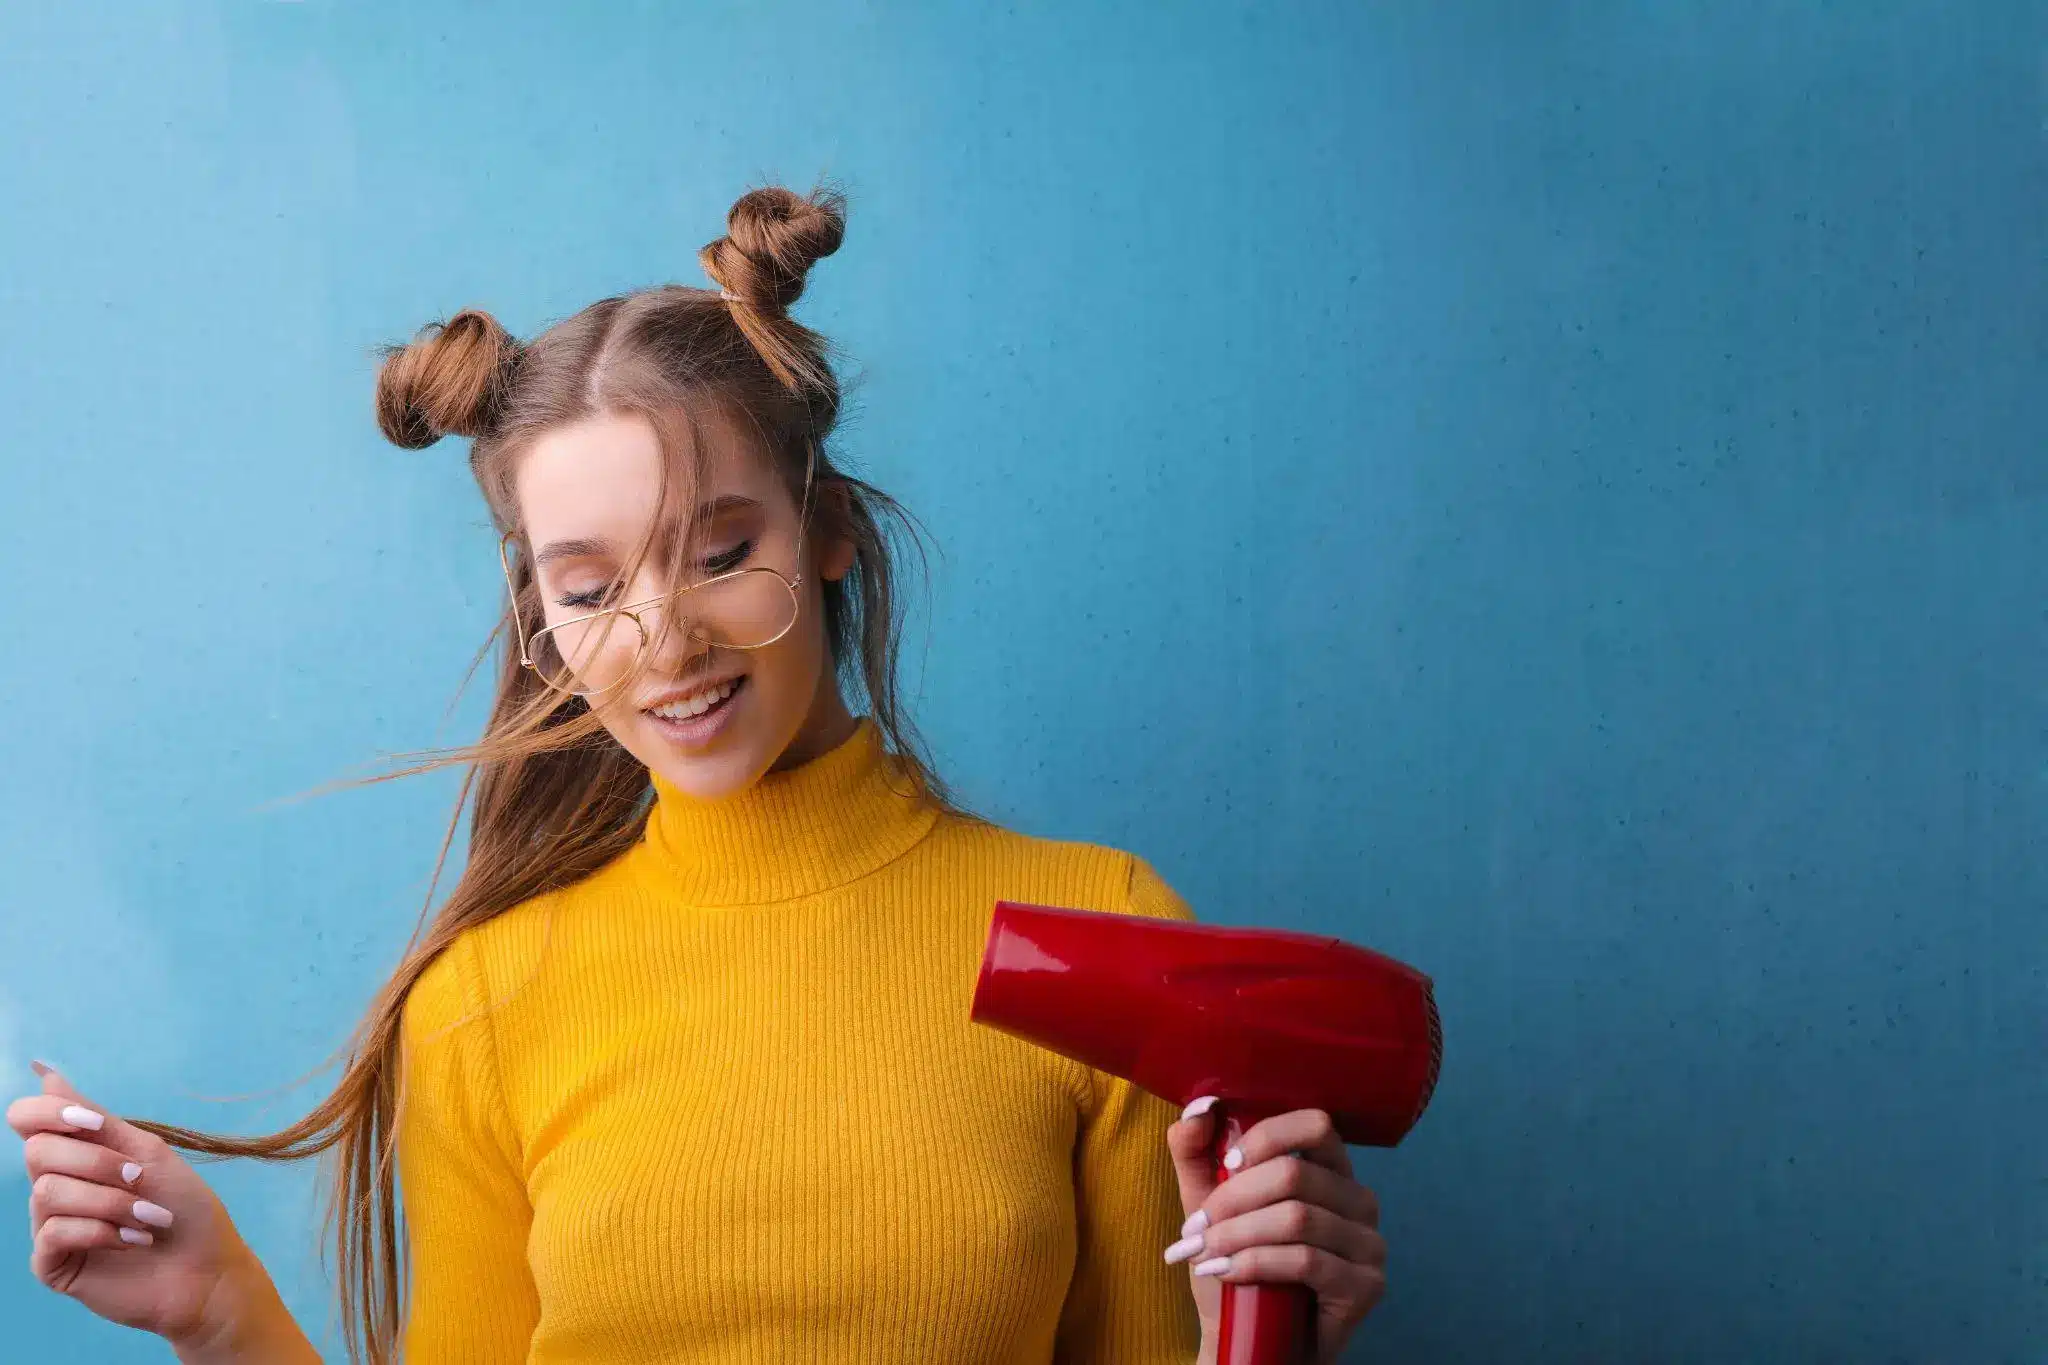
For a long time I blamed my hair dryer.
I’d finish a blowout at 7am looking like I’d stepped out of a salon. By mid-afternoon the volume was gone, the ends had gone soft, and one side had flattened against my head like it had given up early.
Then I started paying attention to when it fell apart. It was almost always the same window: somewhere between 2 and 3pm. That timing turned out to be a clue, not a coincidence.
Here’s what I learned about why blowouts collapse on a schedule, and what finally changed mine.
Why Does a Blowout Fall Flat in the Afternoon?
A blowout isn’t a permanent change to your hair. It’s a temporary shape held in place by weak bonds that reform every time your hair gets wet and dries again.
Those bonds are the whole story. A 2024 review of hair chemistry notes that keratin fibers contain roughly nine hydrogen bonds for every disulfide bond, and that moisture largely cancels out the hydrogen ones.
So your blowout is being held up by the very bonds that water undoes.
And moisture doesn’t need to arrive as rain. Humid air alone carries enough water molecules for hair to start reforming bonds in a new shape, which is why straight hair goes wavy on a muggy day.
| Time of day | What I noticed | What’s actually happening |
|---|---|---|
| 7:00 am | Smooth, full, bouncy | Bonds set while hair cooled dry |
| 11:00 am | Slight softening at the roots | Scalp oil starts traveling down |
| 2:00 pm | Volume drops, ends separate | Humidity has crept back in |
| 5:00 pm | Flat on one side | Oil, moisture, and touching combined |
Once I saw it laid out like that, the fix stopped being “buy a better dryer.”
What Styling Products Actually Do to a Blowout
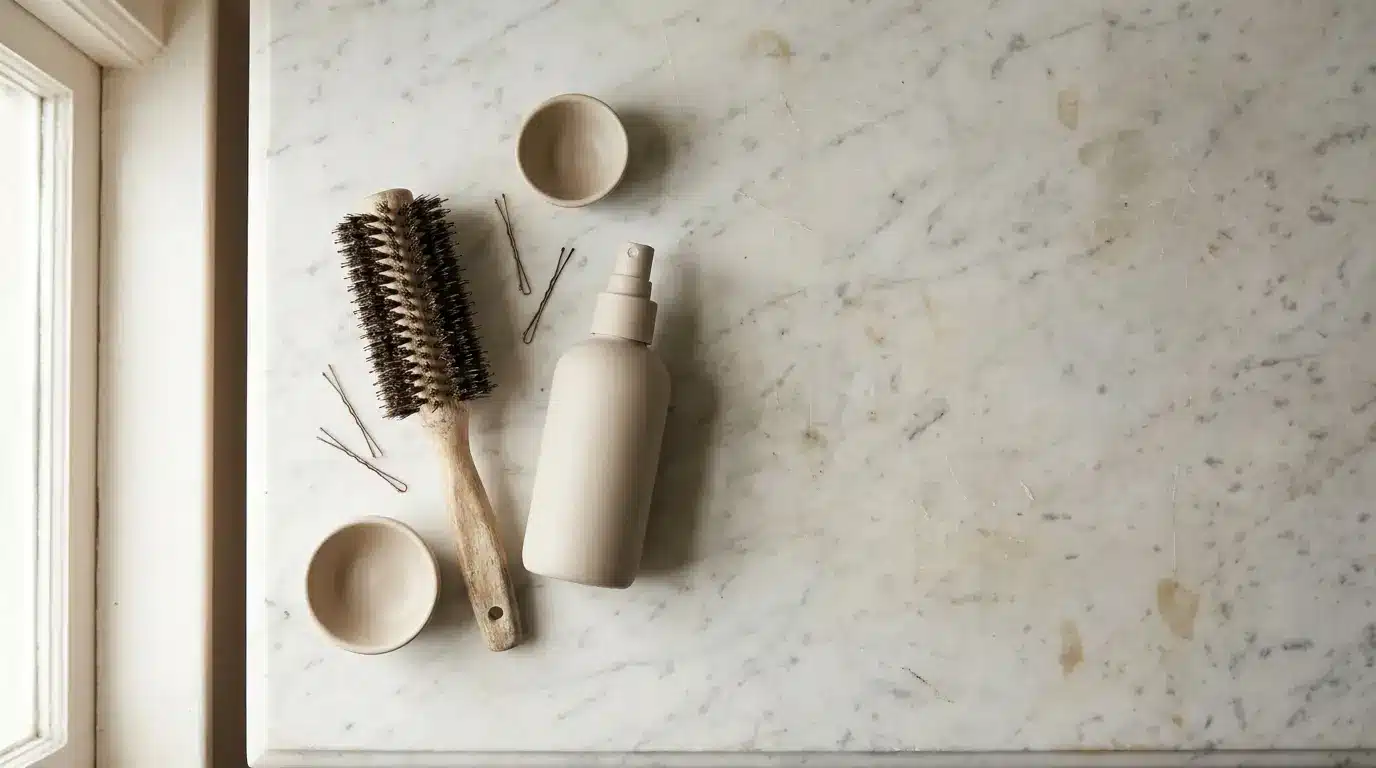
This is the part I had backwards for years. I thought product was something you added at the end, if the style needed rescuing.
It’s the opposite. Product is what decides whether the shape survives contact with the day.
Different formulas do genuinely different jobs, and mixing them up is why a lot of blowouts fail. Davines organizes its prep and finish formulas around exactly that logic, splitting styling products into primers, mousses, sprays, dry texturizers and finishing pastes rather than lumping them together. Once I understood the categories, choosing became simple.
Here’s how the main types earn their place:
- Primers and heat protectants: Go on damp hair, before the dryer. They’re what let the shape set cleanly.
- Volume mousses: Add body at the root, where blowouts collapse first.
- Smoothing milks and serums: Coat the strand so humidity has a harder time getting in.
- Dry texturizers and dusts: Bring back grip on day two without a wash.
- Hairsprays: Lock the finished shape, in flexible or firm holds.
I was using exactly one of those. Hairspray. At the end. On hair that had nothing underneath it to hold onto.
Three Habits That Were Quietly Ruining Mine
1. I Dried Hair That Was Still Too Wet
I’d start blasting the second I got out of the shower. That meant most of my dryer time went to evaporating water, not shaping anything.
Now I rough dry to about 80% first, then start sectioning. The style sets much faster and holds far longer.
2. I Skipped the Cool Shot
The shape locks in as the hair cools, not while it’s hot. Moving on to the next section while the last one was still warm meant the bonds were setting after I’d already let go of the tension.
Two seconds of cold air per section made a bigger difference than any product.
3. I Touched My Hair Constantly
Your scalp is one of the oiliest places on your body. Sebaceous glands are concentrated most heavily on the face and scalp, and every time I ran my fingers through my roots I was helping that oil travel down the strand.
Hands off. Genuinely. That alone bought me two extra hours.
The Routine That Finally Holds
- Towel dry gently, then let hair sit for ten minutes while I do everything else.
- Apply a primer or heat protectant through the mid-lengths and ends, not the roots.
- Add mousse at the root only, about the size of a golf ball for my length.
- Rough dry to 80% with fingers, no brush yet.
- Section and blow dry properly, finishing each section with cool air before releasing the brush.
- Finish light. A mist of flexible hairspray, or a texture spray if I want the style to last into day two.
The whole thing takes maybe five minutes longer than what I used to do. It lasts about six hours longer.
Does Turning the Heat Down Really Matter?
It does, and not just for how the style holds.
Heat weakens the fiber itself. In one study on thermal damage, heat-treated hair showed roughly an 11% drop in tensile strength compared to untreated hair.
Weaker hair doesn’t hold a shape as well. It also frizzes more, which speeds up the exact afternoon collapse I was trying to avoid.
Medium heat with proper technique beat high heat with sloppy technique every single time I tested it.
What Didn’t Help, Even Though I Tried It
- More hairspray. It made the flat parts crispy and flat instead of soft and flat.
- Washing every single day. My roots got oilier, not cleaner.
- A more expensive dryer. Helpful, but not the problem.
- Backcombing. Bought about 40 minutes, then looked obviously backcombed.
- Air drying first, then styling. The shape never really set without heat and tension together.
Final Thoughts
My blowout wasn’t dying at 3pm because I was doing something dramatically wrong. It was dying because nothing in my routine was built to survive a normal day.
The shape set while hair cooled. Humidity undid it. Oil finished the job. Fix those three things in order and the timeline stretches out on its own.
If you only change one thing this week, make it what goes on your damp hair before the dryer. That’s the step that does the quiet work, and it’s the one most of us skip.
For more simple hair routines and product breakdowns, have a look through the other posts on the blog.