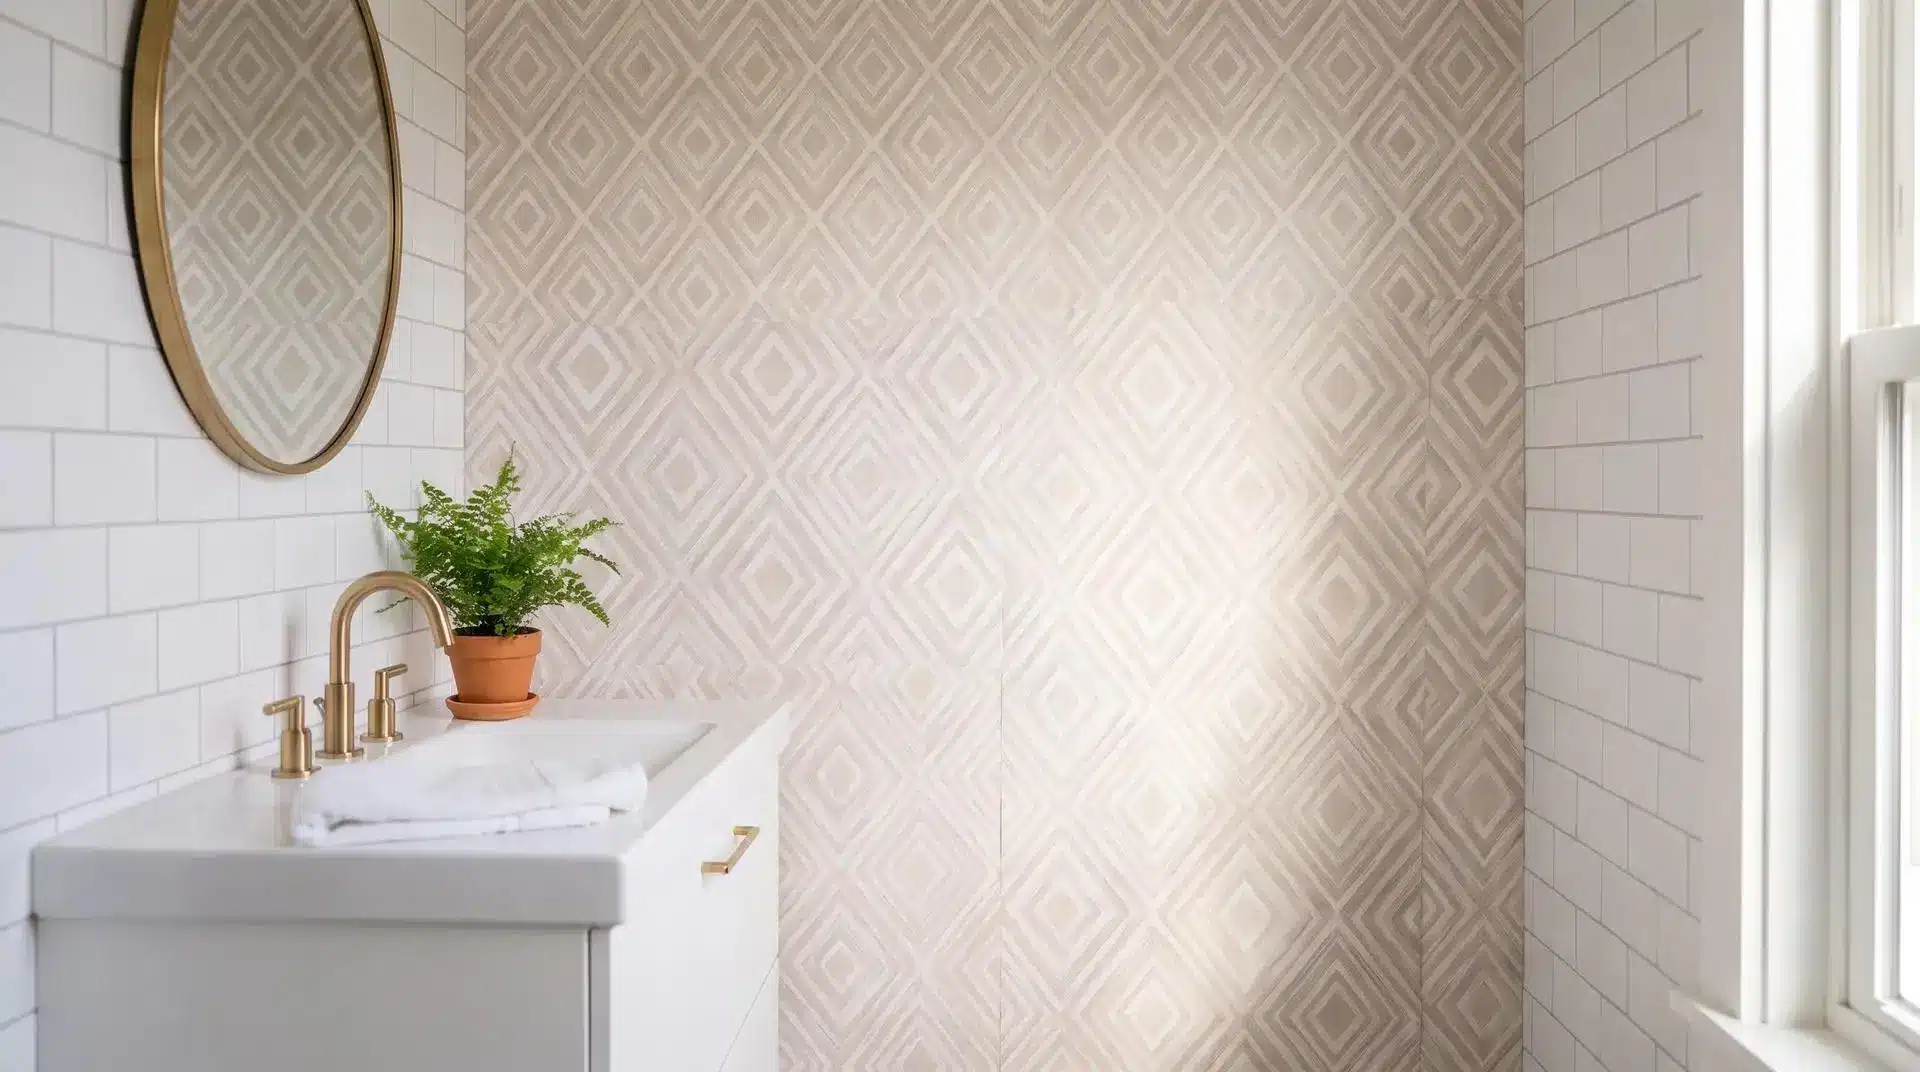
What if you could give your bathroom a completely new look in just one hour, without spending hundreds on renovations?
A single accent wall with peel-and-stick wallpaper for restroom can transform the space without removing tiles, hiring contractors, or dealing with messy installations.
This budget-friendly update works for homeowners and renters alike. All you need is a clean, dry wall, a working exhaust fan, and your favorite wallpaper pattern.
In a well-ventilated bathroom, it can last around five years, although results vary.
This step-by-step project breaks the process into timed blocks to help you avoid common mistakes and achieve a beautiful bathroom refresh.
Pick the Right Wallpaper and a Wall
The product you buy decides whether this project takes an hour or a full weekend to finish. The wall you choose matters almost as much as the wallpaper itself.
Choose Peel and Stick Over Traditional Wallpaper
Traditional paste wallpaper needs primer, adhesive, and up to two days before the bathroom is usable again. Peel and stick wallpaper skips all of that waiting.
Pick a vinyl or polyester peel-and-stick option made for bathrooms. These hold up best against steam and daily humidity. Keep wallpaper away from direct water, such as the wall beside the shower.
Pick a Wall and Pattern That Keep You On Schedule
Choose the simplest wall in the room, ideally one without a window or an awkward corner. A plain rectangle moves much faster than a broken-up wall.
Smaller, busier patterns forgive small mistakes better than large patterns that need exact alignment. Lighter patterns also make a small bathroom feel bigger and brighter.
Gather Your Supplies and Prepare the Bathroom Wall
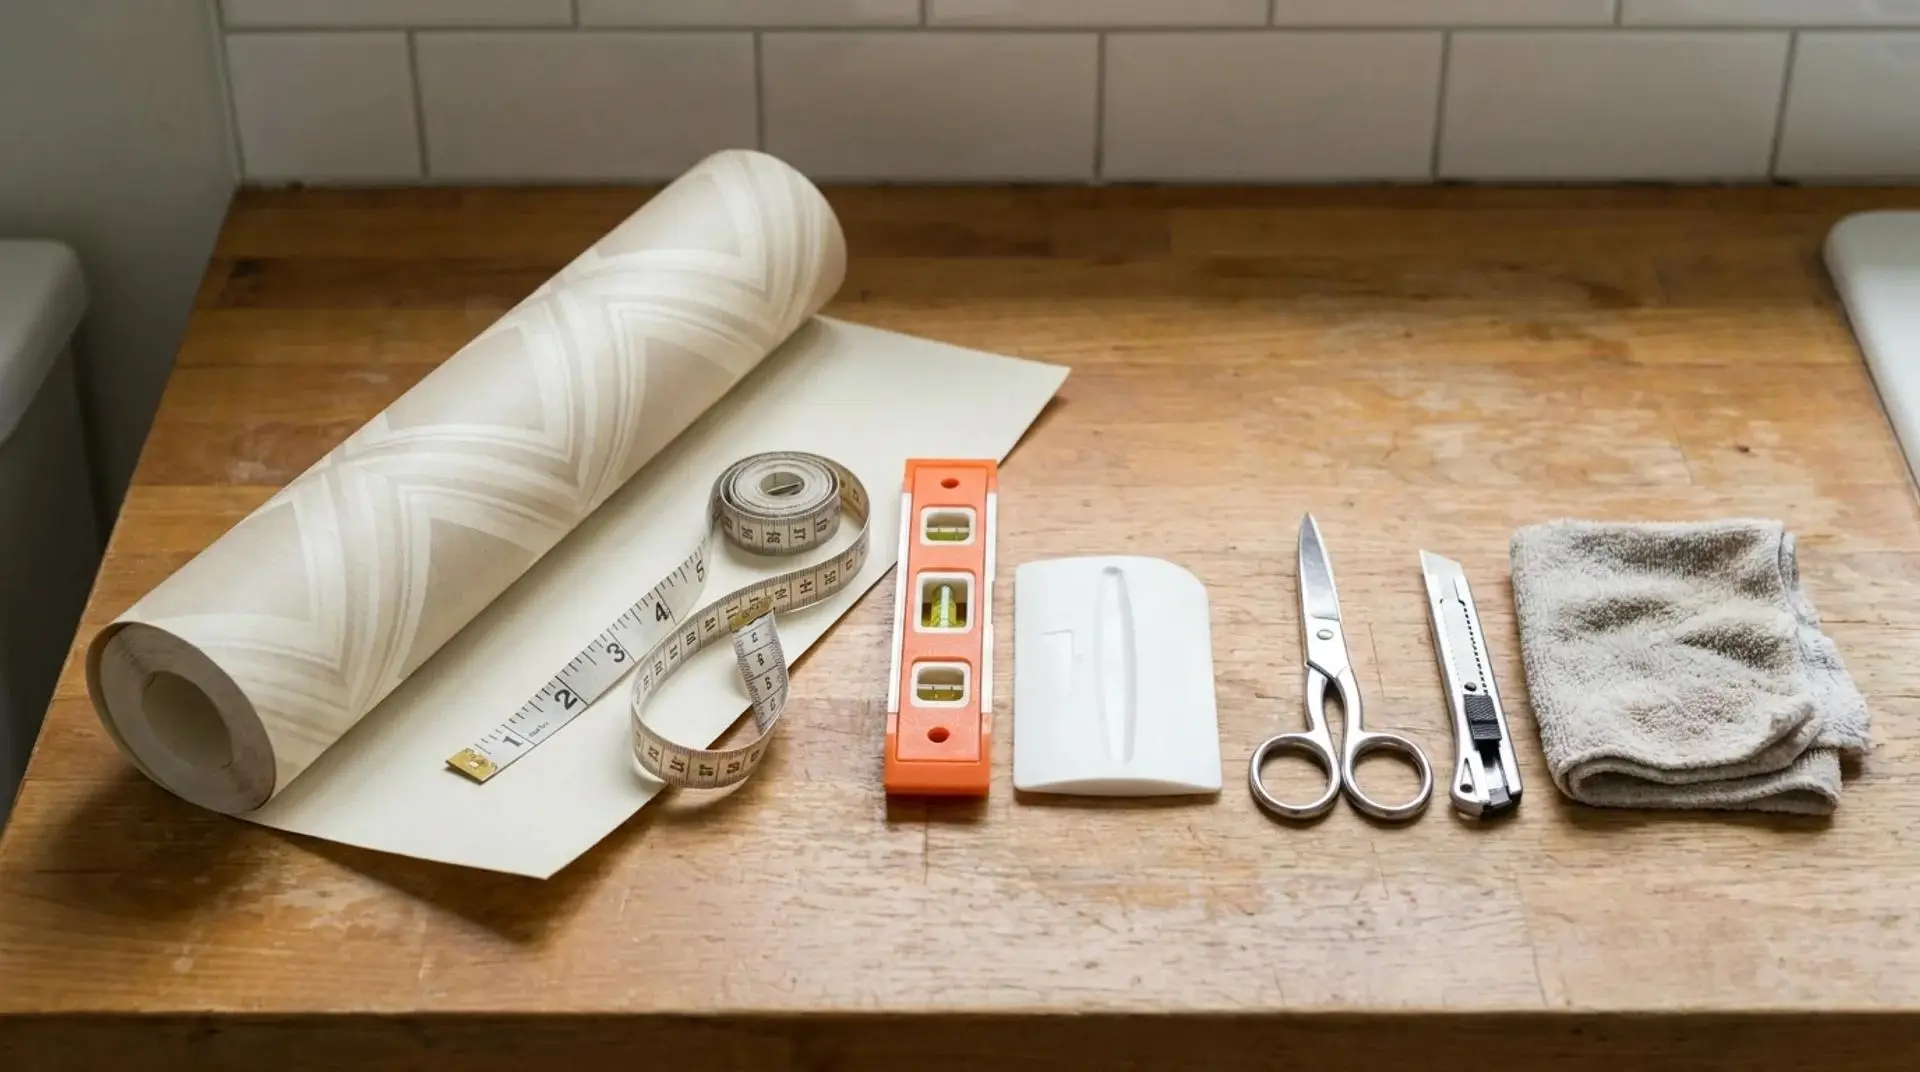
A successful one-hour bathroom wallpaper update starts with having the right tools ready and preparing the wall properly.
Here’s what you’ll need and how to prep the surface for a smooth application.
Supplies For A One-Hour Wallpaper Project
A one-hour timeline only works with the right supplies already on hand. Gather everything first so you are not searching for a tool mid-project.
- One roll of peel-and-stick wallpaper
- Measuring tape and a level
- A smoothing tool or an old gift card
- Utility knife or sharp scissors
- A damp cloth for wall cleaning
A second pair of hands helps on a wall wider than one roll.
Prepare The Wall First
Peel and stick wallpaper needs a clean, dry wall and nothing more. Skip the primer and skip the sanding to save time.
Wipe the wall with a damp cloth and let it dry before you start. Check for old nail holes, peeling paint, or existing wallpaper first.
Soap film or dust left behind stops new wallpaper from gripping well. Keep the strip clear of any light switch or outlet cover.
The One-Hour Work Timeline Step By Step
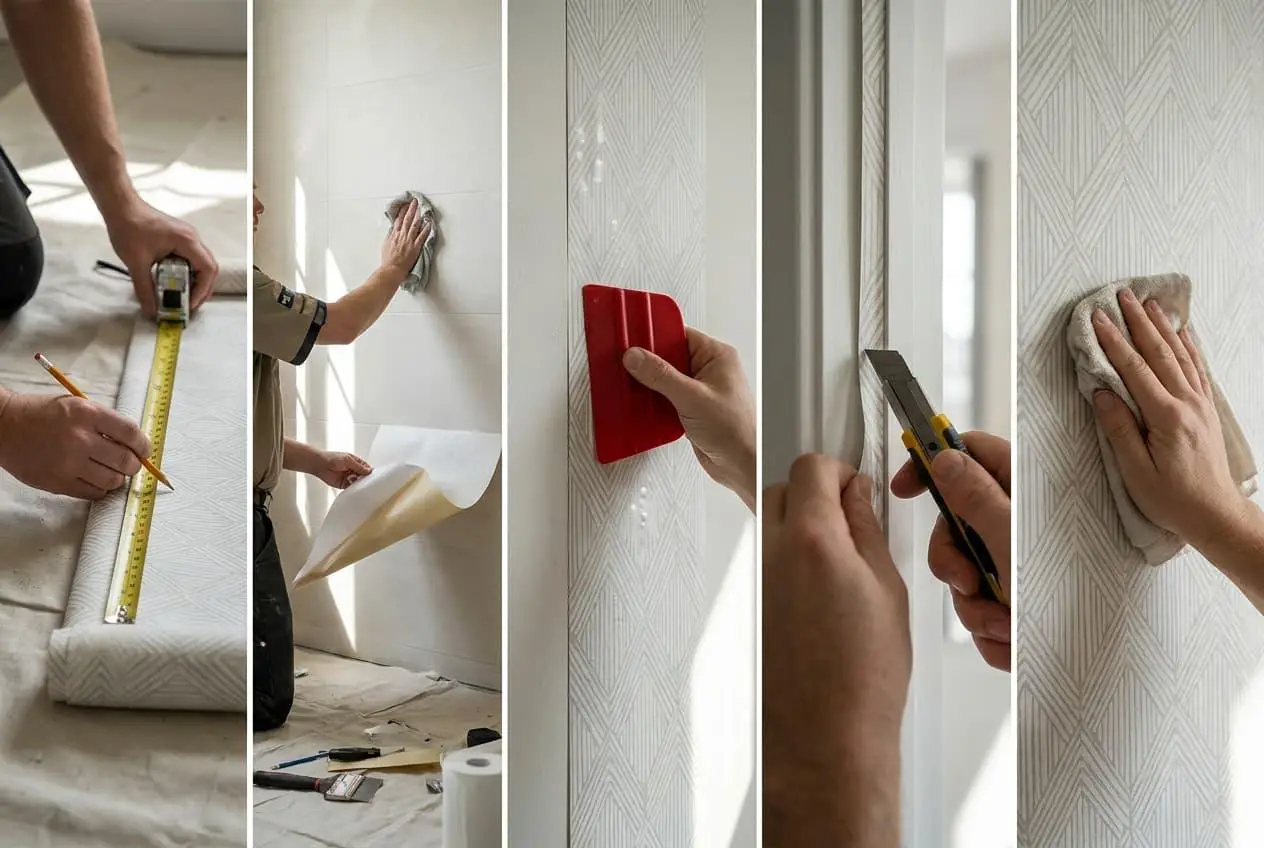
Here is what sixty minutes actually looks like once the project breaks into real chunks of time. Each stage below flows directly into the next.
- Minutes 0 to 10: Measure the wall width and height, then cut the first strip about two inches longer than needed.
- Minutes 10 to 20: Wipe the wall clean, let it air-dry, and peel back the first few inches of backing paper.
- Minutes 20 to 45: Stick the strip from the top down, pressing out air bubbles with your smoothing tool as you work.
- Minutes 45 to 55: Trim the extra paper at the top and bottom, then press every seam flat against the wall.
- Minutes 55 to 60: Wipe the wall down, then check the whole strip again for bubbles or loose edges.
Add a few extra minutes if the wall needs a second strip to finish the pattern. Most standard bathroom walls finish within the hour with room to spare.
Common Mistake: Peeling off all the backing paper at once traps air bubbles underneath before the paper ever touches the wall. Peel back only a few inches at a time.
How Much Does a Bathroom Wallpaper Update Cost?
A peel-and-stick green cottagecore wallpaper accent wall can cost between $18 and $75, depending on the pattern and brand.
Budget-friendly trellis designs may cost as little as $18 per roll, while premium options can reach $75.
You may only need to spend a few extra dollars on a smoothing tool. With no primer, adhesive, or professional installation required, the overall cost stays low.
Both home improvement stores and online retailers offer affordable options. Check return policies before buying, and reuse leftover wallpaper as shelf or drawer liners to minimize waste.
Where to Use Wallpaper In a Small Bathroom
A single roll goes a long way in a small bathroom, even outside of one full wall. Consider these spots if a full accent wall feels like too much for right now.
- Around the vanity: Frame just the mirror and sink area for a focused pop of pattern without touching the rest of the walls.
- Top half of a tiled wall: Add wallpaper above the tile line to tie the lower and upper halves of the bathroom together nicely.
- Inside open shelving: Line the back of a shelf unit for a quick splash of color behind everyday items and folded towels.
- One full wall: Turn the simplest wall into a feature piece if you want the biggest possible impact for the hour spent.
These spots work well together too. A renter who tries the vanity area first can always add the shelving later with the same roll.
Trying more than one spot still keeps the total time close to an hour. Each small area only adds a few extra minutes of work.
Keep Bathroom Wallpaper Looking Good
Good ventilation keeps bathroom wallpaper looking its best for years. Run the exhaust fan during and after every shower to clear out humidity.
Keep the wallpaper away from prolonged direct water exposure, even on a moisture-resistant pattern.
Clean the surface only the way the manufacturer recommends, since the wrong cleaner can damage the finish.
Check the edges every so often and press down any spot that starts to lift. A small lifting edge only takes a minute to fix, but it gets harder to repair the longer it waits.
Final Thoughts
Updating your bathroom in just one hour takes three simple steps: choose peel-and-stick wallpaper, select one accent wall, and follow the timeline without rushing.
This affordable project costs less than many traditional bathroom updates, requires no drying time, and works for renters too.
The wallpaper can be removed later without damaging properly prepared walls, making it a practical temporary upgrade.
If your bathroom feels outdated or dull, one roll of wallpaper can make a noticeable difference.
With minimal supplies and no professional help, you can complete the transformation in a single afternoon and still have time for finishing touches.
Pick your favorite pattern, prepare one wall, and give your bathroom a fresh look.
Frequently Asked Questions
What type of wallpaper is best for a humid bathroom?
Vinyl and polyester peel-and-stick wallpaper are the best choices for a humid bathroom. Both materials shed moisture instead of absorbing it as paper wallpaper does.
Can you use wallpaper in a bathroom with a shower?
Yes, but keep wallpaper away from the wall that takes direct spray from the shower. Steam alone is fine for vinyl or polyester peel-and-stick wallpaper.
Can wallpaper go over textured walls?
Peel-and-stick wallpaper needs a smooth, flat surface to grip properly. Heavily textured walls should be smoothed first, or the wallpaper may bubble and lift.
How do you stop bathroom wallpaper from peeling?
Keep the room well ventilated and run the exhaust fan during and after showers. Avoid direct water contact and smooth out air bubbles fully during installation.
What is the cheapest way to update a bathroom?
Peel-and-stick wallpaper on one accent wall is one of the cheapest bathroom updates available. A single roll often costs less than a gallon of paint and supplies.