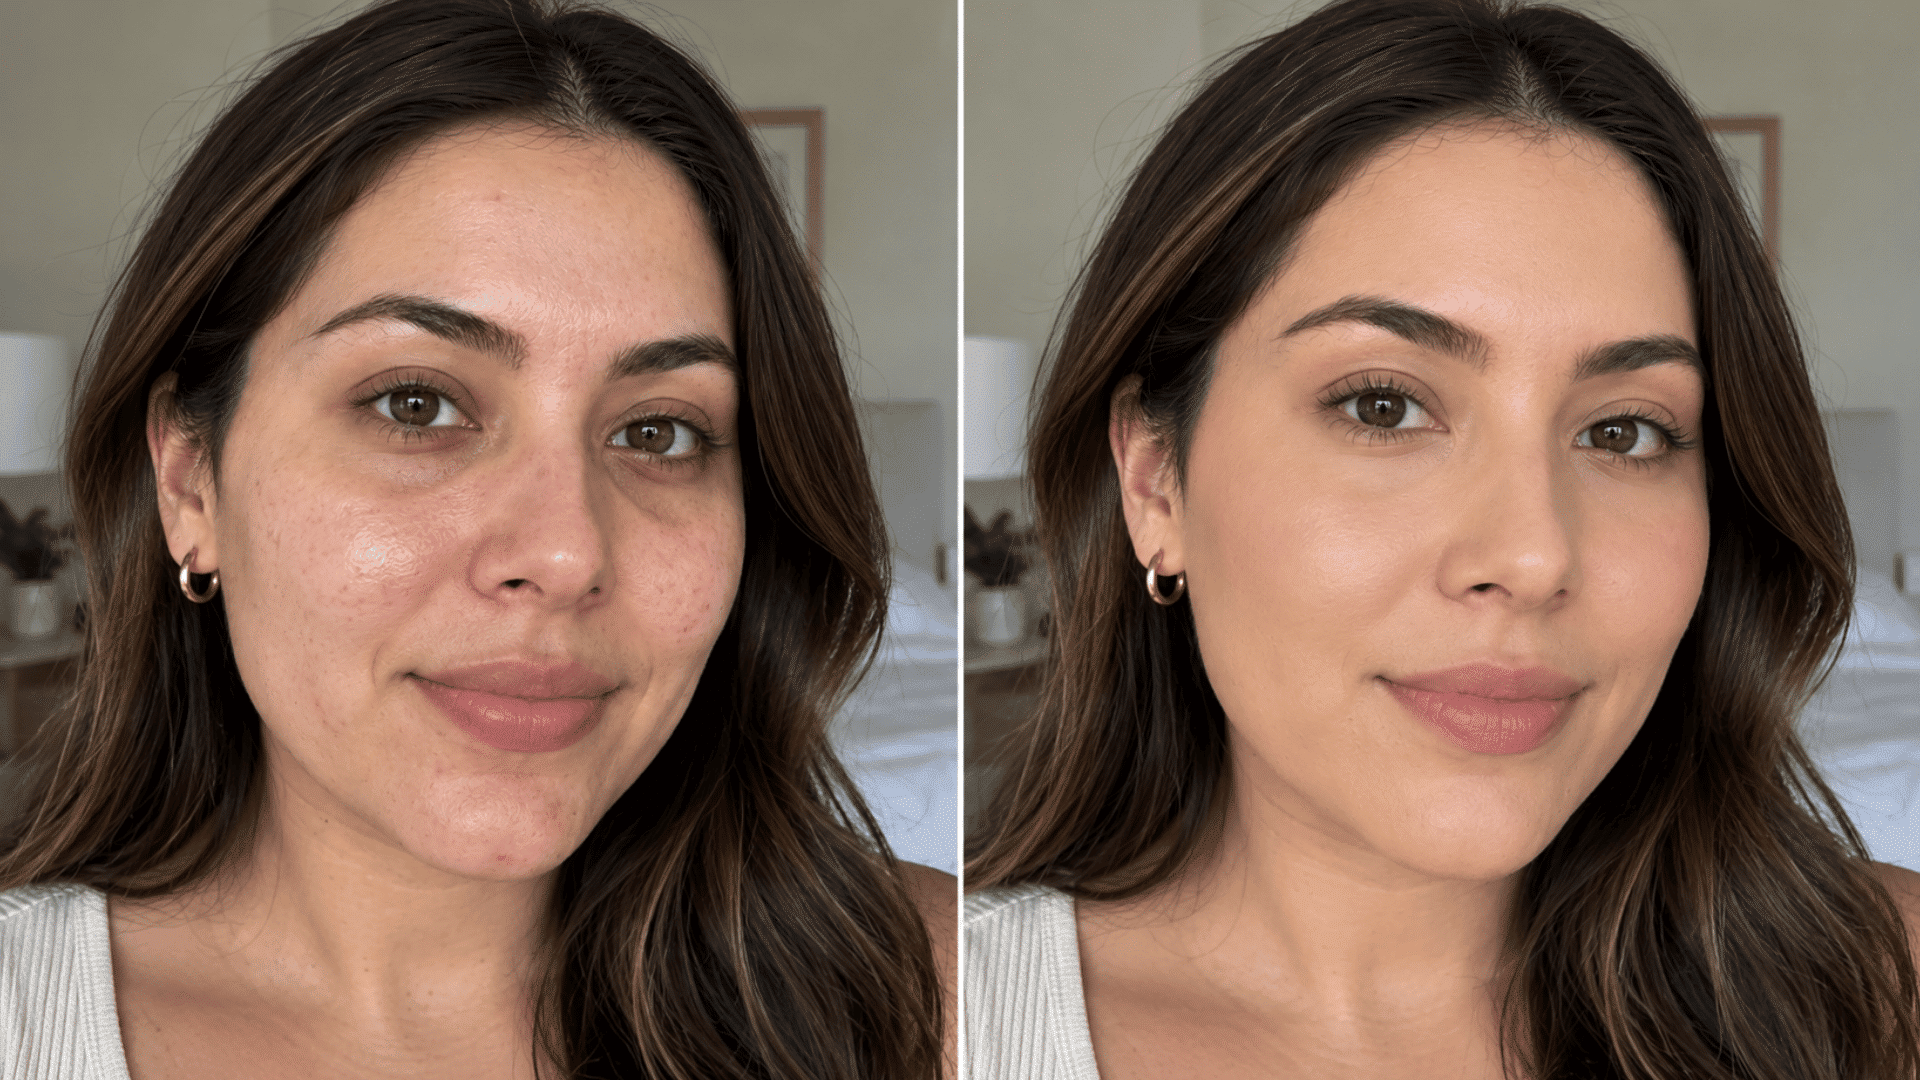
Ever finished your makeup only to find your foundation looks patchy or heavier than expected? I’ve had those moments too.
Over time, I’ve found that a smooth base comes down to good skin prep, using the right amount of product, and blending well.
If you’re figuring out how to apply foundation, a few simple techniques can help you achieve even coverage while keeping your skin looking natural.
How to Apply Foundation Step by Step
Step 1: Start With Clean Skin
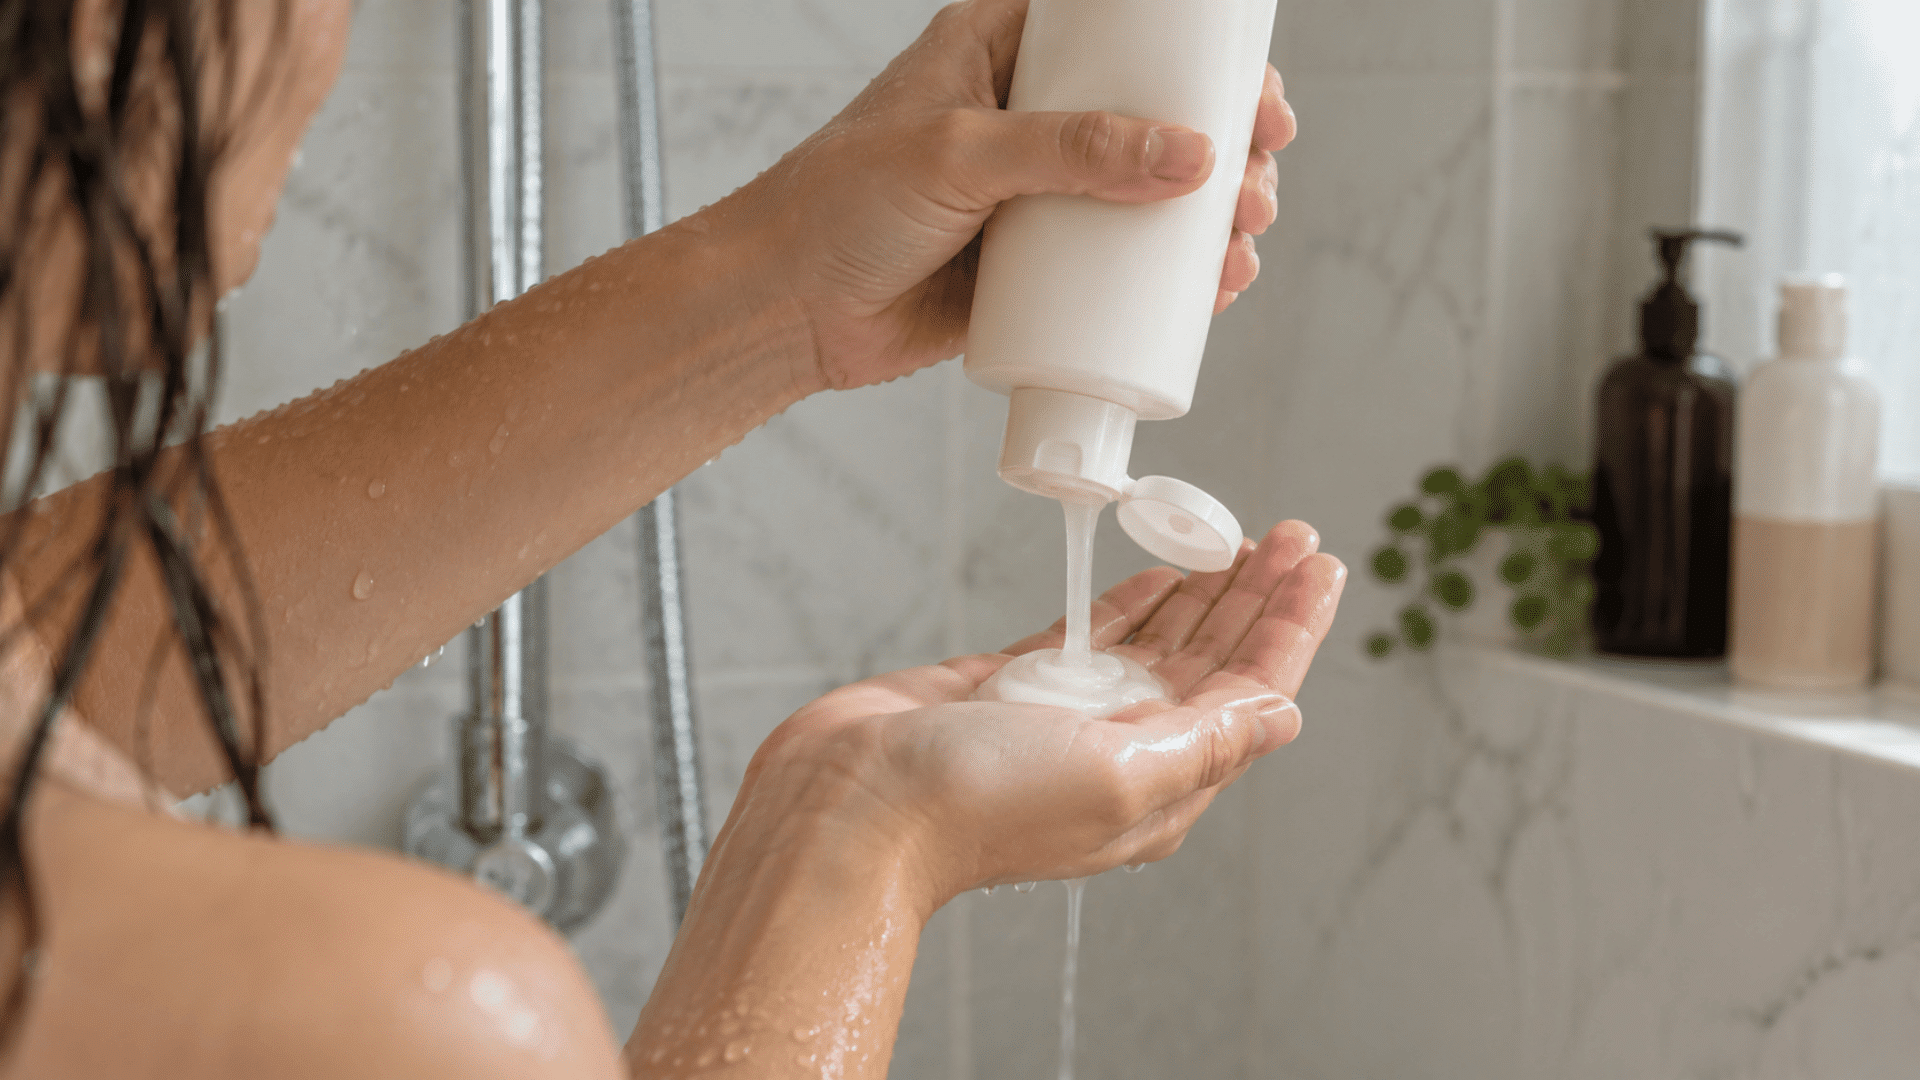
Wash your face with a gentle cleanser to remove excess oil and leftover makeup before applying foundation.
Use lukewarm water and gently pat your skin dry. Choose a cleanser suited to your skin type so your face feels clean without becoming overly dry or tight.
Step 2: Moisturize Your Skin
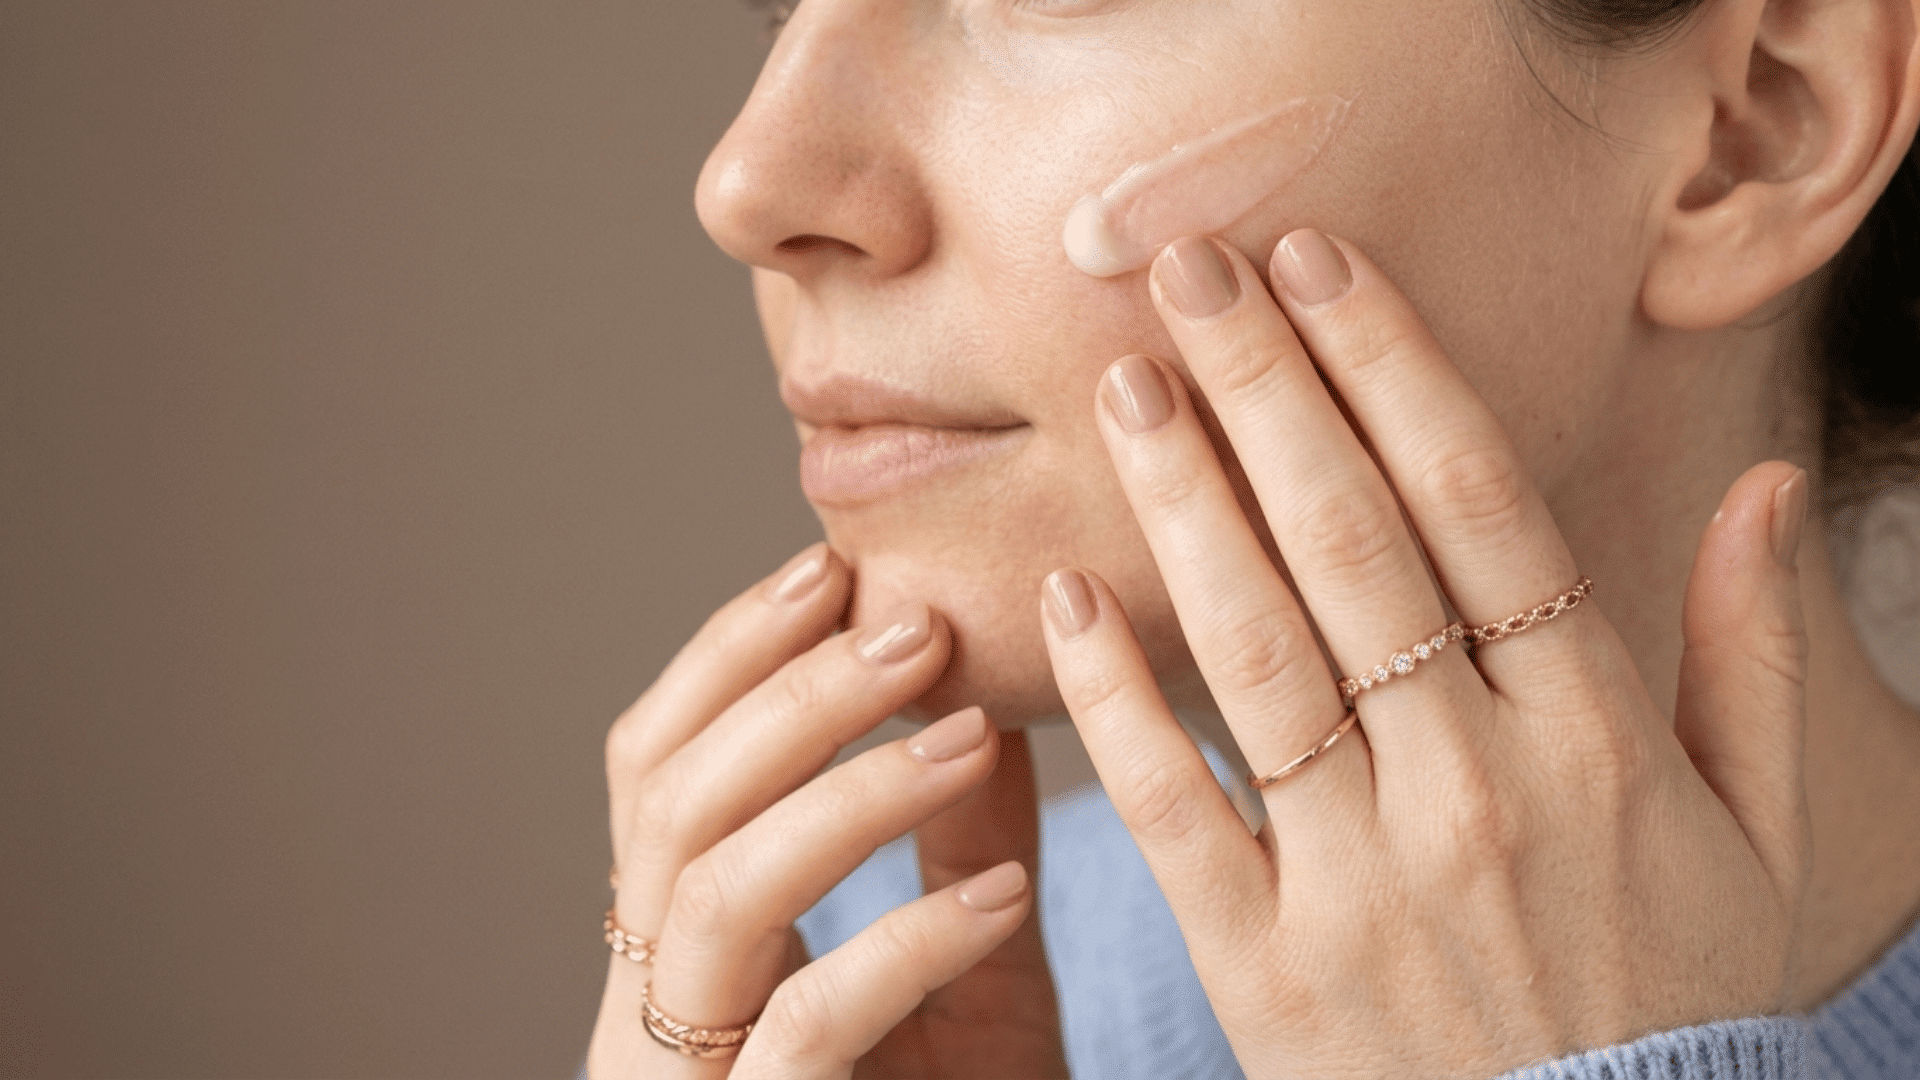
Apply a lightweight moisturizer after cleansing to help foundation sit smoothly on your skin.
Choose one suited to your skin type and let it absorb before applying makeup, following the same everyday makeup essentials approach that keeps foundation from clinging to dry patches.
CeraVe Daily Moisturizing Lotion is a lightweight option for normal to dry skin.
Daytime Tip: Apply sunscreen after moisturizer and before makeup.
Step 3: Apply Primer
Primer can help smooth texture, manage shine, or add hydration before foundation. Apply a pea-sized amount in a thin layer and let it settle.
- Dry Skin: Choose a hydrating primer.
- Oily Skin: Use a mattifying primer on shine-prone areas.
e.l.f. Poreless Putty Primer is a widely used option that helps grip makeup and blur the look of pores.
If foundation separates over primer, the formulas may not layer well together.
Step 4: Color Correct Where Needed (Optional)
Apply a small amount of color corrector before foundation where needed. Use green to neutralize redness, and peach or orange for blue- or purple-looking discoloration, depending on your skin tone.
Gently tap it into the skin with your fingertip, brush, or sponge, and keep the layer light.
Step 5: Choose the Right Foundation Shade
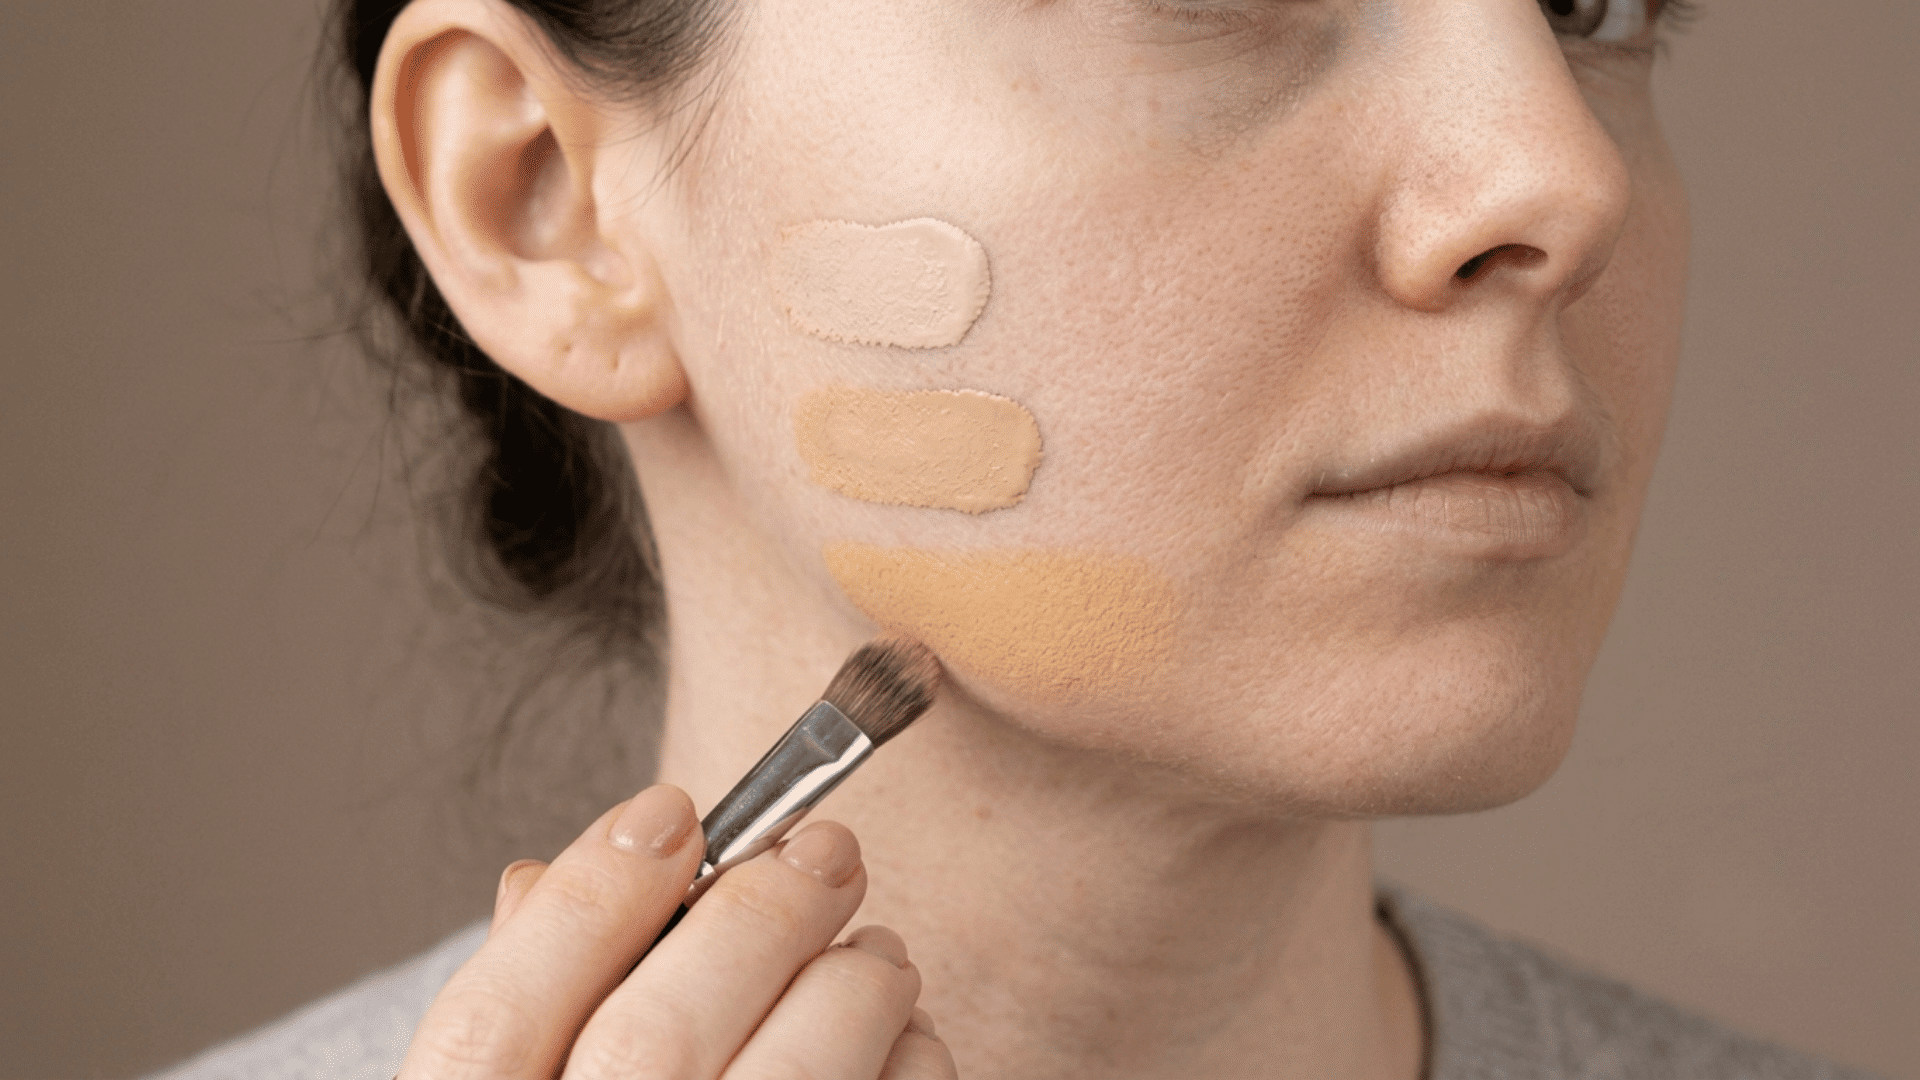
Test two or three foundation shades along your jawline and check them in natural daylight.
Consider both shade depth and check if your undertone is cool, warm, or neutral, since choosing makeup shades for your undertone changes how natural the finish looks against your skin.
The best match should blend naturally between your face and neck.
Quick Tip: Let swatches dry for a few minutes since some foundations may change slightly in appearance.
Step 6: Apply a Small Amount From the Center Outward
Start with a small amount of foundation and dot it across your forehead, nose, cheeks, and chin.
Concentrate the product toward the center of your face, then blend outward toward the hairline, jaw, and slightly down the neck. For a natural makeup look, build coverage with thin layers only where needed.
Step 7: Blend Your Foundation
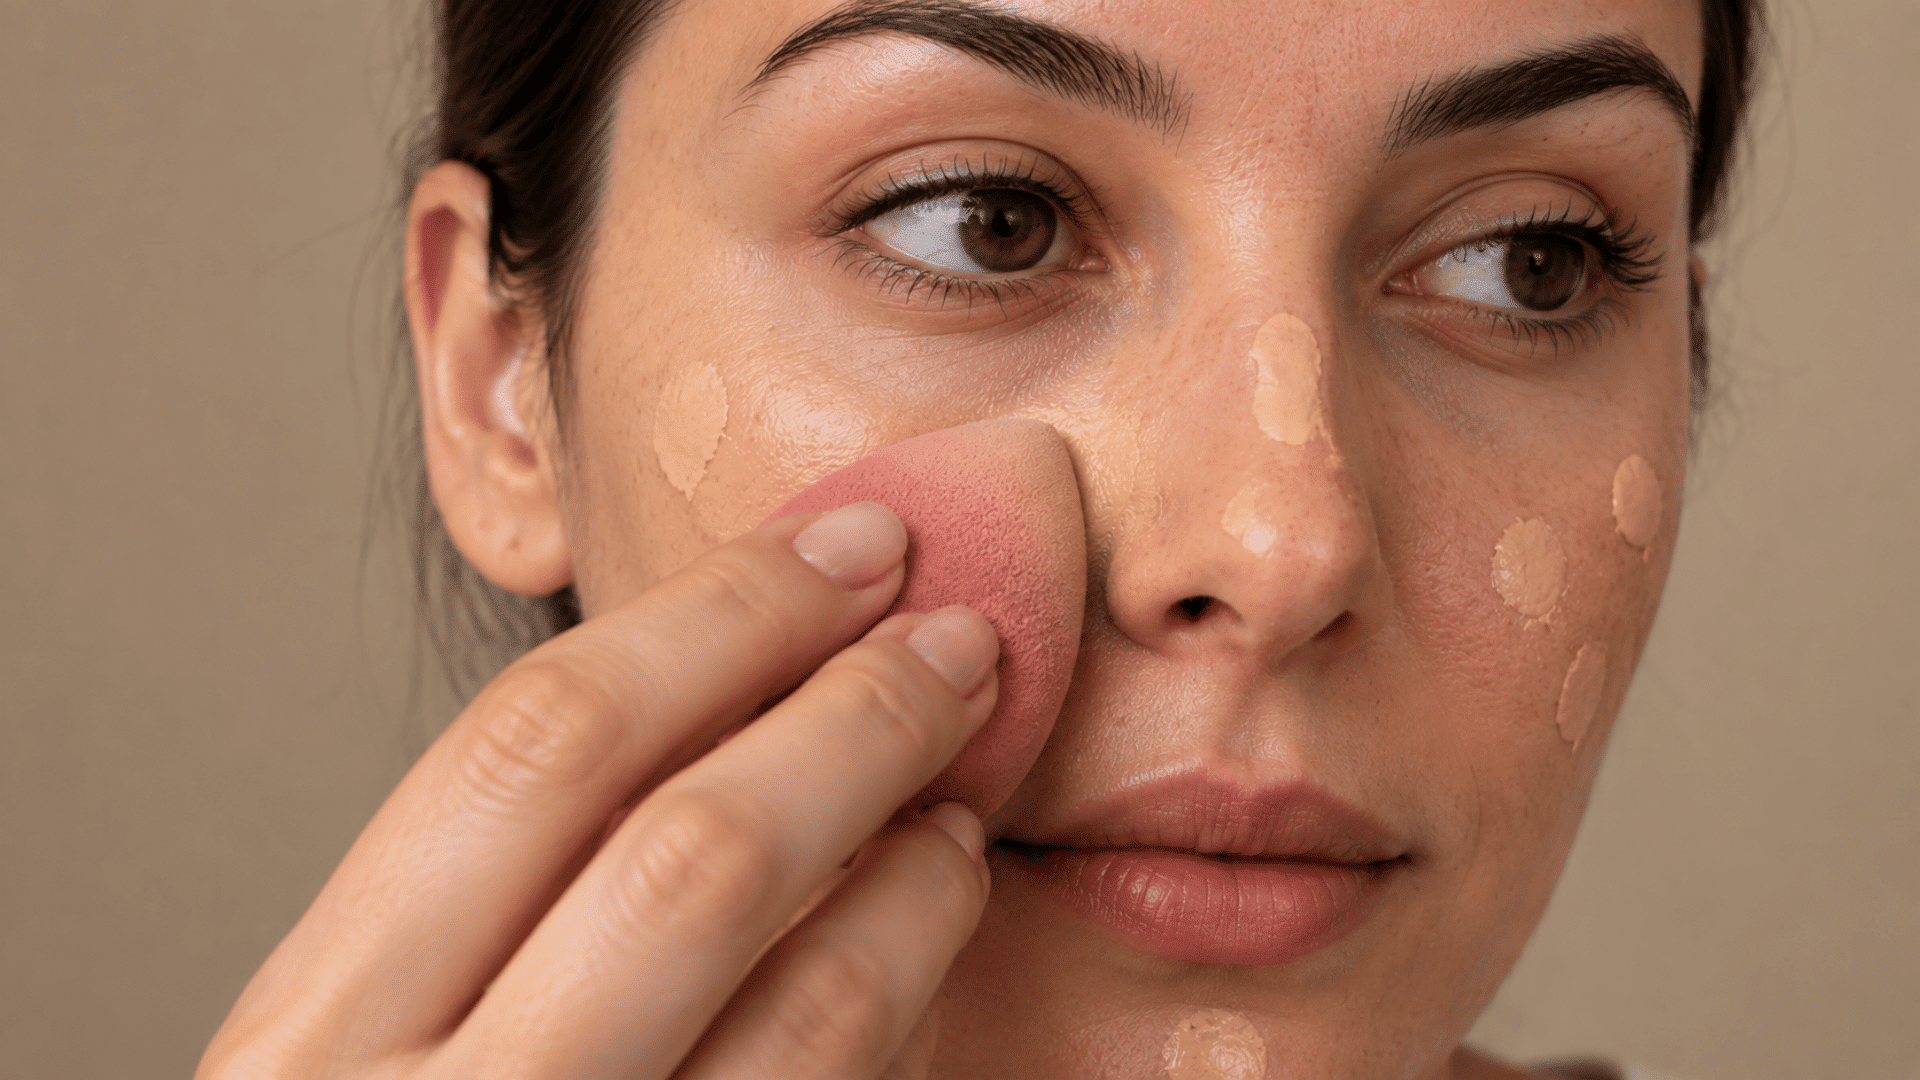
Blend foundation using gentle pressing, bouncing, or buffing motions. Use a damp sponge for a natural finish or a brush for more controlled coverage.
Blend carefully around the nose, hairline, and eyebrows, then soften any edges along the jawline and ears.
Quick Tip: Use light pressure to avoid removing coverage.
Step 8: Add Coverage Where Needed
After blending your first layer, check where you need more coverage. Apply a small amount of foundation over redness, uneven tone, or blemishes rather than adding another full layer.
Gently tap the product into place with a sponge or brush to keep the finish natural.
How to Choose the Right Foundation Formula
Your skin type and desired finish decide which formula performs best, since a mismatch is often why foundation feels heavy, patchy, or shiny by midday. For lighter coverage, a BB cream can be a good alternative.
|
Skin Type |
Foundation Type |
Finish |
|---|---|---|
|
Dry |
Hydrating liquid or cream |
Dewy |
|
Oily |
Oil-free liquid or powder |
Matte |
|
Combination |
Buildable liquid |
Natural |
|
Normal |
Liquid cream or powder |
Any finish |
Quick Tip: Adjust your formula if seasonal changes make your skin drier or oilier.
If your skin type feels like it’s shifting with the seasons, it often comes back to building a solid skincare routine underneath your makeup.
Foundation Application Tools
The best tool depends on the coverage and finish you want. Each method applies and blends foundation a little differently.
- Foundation Brush: Best for controlled, buildable coverage and a polished finish. Use gentle buffing or stippling motions to minimize visible streaks.
- Damp Makeup Sponge: Best for seamless blending and a soft, natural-looking finish. Bounce the sponge over your skin instead of dragging it to help press foundation into place.
- Fingers: Best for quick application and lighter coverage, particularly with liquid or cream formulas. The warmth of your fingertips can help spread the product, but always start with clean hands.
You can combine tools too. Apply foundation with a brush for coverage, then gently press over it with a damp sponge to soften the finish.
How to Apply Foundation Based on Different Skin Types
Adjust your foundation routine based on how your skin behaves.
|
Skin Type |
Foundation |
Application |
|---|---|---|
|
Dry Skin |
Moisturizing or hydrating |
Apply with a damp sponge and use minimal powder |
|
Oily Skin |
Lightweight matte |
Use a mattifying primer such as Maybelline Fit Me Matte + Poreless Foundation and set the T-zone with powder |
|
Combination Skin |
Natural or soft-matte |
Hydrate dry areas and powder only the T-zone |
|
Mature Skin |
Lightweight and hydrating |
Apply thin layers and use setting powder sparingly |
|
Acne-Prone or Textured Skin |
Buildable coverage |
Press product gently onto areas needing coverage with clean tools |
Why Does My Foundation Look Cakey or Patchy?
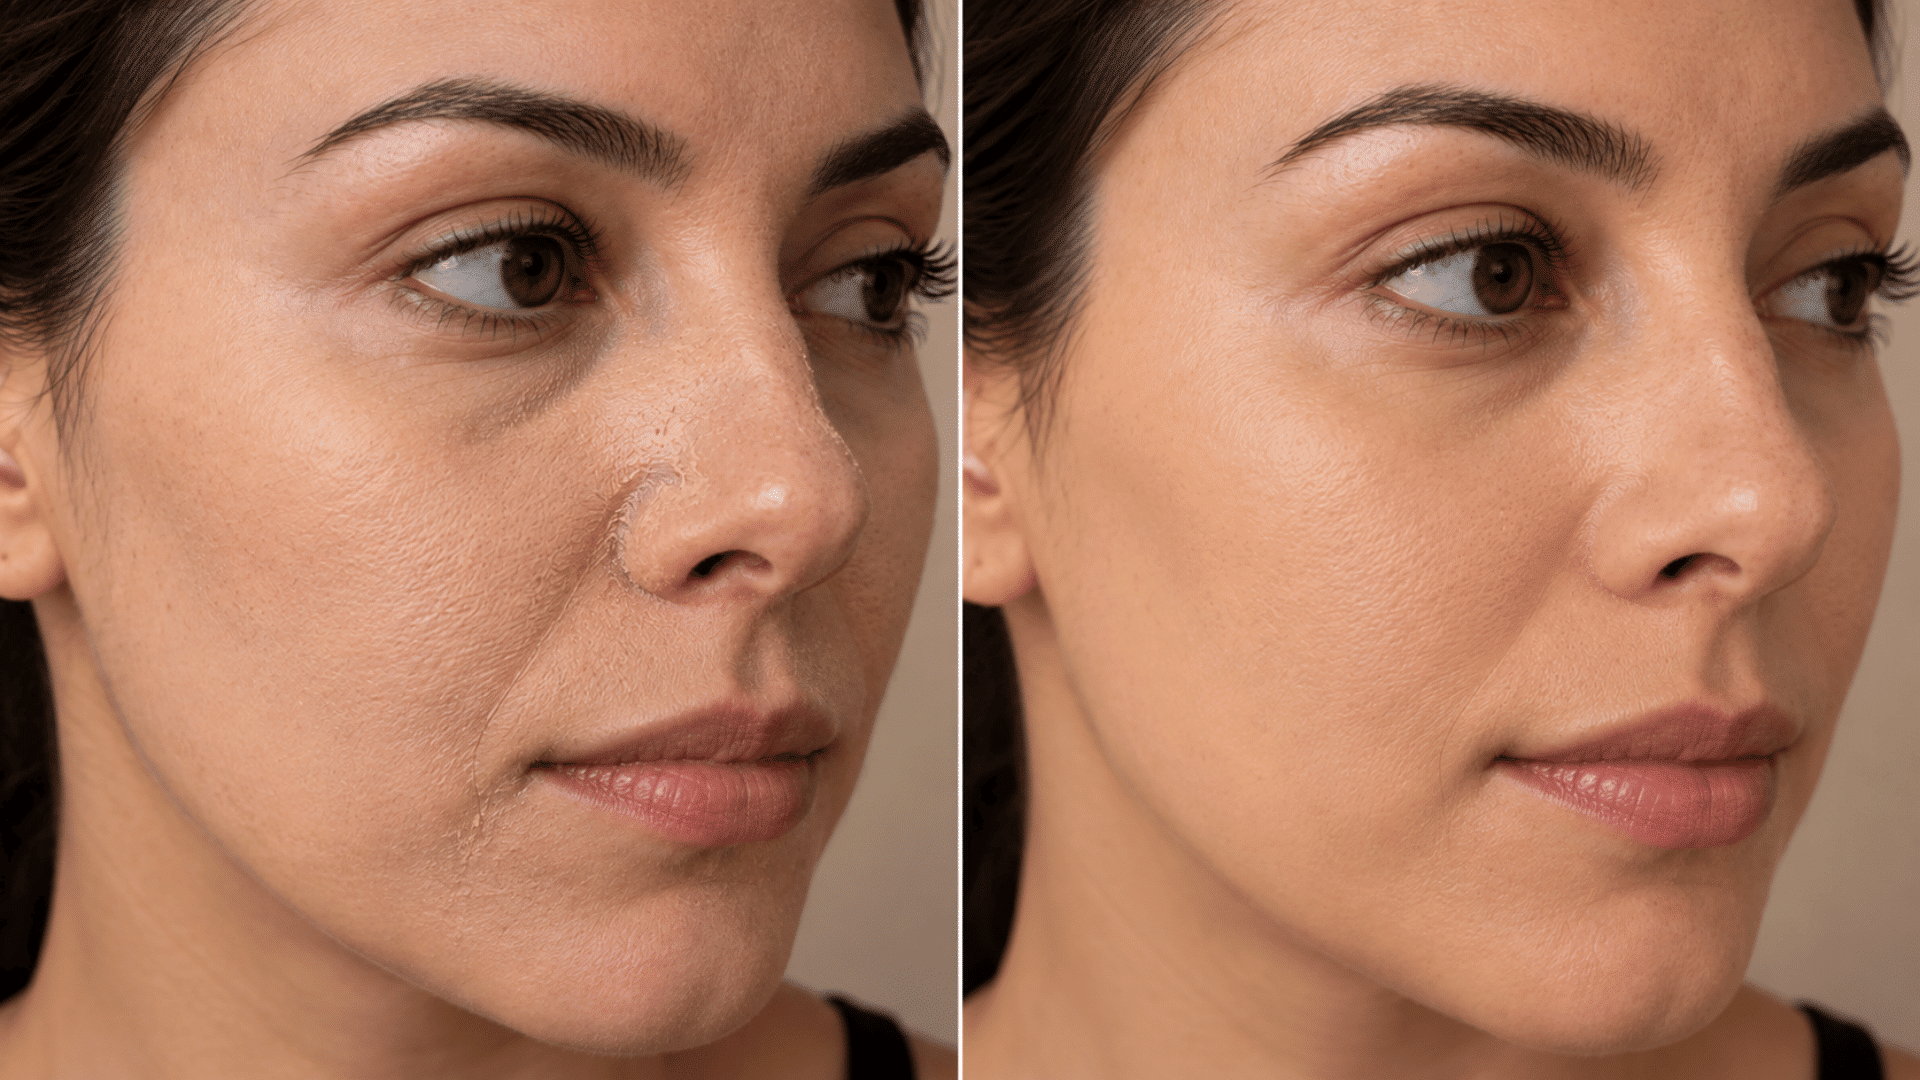
Foundation can look cakey or patchy when too much product is applied, the skin is not properly prepped, or the formula and application technique do not work well with your skin.
Identifying what is causing the problem can help you fix your base without starting over.
- Cakey Finish: Too much foundation or powder. Use thinner layers and apply powder sparingly.
- Dry Patches: Skin may need more hydration. Moisturize well before applying foundation.
- Streaky Finish: Foundation may not be blended evenly. Gently press or buff with a brush or sponge.
- Uneven Coverage: Too much product may be concentrated in certain areas. Start with a light layer and gradually build coverage.
- Foundation Separating: Excess oil or incompatible base products may cause separation. Let skincare settle before applying lighter layers.
- Visible Jawline: Poor blending or an incorrect shade can create a noticeable line. Blend carefully around the jaw and check your shade match.
Conclusion
A smooth foundation finish doesn’t have to mean using more makeup or spending extra time in front of the mirror.
I’ve found that the little things prepping the skin, starting with less product, and taking time to blend often make the biggest difference.
Your perfect technique may also change depending on your skin type, foundation formula, or the finish you want that day. So don’t worry about making every step look flawless on the first attempt.
Try these techniques during your next makeup routine, and adjust them to what works best for your skin.
Have a foundation trick that always works for you? Share it in the comments below; I’d love to hear what makes your base look its best!
Frequently Asked Questions
How Much Foundation Should You Apply?
Start with about one pump of liquid foundation for your face, adjusting the amount based on the formula and desired coverage. Full-coverage formulas may require less, while sheer foundations may need slightly more.
Can I Apply Foundation Without Primer?
Yes. You can apply foundation without primer if your skin is properly cleansed and moisturized. Primer is optional and mainly helps address concerns like dryness, shine, or visible texture.
Why Does My Foundation Turn Orange?
Foundation may turn orange when it oxidizes after interacting with air, skin oils, or skincare products. Choosing the right shade and testing how the formula dries can help prevent a noticeable color change.