My curls used to look amazing for about an hour before turning into a frizzy, crunchy mess from store-bought gels. Everything changed when I stumbled upon a simple flaxseed gel recipe that actually keeps my hair soft and defined all day long.
I was shocked at how easy it was to make this natural gel using just seeds and water from my kitchen. You don’t need fancy ingredients or complicated steps to get salon-worthy results that last for weeks in your fridge.
This homemade gel costs less than a dollar per batch and works better than anything I’ve ever bought. Let me show you exactly how to make it yourself in under a few minutes.
Getting to Know Flaxseed Gel
Flaxseed gel is a natural hair styling product made by boiling flaxseed in water until it turns into a thick, slimy gel. It works by coating your hair strands to define curls, reduce frizz, and provide hold without any harsh chemicals.
I was skeptical at first because making gel from seeds sounded weird, but my curls have never looked better. My sister introduced me to it after she got tired of store-bought gels making her scalp itchy and irritated.
Unlike commercial gels full of alcohols and strange ingredients, flaxseed gel is completely natural and gentle on sensitive skin.
I use it for my wash-and-go styles and twist-outs because it gives me soft, defined curls without that crunchy feeling. The best part is my hair stays moisturized all day instead of drying out like it did with regular gels.
What You Need to Make Flaxseed Gel
Making flaxseed gel at home is surprisingly easy and requires just a few basic ingredients you probably already have. Here’s everything you’ll need to create your own batch:
Ingredients:
- 2 tablespoons whole flaxseeds
- 2 cups water
Optional Add-Ins:
- 3-5 drops essential oils (lavender, peppermint, or rosemary)
- 1 tablespoon aloe vera gel
- 1 teaspoon vitamin E oil
Tools Needed:
- Medium-sized pot
- Fine mesh strainer or cheesecloth
- Wooden or metal spoon
- Airtight storage container (glass jar or plastic container)
Easy Flaxseed Gel Recipe: Step-by-Step Guide
I make a fresh batch of flaxseed gel every two weeks, and this recipe gives me about one cup that lasts perfectly. Follow these simple steps to create your own natural hair gel in under fifteen minutes:
Step 1: Boil Flaxseeds and Water
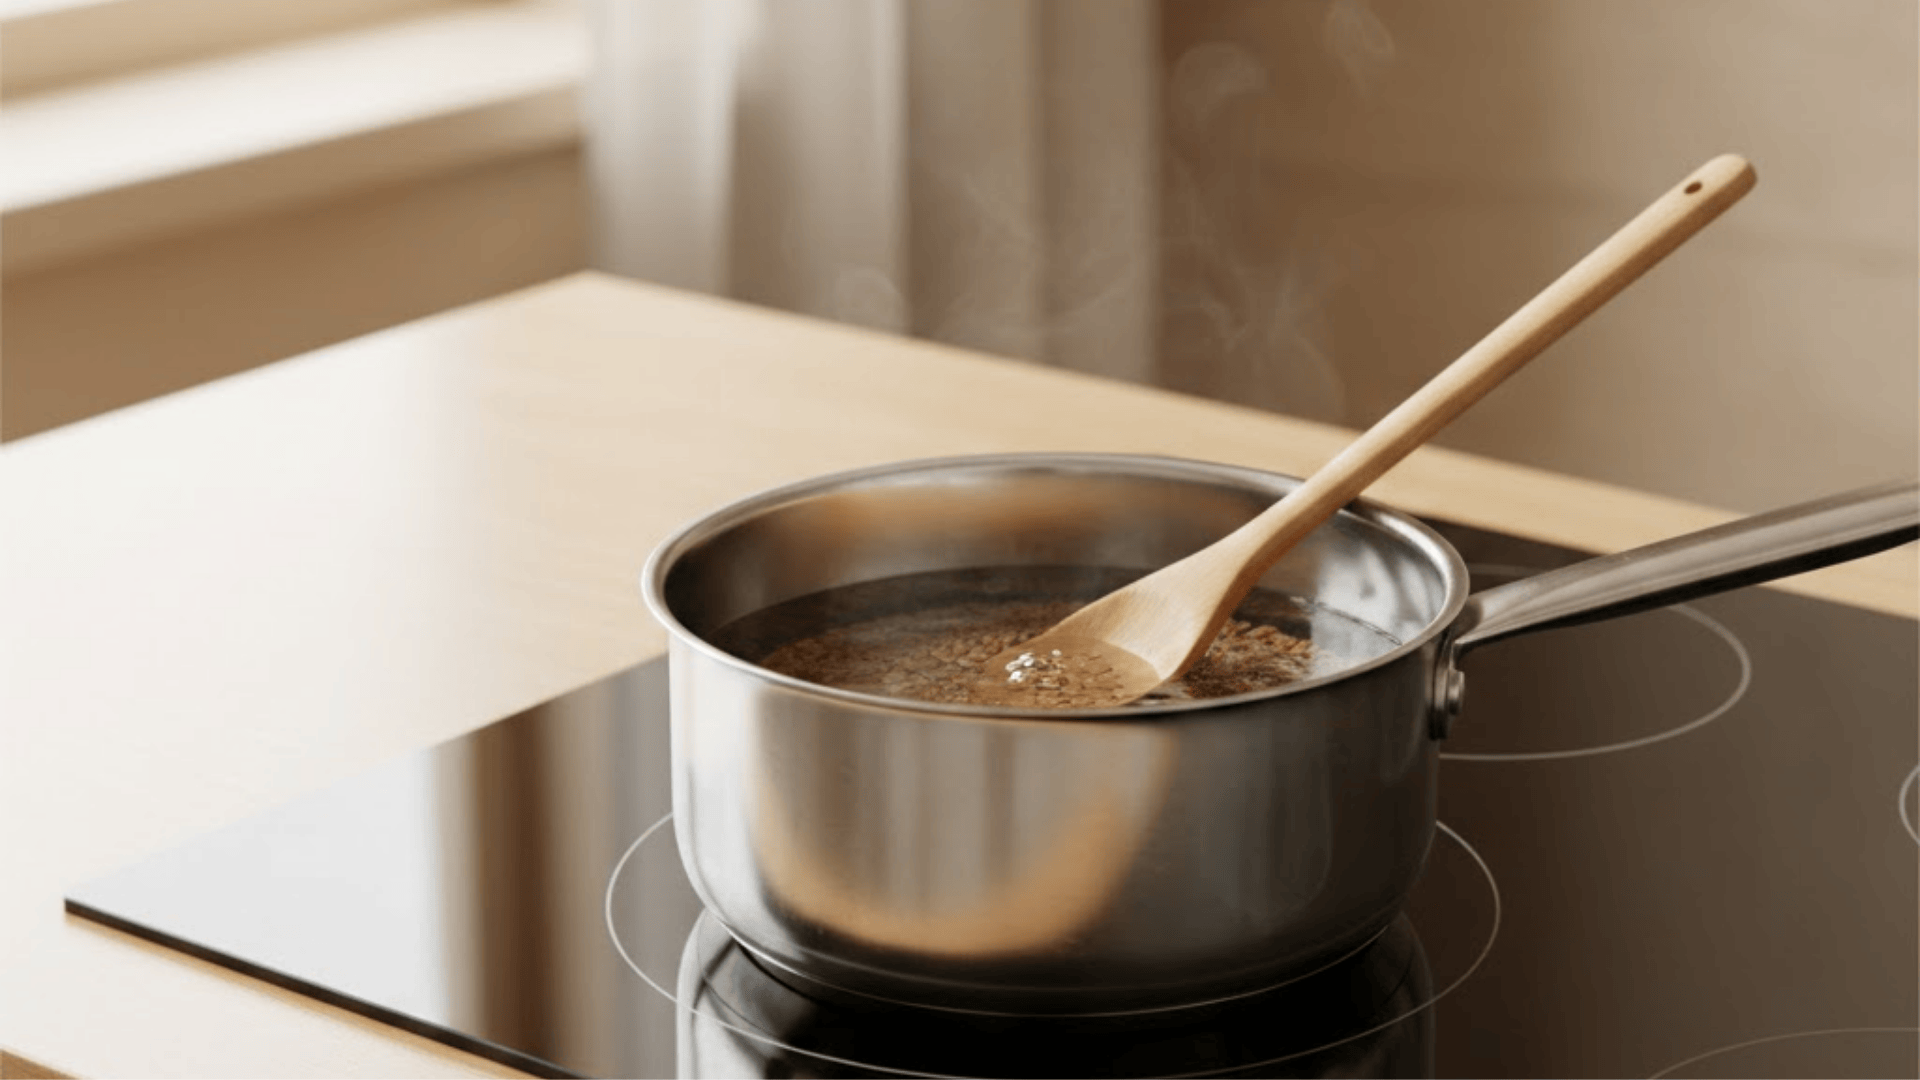
Add two tablespoons of whole flaxseeds to a medium pot with two cups of cold water. I always use filtered water because it makes the gel last longer without getting cloudy or weird-smelling.
Place the pot on your stove over medium-high heat and bring the mixture to a rolling boil. Stir occasionally with a spoon to prevent the seeds from sticking to the bottom of your pot. Once it starts boiling, reduce the heat to medium-low and let it simmer gently.
Step 2: Watch for Gel Consistency

Keep stirring the mixture every minute or so while it simmers on your stove for about five minutes. The water will start turning white and foamy as the flaxseeds release their natural gel into the liquid.
I know it’s ready when the mixture coats the back of my spoon and doesn’t drip off immediately. You’ll notice the consistency getting thicker and more slimy, which means the gel is forming perfectly. Don’t let it boil too long, or it’ll get too thick.
Step 3: Strain the Gel While Warm
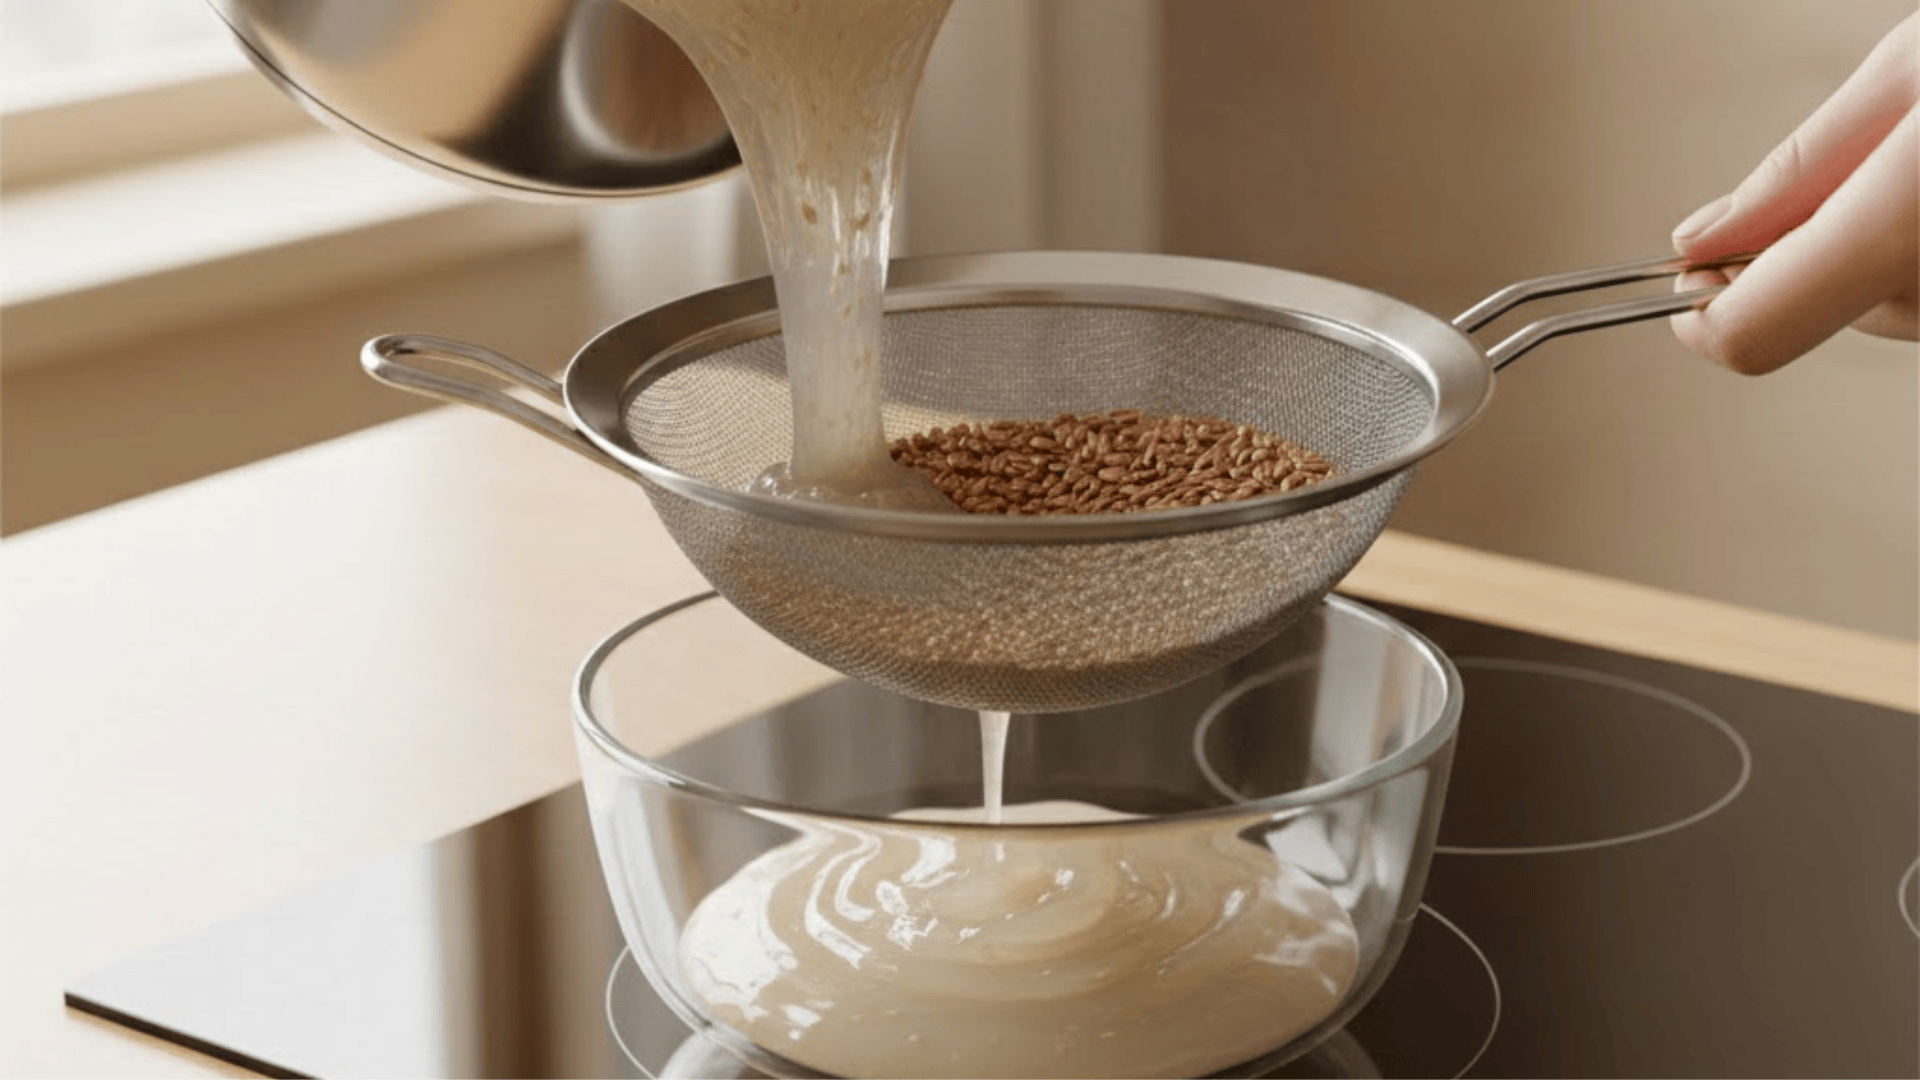
Remove the pot from the heat immediately once you see that thick, gel-like consistency you’re looking for. Place your fine mesh strainer or cheesecloth over a clean bowl and carefully pour the hot mixture through it.
I use a spoon to press down on the seeds gently to squeeze out every last bit of precious gel. Work quickly because the gel becomes harder to strain as it cools down and gets even thicker. Throw away the leftover seeds or save them for composting.
Step 4: Cool and Store Your Gel
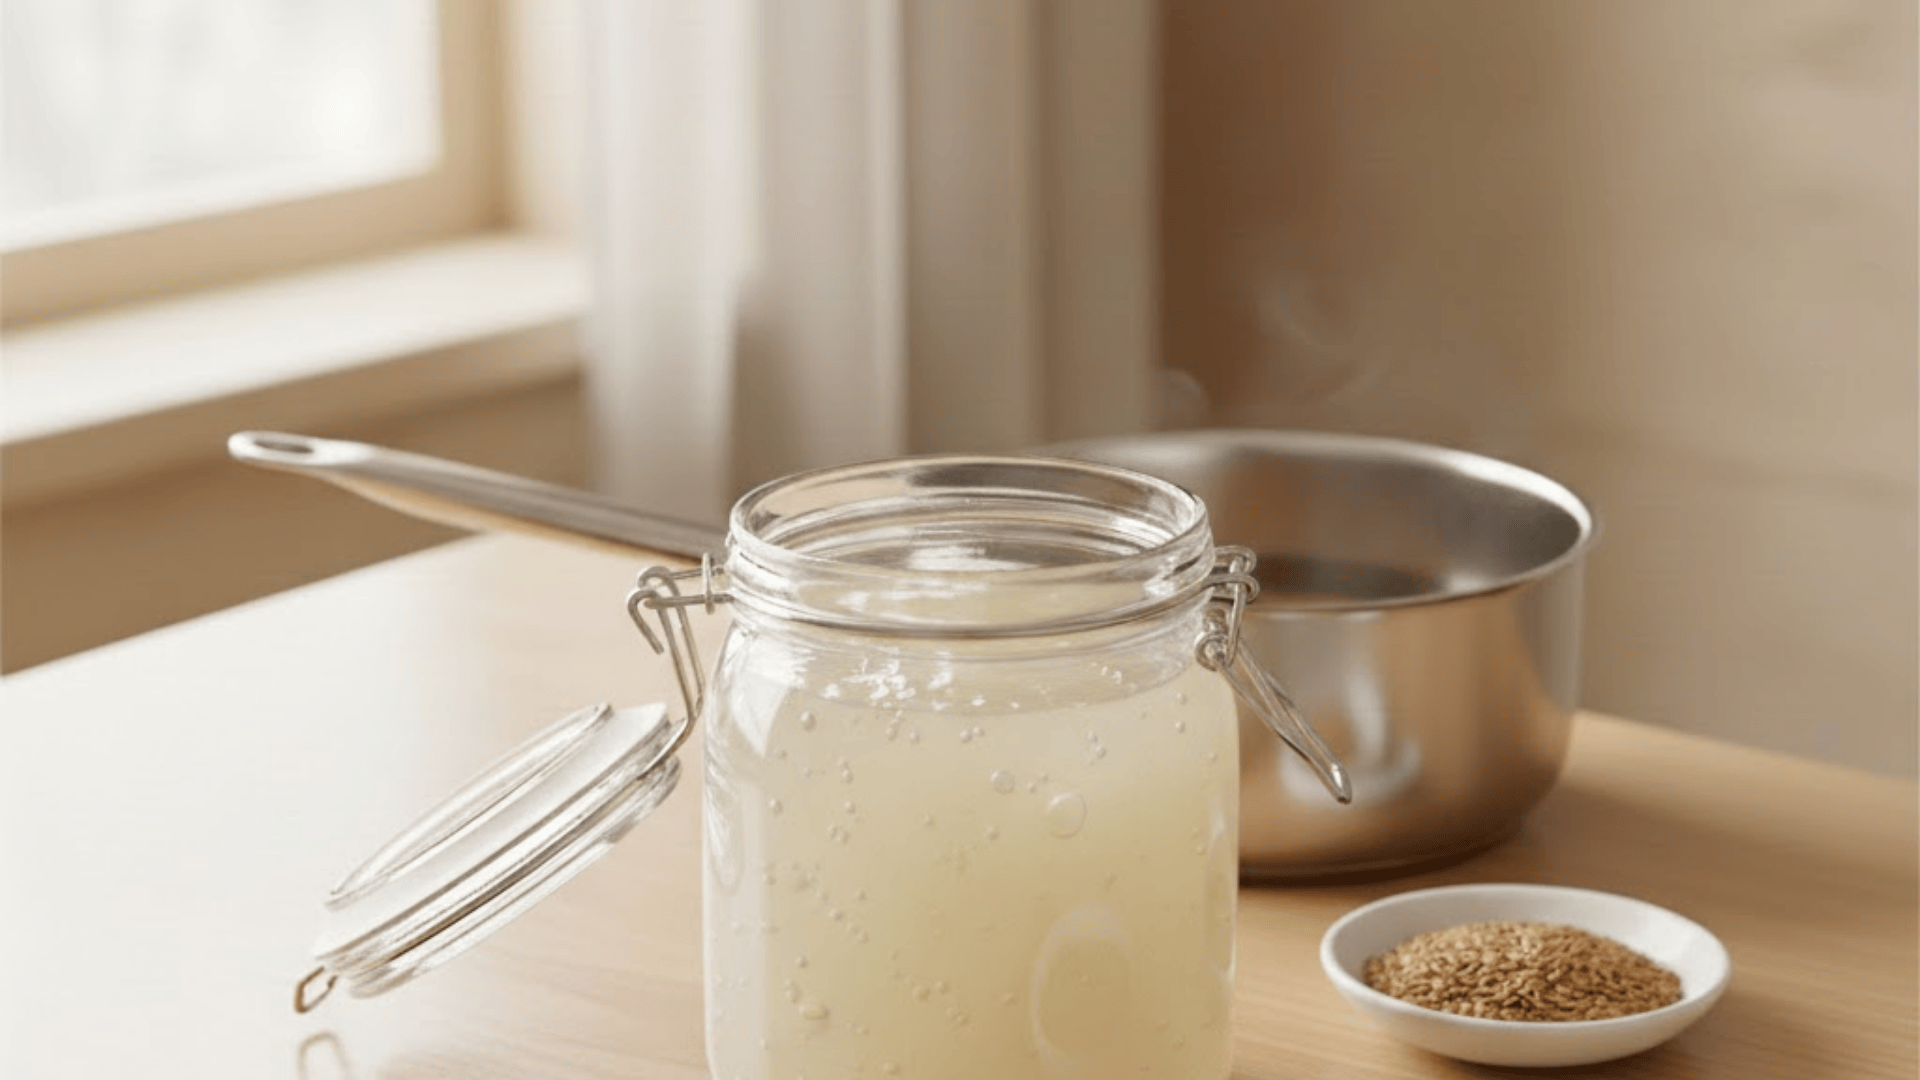
Let the strained gel cool down to room temperature in your bowl before transferring it to storage containers. I add my optional ingredients like aloe vera or essential oils once the gel is completely cool.
Pour the finished gel into an airtight glass jar or plastic container that seals tightly to prevent air exposure. Store it in your refrigerator where it’ll last for about two to three weeks without going bad.
Always use clean hands or a spoon when scooping out gel to avoid contamination.
How to Use Flaxseed Gel on Hair?
Getting the best results from flaxseed gel depends on how and when you apply it to your hair. Here’s how to use it properly for defined, frizz-free styles:
- Step 1: Always apply flaxseed gel to freshly washed, damp hair rather than completely wet or dry hair for best absorption.
- Step 2: Start with a quarter-sized amount for short hair or a palm-full for longer, thicker hair to avoid buildup.
- Step 3: Use the gel for wash-and-go, twist-outs, or braid-outs by raking through hair or applying before twisting overnight.
- Step 4: Apply your leave-in conditioner first on damp hair, then follow with flaxseed gel to lock in moisture and definition.
I’ve found that using too much gel makes my hair crunchy, so I always start with less. Once my hair dries completely, I scrunch out any crunch to reveal soft, bouncy curls that last for days.
Flaxseed Gel for Different Hair Types
I was amazed when I realized flaxseed gel works differently on my sister’s wavy hair compared to my tight curls. Understanding how it behaves on various hair types helps you adjust your application technique for the best results:
| Hair Type | How It Works | Application Tips | Expected Results |
|---|---|---|---|
| Curly Hair | Defines curls and reduces frizz | Apply to soaking wet hair, scrunch upward | Bouncy, defined curls with soft hold |
| Coily Hair | Provides moisture and definition | Use a generous amount, rake through sections | Enhanced coil pattern, less shrinkage |
| Wavy Hair | Enhances waves without weighing down | Apply a small amount to damp hair | Soft, natural-looking waves with movement |
| Fine Hair | Adds hold without heaviness | Use sparingly to avoid buildup | Volume and texture without greasiness |
| Thick Hair | Controls volume and frizz | Apply in sections for even coverage | Smooth, manageable hair with definition |
Experimenting with different amounts and application methods helps you find what works perfectly for your specific hair texture. The key is starting with less product and building up as needed rather than using too much right away.
Common Mistakes to Avoid
I’ve ruined several batches of flaxseed gel by making silly errors that were completely avoidable with better timing. Avoid these common mistakes I learned the hard way when making and using your gel:
- Over-Boiling the Gel: Boiling the mixture for too long makes the gel thick, gloopy, and impossible to spread through your hair evenly.
- Straining Too Late: Waiting until the gel cools down makes straining much harder because the gel becomes too thick to pass through easily.
- Using Ground Flaxseed: Ground flaxseed creates a grainy, clumpy gel that doesn’t strain properly and leaves residue in your hair instead.
- Applying Too Much Product: Using excessive amounts of gel creates crunchy, stiff hair with white flakes that look like dandruff when it dries.
Learning from these mistakes saves time and prevents wasted batches. Start small with amounts and timing until you find what works for you.
Final Words
Making my own flaxseed gel recipe has completely changed how I style my hair and saved me so much money. I can’t believe I spent years buying expensive products when this natural alternative works better and costs practically nothing.
Your hair deserves gentle, chemical-free care that actually delivers the moisture and definition you’ve been searching for all along.
Remember to keep your gel refrigerated, experiment with different amounts until you find your perfect application technique, and don’t be afraid to customize it.
I love adding lavender oil to mine for a calming scent that makes styling feel like a spa experience. Start making your first batch today and see the difference natural ingredients can make.
Drop a comment below and tell me how your flaxseed gel turned out!