What are dip nails, and why do people keep talking about them? They’ve become one of those beauty trends that everyone seems genuinely interested in lately.
I love how they look clean and professional, with a finish that feels effortless yet polished. Unlike most nail trends that disappear quickly, this one has really managed to stay around.
You’ll spot dip nails everywhere, whether it’s at work, casual outings, or special events. They have that understated, refined vibe that works for almost any occasion.
I think what makes them stand out most is how easy they are to appreciate once you’ve seen them up close.
What are Dip Nails?
Dip nails are a manicure method in which nails are dipped into a colored powder after applying a base coat that helps the powder adhere and harden.
I like how it gives a smooth, long-lasting finish without using UV light, which feels easier and safer for everyday wear. The technique combines the strength of acrylics with the glossy look of gel polish, making it both durable and stylish.
Originally, dip nails were developed as an acrylic-based system meant for long wear, but over time, the process became cleaner and more beginner-friendly.
What is Dip Powder Made Of?
Dip powder is made from finely milled acrylic polymers, pigments, and bonding agents that help it stick evenly to the nail.
What are dip powder nails? It’s a manicure method using this powder to create a smooth, durable finish that feels light yet strong.
Most modern dip powders are safe when used with clean tools and good hygiene. It’s best not to share containers to avoid contamination. Many brands now offer vegan or non-toxic formulas for those who prefer cleaner beauty choices.
I always check ingredients before buying to be sure they match my comfort level. Using high-quality dip powders keeps nails healthy and polished over time.
How are Dip Nails Applied: Step-by-Step Process
Applying dip nails involves several simple steps that anyone can follow with the right tools and a bit of patience.
I like that the process feels professional yet easy to do at home, making salon-quality nails more accessible for everyone.
Step 1: Prepping the Nails
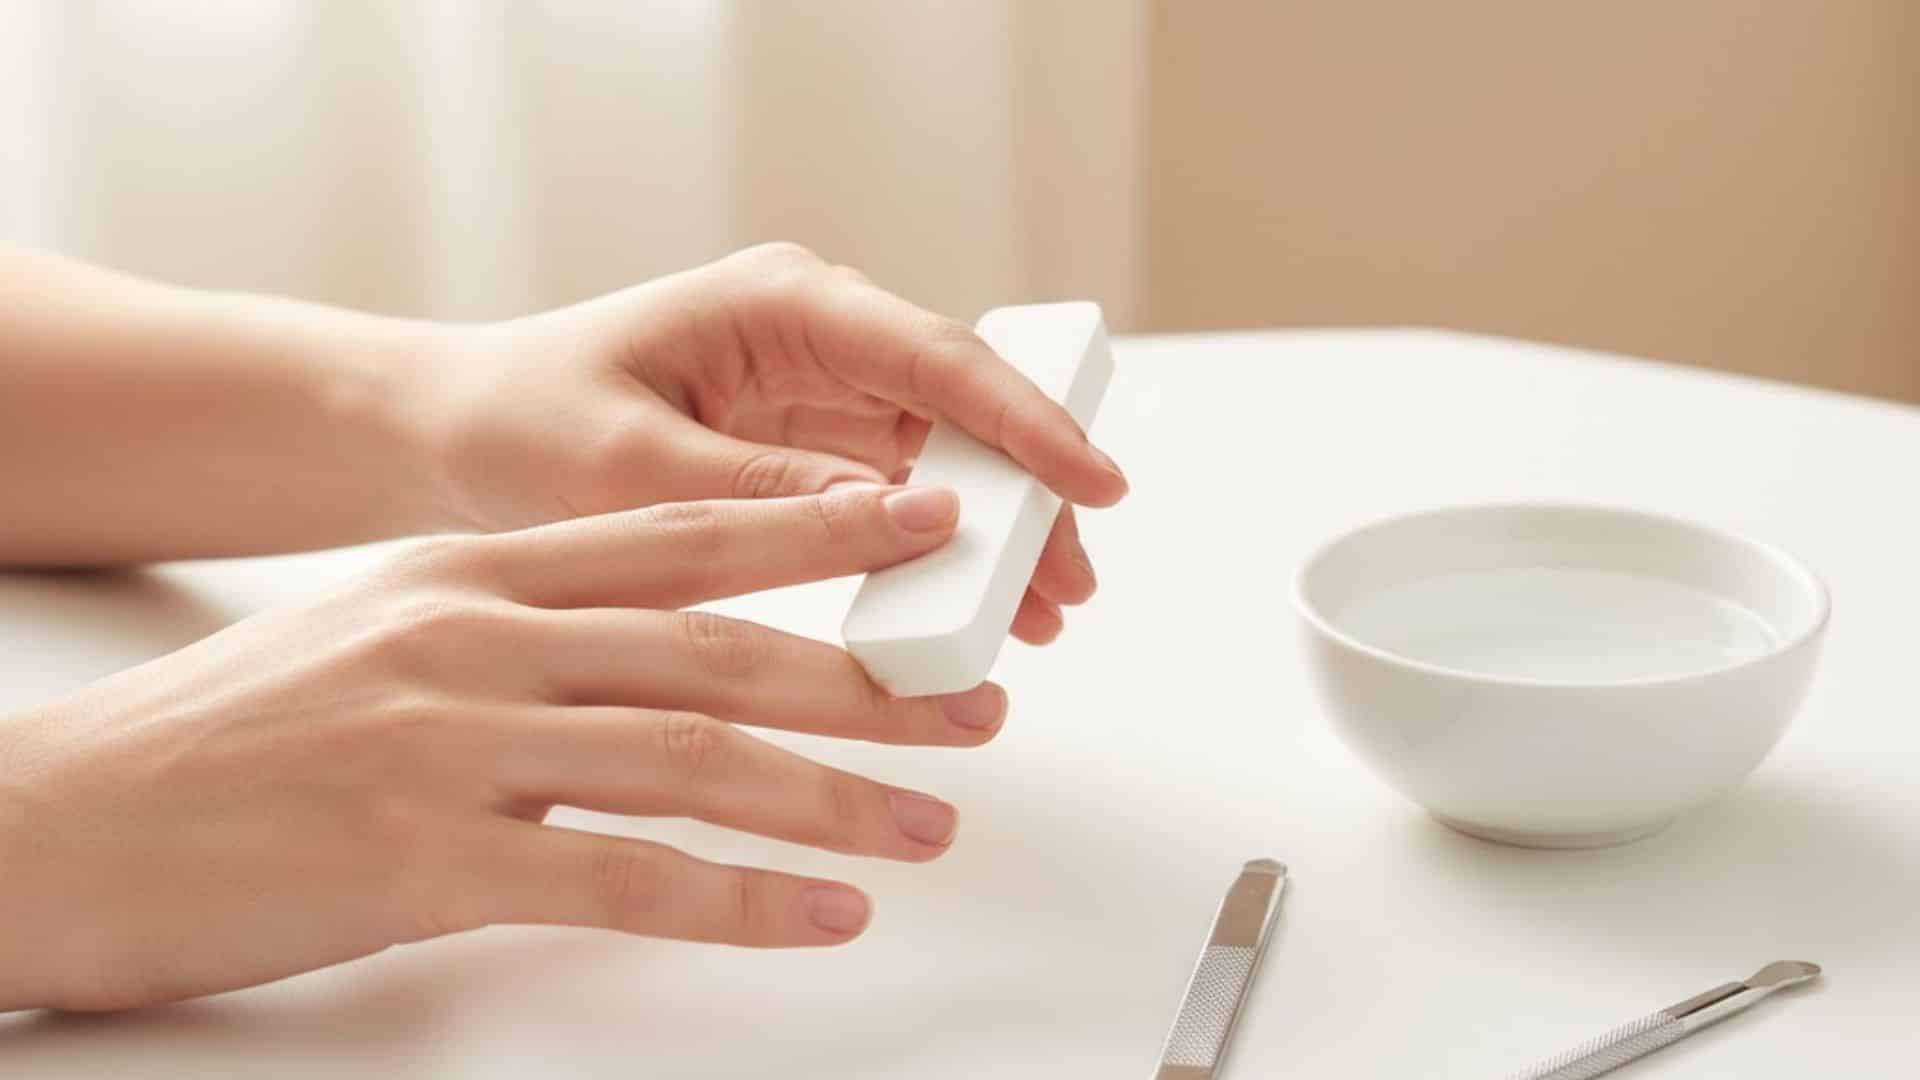
The process begins by cleaning the nails thoroughly and removing any old polish or residue. Nails are then trimmed, filed into the desired shape, and the cuticles are pushed back for a clean surface.
Lightly buffing helps the powder adhere better. Finally, the nails are wiped dry and dust-free to ensure smooth, even application in the following steps.
Step 2: Applying the Base Coat
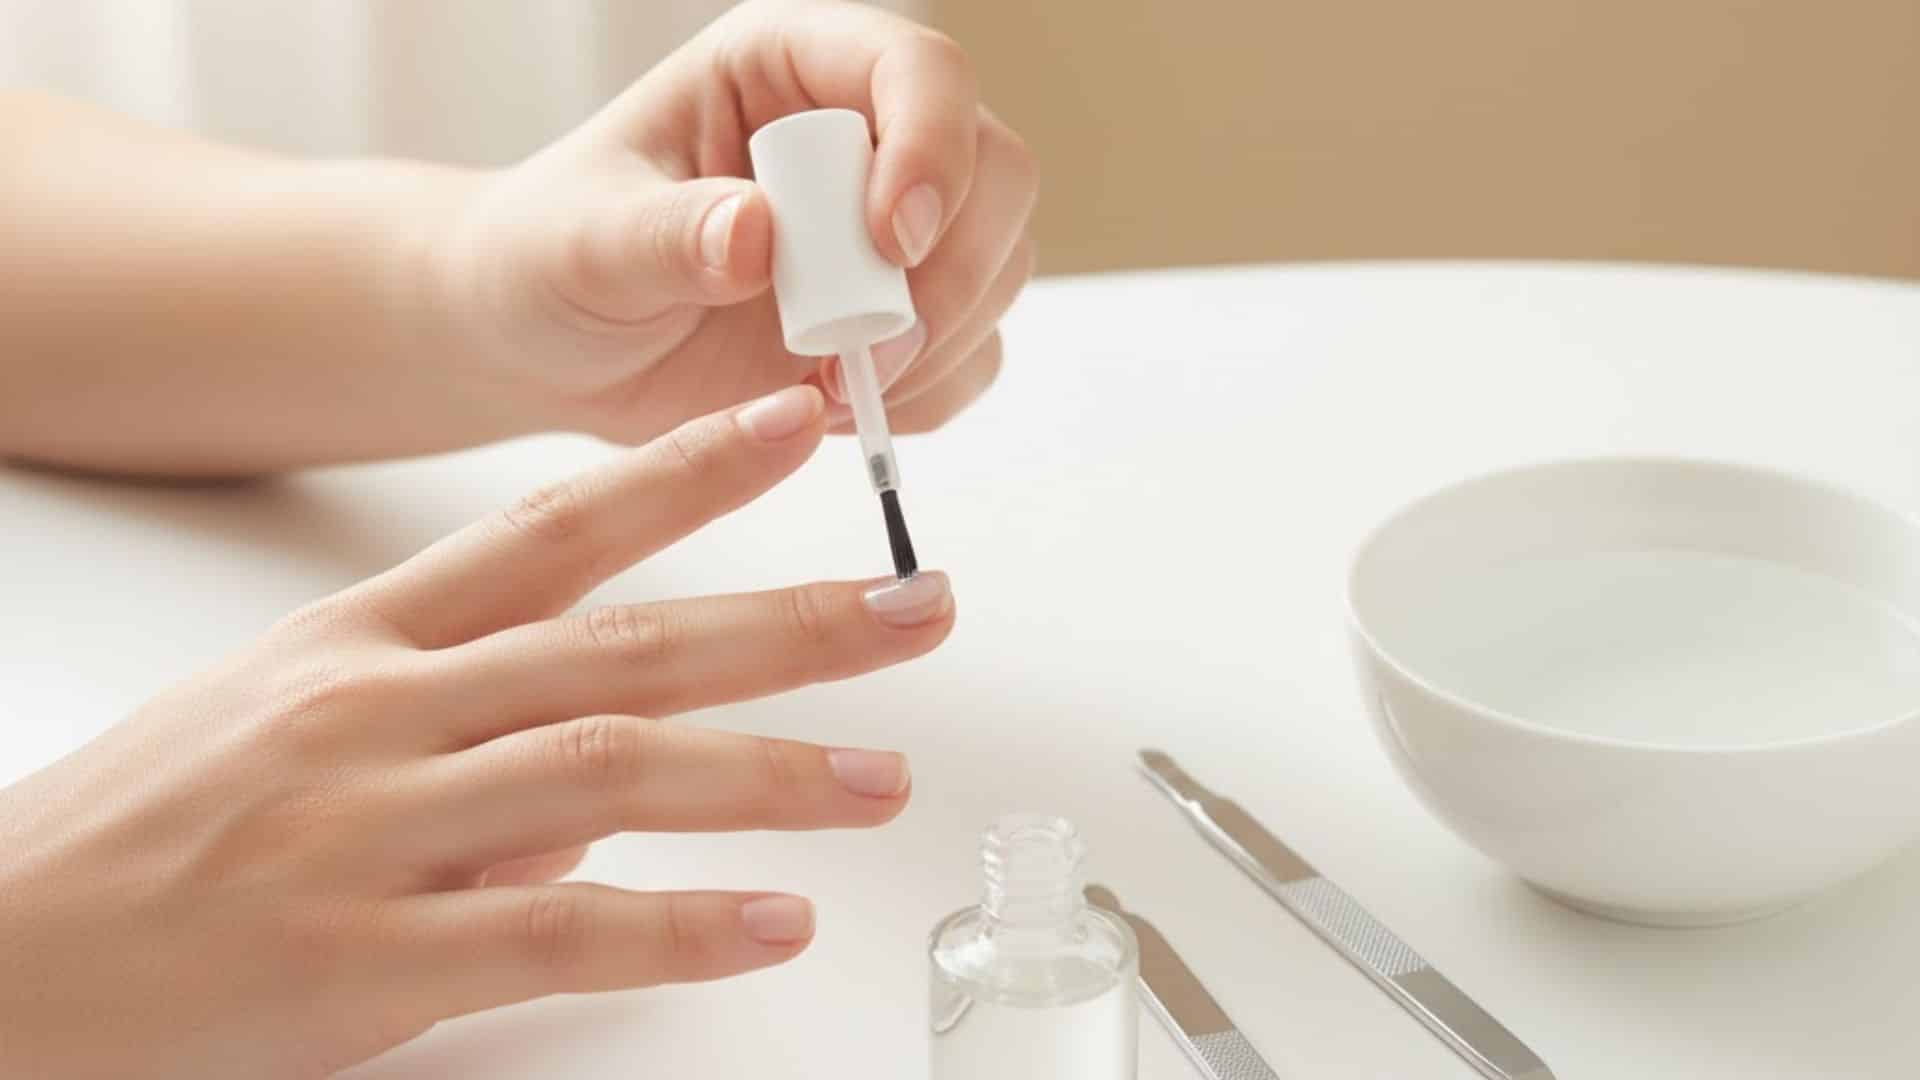
A thin, even layer of base coat is brushed onto each nail to create a sticky surface for the powder to cling to. It’s important to work one nail at a time, as the base coat dries quickly.
The product should not touch the cuticle area, preventing uneven coverage and ensuring the powder bonds cleanly.
Step 3: Dipping or Brushing Powder onto Nails
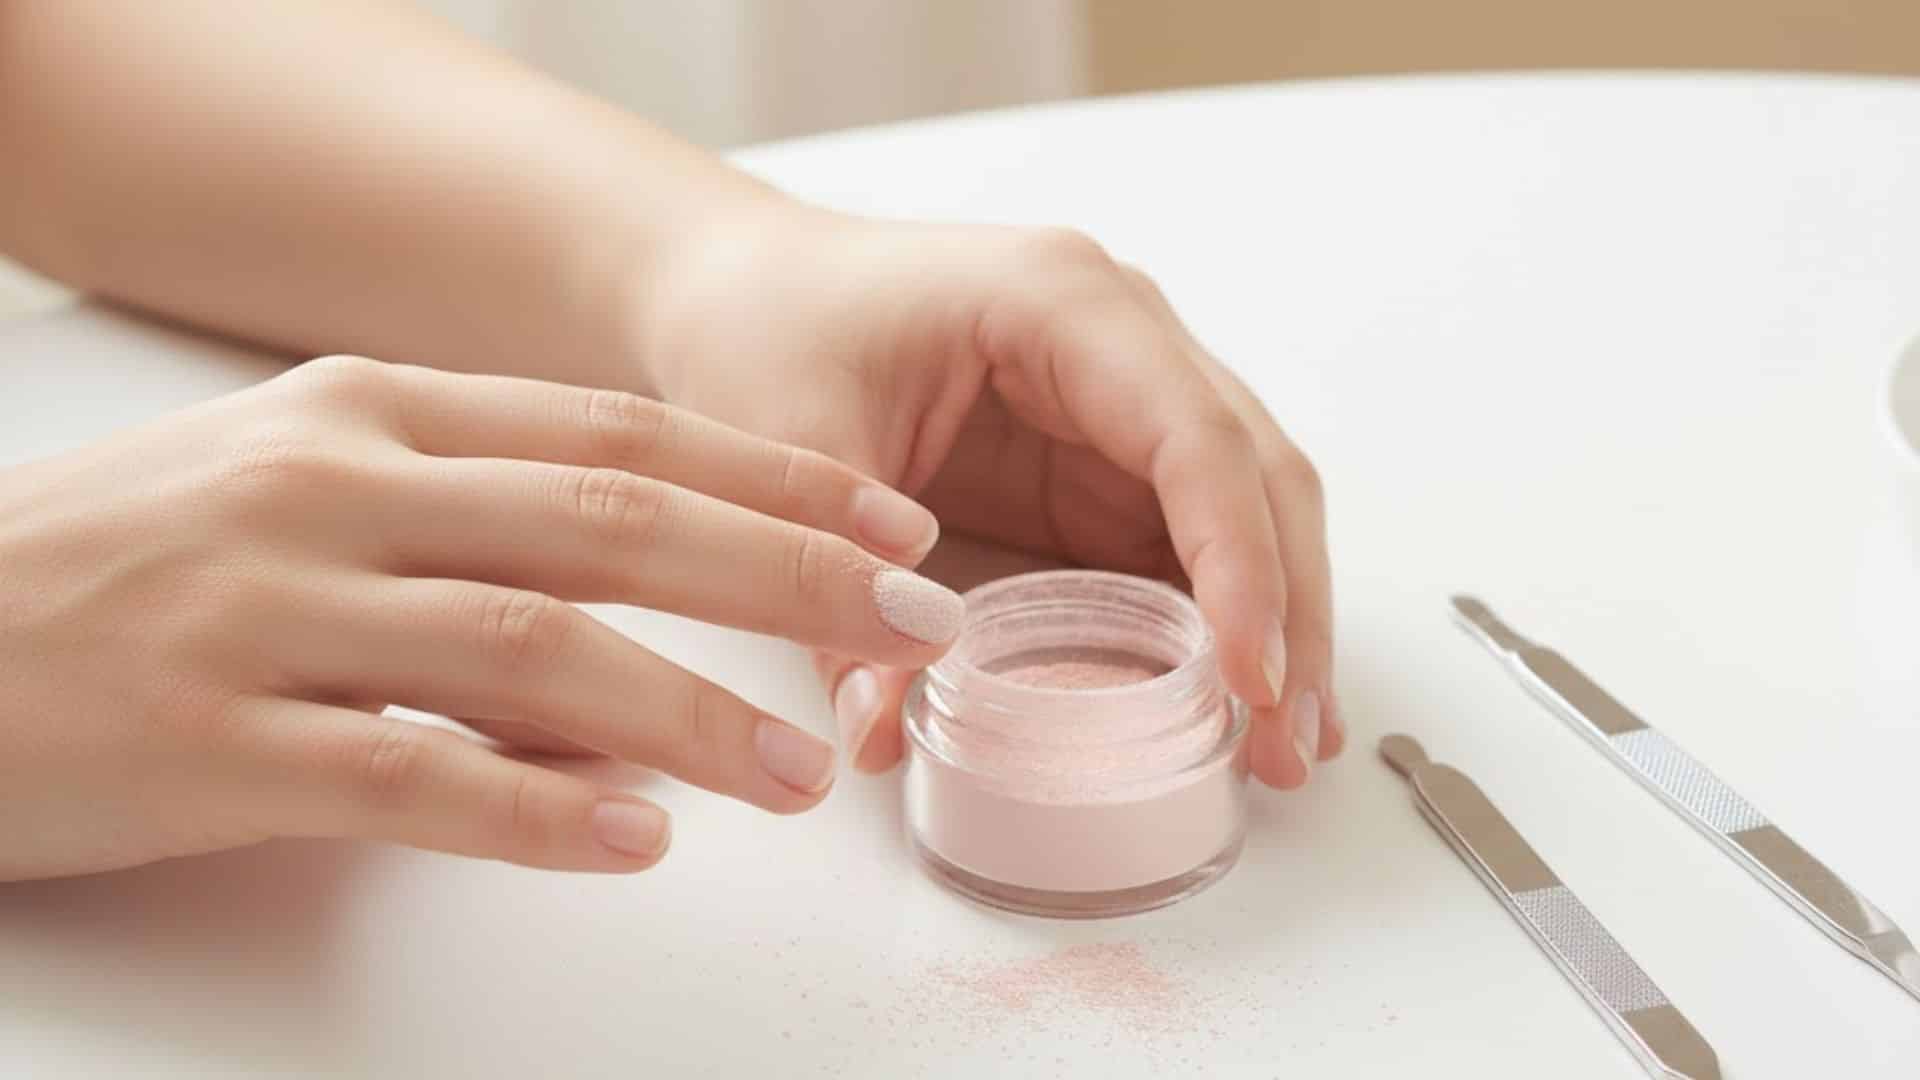
Each nail is dipped into colored powder or dusted with it using a soft brush, fully covering the base layer. Excess powder is tapped off gently before applying another layer for opacity and strength.
The process is typically repeated two or three times for rich color. The goal is to achieve a smooth, even finish before moving on.
Step 4: Applying the Activator to Harden the Powder
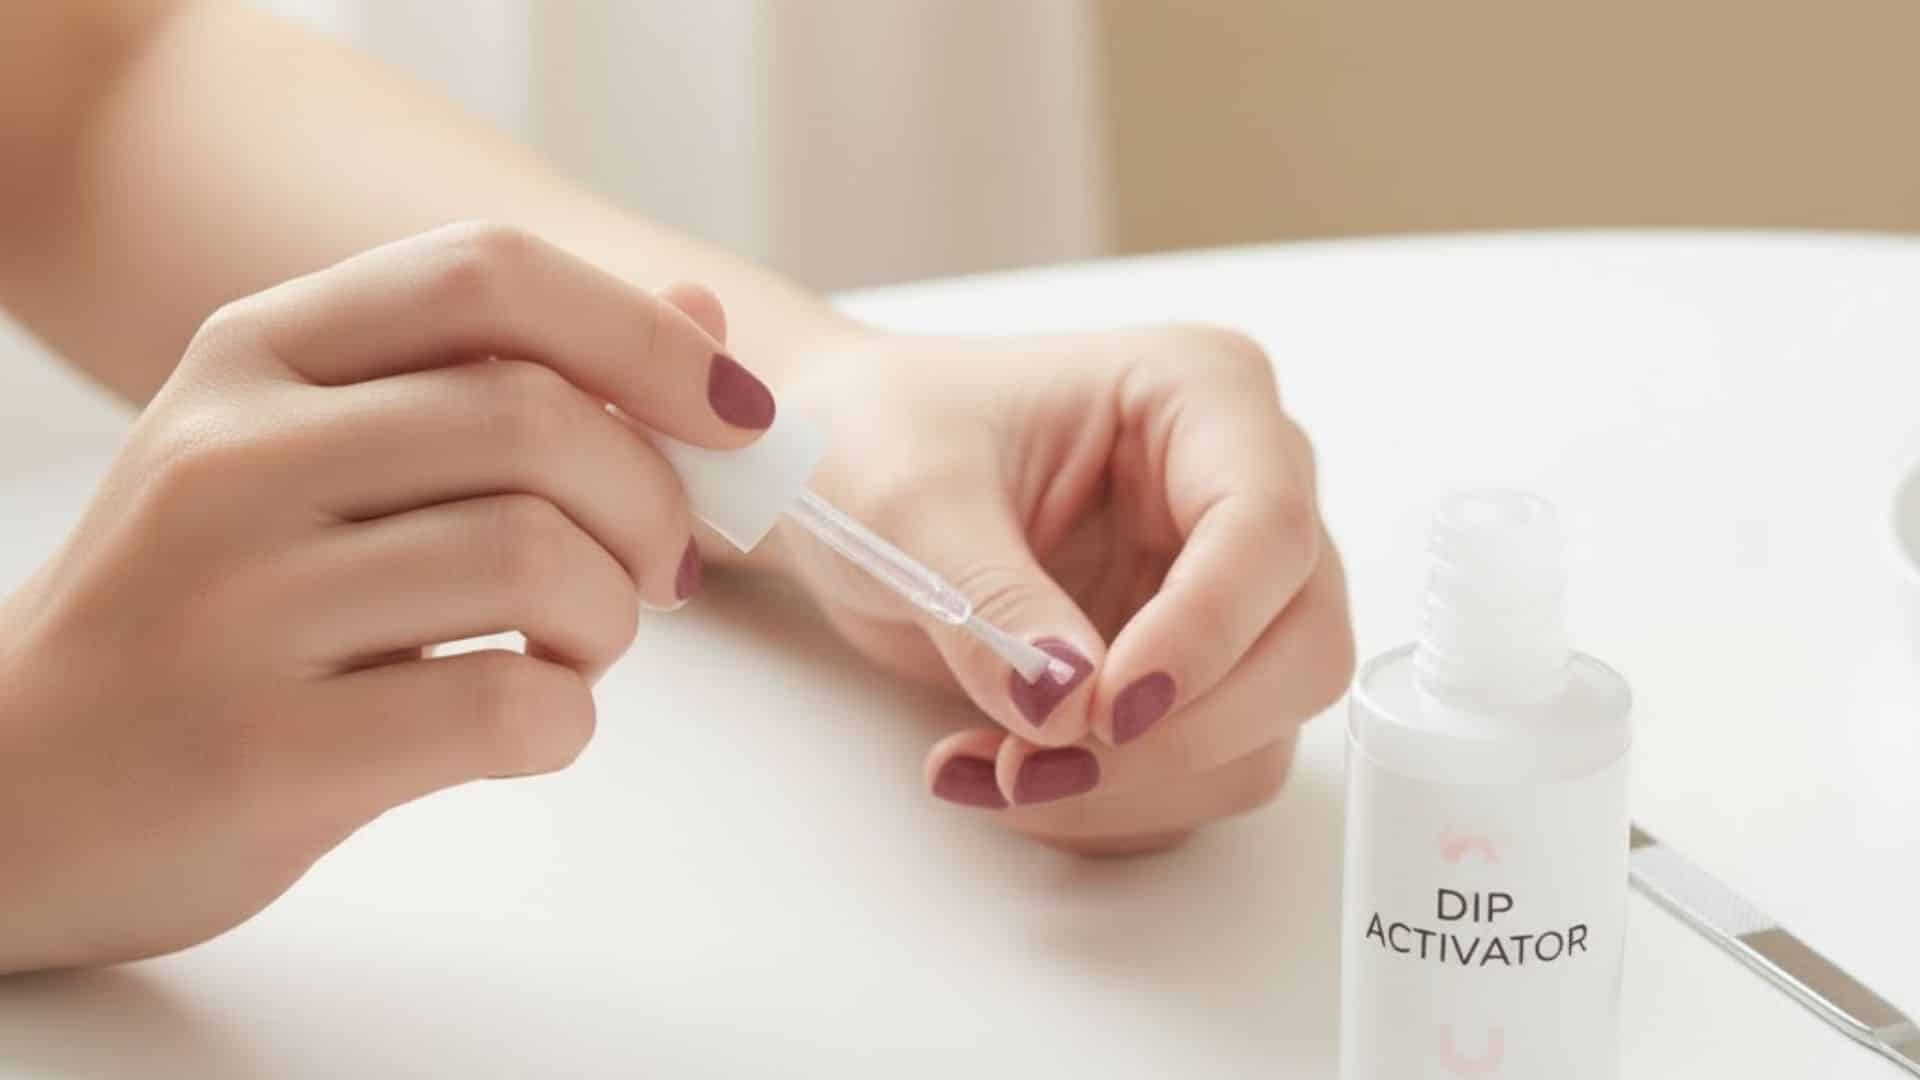
The activator is applied after the powder layers to harden and seal the color. It reacts with the powder, strengthening the surface and giving it a durable texture. The nails begin to set and firm up within seconds.
This step ensures the manicure lasts longer without cracking or chipping, preparing it for the final glossy coat.
Step 5: Sealing with a Top Coat for Shine
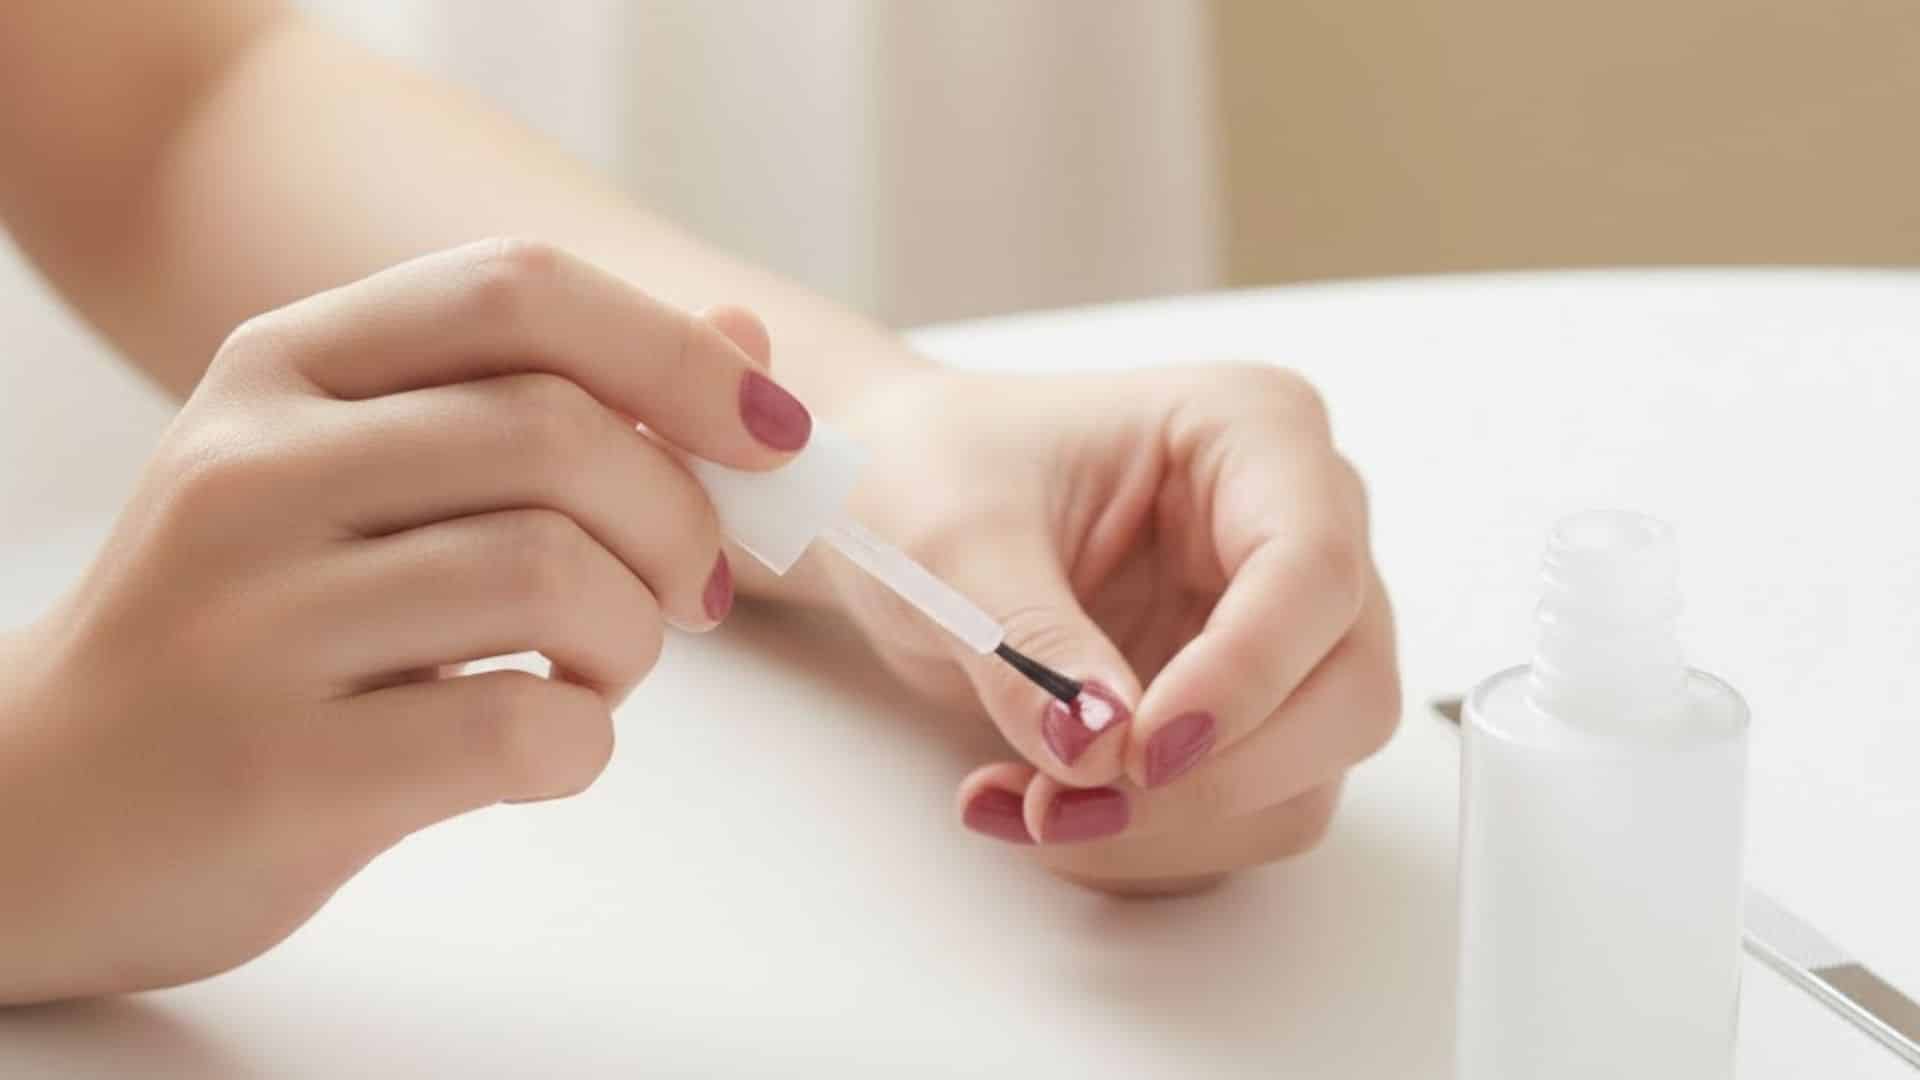
A clear top coat is brushed evenly over each nail to create a smooth, glossy finish. This layer locks in color, adds shine, and prevents chips or scratches. Once applied, the nails are left to air-dry completely.
The result is a strong, polished manicure that feels professional and lasts for several weeks without losing its luster.
Benefits of Dip Powder Nails
Dip powder nails are loved for their durability and low-maintenance shine, making them a go-to choice for long-lasting manicures.
They combine beauty with practicality, offering several key benefits that stand out from other nail types:
- Long-lasting wear: Dip nails typically last up to a month without peeling or fading, even with daily activities.
- Stronger and chip-resistant: They’re tougher than polish and resist cracks, perfect for everyday wear.
- Variety of colors and finishes: Available in so many shades and finishes, from matte to shimmer.
- Low maintenance: Minimal touch-ups needed between salon visits or at-home applications.
I really appreciate how dip nails save time and always look fresh, even weeks after application.
Downsides of Dip Nails
Dip powder nails are popular, but they do have a few disadvantages that are worth knowing before trying them out.
I think understanding these points helps you make a more informed decision about your nail care routine. Here are some of the most common downsides people mention
- Removing dip nails can be time-consuming and usually involves soaking in acetone for several minutes
- Overusing dip nails without giving your nails a break can make them weaker or thinner over time
- Using shared powder jars in salons can raise hygiene concerns if not cleaned properly between clients
- Some people experience mild allergic reactions to bonding agents or resins used in dip systems
Understanding these drawbacks helps me make better choices about when and how often to get dip nails.
Comparing Dip Nails, Gel Nails, and Acrylic Nails
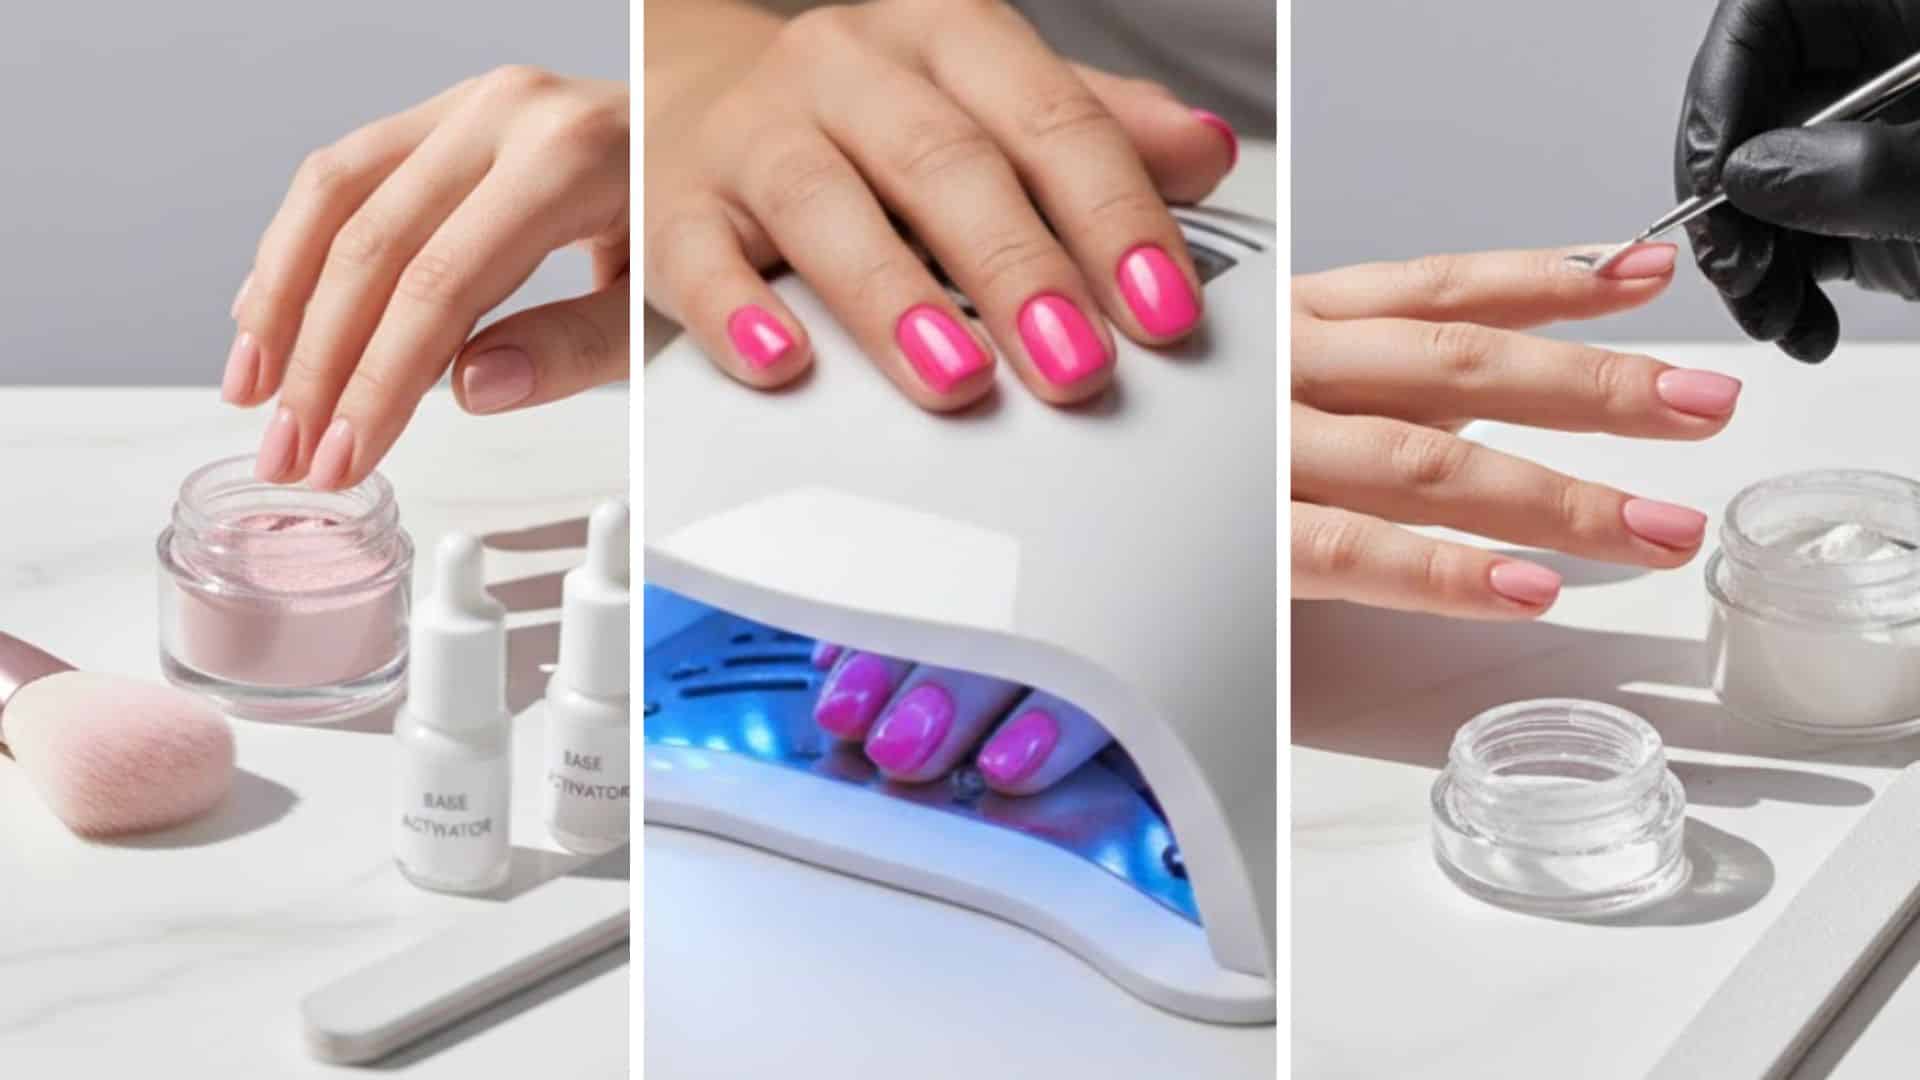
I’ve always found it helpful to compare different types of manicures side by side before choosing the right one for your nails. Here’s a simple comparison showing how dip, gel, and acrylic nails stack up:
| Type | Durability | Application | Removal | Look | Best For |
|---|---|---|---|---|---|
| Dip Powder | 3–4 weeks | Dipping powder | Soak-off | Smooth and natural finish | Long wear without UV light |
| Gel Nails | 2–3 weeks | UV curing | Soak-off | Glossy and flexible shine | Glossy, flexible finish |
| Acrylic Nails | 4–6 weeks | Liquid & powder mix | Filing | Thick and sculpted appearance | Strong structure and extensions |
Seeing them compared this way makes it easier to choose the right style depending on your needs, lifestyle, and personal preference.
How to Remove Dip Powder Nails Safely?
Removing dip powder nails takes a little patience, but it’s easy to do at home with the right steps. I like taking my time with removal because it helps protect the natural nails underneath from damage.
- Step 1: Use a gentle nail file to buff away the shiny top coat without filing too deeply into the powder.
- Step 2: Soak nails in acetone for 10 to 15 minutes to soften the dip layers completely.
- Step 3: Gently push off the softened powder with a cuticle pusher or orangewood stick, being careful not to scrape too hard.
- Step 4: Finish by washing hands, applying cuticle oil, and using a nail strengthener to rehydrate and protect the nails.
Taking time to remove dip nails properly keeps them strong and healthy for the next manicure without causing breakage or thinning.
Aftercare Tips for Healthy Nails
Healthy nails need care after dip powder removal to stay strong and flexible. Following a few simple steps helps nails recover quickly and prevents dryness or breakage.
- Apply cuticle oil daily to keep the nail area soft, hydrated, and flexible.
- Avoid peeling or picking at leftover powder or residue to prevent damage to natural nail layers.
- Take short breaks between manicures to let nails breathe and regain their natural strength.
- Use strengthening treatments or keratin-based products to rebuild and protect the nail surface.
I always notice my nails stay smoother and healthier when I follow these small habits consistently after each manicure.
Popular Dip Nail Brands and Starter Kits
Choosing the right dip powder nail kit can make all the difference between a smooth application and a frustrating experience.
| Brand | Starter Kit Name | Key Features | Best For |
|---|---|---|---|
| SNS (Signature Nail Systems) | SNS Dip Powder Nail Kit – French Manicure (DIY) | Vitamin-infused powders, promote nail strength, smooth application | Nail health, salon & home |
| Kiara Sky | Kiara Sky Dip Powder Kit | Vibrant colors, easy application, chip-resistant finish | Trendy colors, salons & DIY |
| Nailboo | Nailboo Premium Dip Nails Kit | Easy to use, affordable, salon quality, good tutorials | Beginners, budget-friendly |
| DND (Dashing Diva) | DND Dip Powder Kit | Cruelty-free, glossy finish, chip-resistant | Quality & ethical |
| Makartt | Makartt Dipping Powder Kit | No lamp needed, odorless, non-yellowing, chip-resistant | Salon and home use |
These kits all bring something special, whether it’s nail health, easy application, or professional quality. I like that there’s an option for every budget and skill level.
Summing Up
Now that you know what dip nails are, it’s easy to see why they’ve become such a popular choice for so many people. They fit flawlessly into everyday life, offering a clean, polished look with minimal effort or upkeep.
I like how effortless they feel once you get used to them; there’s something calming about the whole process. You can experiment with different finishes and shades until you find one that perfectly fits your style or routine.
If you prefer soft neutrals or bold, vibrant tones, there’s always room to make them your own. Comment below and share your favorite dip nail look; I’d love to hear your go-to styles and tips!