Have you ever looked at a garlic bulb in your kitchen and wondered, “how does garlic grow?” I used to think garlic was this complicated plant, but I was totally wrong!
Growing garlic is actually one of the easiest things you can do in your garden. The whole process takes about 8 to 9 months from start to finish, and most of the magic happens underground where you can’t even see it.
I’ll walk you through every stage of garlic cultivation, from planting a single clove in the fall, through the quiet winter months, to harvesting your own bulbs next summer.
You’ll learn when to plant, what happens at each stage, and how to care for your garlic so you get the biggest, best bulbs possible.
The Life Cycle of Garlic
Knowing how garlic grows enables proper care at every stage. Here is a detailed overview of each phase of garlic’s growth, from planting to harvest.
| Stage | Timing |
|---|---|
| Stage 1: Planting Garlic (Fall) | 4-6 weeks before the first frost |
| Stage 2: Root Development (Winter) | Winter months |
| Stage 3: Leaf Development (Spring) | Early spring |
| Stage 4: Bulbing and Scape Formation (Late Spring) | Late spring |
| Stage 5: Harvest Time (Late Spring/Early Summer) | 120-150 days after planting |
| Post-Harvest: Curing and Storing | After harvest (2-3 weeks curing time) |
This table streamlines the process of garlic growth, helping you easily follow each step to ensure successful cultivation.
How Does Garlic Grow: Step-By-Step Guide
Garlic is surprisingly easy to grow once you understand the basics. Here’s a simple step-by-step guide to take you from planting a clove to harvesting full, flavorful bulbs.
Step 1: Select and Prepare the Planting Site
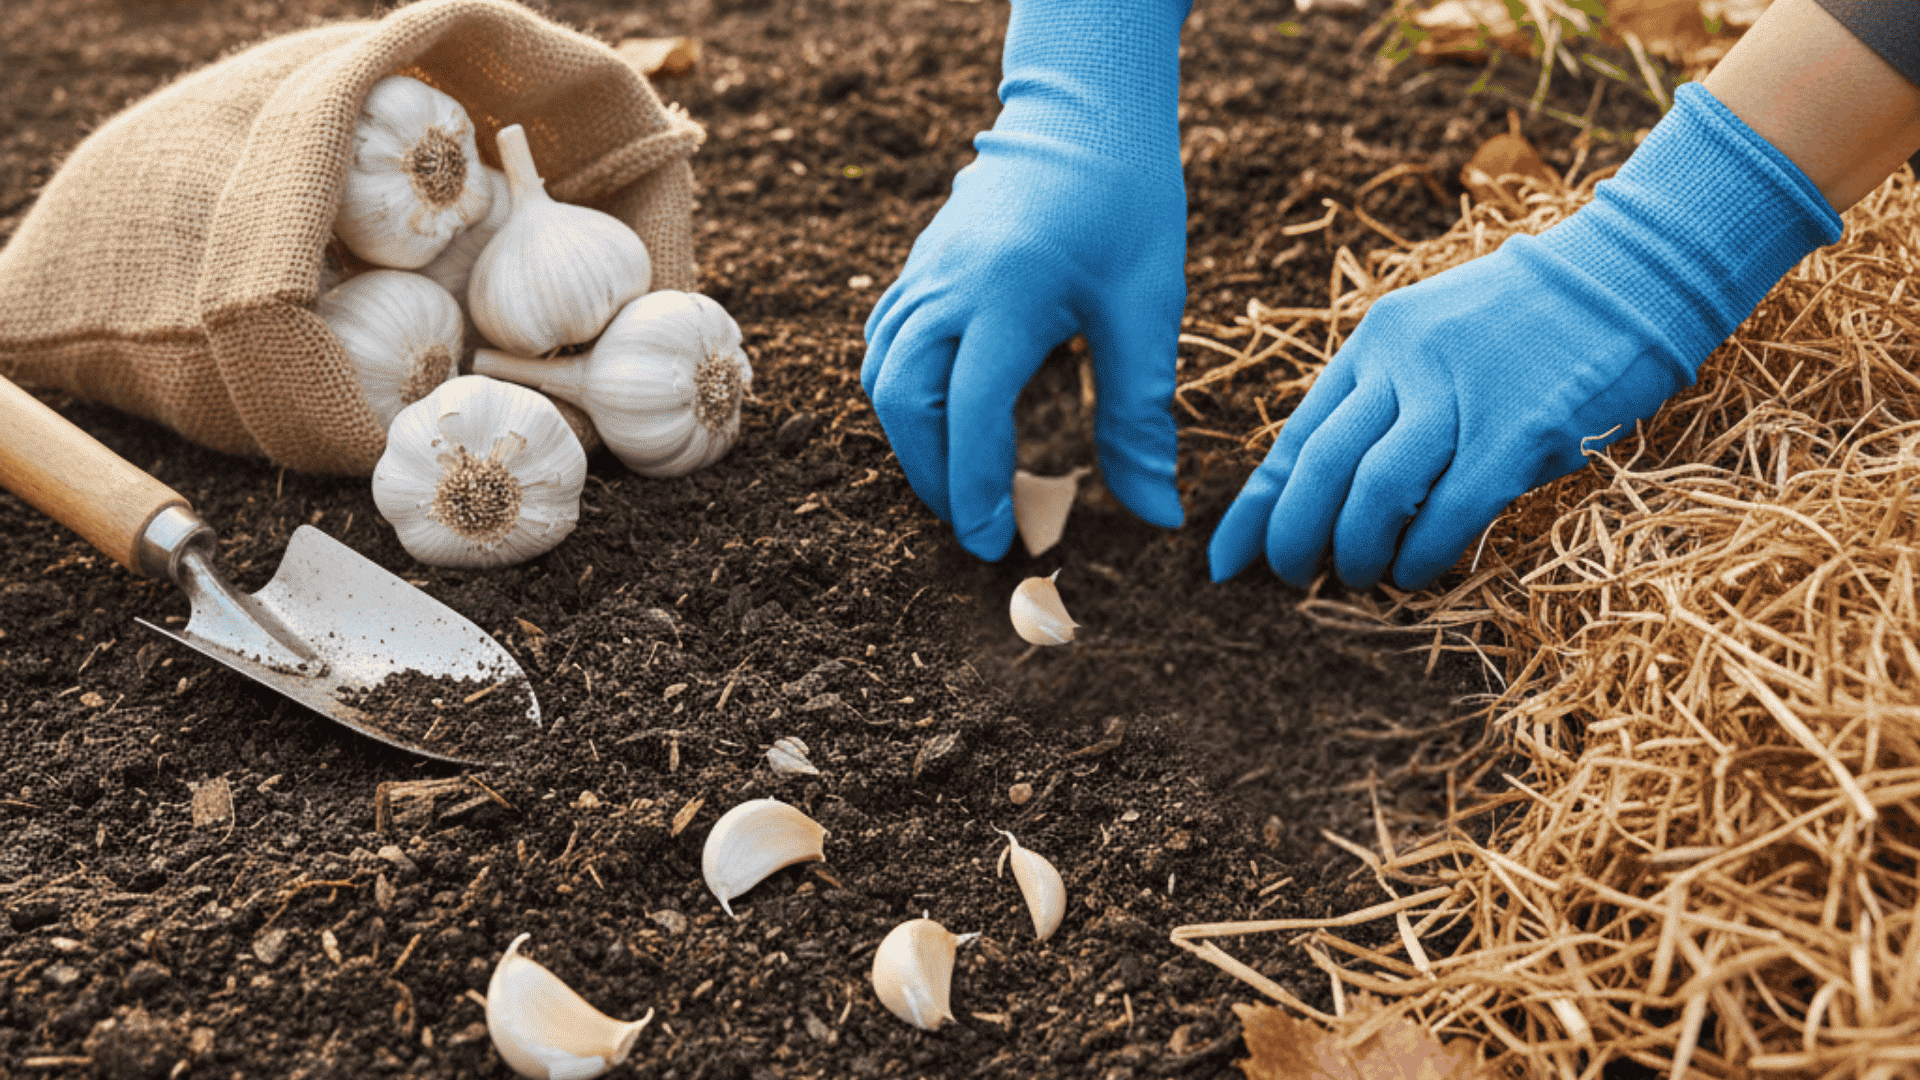
When I think about how garlic grows, it all starts with planting the right way. Let me walk you through the steps to get your garlic off to a great start.
- Choose a Sunny Spot: Garlic needs 6+ hours of direct sunlight per day.
- Prepare the Soil: Garlic grows best in well-drained, rich soil. Amend the soil with compost for added nutrients.
- Test Soil pH: Garlic prefers slightly acidic soil with a pH of 6.0-7.0.
By following these simple planting tips, you’ll set your garlic up for success and enjoy a healthy, bountiful harvest.
Step 2: Planting the Garlic
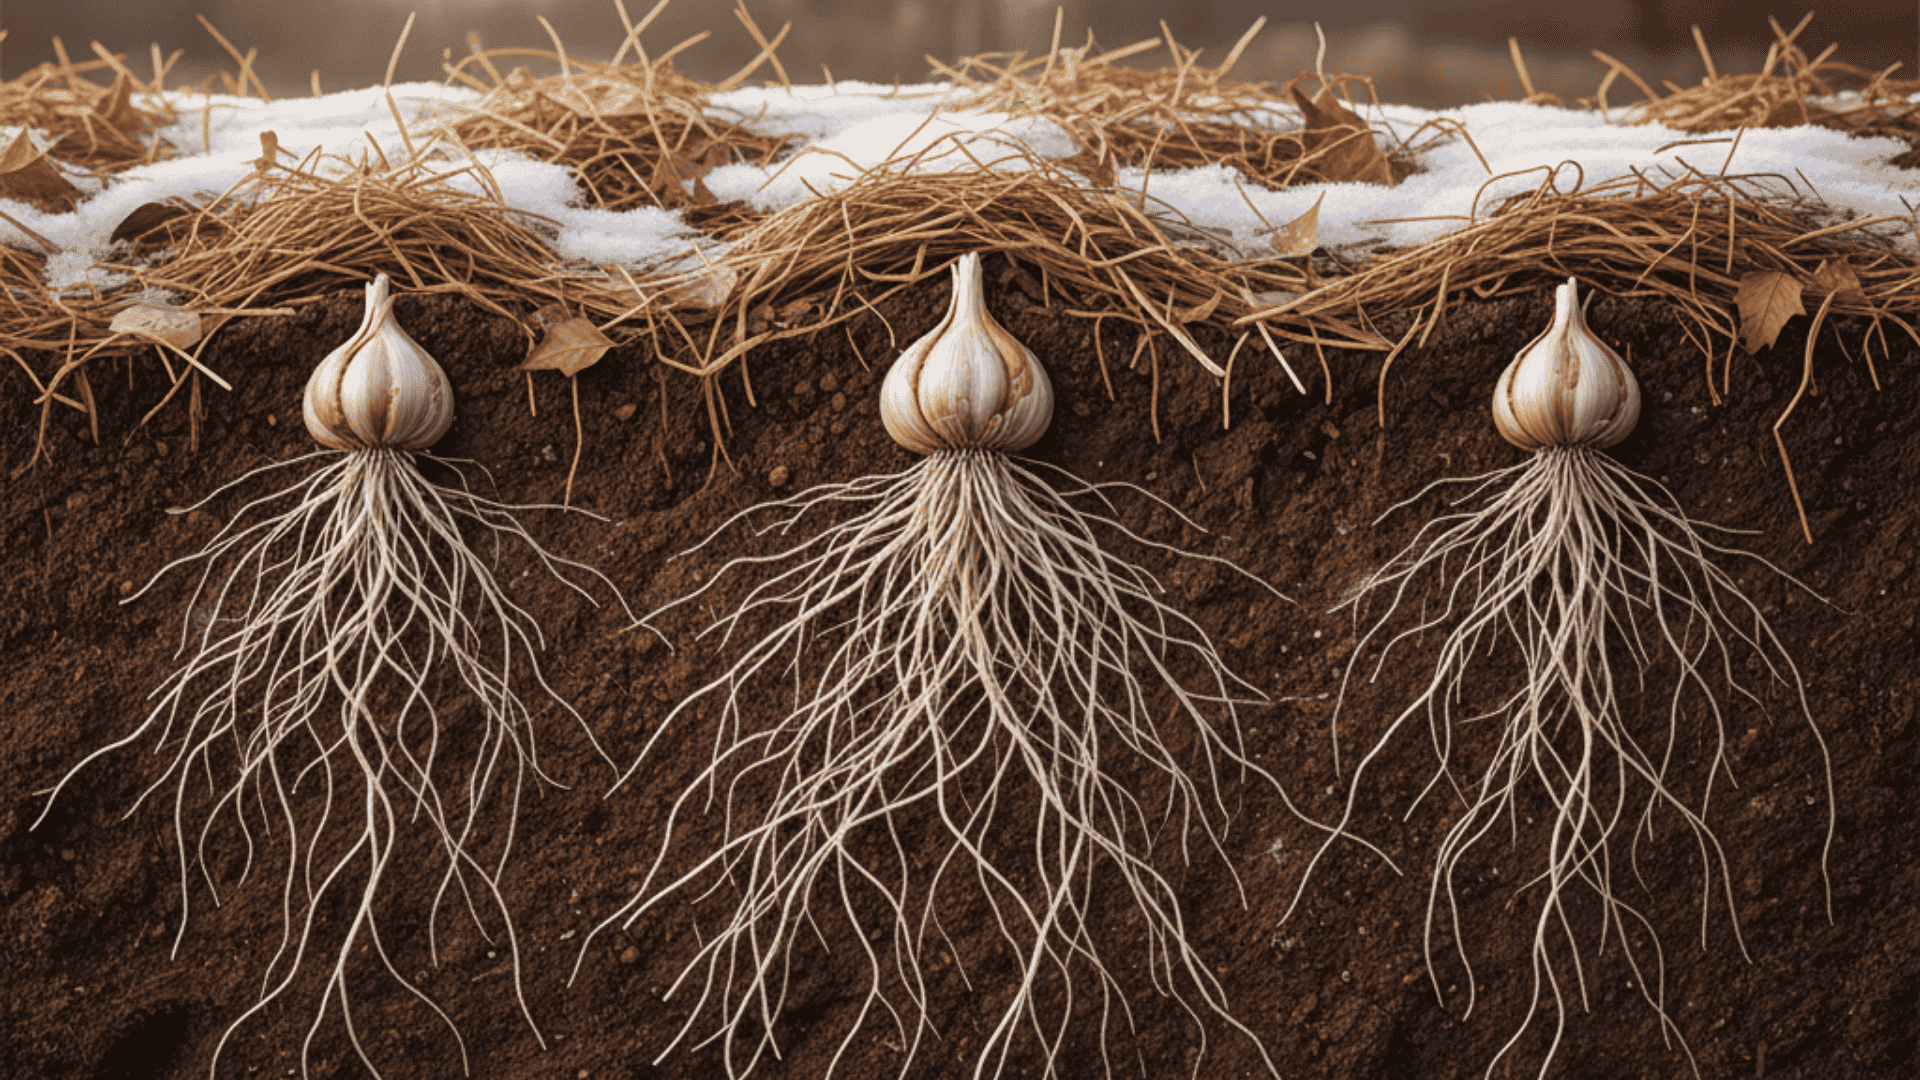
When it comes to garlic growth, the winter phase is when the real work happens underground. This stage is crucial for building strong roots that will support future growth.
- Timing: Plant garlic 4-6 weeks before the first expected frost in fall.
- Select Cloves: Choose healthy, large cloves from a bulb. Avoid using store-bought garlic as it may not be suited for your climate.
- Plant Depth & Spacing: Plant cloves 2-4 inches deep with the pointed end facing up, and space them 6 inches apart.
- Add Mulch: Apply 3-4 inches of mulch, like straw or leaves, after planting to regulate temperature and retain moisture during winter.
By the time spring rolls around, your garlic will be ready to thrive, thanks to the solid foundation it developed during the cold months.
Step 3: Leaf Growth
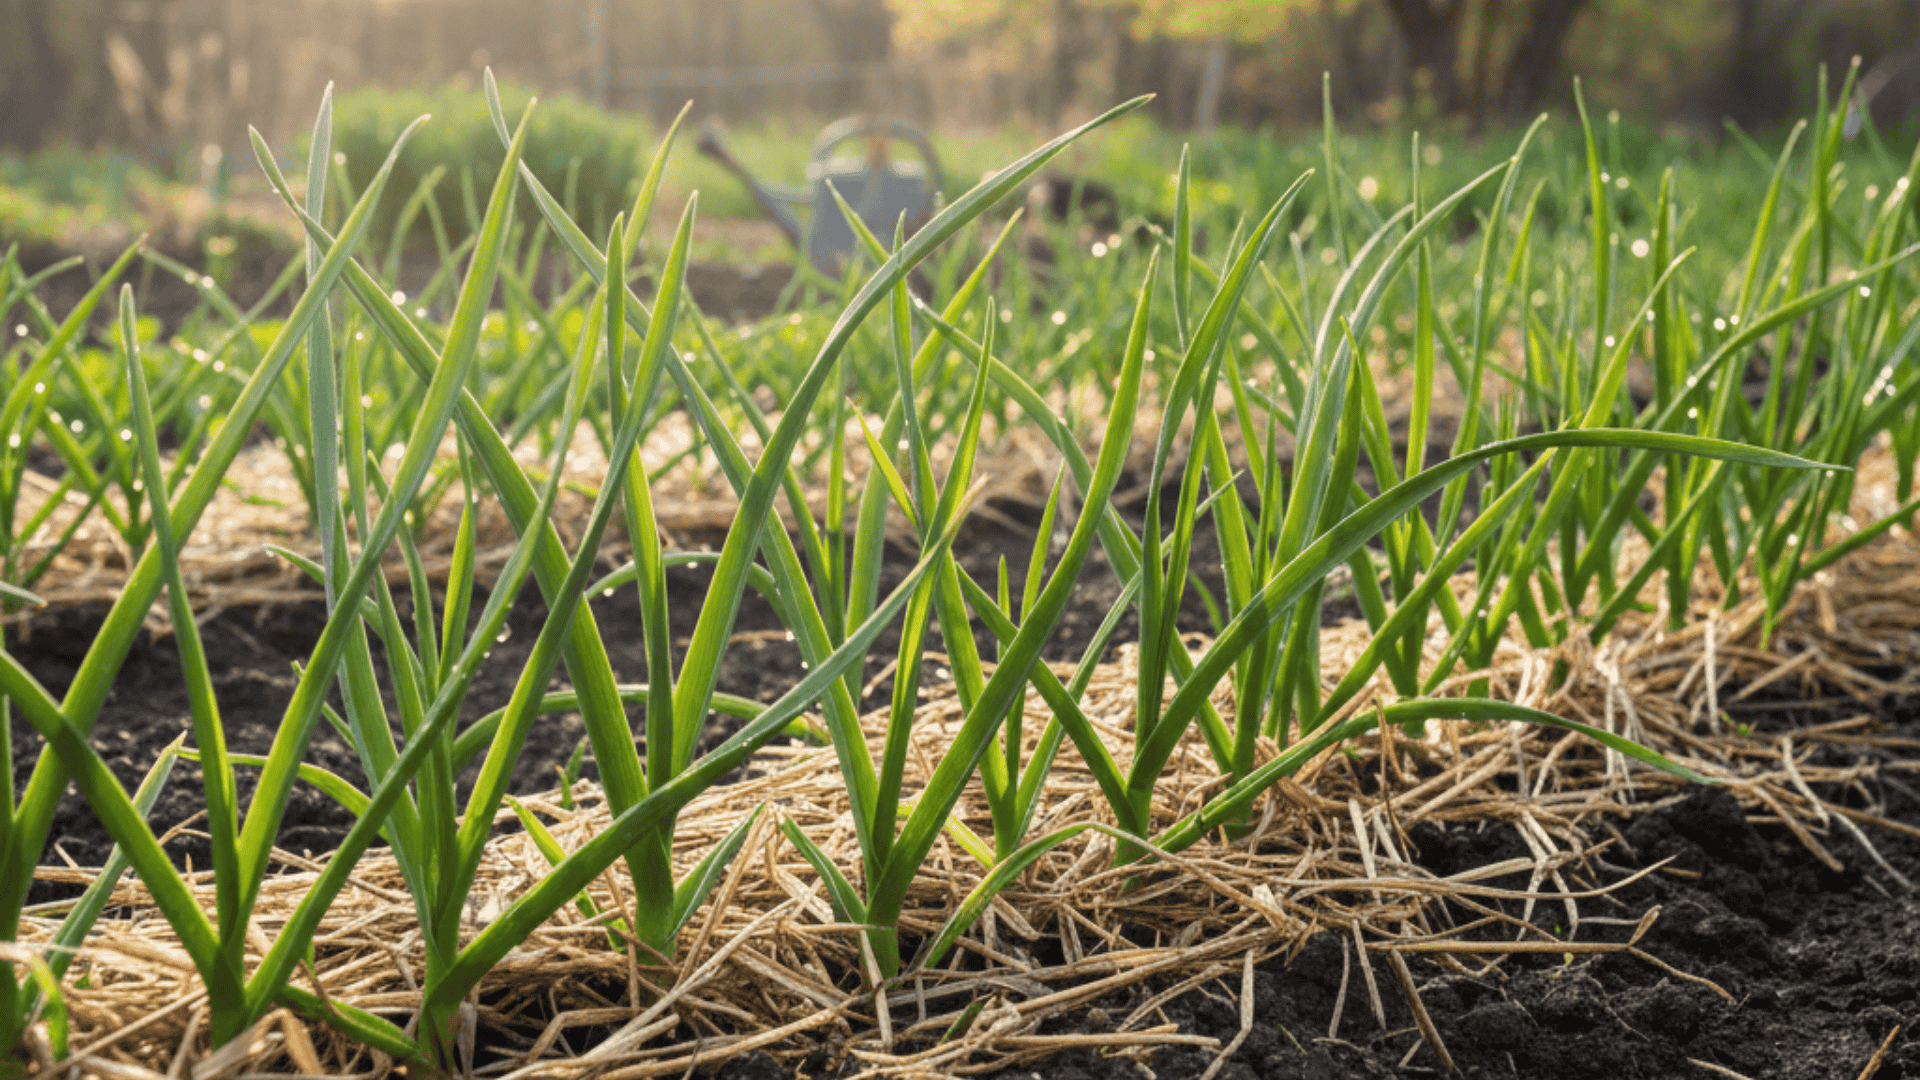
As you observe garlic growing, the spring stage is when you truly start to see rapid development. Let’s explore how garlic begins its active growth.
- Emerging Shoots: As temperatures rise, green shoots will break through the soil.
- Watering: Keep soil consistently moist during this stage to promote leaf and root growth.
- Remove Mulch: Once the last frost has passed, remove mulch to allow soil to warm up.
By keeping an eye on your garlic and giving it the right care, you’re setting it up for strong growth that’ll lead into the bulbing stage.
Step 4: Bulbing and Scape Formation (Late Spring)
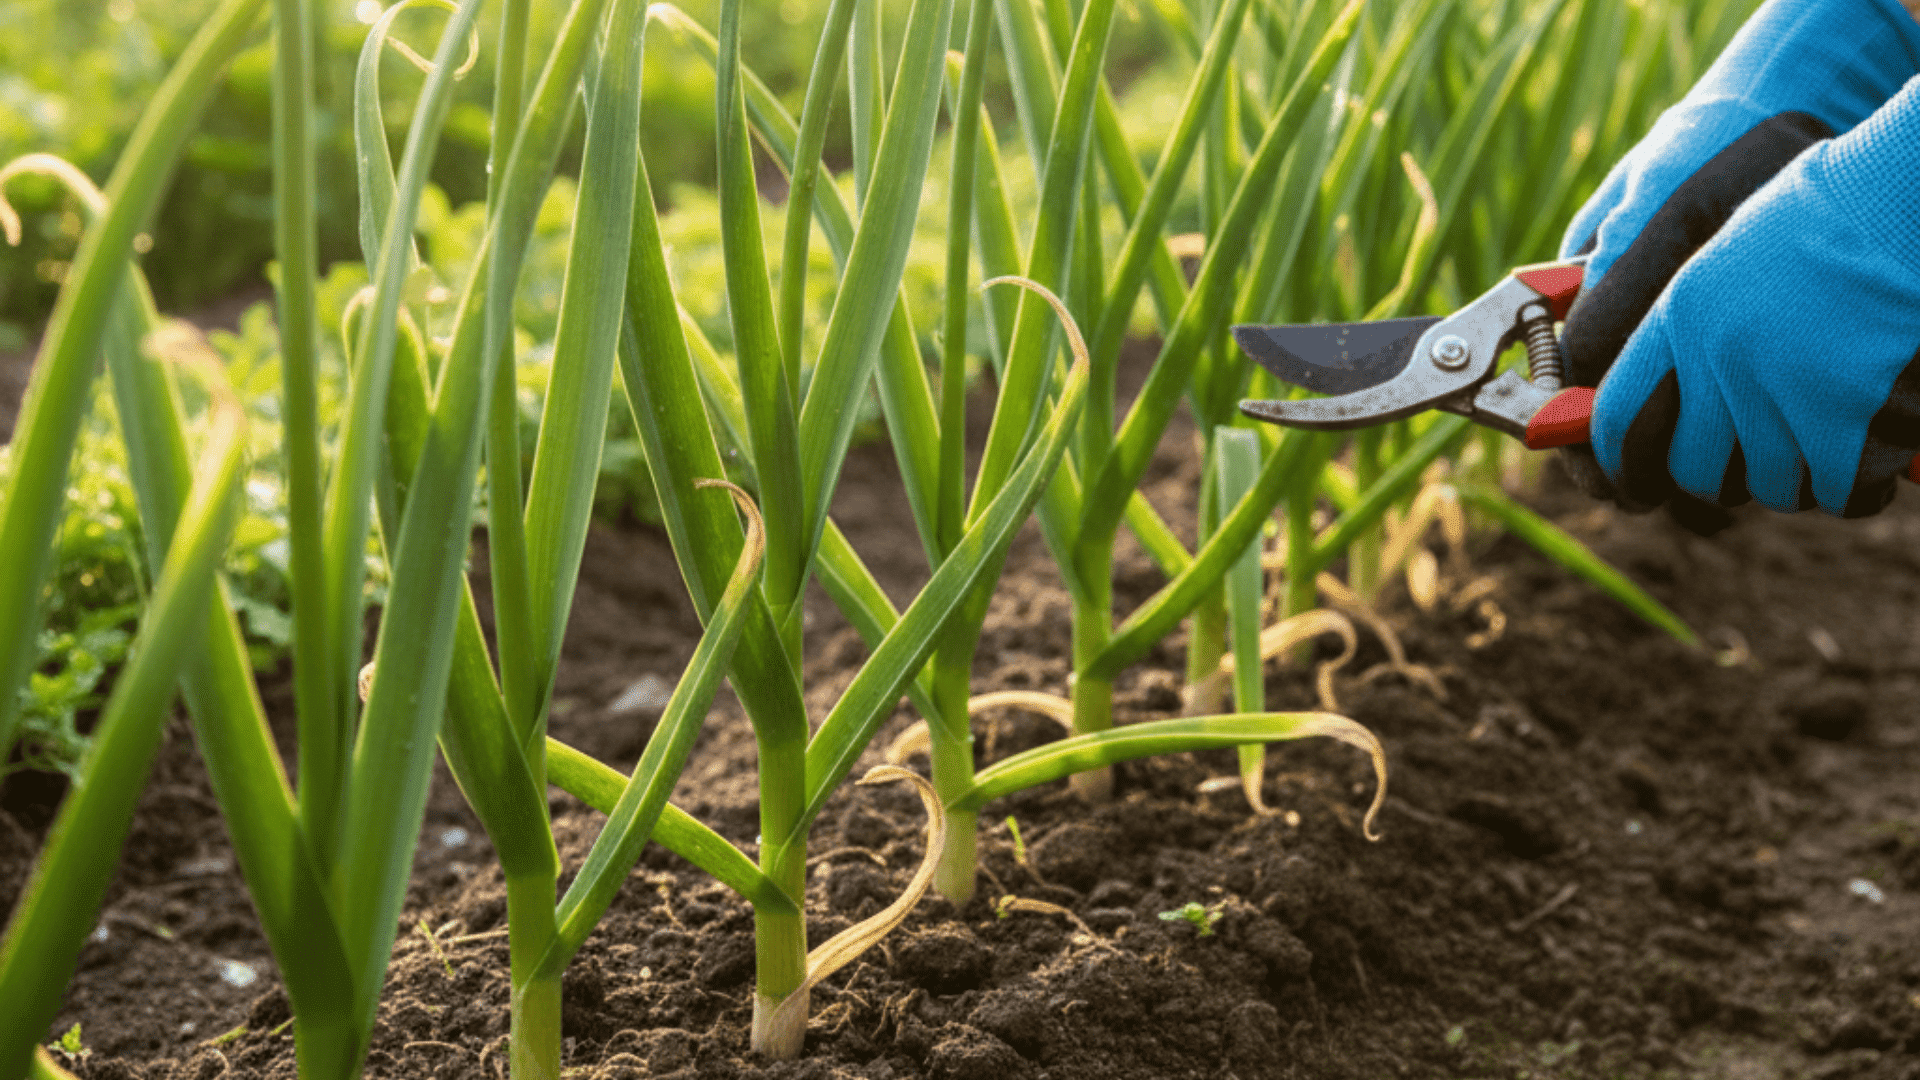
As you learn how garlic grows, late spring is when the plant begins to focus on developing the bulb. Let’s examine what happens during this important stage.
- Energy Shift: Garlic redirects energy from leaves to the bulb, causing it to swell and grow larger.
- Garlic Scapes: Hardneck varieties will grow curly flower stalks (scapes).
- Cutting Scapes: To promote larger bulbs, cut off scapes when they appear.
By cutting the scapes and allowing the bulb to swell, you’re setting your garlic up for a bountiful harvest in just a few weeks!
Step 5: Harvest Time (Late Spring/Early Summer)
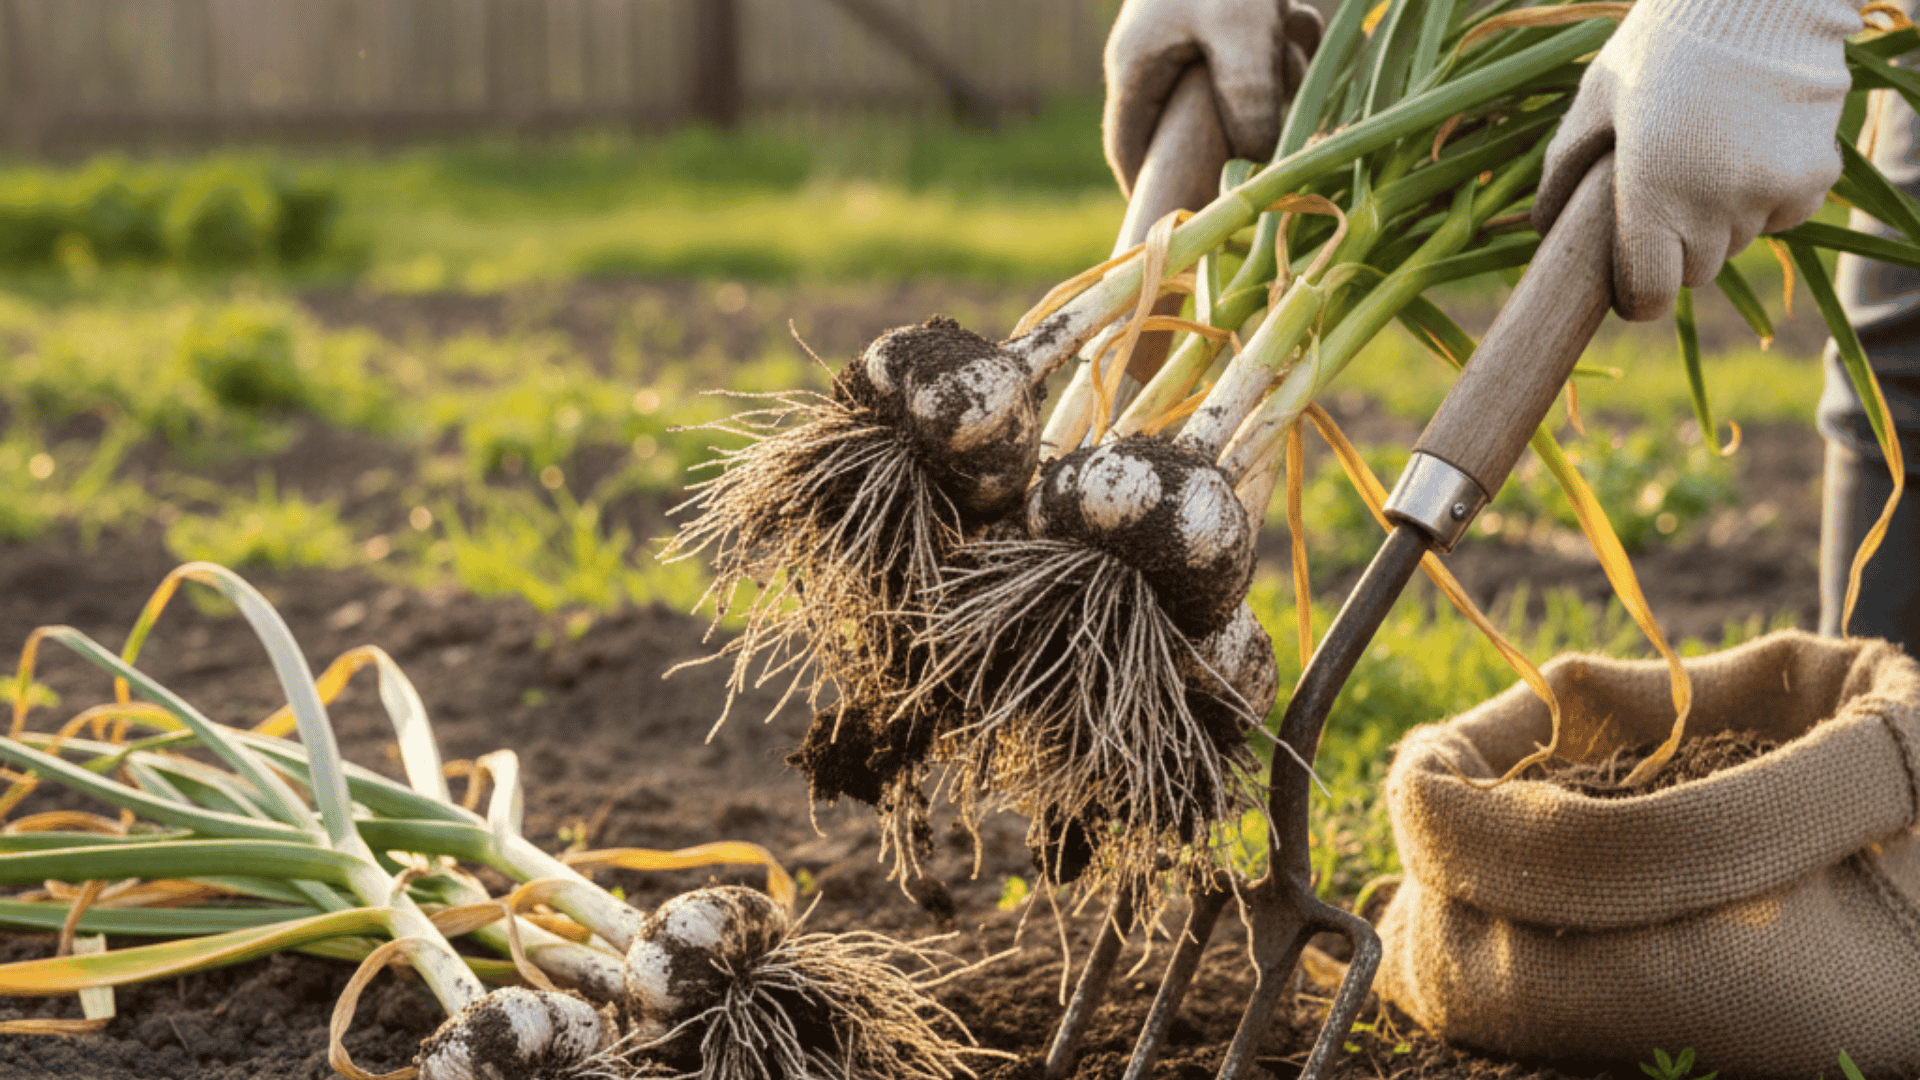
Now that you’ve learned how garlic grows, it’s time to harvest! Let’s go over how to tell when your garlic is ready and the best way to dig it up.
- Signs garlic is ready: When the lower leaves begin to yellow and dry out, it’s time to harvest.
- How to harvest properly: Gently dig around the bulb using a shovel or fork, being careful not to damage the garlic.
- Timing: Garlic typically takes 120-150 days to reach harvest, depending on the variety.
After harvesting, make sure to cure and store your garlic properly so it stays fresh for months.
Post-Harvest: Curing and Storing
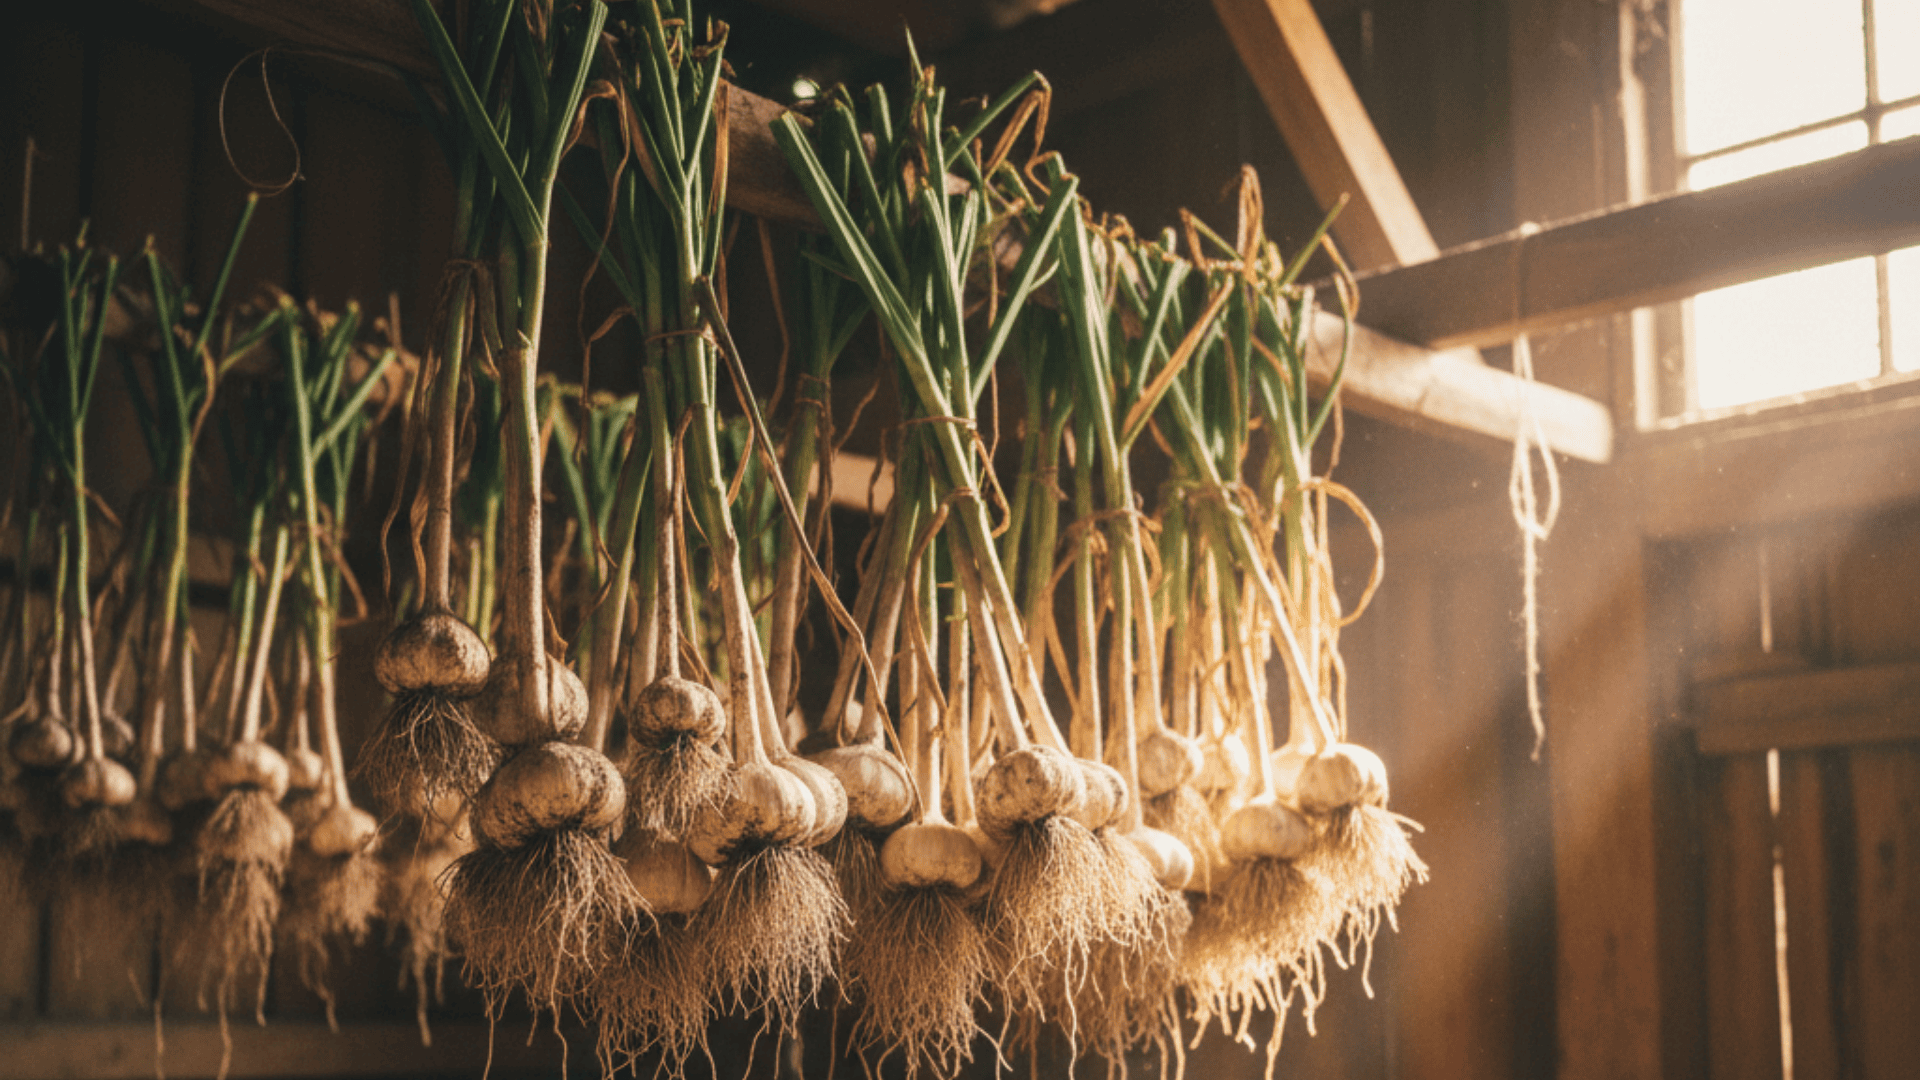
After learning how garlic grows, the next step is to cure and store it correctly. Let me guide you through the best methods to maintain your garlic’s freshness.
- Curing process: Hang the garlic bulbs in a dry, well-ventilated spot.
- Curing duration: Let the garlic cure for 2-3 weeks, until the skins are dry and the necks are firm.
- Proper storage: Store the cured garlic in a cool, dark, and dry place to avoid mold or sprouting.
By following these simple steps, you’ll be able to enjoy fresh garlic for months to come!
Essential Tips for Growing Garlic
With an understanding of how garlic grows, here are some essential tips to make sure your garlic thrives. Let’s look into the best practices for successful growth.
| Tip | Description |
|---|---|
| Soil | Garlic grows best in rich, well-drained soil, which provides the nutrients it needs for healthy bulbs. |
| Mulching | Mulch helps retain moisture and maintain consistent soil temperature for optimal garlic growth. |
| Watering | Consistent watering is important, especially during spring. Avoid overwatering to prevent soggy soil. |
| Scape Removal | For hardneck garlic, remove scapes to direct energy toward the bulb, encouraging larger growth. |
By following these tips, you’ll set your garlic up for a bountiful harvest and enjoy healthy, flavorful bulbs.
Common Mistakes to Avoid When Growing Garlic
Understanding garlic farming is essential for success. To get the best garlic harvest, it’s important to avoid some common mistakes that can affect your plants.
- Overwatering: Garlic doesn’t do well when sitting in water. Make sure there is proper drainage to avoid waterlogged conditions.
- Poor soil quality: Using nutrient-poor soil can stunt garlic’s growth. Always plant in rich, well-drained soil.
- Harvesting too early: If you harvest before the garlic fully matures, the bulbs may be smaller. Wait until the leaves begin to yellow.
- Inconsistent watering: Regular, consistent watering is crucial during the growing season to support healthy growth.
By avoiding these common mistakes and properly caring for your garlic, you’ll enjoy a successful harvest of strong, healthy bulbs.
Final Thoughts
Now that you know how does garlic grow, you’re ready to start your own garlic growing journey this fall season!
Knowing how garlic develops from one clove to a complete bulb makes the eight-month journey feel straightforward and satisfying.
The essential steps for growing garlic are: plant in fall, allow winter to work beneath the soil, water it in spring, and harvest with care.
Once you grow your own garlic, you’ll never want store-bought again; the flavor is absolutely incredible and deeply satisfying every time.
Ready to start growing? Comment down below if you have any questions or share your garlic growing experiences with me!