





I remember the first time I tried lighting an old table. I thought a quick coat of paint would fix it, but the grain disappeared, and the whole piece looked flat.
You might have had the same moment of frustration, especially when you want a softer look without losing the lines in the wood.
That’s why learning how to white wash wood matters. It gives you a clean, bright surface while keeping the character that makes each board feel unique.
In this guide, I’ll walk you through simple steps, easy mixes, and small tricks that help you get steady results on furniture, walls, or floors.
What Whitewashing Does and When to Use It
Whitewashing is a simple way to lighten wood without hiding its surface. You thin white paint or stain so the wood keeps its texture.
This gives you a softer look that still shows the lines and patterns of the grain. It works well on furniture because it freshens the surface without creating a thick coat.
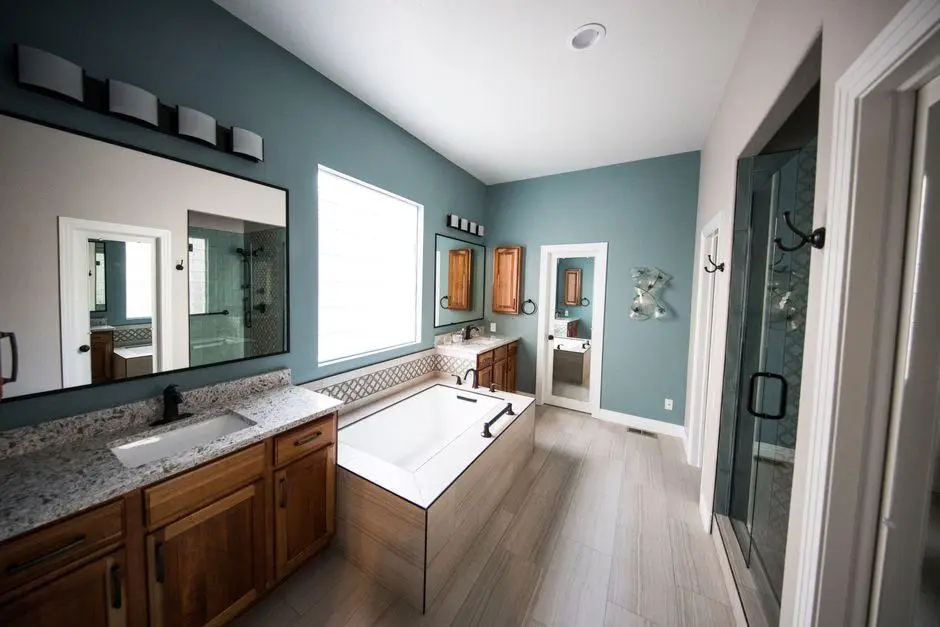
You can also use it on walls or paneling to brighten a room while keeping a warm, natural feel. Floors take well to whitewashing when you want a lighter tone without covering the wood completely.
No matter where you use it, the goal is to let the grain show through. That’s why mixing the finish and wiping back the extra matters so much.
The Basic Rules for Keeping Wood Grain Visible
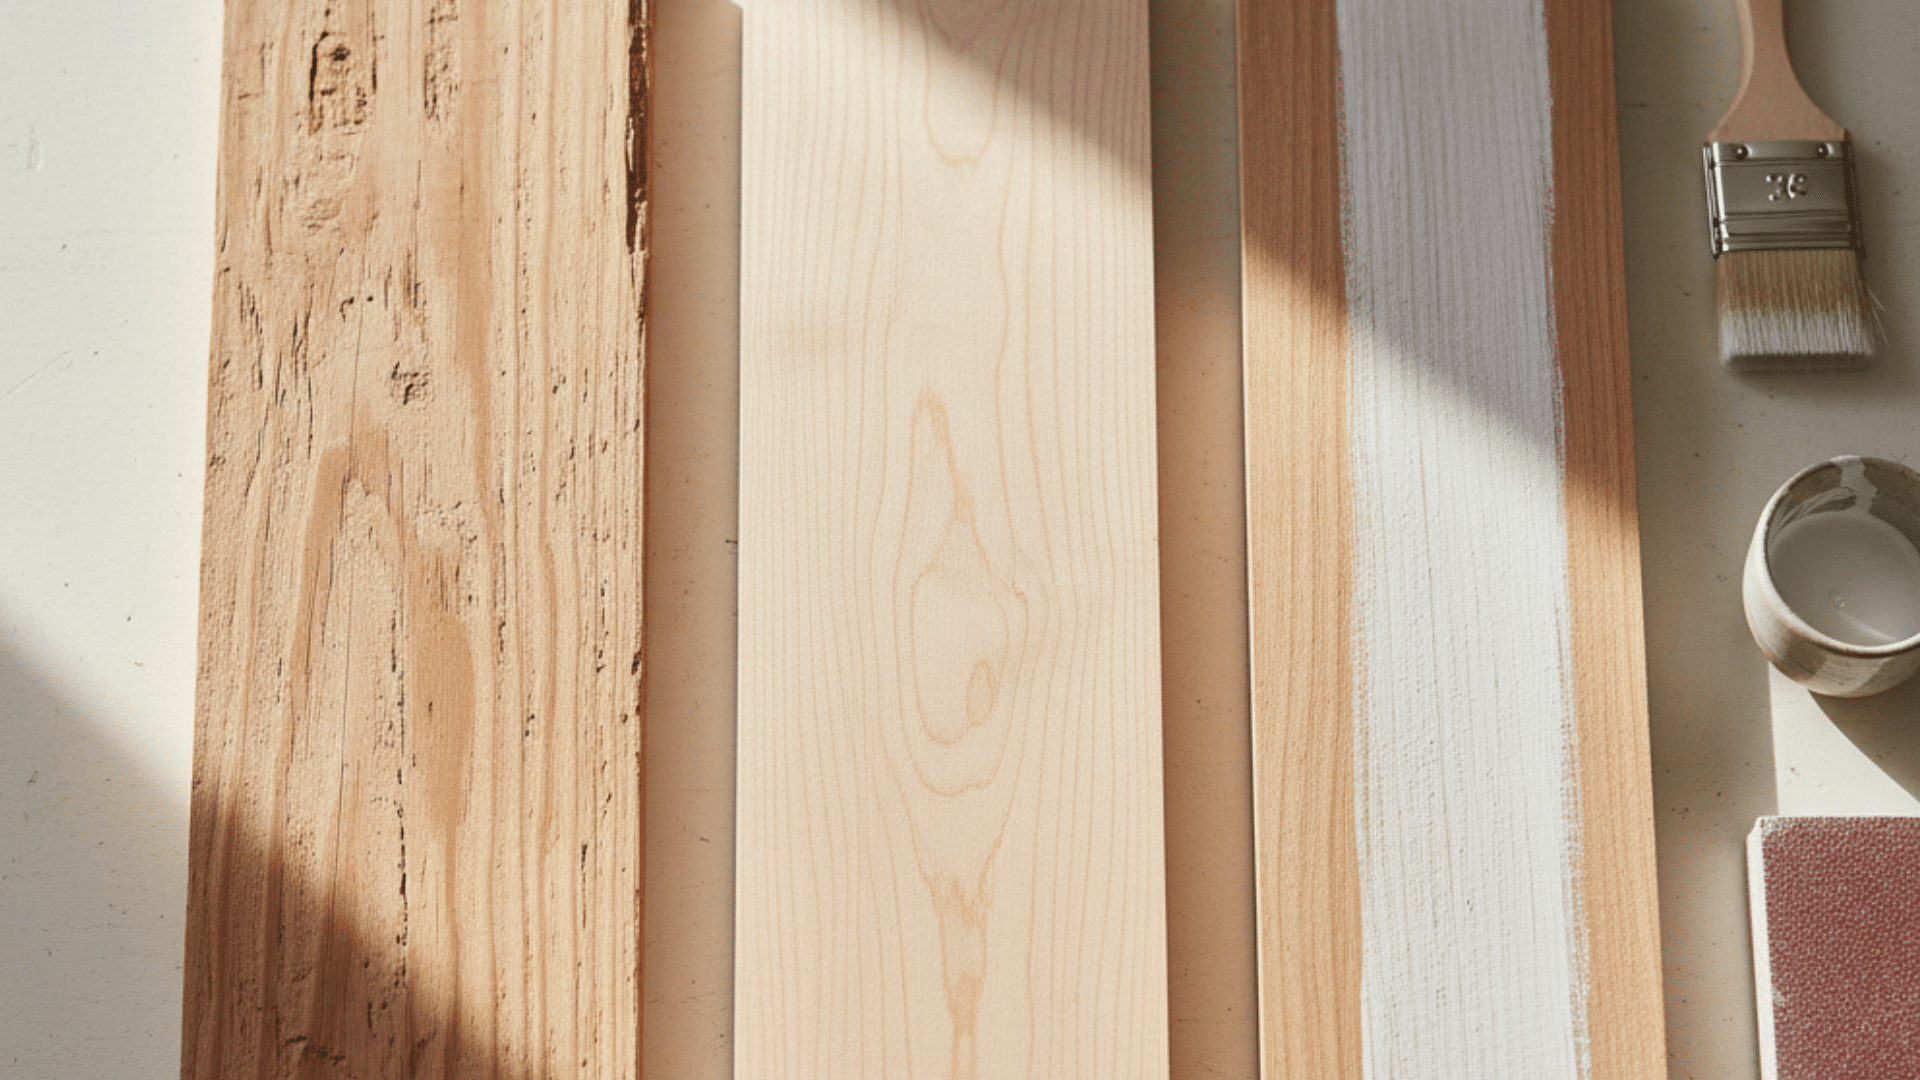
You keep the grain visible by choosing the right wood, sanding correctly, and testing your mix before the full project.
1. Pick the Right Wood Type
Some woods show grain better because their surface has wider lines and deeper pores. Pine, oak, and ash usually give you strong results since they absorb thin paint or stain without losing detail.
Hardwoods can work, but they often need extra sanding to open the surface. Softwoods accept a wash more quickly and keep their lines clear.
When you pick a wood with open grain, the whitewash sits lightly on top instead of forming a heavy coat.
2. Sanding for a Lighter Finish
Sanding shapes how much of the grain shows once the wash is on. Start with medium grit to smooth rough spots, then move to finer grit for a clean surface. This helps the thin paint settle into the lines instead of covering them.
A well-sanded board takes less product and keeps the texture sharp. Sand in the same direction as the grain so the surface stays even. Good prep gives you a bright finish without losing the wood’s pattern.
3. Testing the Opacity Before You Start
A small test board helps you see how strong your mix looks on the exact wood you plan to use. You can try different water ratios or stain levels until you find a thin wash that keeps the lines clear.
If the test looks too heavy, add more water and wipe the excess quickly. If it looks too light, increase the paint a little at a time. This simple test keeps you from covering the grain by accident once you begin the full piece.
Method 1: Classic Whitewash with Watered-Down White Paint

Supplies You Need
- White water-based paint
- Clean water
- Stir stick
- Brush
- Soft cloths (one damp, one dry)
- Sandpaper
- Putty knife (for optional grain-pop steps)
- Sealant (optional)
Step 1: Prep and Sand
Start by sanding the surface so the wash can settle into the wood instead of sitting on top. Use steady strokes and work in the same direction as the grain. This keeps the texture smooth and helps the wash spread evenly.
After sanding, wipe away every bit of dust with a clean cloth so nothing blocks the mix. Good prep makes the wash easier to control and helps the grain stay clear once you begin applying the finish.
Step 2: Mix Paint with Water
Make your wash by mixing one part white paint with one part clean water. Stir the mix well until it looks fully blended. The goal is a thin, even liquid that moves easily across the wood. You can adjust the mix if needed.
A little more water gives you a lighter look, while less water creates a stronger layer. Start with the basic ratio, test a small area, and shift the mix based on how much grain you want to show.
Step 3: Brush On
Use a brush with soft bristles so the mix spreads smoothly. Brush in long strokes that follow the direction of the grain. Cover the surface evenly but avoid heavy pools of liquid.
Let the wash sit for about one minute so it can soak in, but stay close so it does not start drying. If it feels sticky or thick, you waited too long. Work in small areas so you can control the timing and keep the surface smooth.
Step 4: Wipe Back to Expose Grain
Right after brushing, use a cloth to remove the extra mix. Wipe in the same direction as the grain for a smooth finish. A damp cloth will leave more of the mix on the surface, giving you a stronger color.
A dry cloth picks up more liquid and creates a lighter result. You can wipe once or several times based on how much grain you want to show. Adjust your pressure until the wood looks even and balanced.
Step 5: Repeat If Needed
Let the first coat dry fully before you decide if you want another layer. If the grain looks faint, add a second coat using the same steps. If the surface looks too strong, thin the mix with more water before applying again.
You can keep layering until the tone feels right. Testing a small area helps you avoid surprises during the next round. Each coat builds slowly, giving you full control over the final look.
Step 6: Seal the Finish (Optional)
Once the surface is dry, you can protect it with a clear water-based topcoat. This keeps the color steady and shields the wood from marks and wear. Apply the topcoat in thin, even strokes and let it dry fully before placing anything on the surface.
Use a water-based option so the wood stays light. Oil-based products can shift the color. Sealing is optional, but it helps the finish last longer, especially on items you use every day.
Best Projects for This Method
- Works well on furniture, small wood pieces, shelves, trim, and indoor boards.
- Suitable for bare wood or surfaces with a light finish.
- The thin mix keeps the grain clear instead of creating a heavy layer.
- Gives the surface a lighter, brighter look while keeping the texture visible.
- Easy to control, even if you are new to wood projects.
- A good choice when you want a quick update without complex steps.
- A steady option when you want to whitewash furniture without covering the surface.
Method 2: Whitewash Using Chalk Paint
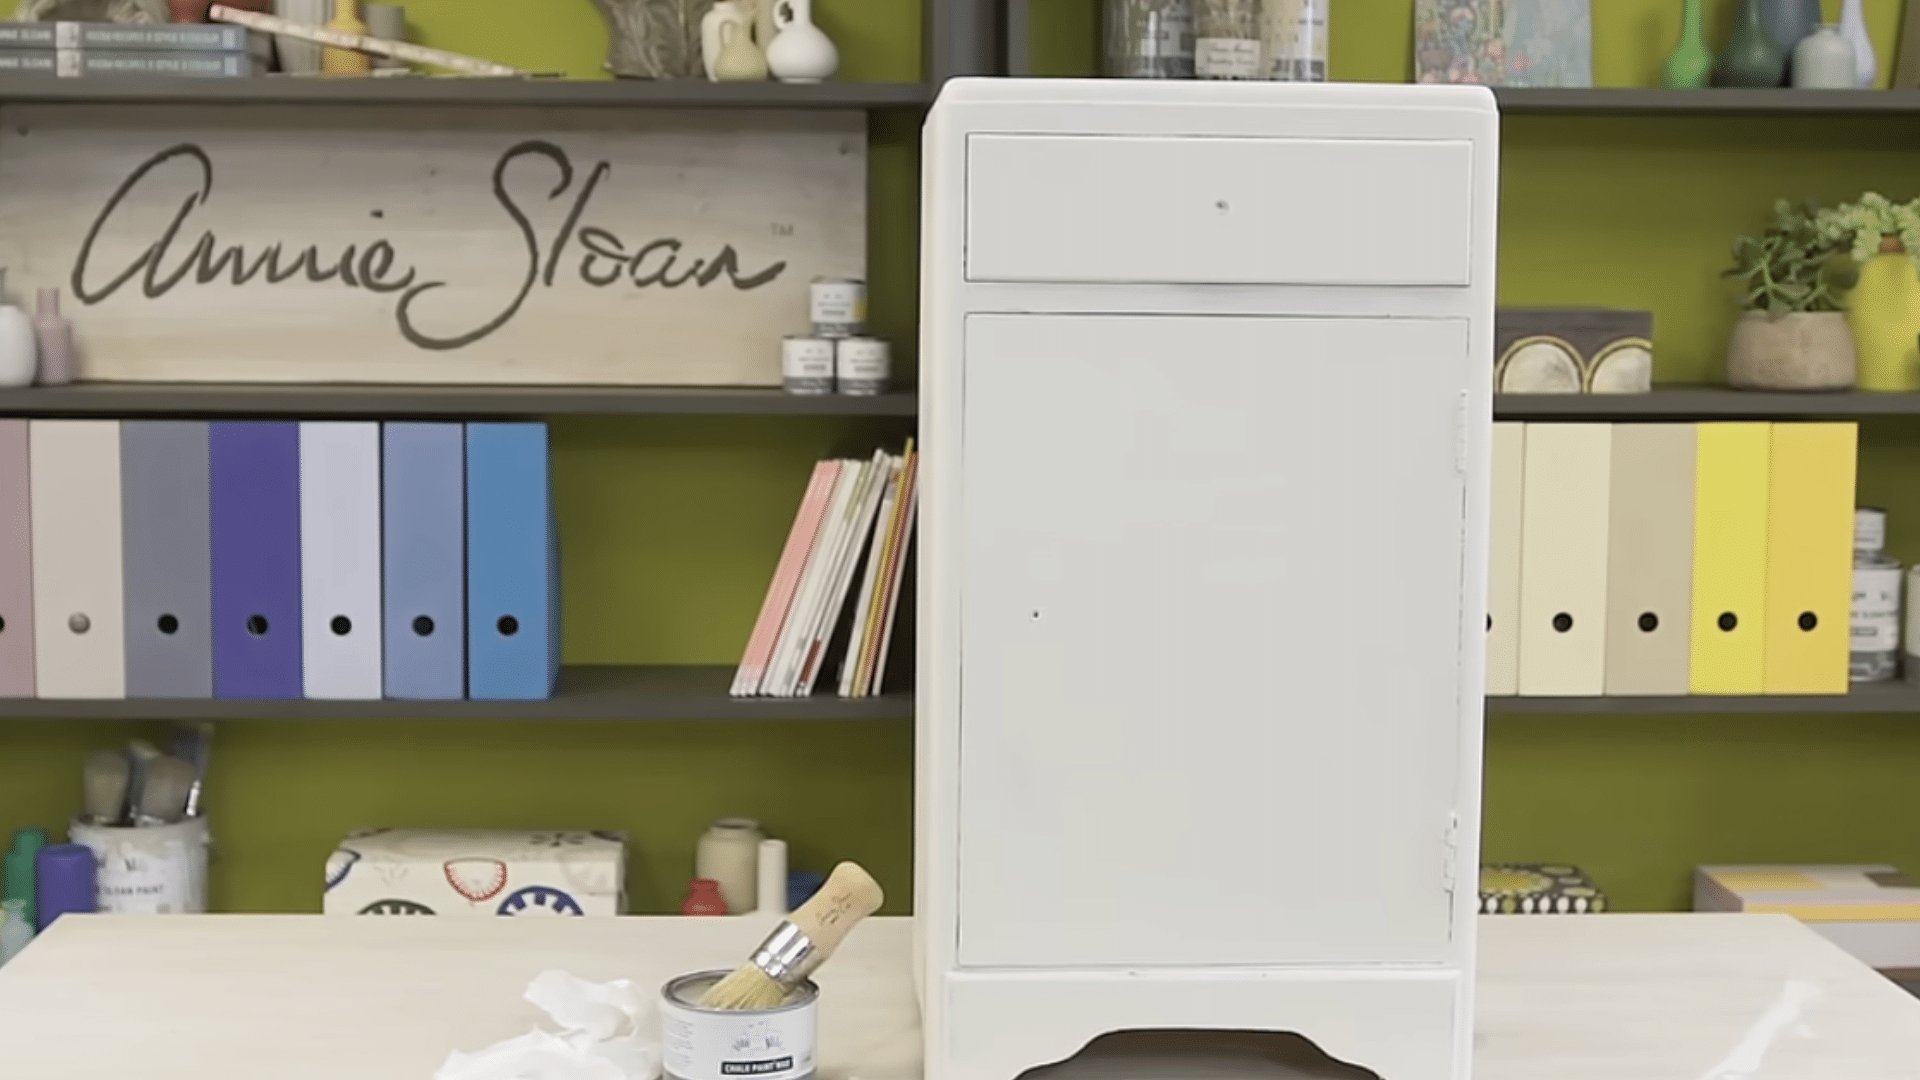
What Makes Chalk Paint Work for Whitewashing
Chalk paint works well because it settles into the grain instead of forming a heavy layer. It spreads easily, even on wood with deep lines like oak.
This mix also helps when you want to learn how to whitewash stained wood since it clings well even on older finishes.
When you thin it with a little water, it moves across the surface and slips into the low areas. This helps highlight the grain once you wipe it back.
Chalk paint also sticks to older pieces with uneven varnish, letting you create a bright surface without sanding everything down.
Supplies You Need
- Chalk paint (light shade)
- Clean water
- Brush with soft bristles
- Cloths for wiping
- Mixing tray or mat
- Sandpaper (optional, based on surface)
Step 1: Prep and Sanding
Check the surface before you start. Some pieces have a thick varnish, while others have worn spots. Chalk paint works on both, but sanding helps if the finish is uneven. Light sanding removes rough areas and gives the paint a place to settle.
Wipe off dust with a clean cloth once you finish. If the wood has strong grain like oak, you’ll notice raised lines. This texture helps chalk paint settle in and show more detail once wiped.
Step 2: Creating a Thin Chalk Paint Wash
Pour a small amount of chalk paint onto your tray and add a little water. You only need enough water to help the paint glide into the grain. Stir until it feels smooth and easy to brush.
The goal is a thin layer that spreads across the surface without feeling thick. You can test the mix on a small area first. If it looks heavy, add a little more water. If it looks faint, add more paint.
Step 3: Working in Small Sections
Start by brushing the wash onto the wood in small areas. Chalk paint dries quickly, so working in short sections gives you time to wipe the paint before it sets.
Move your brush in different directions to help the paint settle into every low spot, especially if the surface has deep grain.
This step matters most with oak because the grain can be uneven. Keep your strokes steady and make sure the paint reaches the texture in each area.
Step 4: Wiping Back for Grain Visibility
Use a soft, dry cloth to wipe the extra paint off the surface. Push the paint gently so it settles into the grain while the higher parts become lighter.
Wipe until the look feels even. If one spot soaks in more paint due to missing varnish, add a little water to loosen it before wiping again.
Each piece reacts in its own way, so adjust the pressure based on what you see. Keep wiping in the same direction for a smooth finish.
Step 5: Dry Time and Optional Sealing
Let the surface dry fully before making changes. Chalk paint becomes harder to move once dry, so do your wiping and adjustments while the surface is still fresh. After it dries, you can add a topcoat for protection if the piece will be handled often.
Use a clear, water-based product so the surface stays light. Sealing is optional but helps the finish last longer, especially on items with daily use.
When to Choose Chalk Paint Whitewash
This method is a good fit when you want to highlight strong grain, especially on wood like oak. It works well for older pieces with uneven varnish because the paint settles nicely into worn spots.
It also suits furniture that feels too dark or has tones you want to soften. If you need a wash that clings well, dries fast, and wipes back cleanly, chalk paint is a simple choice that gives you steady control over the final surface.
Method 3: Whitewashing with a Limewash-Style Finish
Supplies You Need
- Water-based white paint
- Clean water
- Brush
- Soft cloths
- Mixing cup or tray
- Sandpaper or sanding sponge
- Stiff brush (optional for tight-grain woods)
- Sealant (optional)
Step 1: Prep the Wood
Check your wood surface before starting. Some pieces soak in paint quickly, especially in spots where the old finish has worn away. Other areas may still have varnish, which makes the wash sit on top.
Wipe the wood clean and sand lightly if the surface feels uneven. Open-grain woods like ash work very well for this look because the wash settles into the low areas. Closed-grain woods like maple take longer and may look more solid.
Step 2: Mix Water-Based Limewash or Lime-Style Product
Pour a small amount of white paint into your tray and add water. Mix until the liquid spreads easily. More water gives a lighter look. More paint gives a stronger look. The goal is a wash that moves across the wood without feeling thick.
Test a small area and adjust the mix until you like the balance. You can change the ratio as needed, especially if you want more color in the grain and less on the raised edges.
Step 3: Brush On
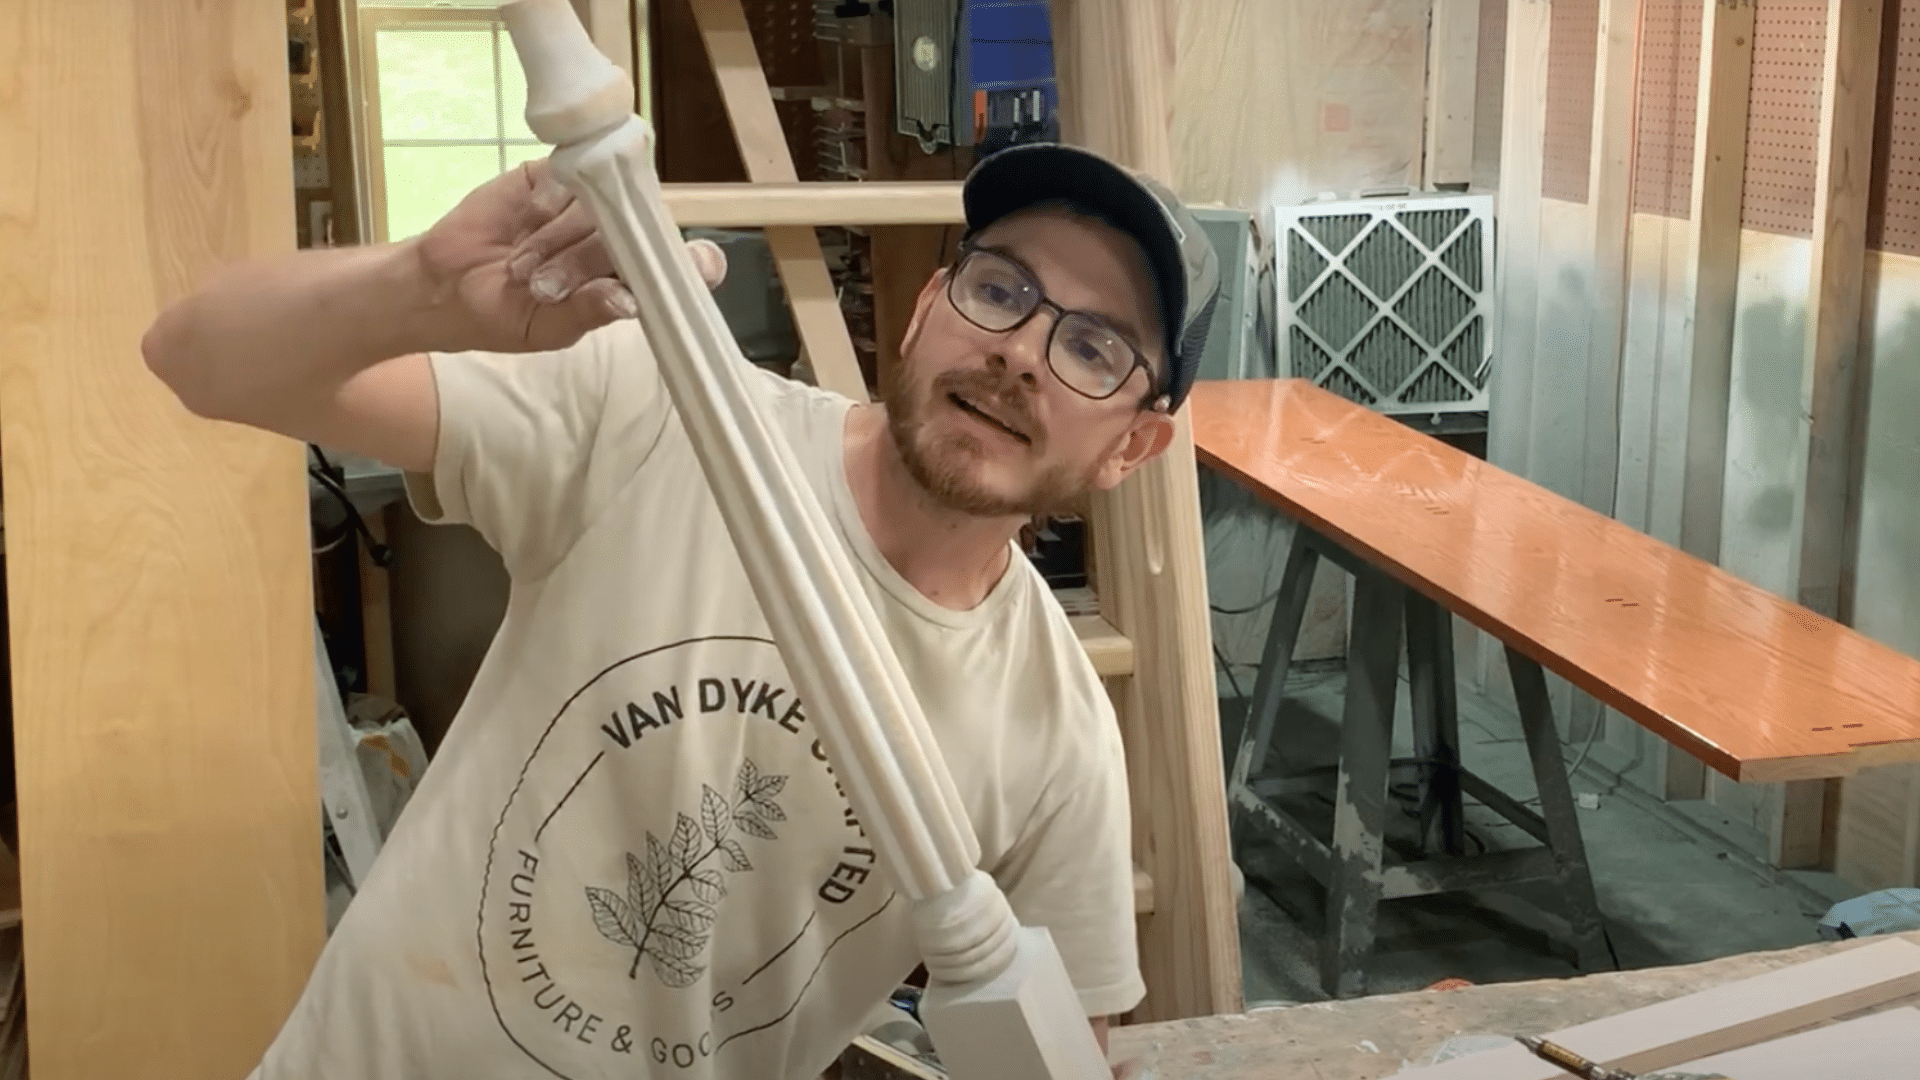
Brush the wash onto the wood and push it into the grain. Move the brush in different directions so the liquid fills the low spots and carved details. This step matters most when the wood has grooves or fluted lines.
Work slowly so the wash settles where you need it. Cover the full area, including corners and curved parts. If you see places where the wood absorbs more wash, just keep brushing until the surface looks even.
Step 4: Buff and Wipe Back
Right after brushing, wipe the surface with a dry cloth. This removes the extra wash on the raised areas while leaving color in the low spots. Push the wash gently so it stays in the grain.
Some pieces may soak in more color depending on how much varnish they still have. If a spot looks heavy, add a little water to loosen it and wipe again. Keep wiping until the surface has a balanced look with clear grain and soft color.
Step 5: Layering for Texture
Let the first coat dry. The wood may feel fuzzy because water raises the grain. Lightly sand the raised fibers to smooth them down. The low areas will still hold wash, while the high spots will lighten.
After sanding, add a second coat to deepen the look. The wash will settle even more into the grooves and bring out the wood lines. Repeat these steps until the grain stands out and the tone feels right. This creates a worn, aged look.
Step 6: Seal If Needed
Once the wood is dry, add a clear water-based topcoat if you want extra protection. This helps the surface stay clean and shields the wash from wear. Thin coats work best, especially on pieces with deep grain.
Let the topcoat dry before handling the item. Sealing is helpful for tabletops, legs, and wood that will be used often. For pieces that sit on display, sealing is optional.
Best Uses for Limewash Looks
- Works well on open-grain woods like ash or oak.
- A good fit for carved or turned pieces with deep grooves.
- Helps highlight low areas while keeping the raised edges pale.
- Useful when you want a soft, worn look with light color in the grain.
- Ideal for legs, frames, table bases, and rustic projects.
- Layering makes the surface look aged without heavy sanding or strong paint.
Tips to Avoid Common Whitewash Problems
Below are quick points to help you keep the surface even, the grain clear, and the finish smooth during your project:
- Test your mix on scrap wood before starting the main surface.
- Sand lightly between coats to avoid raised grain or rough spots.
- Wipe the wash before it starts drying to prevent streaks.
- Work in small sections so the mix stays easy to control.
- Adjust water levels if the wash looks too strong or too light.
- Use a dry cloth for lighter results and a damp cloth for stronger color.
How to Seal a Whitewashed Surface Without Darkening It
Sealing a whitewashed surface helps protect the finish, but the wrong product can change the color. A matte sealer keeps the wood looking soft, while a satin sealer adds a slight shine without shifting the tone.
Both options work well as long as they are water-based. Water-based sealers dry clear, stay light, and won’t turn the surface yellow over time.
Avoid oil-based sealers because they can warm the color and make the wash look darker. Always test your sealer on a small spot first to confirm it stays clear.
Apply thin coats, let each layer dry, and keep the brush strokes even so the finish stays smooth.
Conclusion
I hope you feel more confident about trying this project on your own.
You saw how sanding, testing your mix, and wiping back the extra wash all work together to keep the grain clear. These small choices make a big difference, and they help you get a lighter look without losing the details you like.
If you’re ready to try how to white wash wood on your next piece, start with a small board and build from there. I’d love to hear how your project turns out or what you plan to work on next.
When you’re ready for more ideas, tips, and easy projects, check out the other blogs and keep finding your options.
















2 Responses
Thanks for all that info. I’m going to try whitewash drawers tomorrow!
Good article . I have a pine table and knots are in active. I want to white wash to show grain but not knots. Do you think to cover knots first with few layers of diluted white wash from (2)then go cover whole table with white wash (2)will give me the result . I don’t want patches of knots showing. Please advise what is best solution.