What Is a Jointer, How Do You Use It, and What Are the Alternatives?
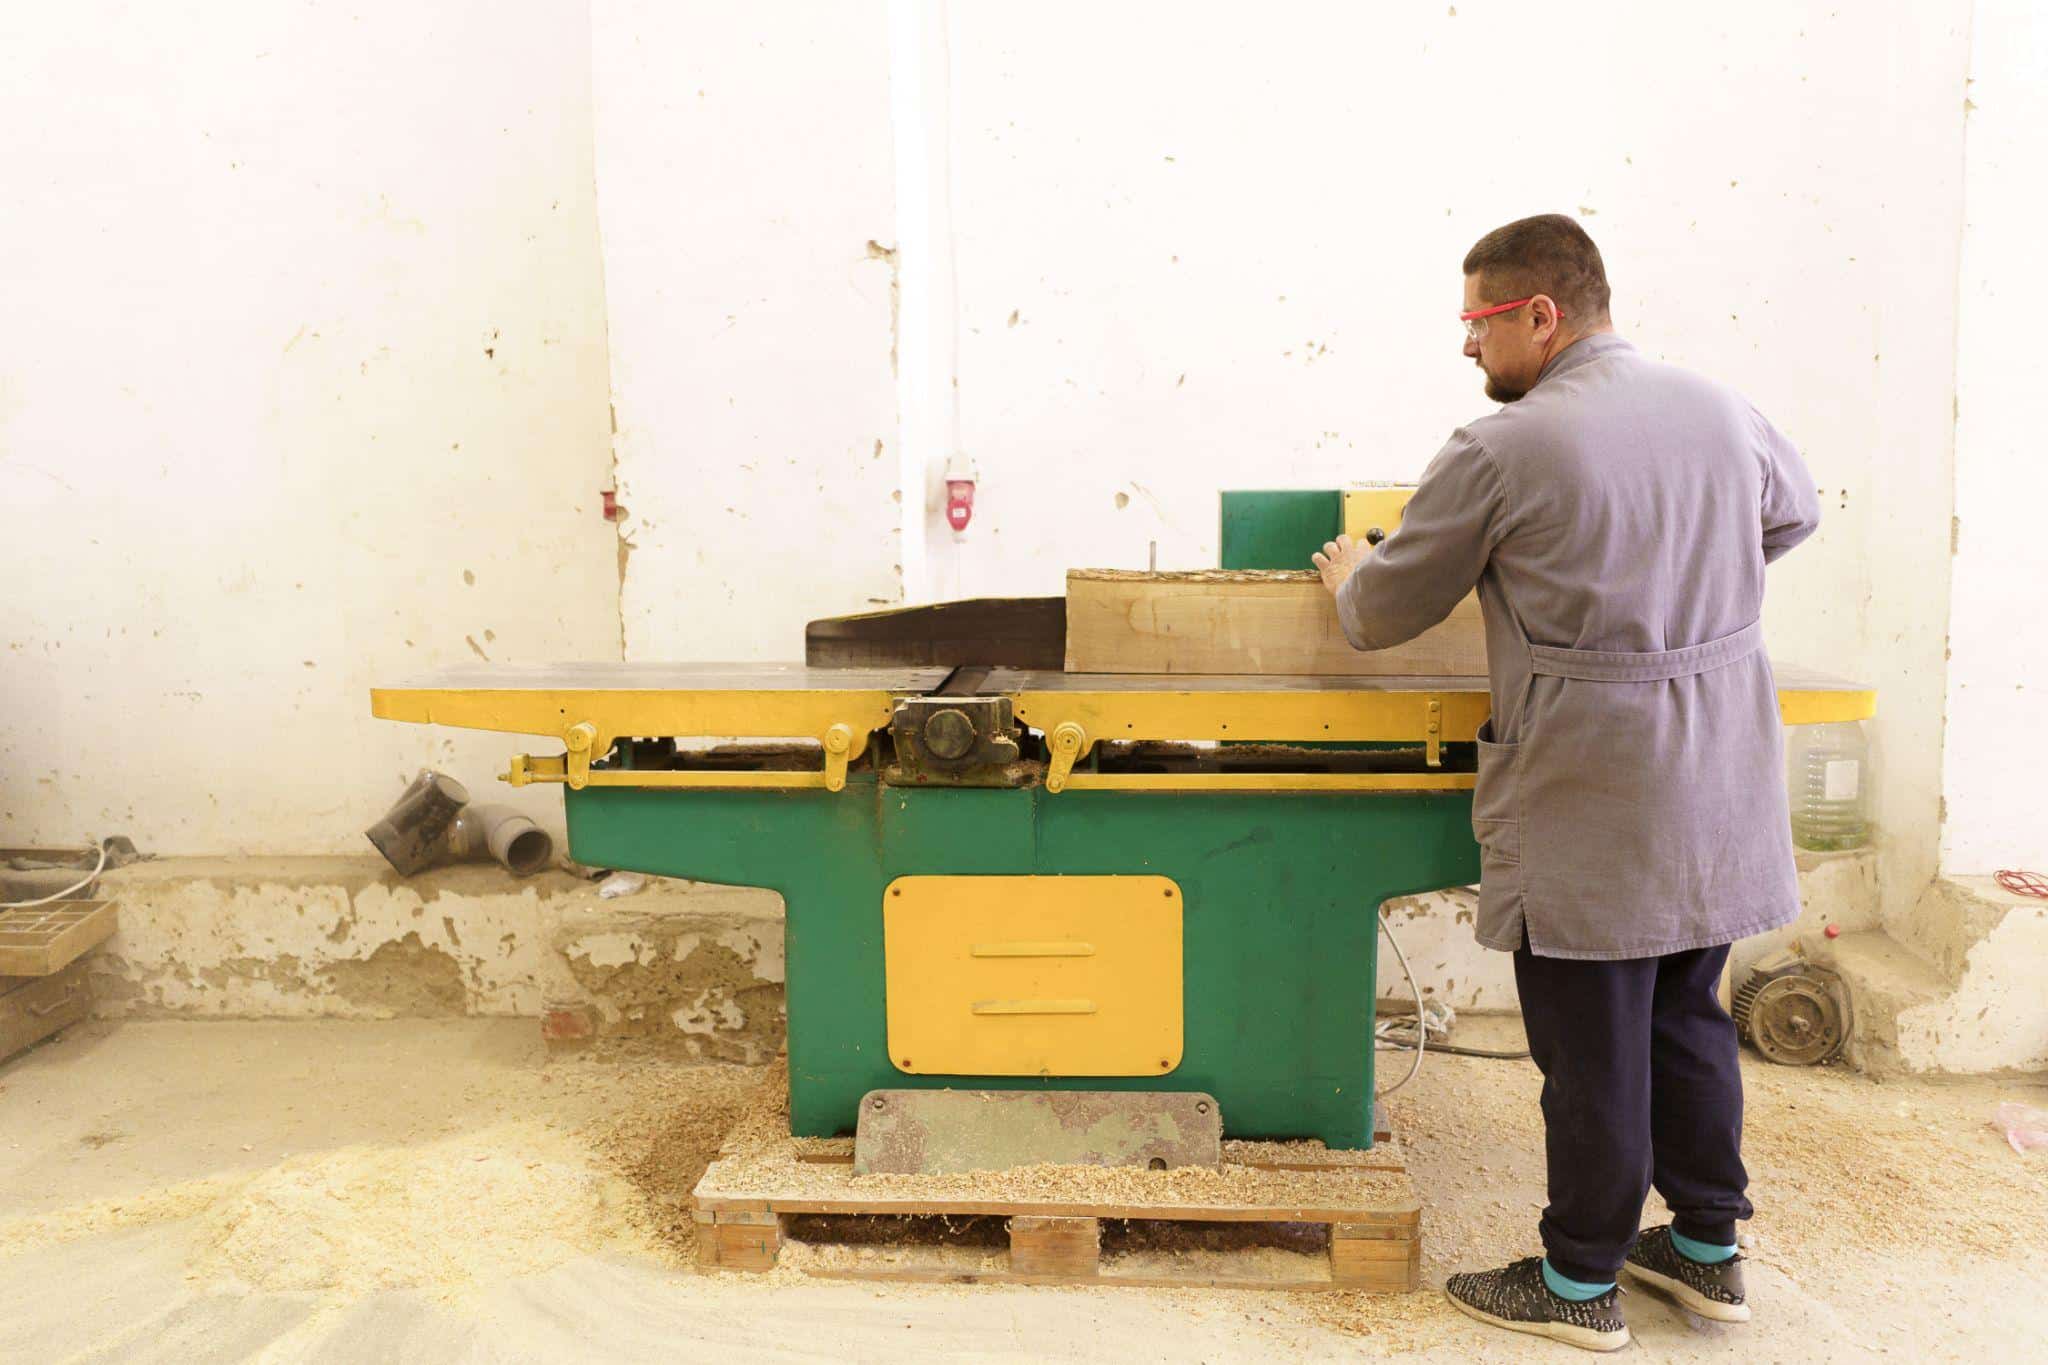
A jointer is a woodworking machine used to flatten one face of a board and straighten one edge. It plays an important role in lumber prep because it helps create the reference surfaces you need for accurate cuts, tight joinery, and cleaner results.
Many woodworkers hear the term early on, but the function of a jointer is often misunderstood. A jointer does not make a board a uniform thickness, and it does not replace a planer. Its job is more specific than that. It helps you true up rough lumber so the rest of your milling process goes smoothly.
In this guide, we will cover what a jointer does, how it works, how to use it, and what options exist when a jointer is not the right fit for the job.
What Is a Jointer?
A jointer is designed to create a flat surface on a board. It can also straighten an edge so that edge is square to the flattened face.
That matters because rough lumber is rarely ready to use as-is. Boards may be bowed, cupped, twisted, or uneven. If you try to build with stock in that condition, every step becomes harder. Cuts can drift, joints may open up, and assemblies can end up out of square.
A jointer helps solve that by giving you a true starting point.
What Does a Jointer Do?
A jointer is mainly used for two tasks.
First, it flattens one face of a board. The cutter head removes material from the high spots until one side becomes flat enough to use as a reference face.
Second, it straightens one edge of the board. Once one face is flat, that face can ride against the fence while the jointer trues the edge.
After those two steps, you usually move to other tools to finish milling the stock.
How a Jointer Works
A jointer has an infeed table, an outfeed table, a fence, and a rotating cutter head.
The infeed table is set slightly lower than the outfeed table. As the board passes over the cutter head, the blades shave away material. The newly cut section then rides on the outfeed table, which supports the board as a flat reference.
For edge jointing, the process is the same, except the board is held vertically against the fence so the edge is cut straight and square.
The machine removes only a small amount of material at a time, which is why multiple passes are often needed.
Face Jointing vs Edge Jointing
These two uses are related, but they serve different purposes.
Face jointing creates one flat face on the board. This is usually the first step when working with rough stock.
Edge jointing creates one straight edge that is square to the face. This comes after face jointing, because the flat face is what keeps the board stable against the fence.
Together, these steps give you the reference surfaces needed for accurate milling.
How to Use a Jointer
Using a jointer correctly is mostly about setup, control, and patience.
Start by inspecting the board. Check for warp, twist, cracks, loose knots, and anything embedded in the wood. The board should be clean and safe to machine.
Next, set a light depth of cut. Small passes are easier to control and usually leave a better surface.
Then joint one face of the board. Push the stock steadily across the cutter head and transfer pressure to the outfeed table as soon as enough of the board has passed over the knives. Keep going until you have one flat face.
Once that face is flat, place it against the fence and joint one edge. That gives you a straight edge that is square to the face.
After that, the board can move to a planer for thicknessing and then to a saw for final width.
Safety Tips for Using a Jointer
A jointer is a useful machine, but it needs to be handled carefully.
Use push blocks when appropriate, especially during face jointing. Keep your hands clear of the cutter head and never reach over the knives while the machine is running.
Take shallow passes rather than forcing the board through a deep cut. Stand in a stable position and keep firm control of the workpiece from start to finish.
It is also important to pay attention to grain direction. Cutting with the grain usually produces a cleaner result and reduces tear-out.
Good technique is just as important as the machine itself.
Benefits of Using a Jointer
One of the biggest benefits of a jointer is accuracy. It helps create the flat face and straight edge that many woodworking operations depend on.
It also improves efficiency. Once your stock is properly prepared, it becomes much easier to plane, rip, crosscut, and assemble.
Another advantage is better glue-ups. Straight, square edges fit together more tightly, which helps create cleaner-looking panels and stronger joints.
For standard rough lumber, a jointer is often one of the fastest ways to prepare stock for the next stage of milling.
Limitations of a Jointer
Even though a jointer is useful, it does have limits.
The most obvious one is width. If a board or slab is wider than the machine, it cannot be flattened properly on that jointer.
Length and weight can also be an issue. Very long or heavy boards are harder to control, especially in smaller shops.
Irregular material can be another challenge. Live-edge pieces, large slabs, and awkward shapes do not always sit well on a standard jointer bed.
A jointer also does not finish the whole milling process. It creates a flat face and a straight edge, but it does not make both faces parallel or bring the board to final thickness.
When a Jointer Is Not the Right Tool
A jointer works best when the stock fits the machine and the board can be guided safely across the cutter head.
But not every project falls into that category.
Large panels, slabs, and oversized workpieces often push beyond the practical limits of a jointer. In those cases, woodworkers often turn to other methods that offer more flexibility and support for the material.
That does not mean a jointer is less useful. It just means the best tool depends on the size and shape of the workpiece.
Alternatives to a Jointer
There are several alternatives to a jointer, depending on the result you need.
A router with a straightedge or guide can be used to straighten an edge or flatten a face. This approach takes longer, but it gives you more flexibility, especially with larger workpieces.
A table saw with a straight-line jig is another common option for edge jointing. It works well when you mainly need one straight reference edge before ripping to final width.
Hand planes are also a practical solution, especially for smaller work, fine adjustments, or shops that prefer quieter, lower-tech methods.
For larger surfaces, some woodworkers use a gantry-style router setup to flatten material that is too wide or awkward for standard machines. Systems such as the TrueTrac Router Gantry System are typically considered in those situations rather than as a direct replacement for a jointer.
Jointer vs Common Alternatives
|
Tool |
Best Use |
Main Limitation |
|---|---|---|
|
Jointer |
Flattening one face and straightening one edge on standard boards |
Width capacity |
|
Router with guide |
Flexible edge work and flattening |
Slower setup and cutting |
|
Table saw with jig |
Straightening one edge for ripping |
Needs careful jig setup |
|
Hand planes |
Fine control and smaller-scale work |
More time and skill required |
|
Gantry-style router setup |
Flattening large or oversized material |
Requires more space |
Which Option Makes the Most Sense?
If you work mostly with standard lumber, a jointer is often the most efficient choice for preparing stock.
If you do not own a jointer, a router guide, table saw jig, or hand plane can often cover the same task, depending on whether you need to flatten a face or straighten an edge.
If your projects regularly involve wide slabs, large panels, or oversized glue-ups, then methods designed for larger material may be more practical.
The right answer usually comes down to the scale of your work, the tools you already own, and the type of results you need.
Final Thoughts on Jointers
A jointer is a valuable woodworking machine because it creates the reference surfaces that accurate work depends on. It flattens one face, straightens one edge, and helps make the rest of the milling process more predictable.
At the same time, it is not the answer to every stock-prep problem. Material size, shape, and condition all affect whether a jointer is the best fit.
That is why it helps to understand not only how a jointer works, but also where alternatives make more sense. Once you know what each method does well, it becomes much easier to choose the right approach for each project.