The first time you grow a weed plant, every change feels like a small finding: that tiny sprout, the first real leaf, the scent that fills the room weeks later.
But somewhere between excitement and uncertainty, it’s easy to wonder what should happen next. I remember overwatering seedlings because they looked thirsty, only to realize they just needed patience and the right light.
Understanding weed plant stages makes the whole process feel steadier; you know when to feed, trim, and harvest without guessing.
This guide walks you through every stage in plain language, from seed to sticky buds, so you can grow with confidence and care.
Stage of Growth: Guide for Weed Plant
Understand each phase of cannabis growth, from seed to harvest, with clear steps, environment tips, and progress checkpoints.
Germination (Days 1–10)
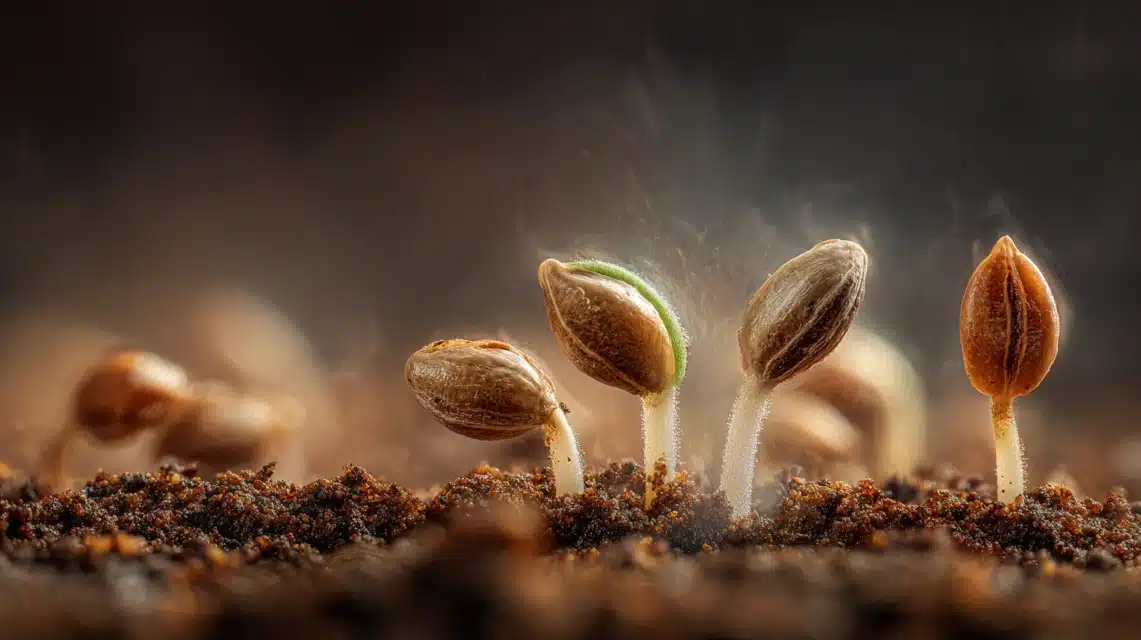
The beginning feels still and full of promise. Each seed absorbs moisture, cracks open, and releases a taproot that anchors into the soil. Warmth around 24–26°C and humidity near 70–80% provide comfort.
Light should stay soft, around 150–300 PPFD, enough to guide early growth without stress.
The soil remains damp, never soaked, with a pH between 6.2–6.8. Within days, green tips rise through the surface, marking the first visible sign of life.
Once small leaves unfold and roots hold firm, germination ends and the plant is ready for more light.
Seedling Stage (Weeks 1–3)
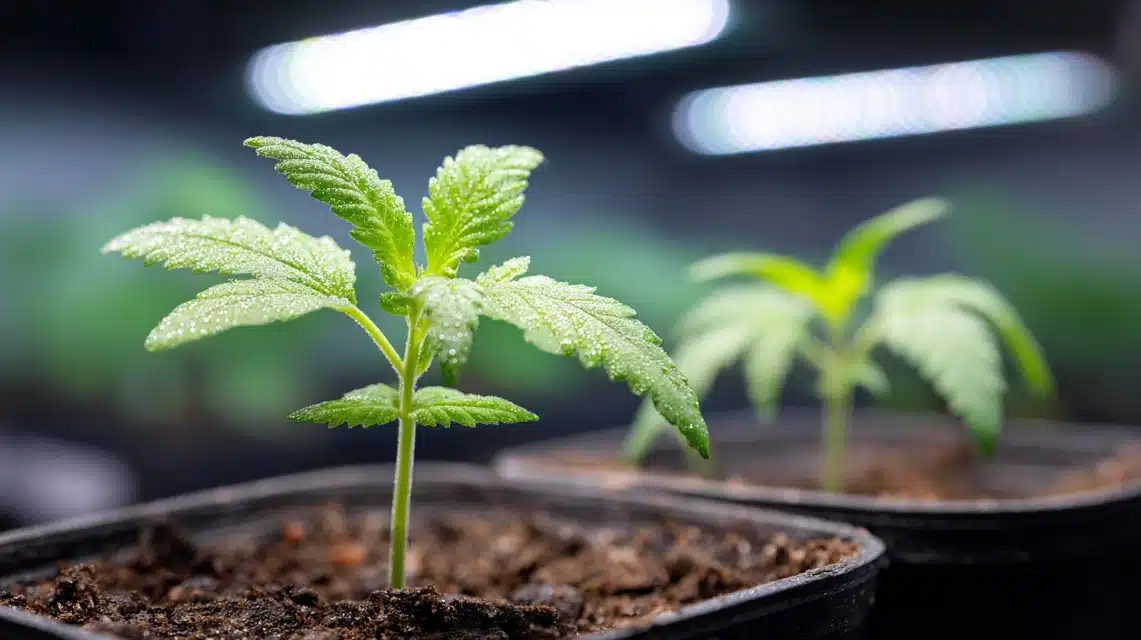
The plant now learns how to grow on its own. New leaves form, the stem strengthens, and roots start exploring the soil.
Temperatures of 24–26°C and humidity between 65–75% create the right comfort. Provide 18–24 hours of gentle light at 200–400 PPFD. Feeding stays light, with an EC of 0.4–0.8, just enough to support slow, steady growth.
Airflow should be mild, keeping leaves dry but not fluttering. When several sets of healthy green leaves appear and the roots fill their starter pot, the plant is ready for transplant and stronger conditions.
Vegetative Stage (Weeks 3–15)

This stage brings energy and height. The plant spreads its canopy and builds a structure for the flowering to come.
Temperatures between 24–28°C, humidity around 55–65%, and bright light near 400–600 PPFD support fast, healthy growth.
Nutrients now lean heavily on nitrogen, with EC levels between 0.8–1.4. pH should stay near 6.2–6.8 in soil or 5.8–6.2 in coco or hydro.
Training techniques like topping or low-stress bending help shape the canopy for even light exposure. When growth fills the space evenly and roots settle deep, it’s time to transition toward flowering.
Pre-Flower (Transition, 1–2 Weeks)
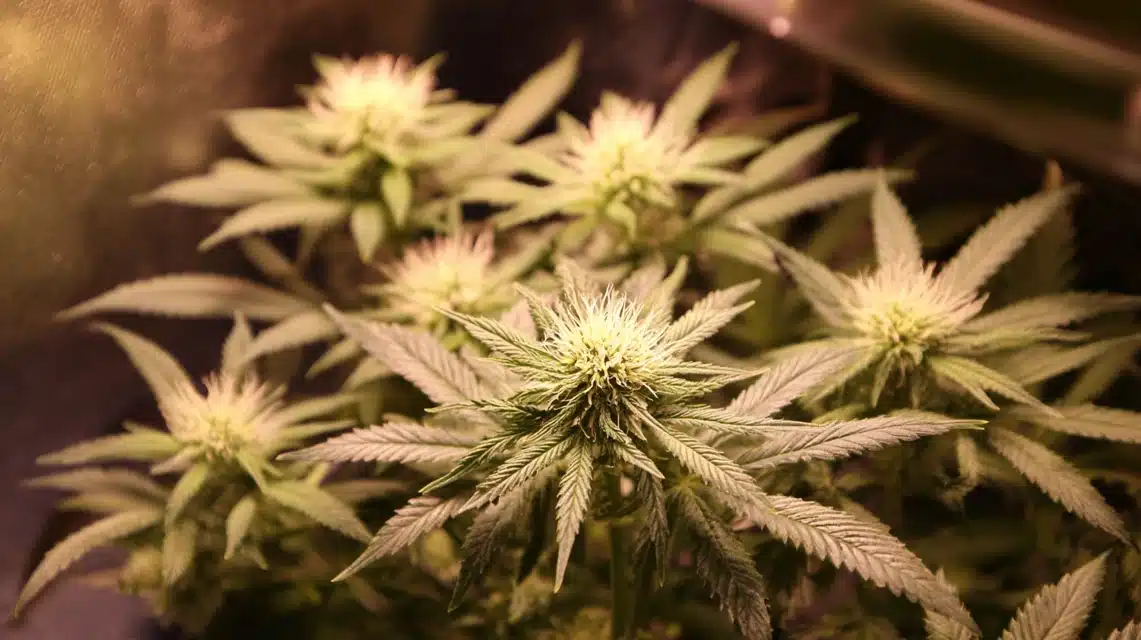
Growth begins to slow as the plant redirects energy toward bloom. Light hours shift from 18 to 12 per day, and temperature settles around 24–27°C with humidity between 50–60%.
Light intensity near 600–700 PPFD keeps the plant active while avoiding stretch. Nutrient mix transitions toward bloom support, raising EC to 1.0–1.6.
Female plants show thin white pistils, while males form small, round sacs; remove them early. Consistent airflow prevents moisture buildup as the canopy thickens. This quiet stage sets the rhythm for full flowering ahead.
Flowering Stage (Weeks 7–12)
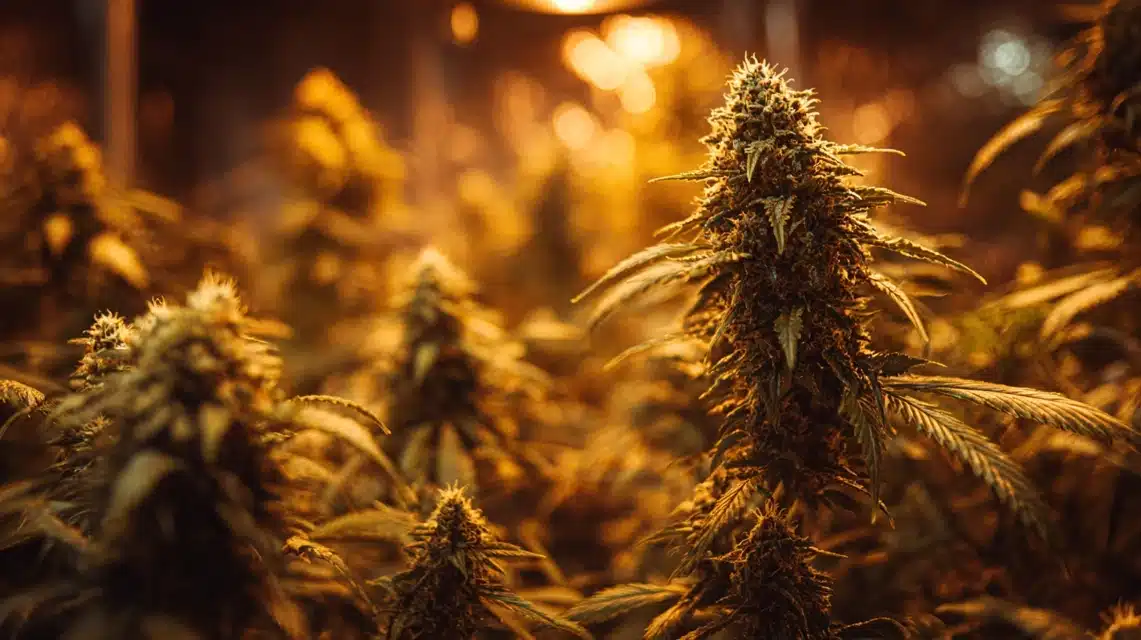
The air fills with scent as buds swell and resin builds. This stage thrives at 22–26°C with humidity near 45–50% to keep mold away.
Light intensity can rise to 700–900 PPFD under a 12/12 cycle. Early bloom needs EC 1.2–1.8, while late flower benefits from 1.6–2.2, emphasizing phosphorus and potassium. Keep pH steady between 6.2–6.8 (soil) or 5.8–6.2 (coco/hydro).
Prune lower leaves around day 21 to improve airflow. Patience is key—trichomes turn cloudy, scents deepen, and buds grow dense with steady light and care.
Harvest Stage
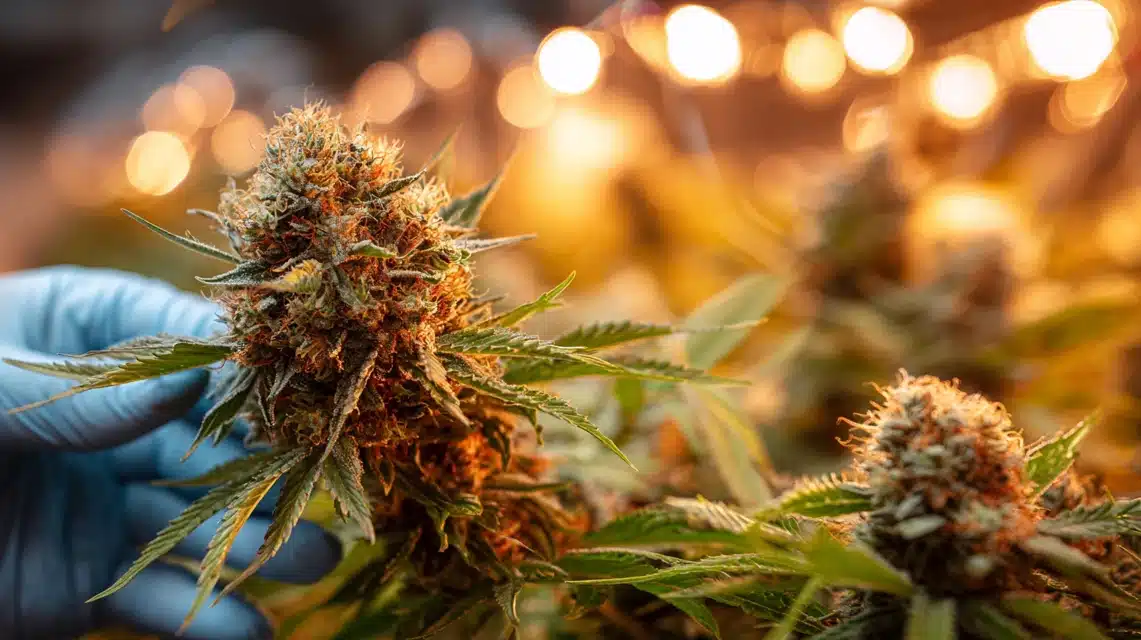
The final weeks bring calm and focus. Temperatures around 20–23°C and humidity near 45–55% help finish the cycle cleanly.
Flush the plant with plain water for a week to clear any nutrient residue, reducing EC to 0.0–0.3. Trichomes turn from clear to cloudy, then amber, marking peak maturity. Pistils darken and curl inward, and buds feel firm when ready.
Some growers allow a short dark period before trimming to ease drying. The harvest reflects every balanced step, steady climate, patient feeding, and gentle attention from start to finish.
After Harvest: Drying and Curing
- Drying Targets: Keep buds in 18–20°C temperature and 55–60% humidity for 10–14 days. Maintain low airflow and complete darkness for even drying.
- Curing Process: Store dried buds in clean glass jars, filled about three-quarters full. Open daily for fresh air exchange and include humidity packs to balance moisture.
- Timeline: Curing usually takes 2–8 weeks. Longer cures enhance aroma, smoothness, and potency, rewarding patience with better smoke quality.
Troubleshooting:
- Mold smell: Reduce humidity and improve airflow immediately.
- Overdry buds: Add a small humidity pack or citrus peel for 12 hours.
- Hay aroma: Extend curing; chlorophyll breakdown needs more time.
- Rehydration tips: Use 62% RH packs or a damp paper towel in a separate container for gentle moisture recovery.
A calm, steady cure brings out the best character in every bud, smooth, fragrant, and full of life.
Growing Medium for Balanced and Steady Growth
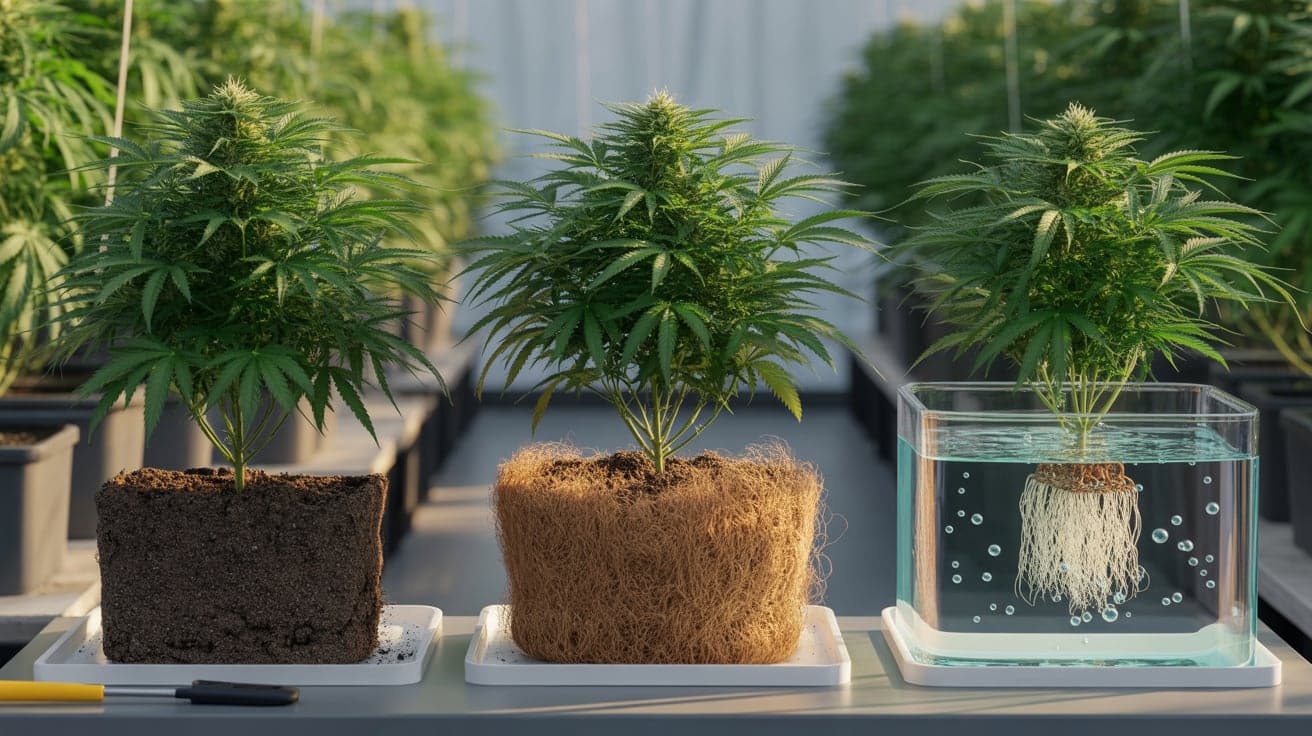
Choosing the right growing medium sets the tone for the entire grow. Each option, soil, coco, or hydro, offers different control over feeding, watering, and root health. Knowing their rhythms helps you adjust care as plants develop.
Comparison of Soil, Coco, and Hydro Setups
| Medium | Ideal pH | EC Range | Watering Frequency | Nutrient Control | Notes |
|---|---|---|---|---|---|
| Soil | 6.2–6.8 | 0.8–1.6 | Every 2–3 days | Moderate | Natural buffer makes soil forgiving for beginners; it holds nutrients well but drains more slowly. |
| Coco Coir | 5.8–6.2 | 1.2–2.0 | Daily or every other day | High | Great oxygen flow, dries faster, and needs consistent cal-mag and nutrient feeding. |
| Hydroponics | 5.5–6.0 | 1.4–2.4 | Constant or several times daily | Very High | Fastest growth and full nutrient control, but requires close monitoring of pH and EC. |
Each medium affects how roots breathe and absorb nutrients. Soil grows slowly but steadily, Coco keeps a steady pace, and Hydro thrives on precision.
Simple Starter Recipes
A quick guide to simple soil, coco, and hydro mixes that keep plants stable, roots oxygenated, and feeding balanced throughout growth.
Soil Mix
- 60% organic potting soil
- 20% perlite for drainage
- 20% compost or worm castings for nutrition
(Optional: Add small amounts of bone meal or bat guano for slow nutrient release.)
Coco Mix
- 70% pre-buffered coco coir
- 30% perlite
- Feed from day one with a mild nutrient solution (EC 1.0–1.2).
Hydro Setup (Basic DWC or Drip)
- Use clean, low-EC water (
- Add base nutrients following the seedling dilution strength
- Keep water temperature between 20–22°C for oxygen stability
Quick Setup Tips
- Drainage: Always ensure pots have holes and trays to prevent pooling. Roots suffocate without proper oxygen flow.
- pH Checks: Test water before and after mixing nutrients to stay in range. Drift outside target levels slows nutrient absorption.
- Oxygenation: In coco and hydro, add air stones or mix perlite to improve airflow around roots.
- Consistency: Avoid switching mediums mid-grow; each has its own feeding rhythm and moisture pattern.
A balanced medium doesn’t just hold the plant; it supports its rhythm of breathing, feeding, and steady, visible growth.
Strain Selection, Genetics, and Growing Timelines
Each strain carries its own rhythm; some grow tall and slow, others stay compact and quick to flower. Understanding these patterns helps you plan space, feeding, and harvest timing more effectively.
Strain Type Comparison
| Type | Growth Pattern | Stretch | Flower Time | Yield Potential | Best For |
|---|---|---|---|---|---|
| Indica | Short and dense | Low | 6–9 weeks | High | Indoor grows, cooler climates, smaller spaces |
| Sativa | Tall and airy | High | 10–14 weeks | Medium | Outdoor or greenhouse setups, warm climates |
| Hybrid | Balanced height and structure | Moderate | 8–11 weeks | High | Controlled indoor environments |
| Ruderalis (Autoflower) | Compact and fast | Minimal | 8–10 weeks total | Medium | Quick harvests, small grow tents, beginners |
Each type reacts differently to light and nutrients. Matching genetics to your grow space avoids overcrowding and uneven growth.
Planning by Space and Climate
Small Indoor Tents: Compact Indica or Autoflower strains are best; they stay manageable under limited height.
Large Indoor Rooms: Hybrids and Sativas can fill space efficiently with training methods like SCROG.
Outdoor Gardens: Sativas thrive in warm, sunny weather with longer seasons, while Indicas prefer cooler or temperate regions.
Greenhouses: Ideal for combining sunlight with controlled conditions, supporting longer-flowering hybrids and Sativas.
Choose genetics that match your environment, not just your yield goals. Comfortable plants always reward with stronger results.
Outdoor vs. Indoor Timelines
Outdoor Grows: Depend on daylight hours. In the Northern Hemisphere, planting usually begins in April–May with harvest in September–October.
Indoor Grows: Controlled 12/12 light cycles allow flowering anytime. Each cycle runs about 12–16 weeks from seed to harvest.
Autoflowers: Independent of light schedule; finish in 8–10 weeks from sprout, regardless of season.
Genetics shape not only the look and yield of your plants but also the pace of every stage from seed to harvest.
Clean Grow Room, Safety & Plant Health
A clean and well-organized grow room keeps plants healthy, prevents infestations, and protects your setup from avoidable damage.
Consistent care and safe electrical habits create a balanced space where plants can thrive without stress.
Integrated Pest Management (IPM) Checklist
| Stage | Cleaning Tasks | Airflow & Filter Care | Humidity Control |
|---|---|---|---|
| Germination | Sanitize trays and tools before use. | Check intake filters weekly. | Maintain 70–80% RH; avoid stagnant air. |
| Seedling | Clean spray bottles and domes. | Keep airflow light and steady. | Hold 65–75% RH to support soft leaves. |
| Vegetative | Wipe walls, fan blades, and remove debris. | Replace pre-filters monthly. | Maintain 55–65% RH; watch for condensation. |
| Flowering | Sanitize scissors and trim tools. | Strengthen airflow for canopy coverage. | Lower to 45–50% RH to prevent mold. |
| Harvest | Clean jars, drying racks, and trays. | Inspect carbon filters and exhaust ducts. | Maintain 55–60% RH for drying stability. |
Preventing Mildew, Rot, and Pest Outbreaks
- Keep air moving at all levels; stagnant corners invite mold.
- Inspect leaves twice a week, especially undersides, for early signs of mites or thrips.
- Avoid overwatering or leaving standing water near pots.
- Disinfect tools with isopropyl alcohol after each use.
- Limit outside contact—change shoes or clothing before entering your grow area.
- Maintain steady humidity and temperature; sudden swings trigger mold and rot.
Prevention is quieter than treatment, and far more effective.
Odor Filtration and Safety
- Use carbon filters on exhaust systems to trap plant odors naturally.
- Avoid ozone generators; they can harm both plants and lungs.
- Keep power strips and ballasts off the floor to prevent moisture damage.
- Run cables neatly and check for heat buildup on lights and plugs.
- Always use grounded outlets with surge protection.
Clean habits protect both your harvest and your equipment.
Weekly Maintenance Schedule
| Day | Task | Purpose |
|---|---|---|
| Monday | Check pH, EC, and nutrient mix. | Keeps feeding consistently. |
| Tuesday | Inspect for pests and mildew. | Early action prevents outbreaks. |
| Wednesday | Wipe fans, walls, and trays. | Reduces dust and mold risk. |
| Thursday | Rotate pots and adjust fans. | Promotes even airflow and growth. |
| Friday | Clean filters and ducts. | Maintains air quality. |
| Saturday | Deep water and observe leaf posture. | Tracks hydration and plant health. |
| Sunday | Rest day, observe, and record notes. | Builds awareness of small changes. |
A clean grow room doesn’t just look organized; it builds consistency, safety, and stronger plants over every cycle.
Tools, Calculators, and Grower Resources
Accurate tools make each grow more consistent and easier to manage.
You can use the DLI calculator and harvest-date calculator online through trusted grow-tool websites that let you enter your light strength, schedule, and plant details. These help you fine-tune lighting and plan timing through every stage.
The VPD chart is also available on several free grow-calculator sites, making it easy to match your temperature and humidity for steady plant health.
These tools turn simple notes into clear data so you can make confident adjustments and keep your environment stable from start to finish.
Conclusion
By now, you’ve seen how each stage has its own signs, needs, and small risks. When you understand what your plant should be doing at each point, you stop guessing and start making calm, confident choices.
Simple habits like checking leaves, watching your environment, and adjusting feeding schedules go a long way.
I hope this guide gives you a clear starting point for your next grow.
What change will you make first in your setup? If you want more help with weed plant stages, keep reading through my other blogs and check out the related guides I’ve shared. There’s plenty more waiting for you.