
Builder-grade homes are designed to appeal to the widest possible audience. They are practical, efficient, and move-in ready. But that broad appeal often comes at the cost of character. The finishes are standard, the fixtures are basic, and the overall effect is a space that feels functional but impersonal—a house that could belong to anyone. The instinct for many new homeowners is to start planning a major renovation. They dream of tearing out kitchens, gutting bathrooms, and starting from scratch. But that approach is expensive, disruptive, and often entirely unnecessary.
The truth is that the most transformative changes in a builder-grade home are not structural. They are the details that builders skip to keep costs down and timelines short. Builders opt for basic materials, simple layouts, and neutral finishes because they are building for a hypothetical average buyer, not for you.
This means your home is essentially a blank slate, a canvas waiting for the personal touches that reflect how you want to live. By targeting the details—the lighting, the hardware, the trim, the window treatments, and the often-ignored vents—you can shift a room from generic to custom without ever swinging a sledgehammer. Interior designers consistently point to these small, strategic swaps as the secret to making a builder-grade space feel bespoke.
Start with The Lights: The Fastest Way to Change a Room
Nothing announces a builder-grade interior more loudly than a standard, single overhead light. Designers consistently point to lighting as the single most impactful upgrade a homeowner can make. “Replacing standard light fixtures is one of my favorite ways to add instant charm and personality to a builder-grade home,” says interior designer Amanda Campbell. Builder fixtures are chosen to check a functional box, not to set a mood. They are often undersized for the rooms they occupy, casting flat, harsh light that flattens everything beneath it. As designer Lauren Lerner explains, “Builder-grade lighting is often flat, poorly scaled, and overly reliant on recessed cans. This can make a home feel cold and unfinished”.
The fix is not necessarily to install recessed lighting throughout the house. It is to be strategic about the fixtures people actually see. Swap the basic flush-mount in the entryway, the dated pendant over the kitchen island, and the standard fixture in the dining room for pieces with presence. You do not need to replace every light at once. Choose one or two rooms that guests see first and invest in a fixture that reflects your taste—a sculptural chandelier, a sleek pendant, or a warm, textured sconce. Lerner advises replacing “generic fixtures with properly-scaled pendants, sconces, and chandeliers, and add dimmers everywhere”. Even a modest lighting upgrade can dramatically shift how a home feels and functions.
Beyond the fixtures themselves, the quality of light matters. Swapping out builder-grade bulbs for warmer, dimmable LEDs (around 2700K) instantly softens the atmosphere and makes the space feel more considered. In kitchens, under-cabinet LED strip lighting costs between $80 and $200 for the whole run, takes an afternoon to install with adhesive-mount strips, and immediately changes how the room feels after dark. The pendant over the island or sink does the heavier lifting visually, giving the eye somewhere to land and breaking up the flat-ceiling problem. Avoid chrome finishes in kitchens, which read dated faster than almost anything else; matte black, brushed brass, or unlacquered brass are more timeless choices.
Hardware Is the Jewelry of the Home
Cabinet hardware and door hardware are small elements that punch far above their weight. Interior designers describe hardware as the “jewelry” of a space—the finishing touch that makes a big impact with relatively minimal work. Builder-grade cabinets are usually fitted with basic, inexpensive knobs and pulls that feel flimsy and look generic. Replacing them is a Saturday project that can make a kitchen or bathroom look like it was designed with intention. The visual difference is disproportionate to the effort involved.

The cost is remarkably low. Builder-grade cabinet pulls are almost always thin, slightly shiny, and forgettable. Swapping them out costs $150 to $400 depending on how many cabinets you have. Replacing the pulls on twenty cabinet fronts can cost as little as $60 to $160 in materials and takes an afternoon. For a full kitchen with forty pieces, budget $120 to $480 depending on quality. The key is to choose mid-range quality; cheap hardware feels cheap every time you open a drawer.
The key to a high-end look is consistency. Choose a finish and carry it through the room—or the entire main floor. Matte black, aged brass, satin nickel, and oil-rubbed bronze are all versatile choices that feel timeless without trying too hard. Weight is the first giveaway of quality; a solid metal pull with a smooth finish and a quiet mechanism feels custom even on stock cabinets, while thin zinc or plastic hardware cheapens the look. Finish consistency matters too.
Mixing brushed brass, matte black, and chrome in the same kitchen looks accidental rather than curated. Measure the distance between the screw holes on your existing pulls before you buy, so you can find replacements that fit without drilling new holes. Most cabinet fronts use 3-inch (96 mm) spacing for pulls and a single 5/16-inch hole for knobs, while wide drawers take 5-inch (128 mm) spacing.
While you are at it, do not stop at the cabinets. Swap out the doorknobs, the switch plates, and the outlet covers. These are the tactile details you interact with every day, and updating them removes another layer of builder-grade anonymity. As one designer notes, “Door knobs, light switches and covers, outlets and covers, and HVAC vents can all be changed for a dramatic change, making your home not only look new and modern, but high end”.
Paint and Trim: Adding Architectural Weight to Plain Walls
Plain drywall is a builder-grade signature. It is smooth, flat, and entirely devoid of the architectural details that give older homes a sense of history and depth. Builder-grade homes typically use minimal trim, hollow-core doors, and basic cabinetry. You do not need to add a full wall of built-ins to change that. Simple trim work—picture frame molding, board and batten, or a basic chair rail—adds rhythm, catches shadows, and introduces a layer of visual interest that plain walls cannot provide. Decorative wall molding is often described as the highest-impact, lowest-cost upgrade you can make to a builder-grade interior. A weekend of work and around $180 in materials can transform a flat drywall room into something that reads as custom-built.
Board and batten is one of the most popular treatments, combining flat 1×4 verticals at 12 to 18-inch centers with a horizontal cap at the top. Cost is $3 to $7 per linear foot of wall in materials plus paint, and installation takes one weekend per 12-foot wall section. Picture frame molding consists of small rectangular boxes installed flat against the wall, creating dimension without crowding the space. Total cost runs $1.50 to $3 per linear foot in MDF strip molding. Proportions matter critically: each frame should align with adjacent frames, allow 4 to 6 inches between the frame and ceiling, 4 to 6 inches between frames horizontally, and stop 6 to 12 inches above the baseboard or chair rail.
Baseboards are another area where builders cut corners. Eight-foot ceilings call for 4 to 5-inch baseboards; 9 to 10-foot ceilings warrant 5.5 to 8-inch baseboards. Upgrading to more substantial baseboards and casing adds instant architectural depth. Coordinate baseboards and door casings; a 5.5-inch baseboard pairs with a 3.5 to 4.5-inch door casing.
Paint is the other half of this equation. You do not have to repaint the entire house. Focus on the spaces where a shift in color will have the most impact: the entryway, the powder room, or the interior doors. A warm, earthy tone in the entryway or a deeper color in a small bathroom can pull a space away from that new-construction feeling almost immediately. Painting built-in shelving or a kitchen island is another low-effort, high-impact move that requires far less paint than a full room and is significantly easier to DIY. A painted island is “one of my favorite ways to add dimension without a full renovation,” says designer Darci Hether.
Mirrors and Bathroom Details
The bathroom is one of the most neglected rooms in a builder-grade home. The telltale sign is the unframed “slab” mirror—a single sheet of glass glued directly to the wall. It is functional and inexpensive, but it instantly reads as builder-grade. Swapping it out for a framed mirror, or even building a simple frame around the existing mirror, adds a layer of polish that makes the bathroom feel finished and well thought out. Most bathrooms have builder-grade mirrors installed, and switching to something more decorative and intentional can change the entire space. A wood-framed or arched mirror instantly adds character.
While you are in the bathroom, consider swapping the basic vanity light for a pair of sconces on either side of the mirror. This small change makes the space feel more custom and provides better, more flattering light for daily routines. Sconces on either side of the mirror give better light for your face because they light it evenly with no shadows under the eyes. Mount them at about 66 to 70 inches high, roughly eye level. Side sconces should be 60 to 65 inches from the floor to the center of the fixture, while above-mirror lighting should sit 75 to 80 inches from the floor. The mirror itself should be 70% to 80% of the vanity width, and its bottom edge should sit 2 to 4 inches above the highest part of the faucet or backsplash.
Window Treatments: The Finishing Layer
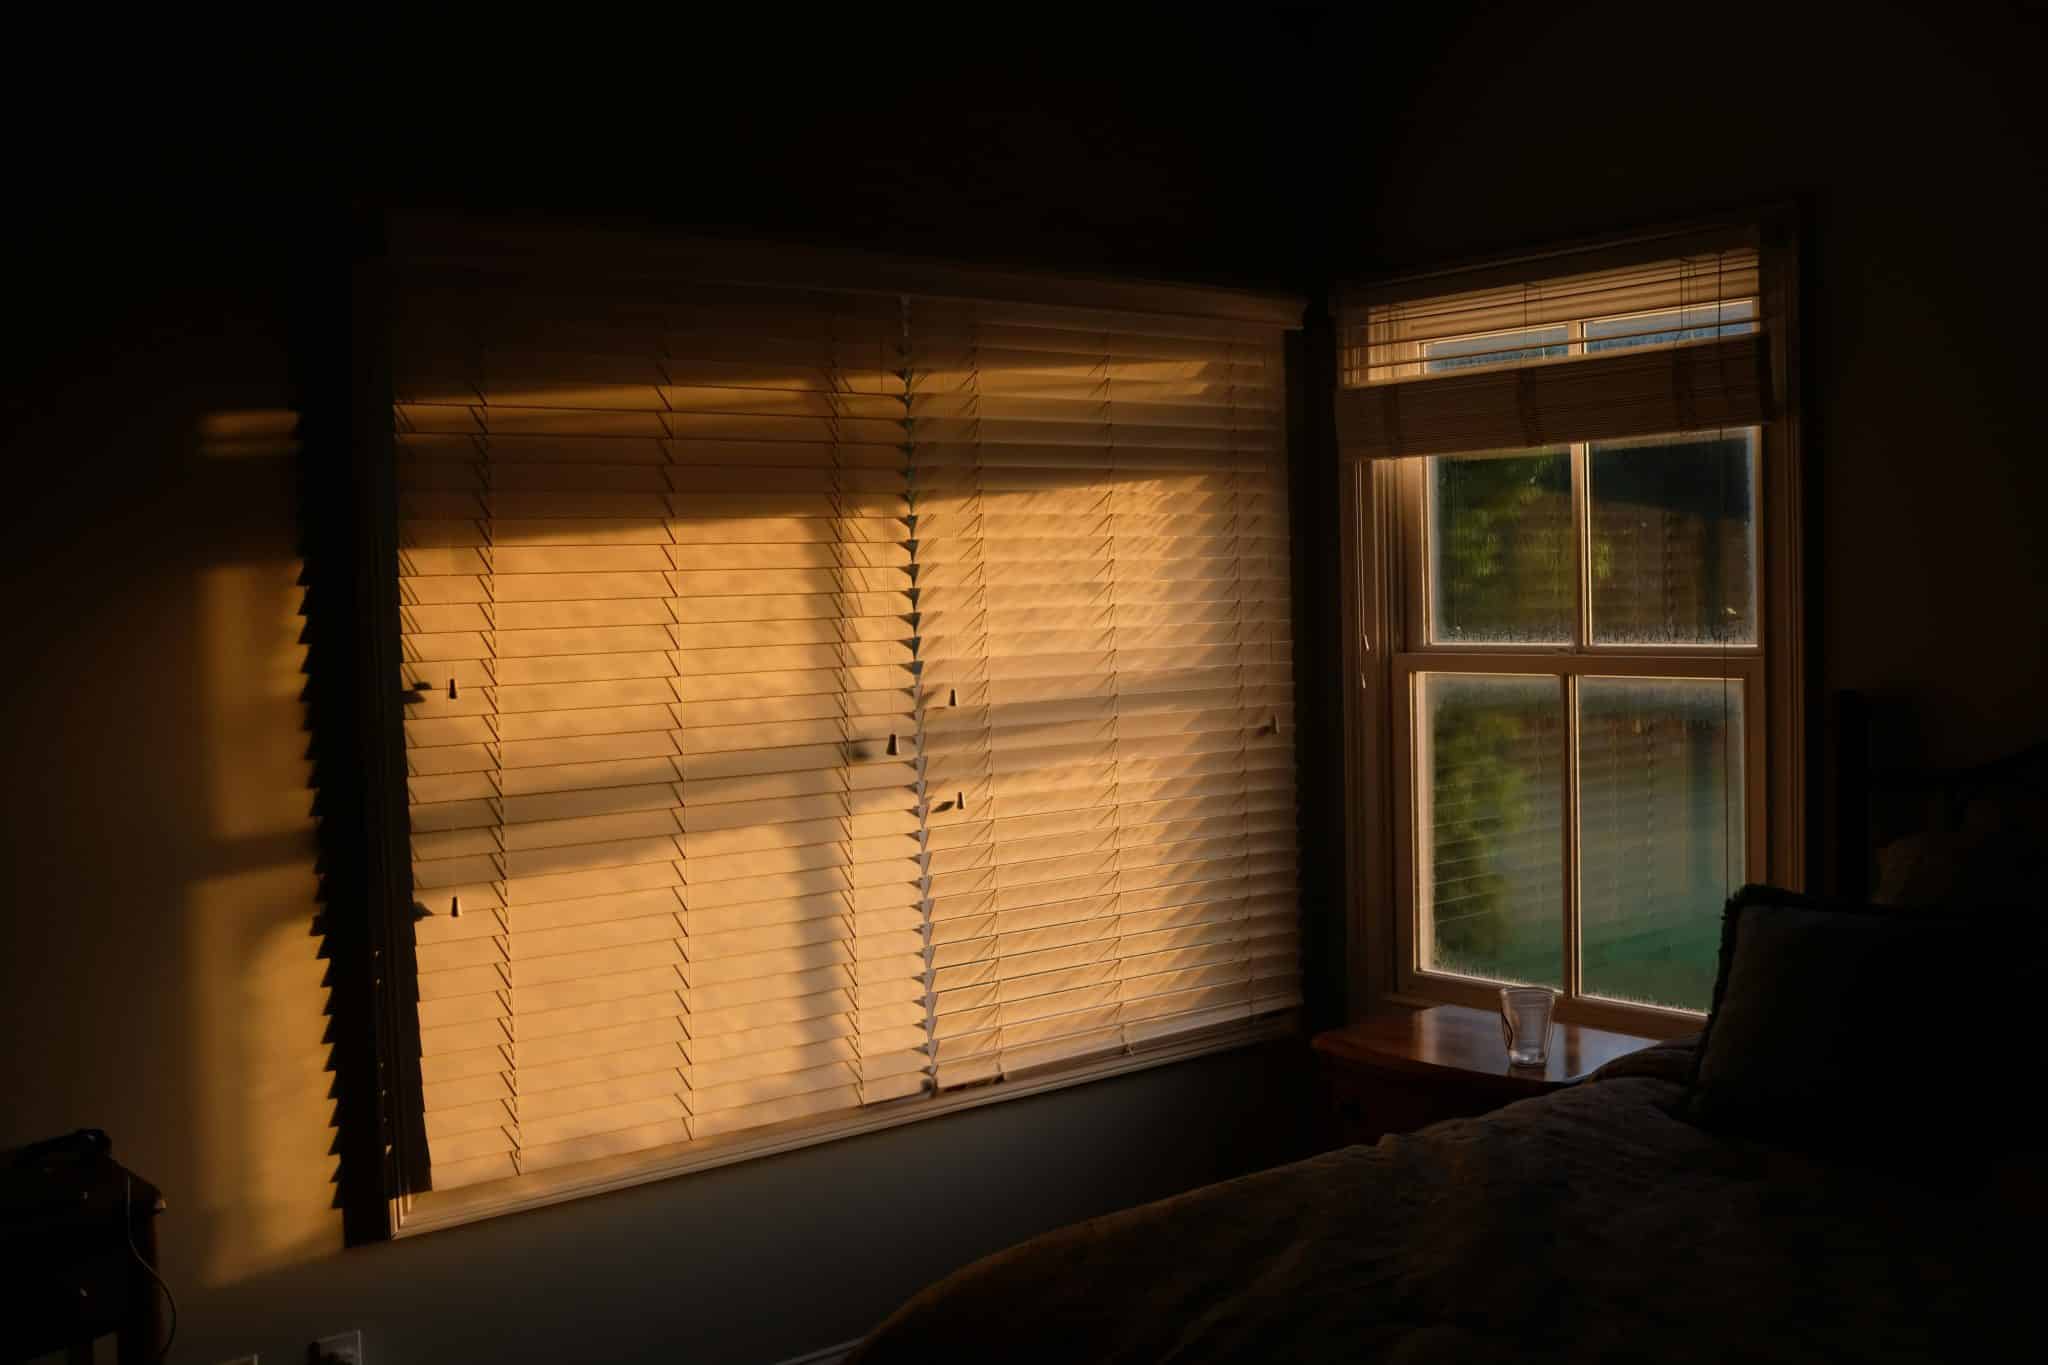
Bare windows make a room feel unfinished, even when everything else is in place. Builder-grade homes often come with small, awkward window treatments or none at all. You do not need elaborate drapery. Simple linen panels, woven wood shades, or a layered combination of both add softness, frame the view, and absorb sound. The single most transformative rule of window treatments is to hang the rod “high and wide.” Mount your curtain rod 4 to 6 inches above the top of the window frame, or even closer to the ceiling. This instantly creates an illusion of height, drawing the eye upward and making your ceiling feel taller. Extend the rod 6 to 12 inches beyond the window frame on each side. This makes the window appear larger and allows the panels to stack on the wall rather than covering the glass, letting more natural light pour in.
Curtain length matters just as much as placement. Short curtains are the fastest way to make a room look unfinished. Panels should reach the floor, with the hem just kissing the ground about half an inch off, or breaking gently against it. Fullness is another detail that separates cheap-looking curtains from custom-looking ones. Your total curtain width should be at least 1.5 to 2 times the width of your window, so the panels gather into soft folds rather than pulling tight like a flat sheet.
Finally, steam out the packaging creases before you hang them; those hard fold lines scream “just unpacked” and undermine the effort. This is a low-cost upgrade that instantly warms a room and signals that someone has thought about the space as a whole, not just the furniture. Designers hang drapery high and wide to add softness and height and to give windows the “finished” look older homes often have naturally.
Do Not Forget the Vents
Vent covers are perhaps the most overlooked detail in any builder-grade home. They are functional necessities, but they are also visual elements that sit on floors, walls, and ceilings. Standard builder vents are made from thin, stamped metal and are purely functional—they cover a hole and do nothing for the room’s aesthetic. Over time, they become dingy, bent, or painted over, quietly undermining the look of even a well-decorated space. As one reviewer put it after replacing a generic builder-grade vent, “This stainless steel cover made a surprisingly big difference in the room’s look. It’s sleek and modern”. Another noted, “They are such a beautiful upgrade from our prior old builder-grade covers; should have changed them years ago”.
Upgrading your vent covers is one of the simplest, most impactful finishing touches you can make, instantly elevating a space from “builder-grade” to “custom-designed.” Common builder-grade fixtures make a home look cheap, but swapping the HVAC vents is a dramatic change that makes a home look new and high-end. The impact is not just visual. It is psychological. A well-chosen vent cover tells the eye that every detail has been considered, from the largest fixture down to the smallest hardware. The matte black design of a upgraded vent cover can be “a subtle but important detail” in a home’s aesthetic.
For homeowners who want a seamless, integrated look—particularly on floors—products like Airwinks Vent Covers offer a floor-matching design that allows you to insert a piece of your actual flooring into the cover, so the vent disappears into the surface rather than interrupting it. The result is a level of finish that most builder-grade homes simply do not have, achieved with nothing more than a screwdriver and a few minutes per vent. The installation process is straightforward: unscrew the old cover, clean the vent opening, measure the hole, and fasten the new cover into place. It is a small investment of time and money that delivers a disproportionate return in perceived quality.
Layer Texture and Personal Touches
Builder-grade homes are full of smooth, flat surfaces: drywall, laminate, tile, and more. Texture is what breaks up that monotony and makes a space feel lived in. Textiles are the most versatile, high-impact levers in residential decorating. Cushions, area rugs, and throw blankets soften hard architectural lines, dampen acoustic echo, introduce varied tactile friction, and balance room lighting, all without the permanent commitment or expense of structural changes.
Rugs, linen throws, woven baskets, and aged wood can warm a room up instantly. A chunky knit blanket on a sofa, a jute rug under a dining table, or a vintage wooden bowl on a kitchen counter adds a layer of depth that new construction often lacks. A designer-approved workaround for the high cost of large wool rugs is the layered rug technique. Start with an oversized, affordable natural fiber base rug made from broad-weave jute, sisal, or flat-woven seagrass. These materials provide rich, organic texture and earthy neutrality at a fraction of the cost of knotted wool. Then layer a smaller, more expressive accent rug on top—a low-pile printed vintage runner, a faux-cowhide, or a Turkish kilim reproduction—centered under the coffee table. The layering introduces instant visual depth and masks floor imperfections.
Swapping out throw pillows is the quickest way to manipulate a room’s color story, but the difference between a cheap-looking cushion and a high-end designer accent is almost never the cover; it is the internal fill. Inexpensive retail pillows come pre-stuffed with stiff polyester batting that retains a rigid, bouncy shape and quickly clumps. Upgrading to high-density down inserts instantly elevates the look and feel of any sofa or chair. These are not expensive purchases. They are the kinds of things you collect over time, and that is precisely the point. The goal is not to replicate a showroom. It is to make the space feel like someone actually lives there—someone with taste, interests, and a life beyond the builder’s standard finishes.
The Cumulative Effect
Updating a builder-grade interior is not about any single change. It is about the cumulative effect of many small decisions that, together, shift the perception of the entire home. A new light fixture here, a set of cabinet pulls there, a framed mirror, a fresh coat of paint on the entryway door, a set of curtains hung high and wide, and a clean, modern set of vent covers throughout the house. None of these projects requires a contractor. Most are weekend-friendly. Many cost less than a single piece of statement furniture.
The financial case is clear. These upgrades are affordable, they are easy to implement, and they deliver measurable returns. They remove the signals that say “builder-grade” and replace them with the signals that say “custom.” The structure stays the same. The feeling changes entirely. Your home was built for the widest possible audience. With a series of small, intentional choices, you can make it feel like it was built for you.