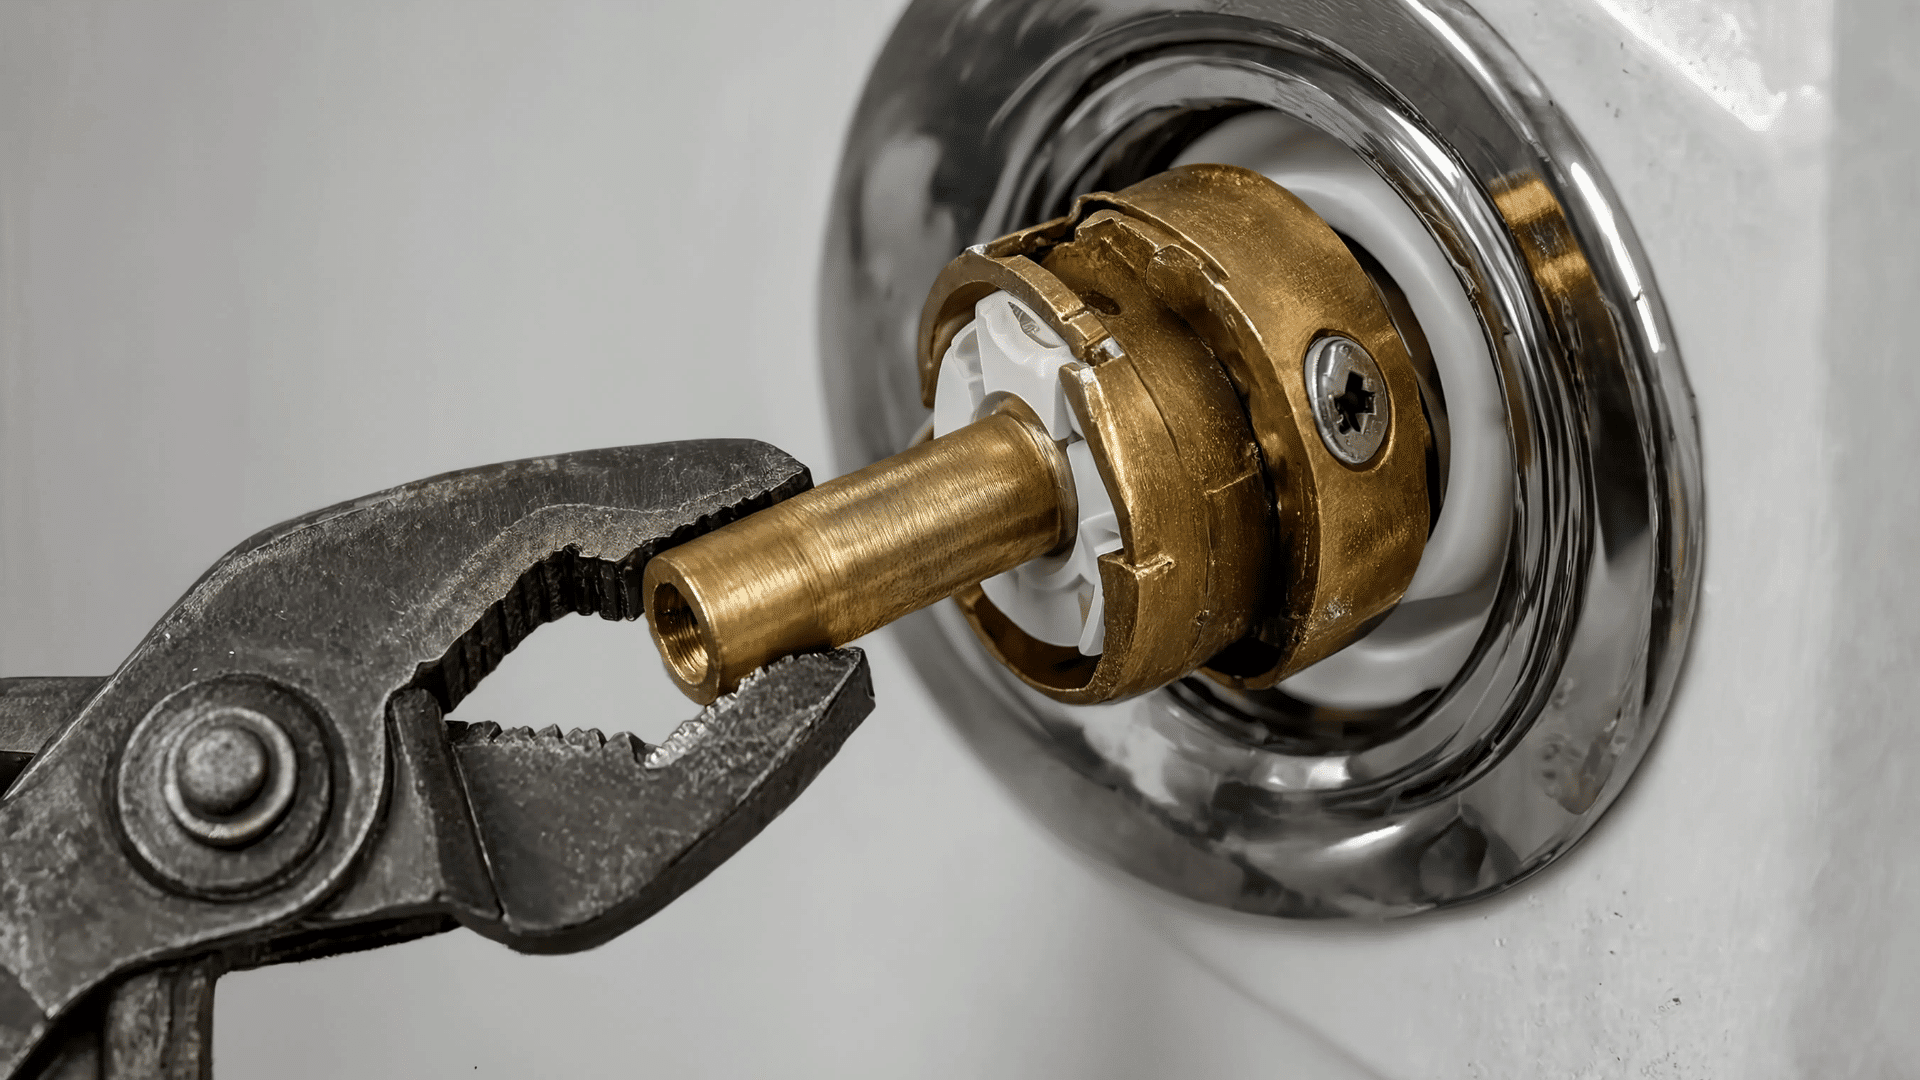
A dripping shower can turn one tiny worn part into a daily frustration. If the handle feels stiff, the temperature keeps shifting, or the water won’t stop dripping, the cartridge may be ready for replacement.
Learning how to replace a shower cartridge can save time, reduce water waste, and help avoid a costly service call.
I have seen how a simple fixture issue can affect the comfort of an entire bathroom. With the right cartridge, a few basic tools, and careful steps, this repair is often manageable at home
Tools Needed to Replace a Shower Cartridge
Here is a simple checklist to prepare:
- Allen wrench
- Screwdrivers
- Adjustable wrench or pliers
- Replacement shower cartridge matched to your shower brand
- Cartridge removal tool
- Silicone valve grease
- Towel
- Vinegar or cleaner for mineral deposits
How to Replace a Shower Cartridge Step by Step?
Replacing a shower cartridge is a manageable DIY task when you work carefully, follow the valve setup, and keep the parts organized during removal.
Step 1: Turn Off the Water and Remove Shower Pressure
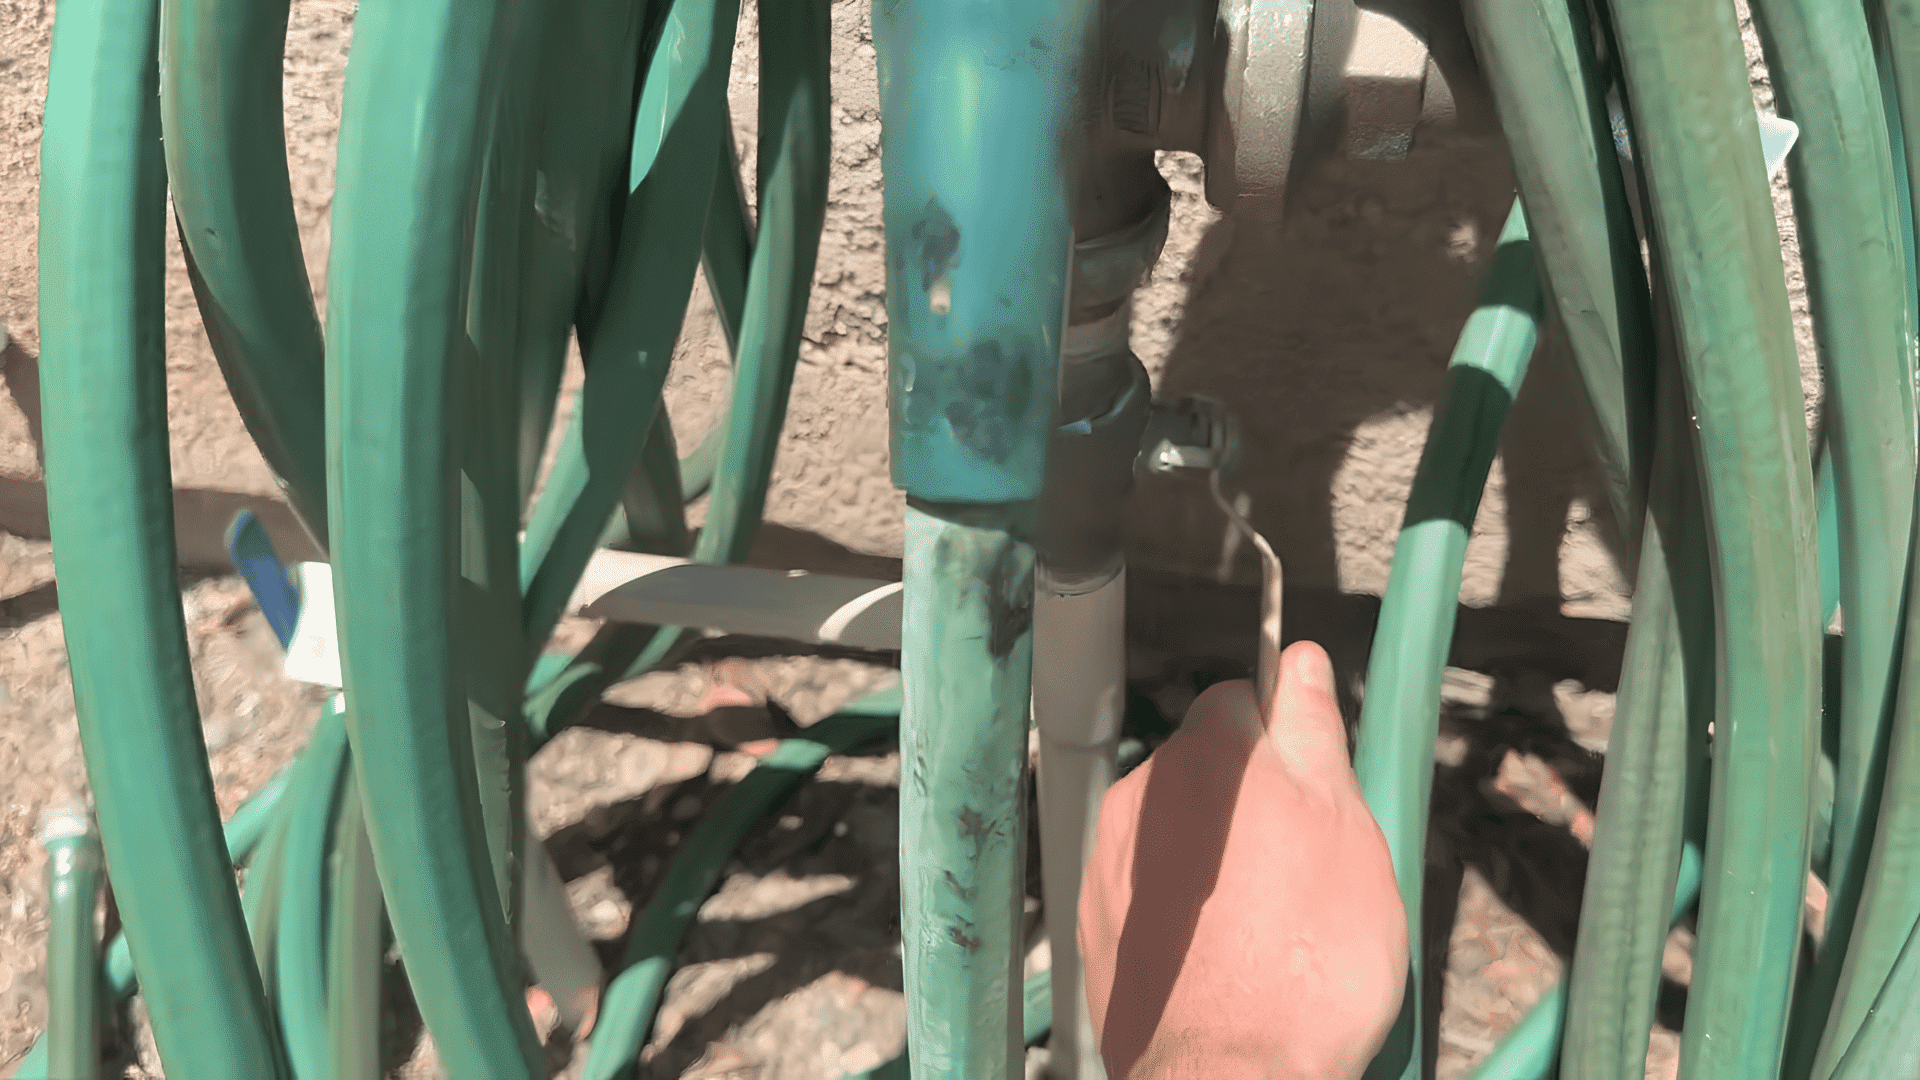
Shut off the water supply before opening the valve. Skipping this step can cause water to spray out when you remove the cartridge, creating a mess. Start by locating the shutoff valve and turning it off completely.
Confirm no water is flowing before continuing with the repair process.
After the water is off, briefly open the shower handle. This drains any leftover water and releases pressure trapped inside the pipes.
Step 2: Remove the Shower Handle and Trim Pieces
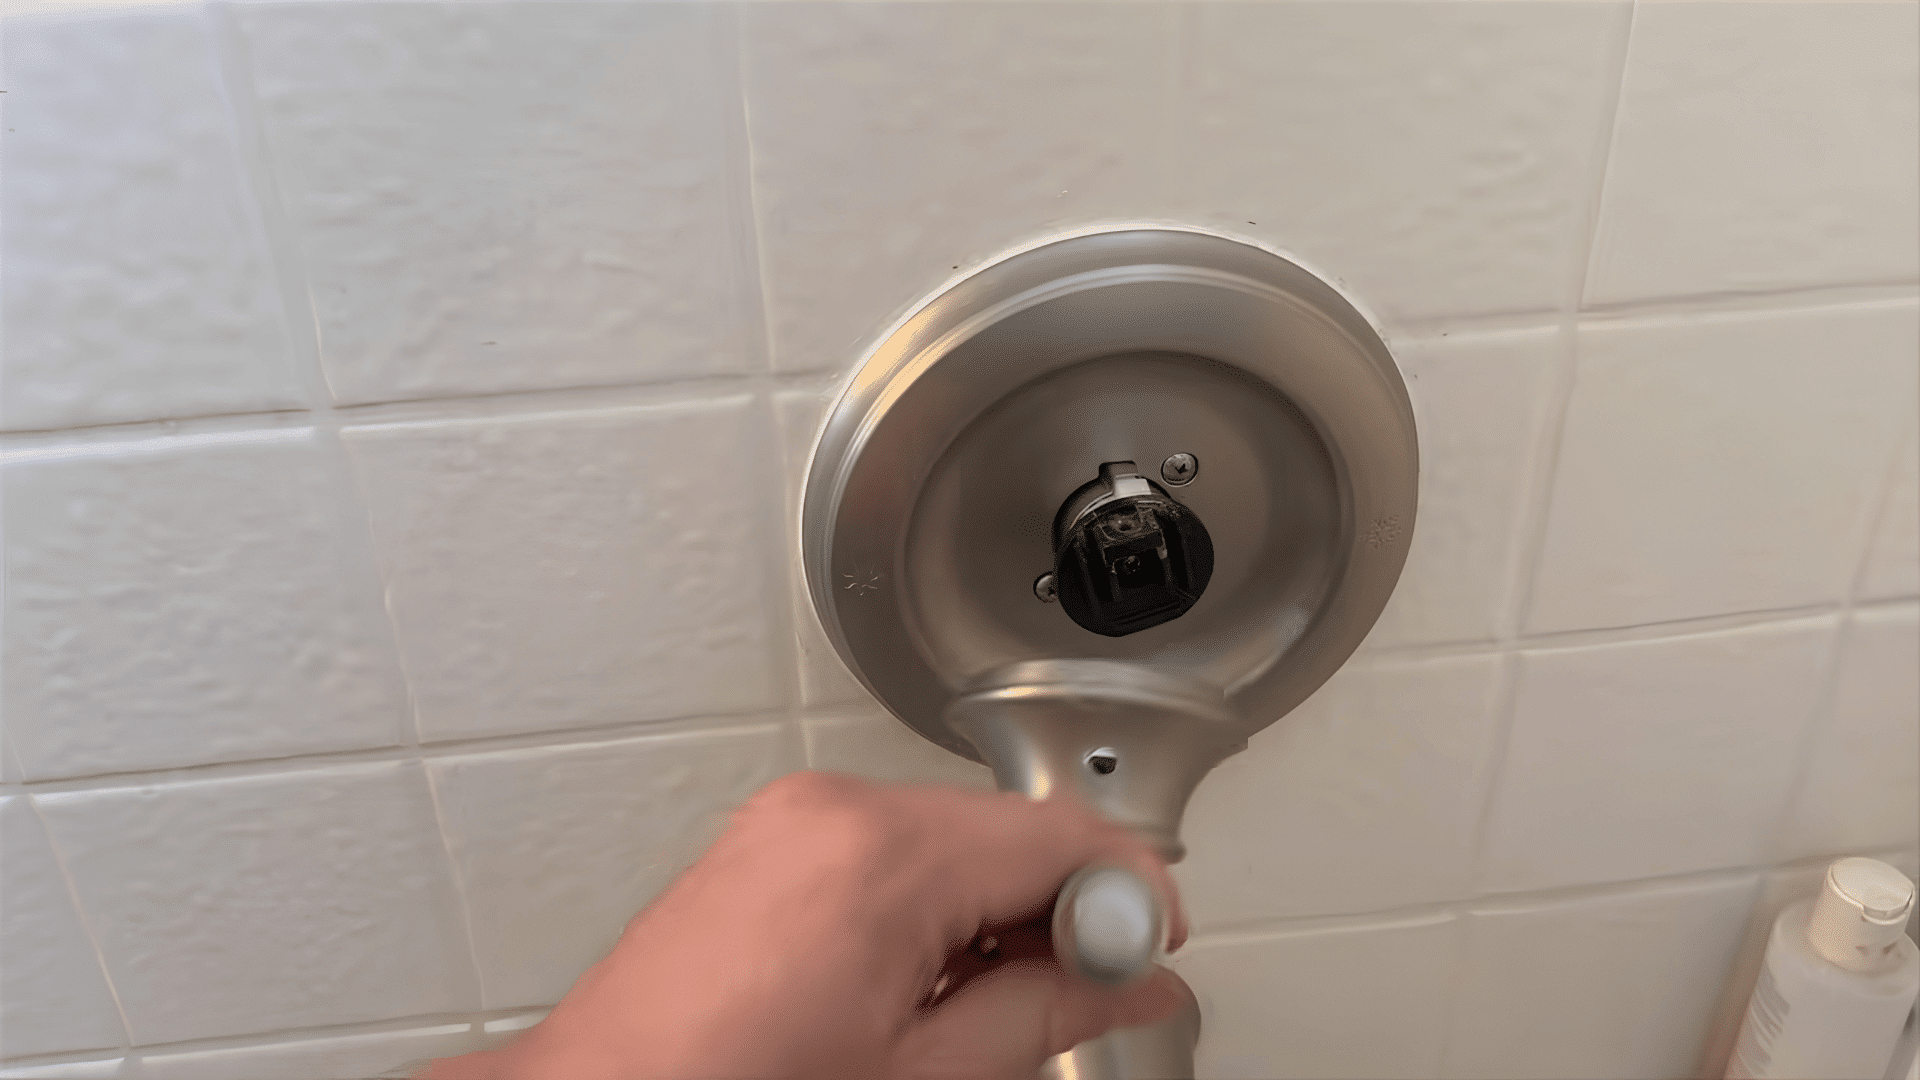
The shower handle attaches with a small Allen screw, usually hidden underneath or behind the handle. Removing this screw is the first step to accessing the cartridge.
After removing the screw, pull off the handle, then remove the temperature stop behind it.
Remove the trim plate and sleeve to expose the valve and cartridge.
Mineral buildup can make handle and trim removal harder. Gently working the parts back and forth usually loosens them without causing damage.
Step 3: Remove the Retaining Clip Holding the Cartridge
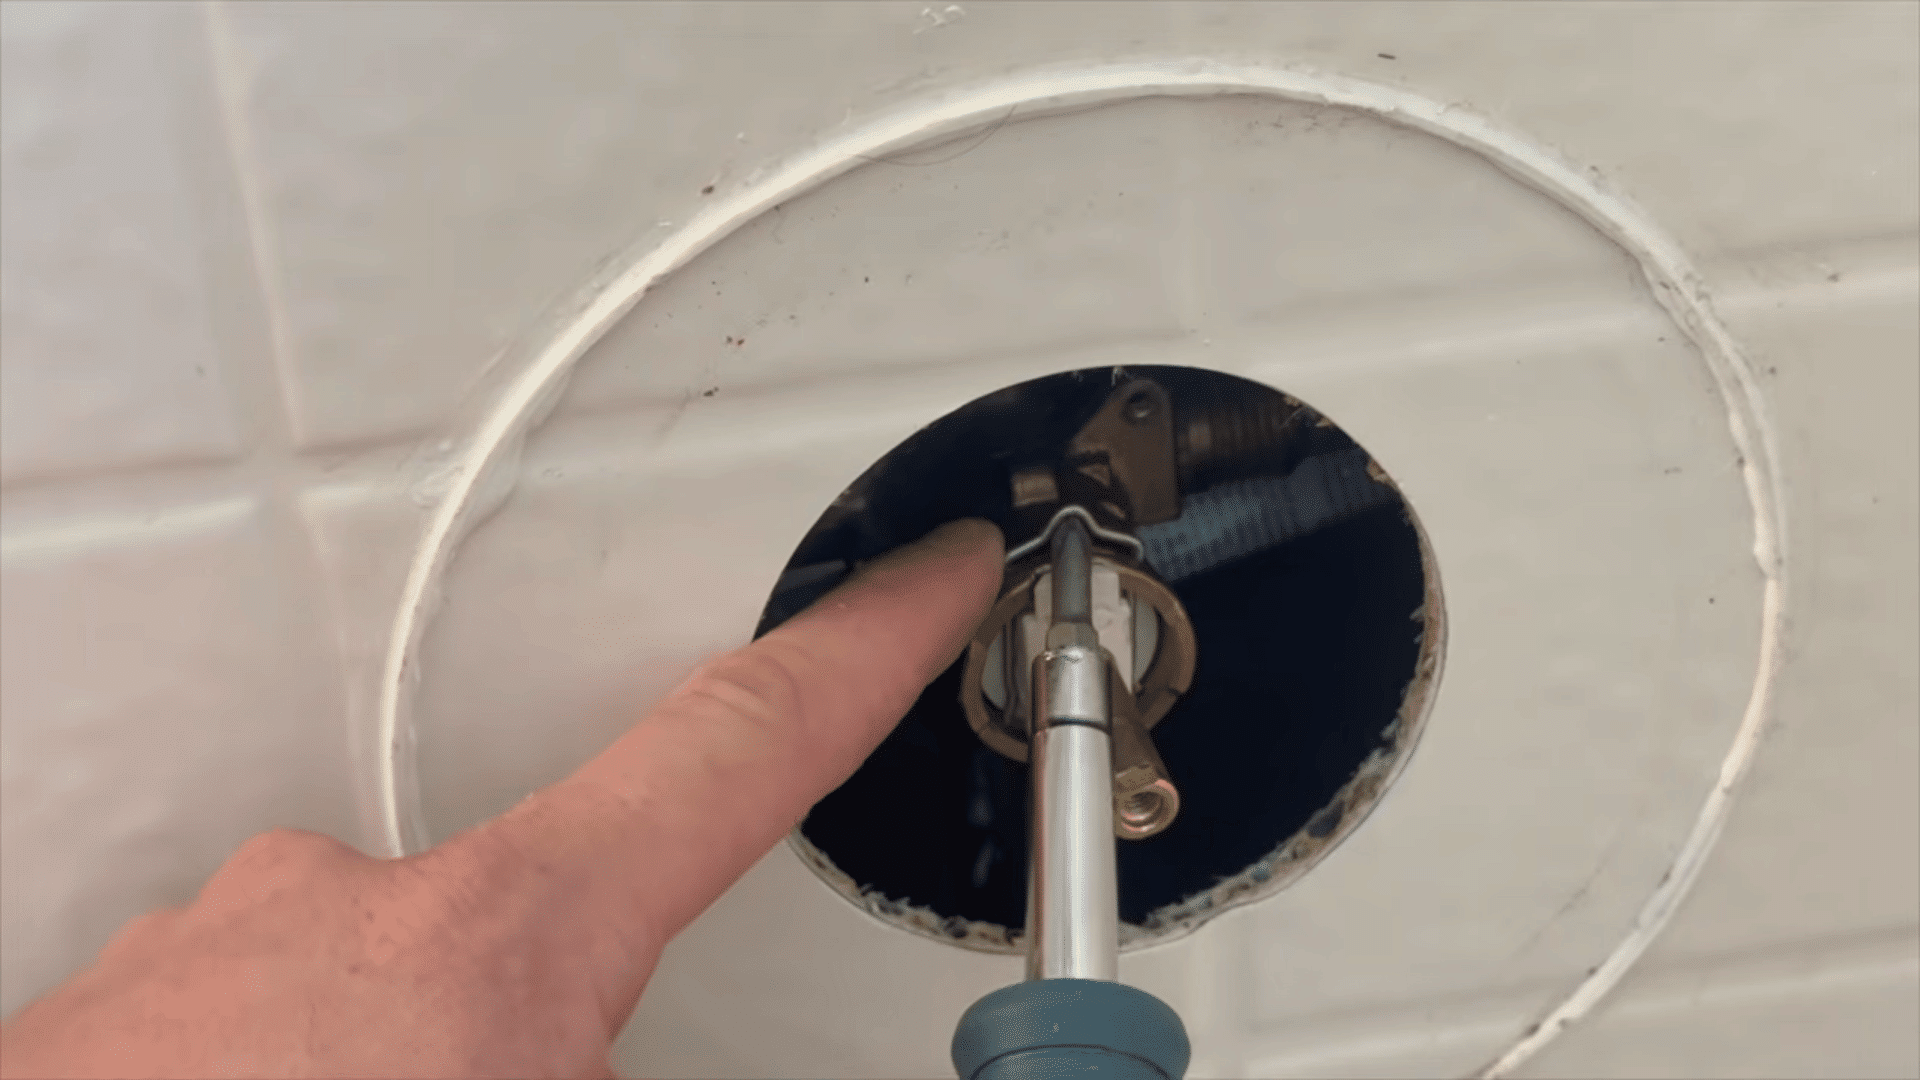
The retaining clip is a small metal piece inside the valve that holds the cartridge in its correct position. It must be removed before the cartridge can come out.
Locate the clip inside the valve opening, then pull it out carefully using needle-nose pliers or a flathead screwdriver.
Avoid bending it during removal. Keep the clip for reinstallation. Without it, water pressure can push the new cartridge out of place once you turn the shower back on.
Step 4: Remove the Old Shower Cartridge
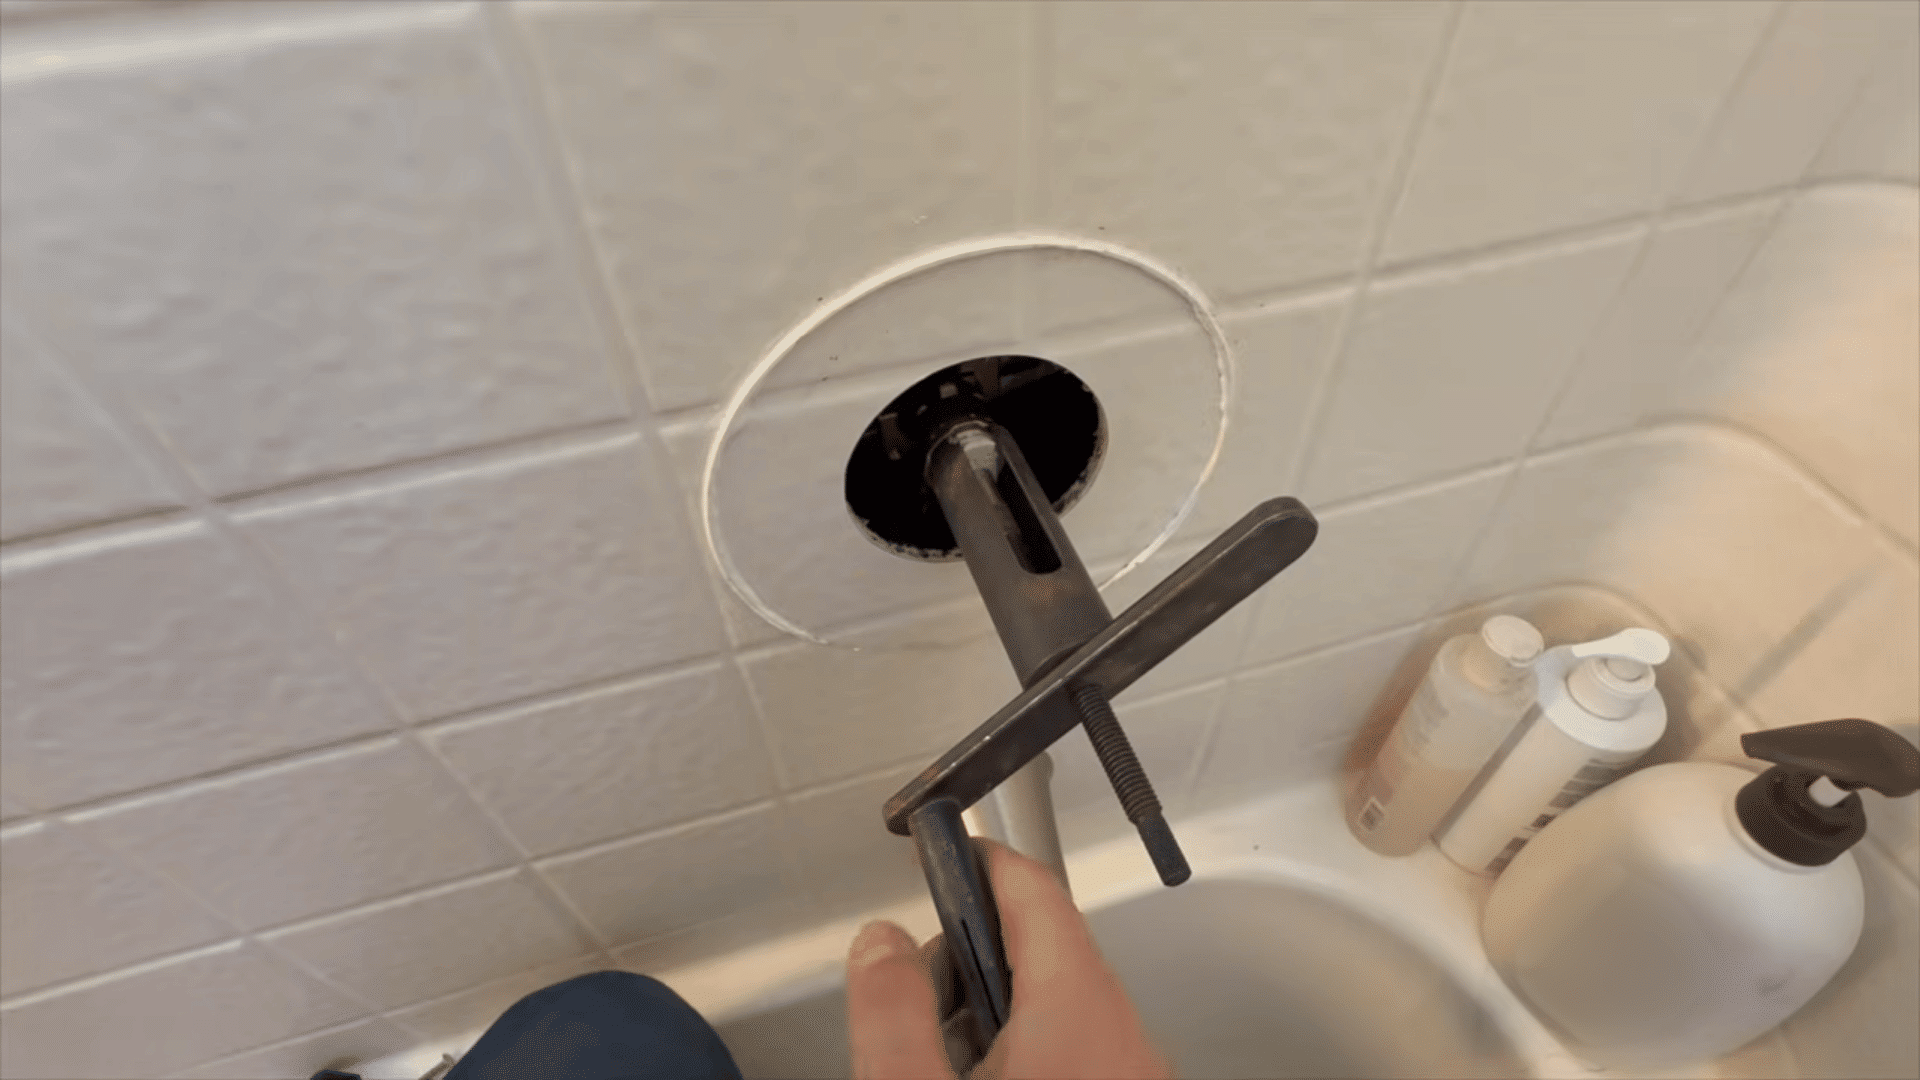
Removing the old cartridge is often the hardest part of this repair. Loose cartridges usually pull out by hand or with pliers gripping the exposed stem.
Stuck cartridges need a cartridge extractor, which threads onto the stem it pull them straight out.
Twisting or forcing the cartridge without one can damage the valve body.
Hard water deposits often cause cartridges to stick tightly inside older valves. Applying vinegar beforehand can loosen mineral buildup, making removal easier.
Step 5: Prepare and Install the New Cartridge
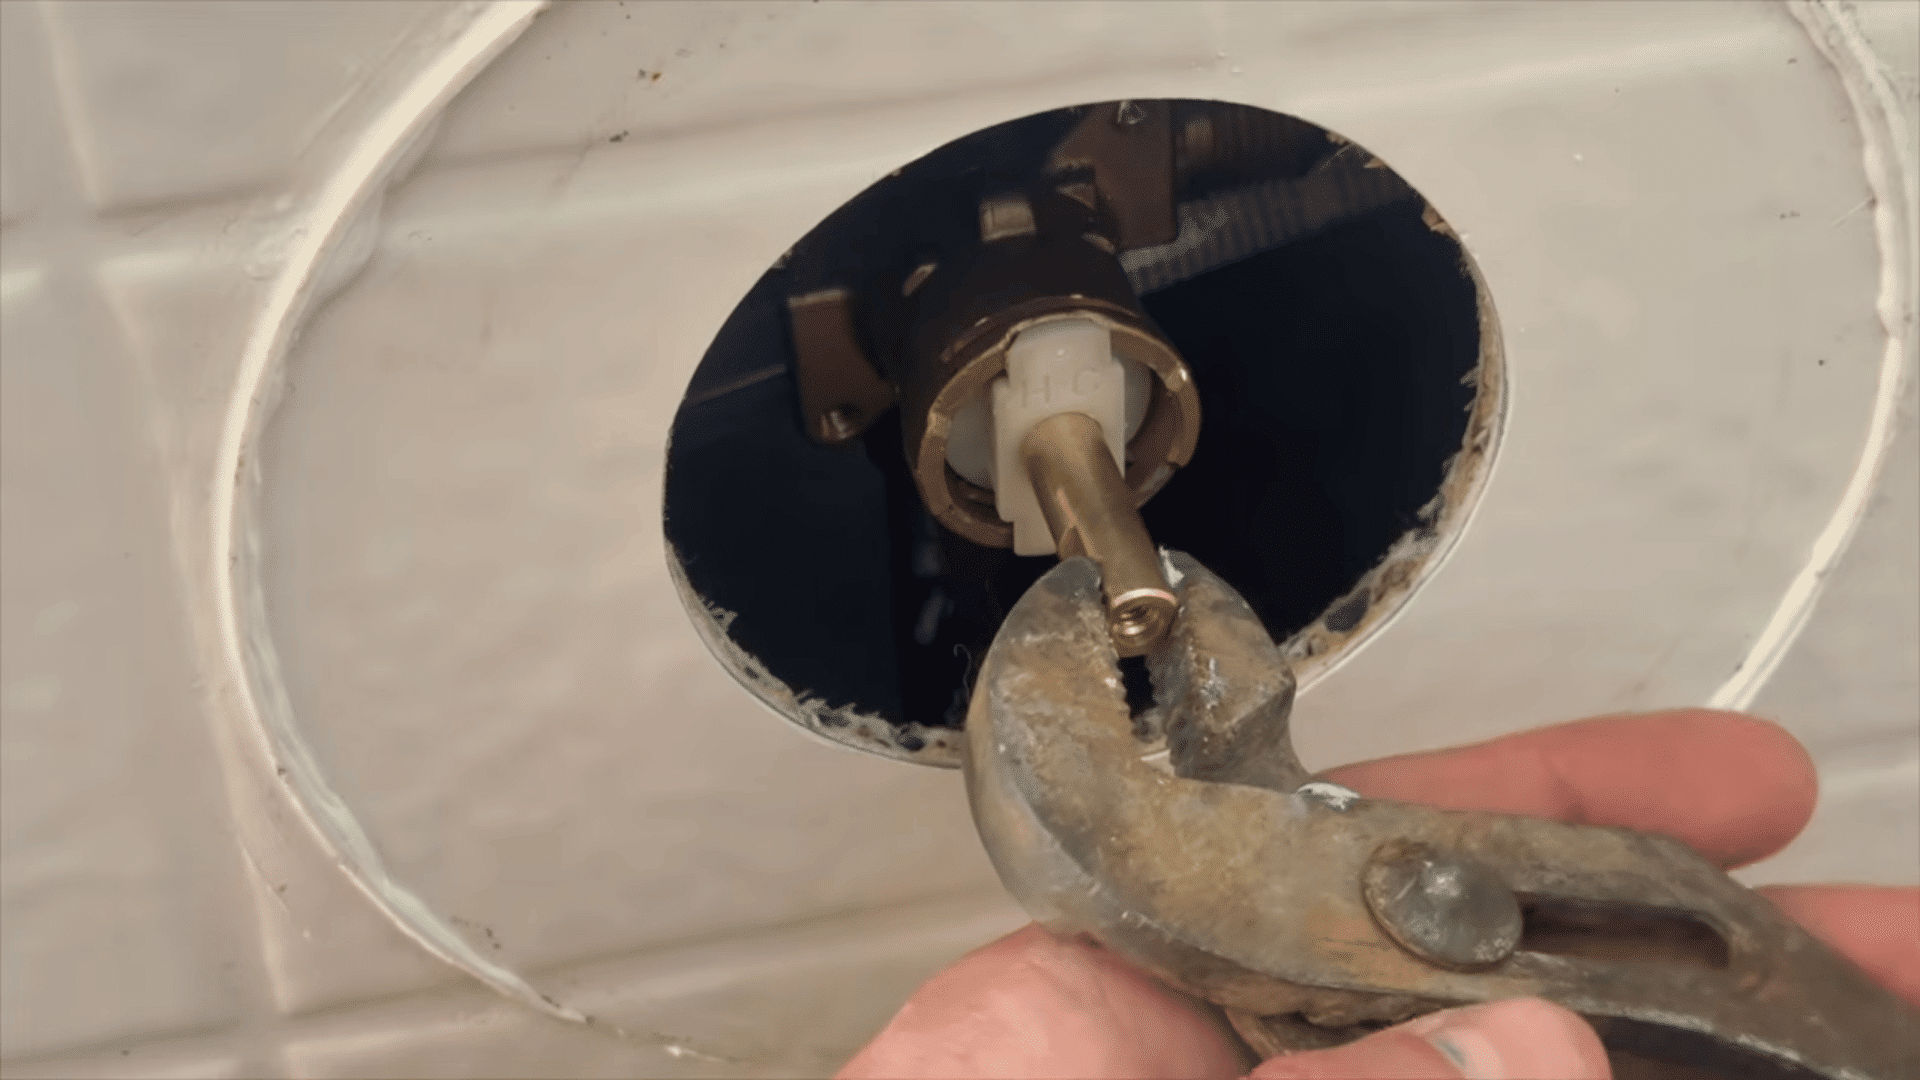
Before installing, compare the new cartridge with the old one to confirm it matches in size and design. Apply silicone valve grease to the rubber seals for smooth insertion.
Align the hot and cold markings on the cartridge with the matching marks inside the valve body.
Push the cartridge fully into place until it sits flat against the valve.
Incorrect alignment or a cartridge that sits at an angle can reverse hot and cold settings later. Taking time here prevents temperature problems after reassembly.
Step 6: Reassemble the Shower Handle
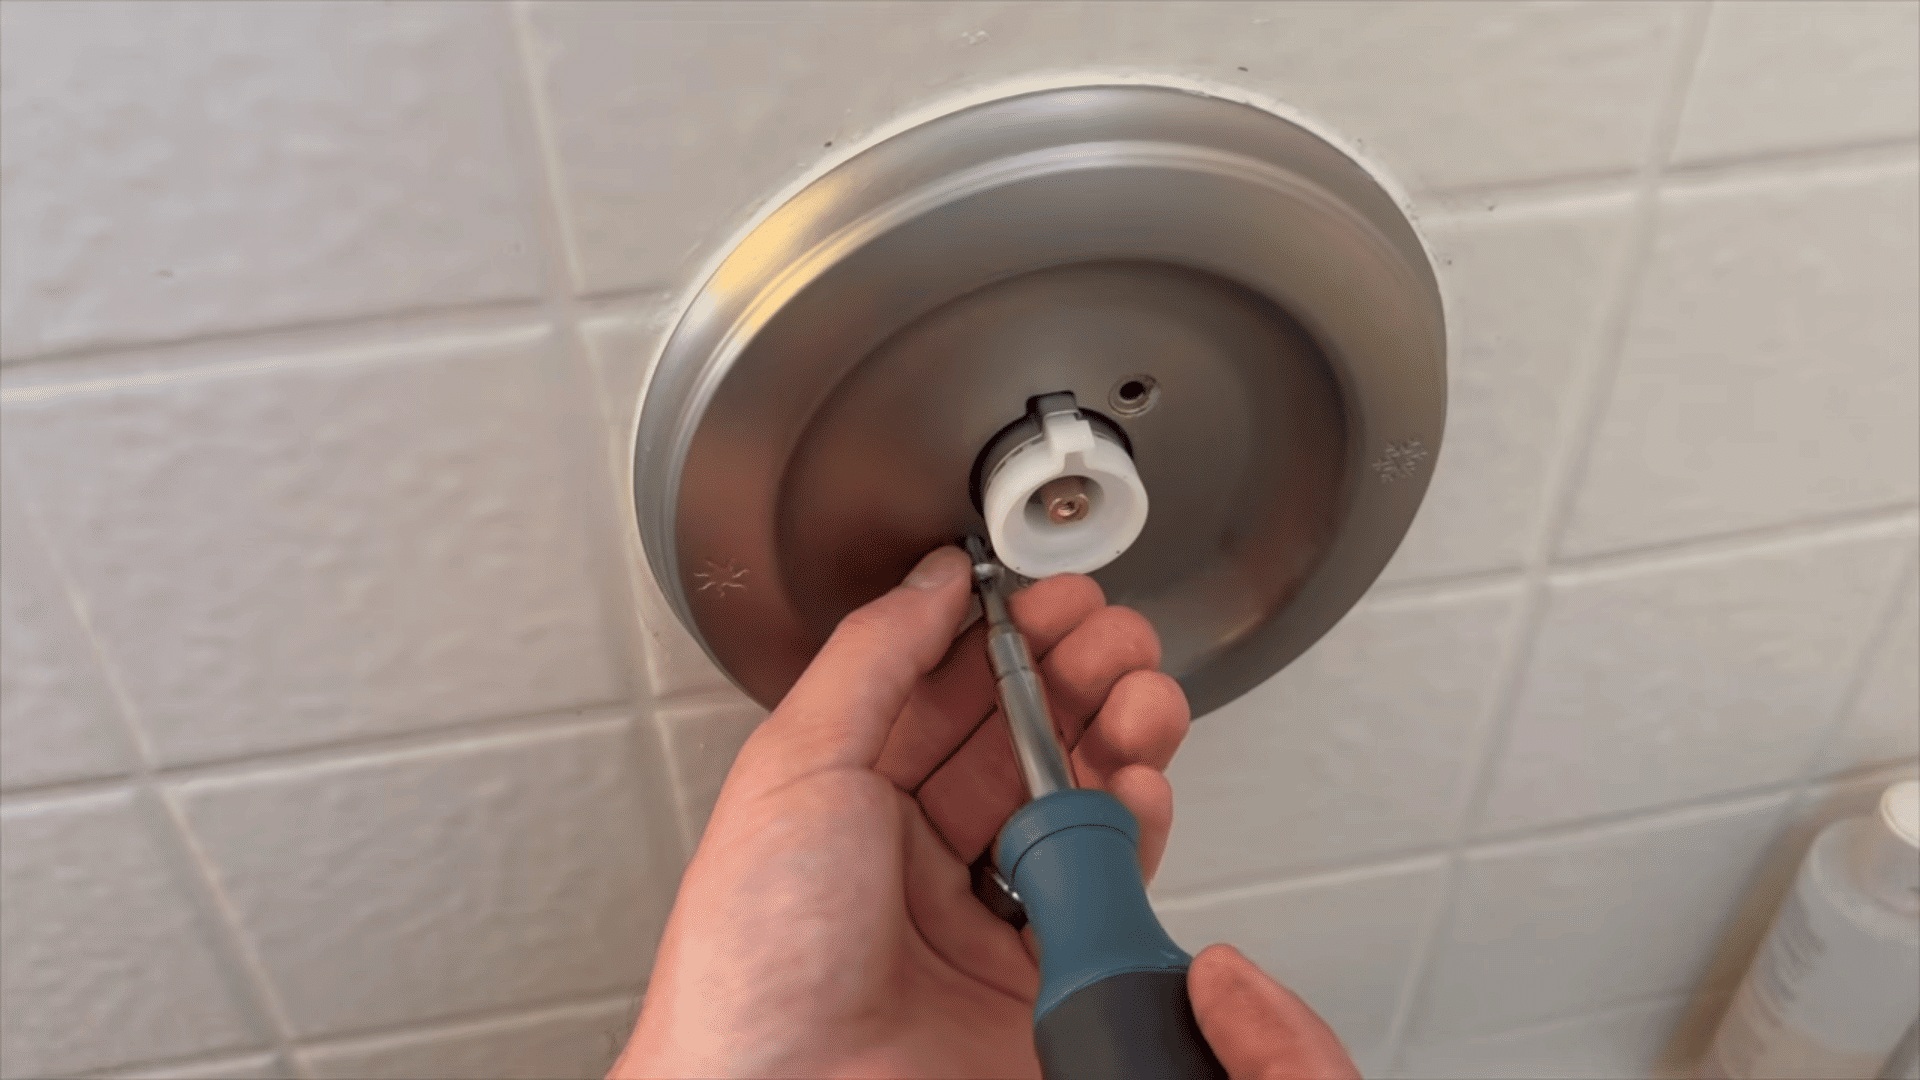
Once the cartridge is seated, replace the retaining clip to lock it in position. Install the sleeve and trim plate, then reattach the temperature stop behind the handle.
Secure the handle with the Allen screw. Make sure it feels tight and does not wobble when turned.
Turn the water supply back on and test hot and cold operation. Watch for leaks around the handle and confirm temperature changes smoothly.
This tutorial is based on a helpful video by Father Son DIY Garage. You can check out the original video on their YouTube channel or watch it below.
How to Choose the Right Shower Cartridge?
Buying the wrong cartridge is one of the most common reasons a repair fails. Cartridges vary by brand and model, so matching the correct part matters more than the tool brand.
- Check the brand: Look for the shower brand name on the handle, trim plate, or valve.
- Find the model number: Use any number printed on the old cartridge or valve when available.
- Compare the shape: Match the stem, body length, tabs, and overall design with the replacement.
- Confirm valve compatibility: Make sure the cartridge is made for your exact shower valve series.
- Use the old cartridge as a reference: Take it to the store or compare it with product images before buying.
Common Shower Cartridge Replacement Mistakes to Avoid
Small mistakes during cartridge replacement often lead to leaks or a shower that runs backward. Avoiding these common errors helps the repair hold up over the long term.
- Forgetting to shut off the water
- Losing the retaining clip
- Installing the cartridge backward
- Skipping valve cleaning
- Using the wrong replacement part
- Over-tightening screws
Wrapping Up
Learning how to replace a shower cartridge can make a common bathroom problem much easier to handle at home.
A careful approach and the right replacement part are usually enough to get the shower working smoothly again.
I find that taking a little extra time during removal and reassembly can prevent most problems later. Once the repair is complete, test the handle, water temperature, and surrounding area for leaks.
Have you replaced a shower cartridge before? Share your experience, tips, or questions in the comments below; we would love to hear how your repair went.
Frequently Asked Questions
How Long Does It Take to Replace a Shower Cartridge?
Most shower cartridge replacements take around 30 to 60 minutes for someone doing it for the first time. Stuck cartridges or hard water buildup can add extra time, sometimes stretching the repair to two hours.
How Often Should a Shower Cartridge Be Replaced?
There is no fixed replacement schedule. Cartridges typically last several years, but hard water, heavy daily use, or early signs like dripping and stiff handles mean replacement sooner than expected.
How Much Does a Replacement Shower Cartridge Cost?
A replacement shower cartridge usually costs $10 to $150, while professional installation can bring the total to $150 to $400. Prices vary by brand, valve type, and local labor rates.