Staring at your chipped builder gel nails and feeling totally stuck about what to do next is frustrating. I remember my first attempt at removing builder gel at home, and it was honestly a complete disaster.
Learning how to remove builder gel properly saves your natural nails from serious damage and keeps them healthy underneath. Many people rush through the removal process and end up with weak, damaged nails that take months to recover.
Understanding the right technique protects your nail beds and prevents painful cracking or thinning that nobody wants.
I’m sharing my tried-and-tested method for safe builder gel removal that actually works every single time. Let’s get those nails healthy again!
Understanding Builder Gel
Builder gel is a thick, strong gel polish that is used to add length and strength to natural nails.
It’s much thicker than regular gel polish, which makes it perfect for creating extensions or reinforcing weak nails.
I love how builder gel creates a smooth, durable surface that lasts for weeks without chipping or breaking easily. Nail technicians apply it in layers, curing each layer under a UV or LED light until it hardens completely.
The gel bonds directly to your natural nail, creating a protective layer that feels sturdy and looks incredibly polished.
Removing builder gel properly is absolutely crucial, as improper removal can seriously damage the natural nails underneath. I always make sure to follow the right removal process to keep my nails healthy and strong.
Tools and Materials You’ll Need for Removal
Removing builder gel at home requires the right tools and a bit of patience to do it safely. Here’s everything you’ll need to gather before starting the removal process:
- Pure acetone (not regular nail polish remover)
- Cotton pads or cotton balls
- Aluminum foil or nail clips
- Nail buffer or file
- Cuticle pusher or wooden stick
- Coarse nail file
- Moisturizing hand cream or cuticle oil
SAFETY NOTE: Always work in a well-ventilated area when using acetone because the fumes can be strong and irritating. Avoid getting acetone on your skin or cuticles to prevent dryness and irritation.
How to Remove Builder Gel at Home Safely
I’ve removed builder gel at home many times, and following the right steps makes all the difference for your nails. Here’s my complete process for safely removing builder gel without causing any damage:
Step 1: Buffing the Top Layer of Gel

I always start by gently filing the shiny top layer of my builder gel with a coarse nail file. This breaks the seal and allows the acetone to penetrate deeper into the gel layers underneath.
Don’t file too aggressively, or you’ll damage your natural nail bed, which can cause pain and weakness. Just remove the glossy surface until your nails look dull and matte all over.
Step 2: Soak in Acetone and Wait

I soak a cotton pad thoroughly in pure acetone until it’s completely saturated with the liquid. Place the soaked pad directly on each nail, covering the entire surface, then wrap each finger tightly in aluminum foil.
The foil traps heat and improves the effectiveness of acetone on the gel. Wait 15 to 20 minutes without peeking, as removing the foil too early means starting over completely.
Step 3: Gently Scrape Off the Gel
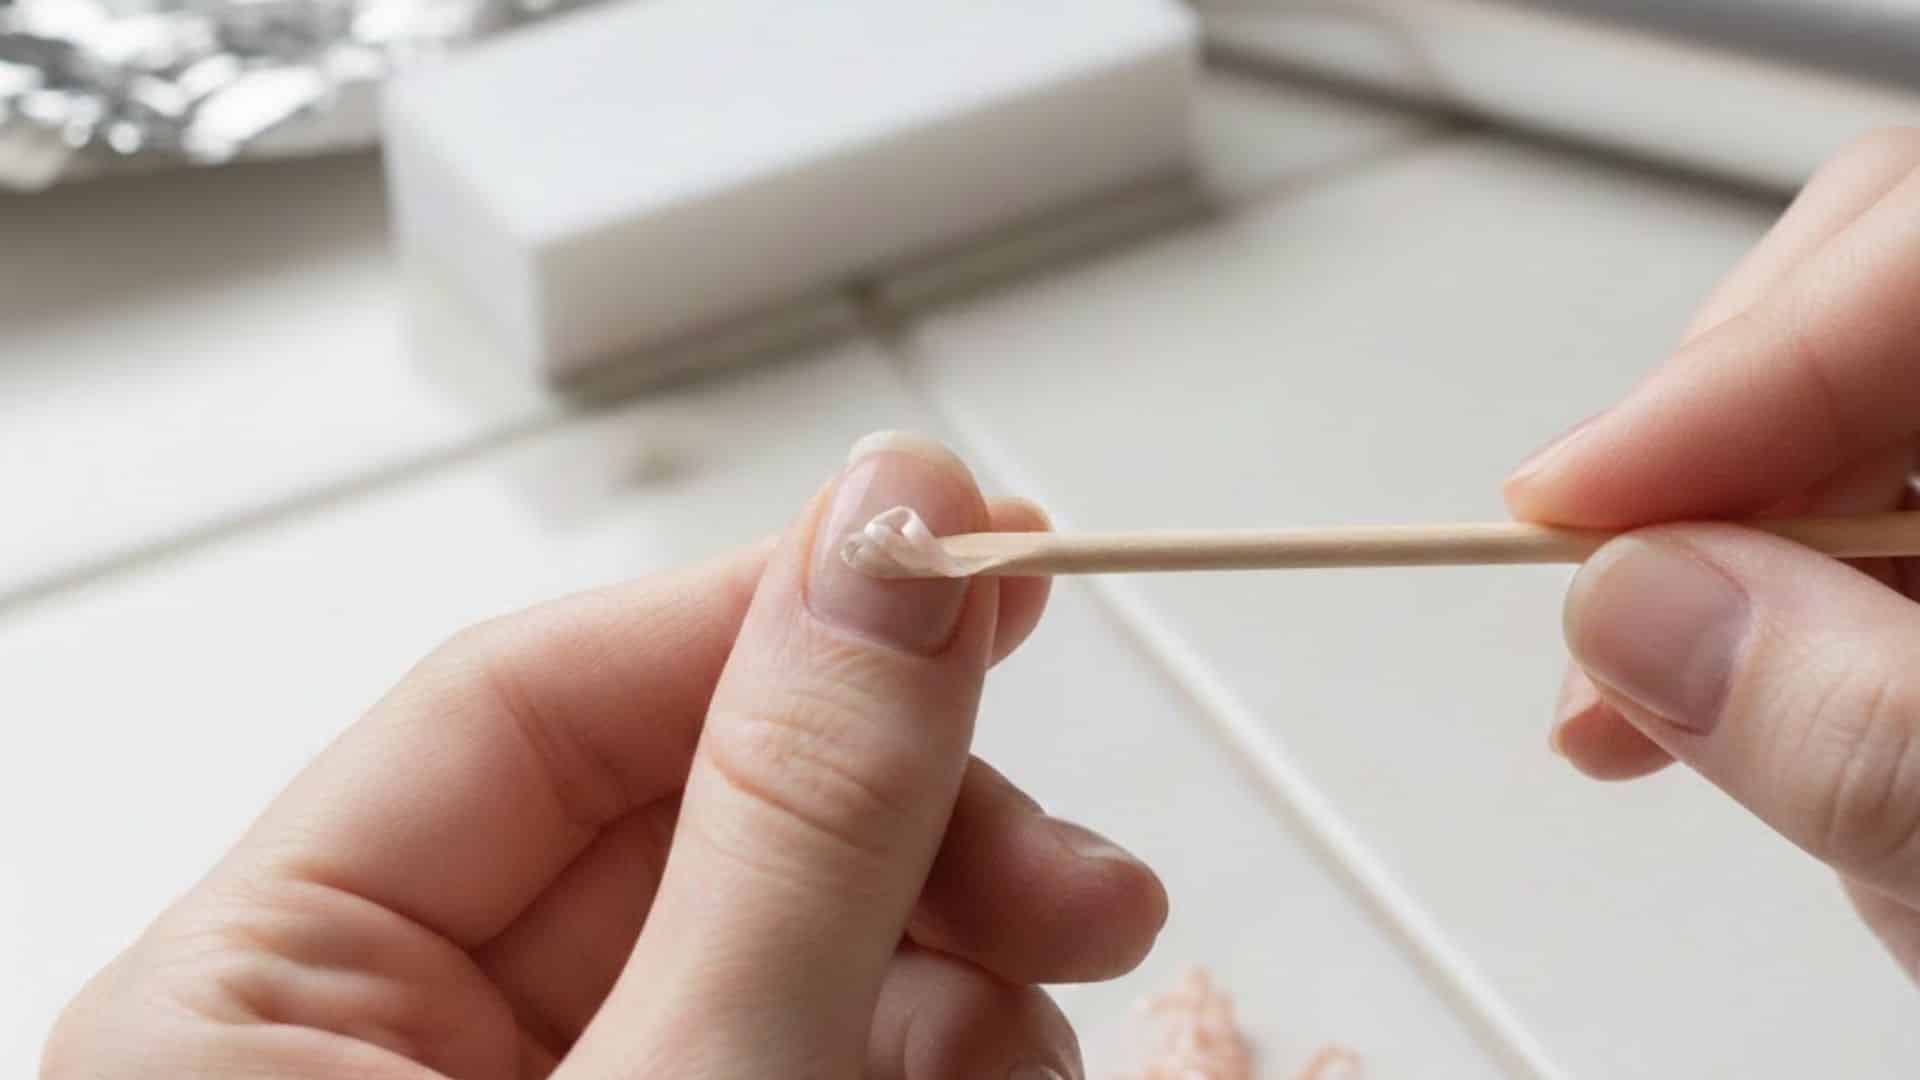
After waiting, I carefully remove the foil wraps and cotton pads from each finger one at a time. Using a cuticle pusher or wooden stick, I gently scrape away the softened gel in slow, careful motions.
The gel should come off easily without any force, sliding right off your natural nail surface underneath. If it’s still stuck on tight, rewrap the nail and soak it for another 5 minutes.
Step 4: Buff and Smooth the Natural Nails
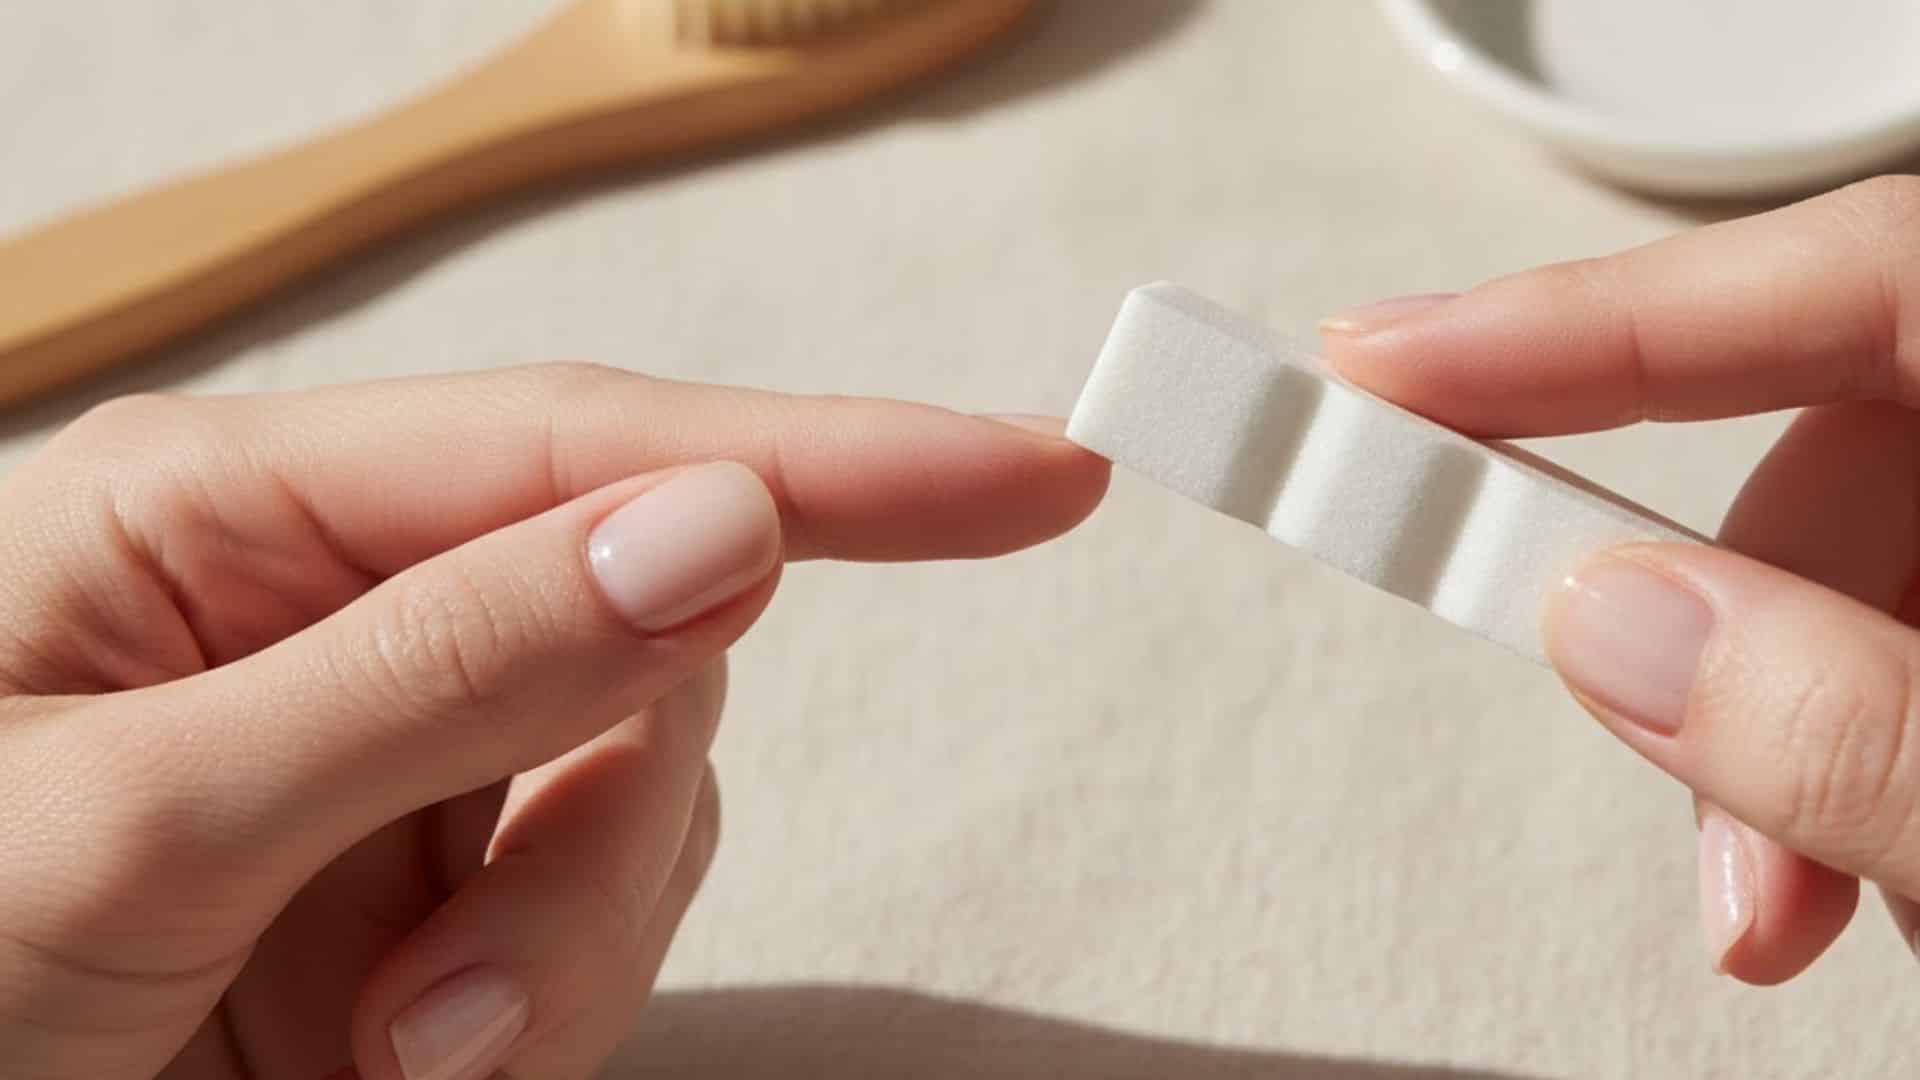
Once all the builder gel is removed, I use a gentle nail buffer to smooth out my nails. This removes any remaining gel residue and evens out the surface of my natural nails nicely.
I’m always careful not to over-buff because that can thin out my nails and make them weak. A few light passes across each nail are usually enough to get a smooth, clean finish.
Step 5: Moisturize and Care for Your Nails

The final step is super important because acetone really dries out your nails and the surrounding skin badly. I immediately massage cuticle oil or a rich hand cream into my nails and cuticles thoroughly.
This restores moisture, prevents peeling, and keeps my nails flexible instead of brittle and prone to breaking. I make sure to moisturize several times daily for the next few days to fully recover.
Tips for a Successful Builder Gel Removal
Following these tips protects your natural nails and makes the removal process much easier and safer. Here are my best practices for successful builder gel removal:
- Be Patient with Soaking Time: Never rush the acetone soaking process because fifteen to twenty minutes is necessary for proper gel softening.
- Avoid Using Metal Tools Aggressively: Sharp metal tools can easily scratch or gouge your natural nail bed, so always use gentle wooden sticks instead.
- Check Gel Softness Before Scraping: Test if the gel slides off easily before scraping to prevent forcing off stubborn pieces that aren’t ready.
- Consider Using a Nail Soak-Off Kit: Soak-off kits make the removal process cleaner and easier by securing cotton pads without messy aluminum foil wrapping.
Following these tips protects your nails from damage and ensures successful removal every time. Patient, gentle techniques always produce the best results for your natural nail health.
Mistakes to Avoid During Builder Gel Removal
I’ve made plenty of mistakes removing builder gel over the years, and I want to help you avoid them. Here are the most common errors people make during the removal process:
| Mistake | Why It’s a Problem | How to Avoid It |
|---|---|---|
| Over-Soaking in Acetone | Prolonged acetone exposure dries out nails and irritates the surrounding skin severely | Soak for only 15-20 minutes maximum and remove foil promptly |
| Scraping Too Hard | Aggressive scraping damages the natural nail bed and causes thinning nails | Use gentle pressure with wooden tools and rewrap if gel resists |
| Not Moisturizing After | Skipping moisturizer leaves nails dry, brittle, and prone to peeling or breaking | Apply cuticle oil and hand cream immediately after removal |
Avoiding these mistakes keeps your natural nails healthy and strong after builder gel removal. Taking your time and being gentle always produces better results than rushing through the process.
When to Visit a Nail Professional?
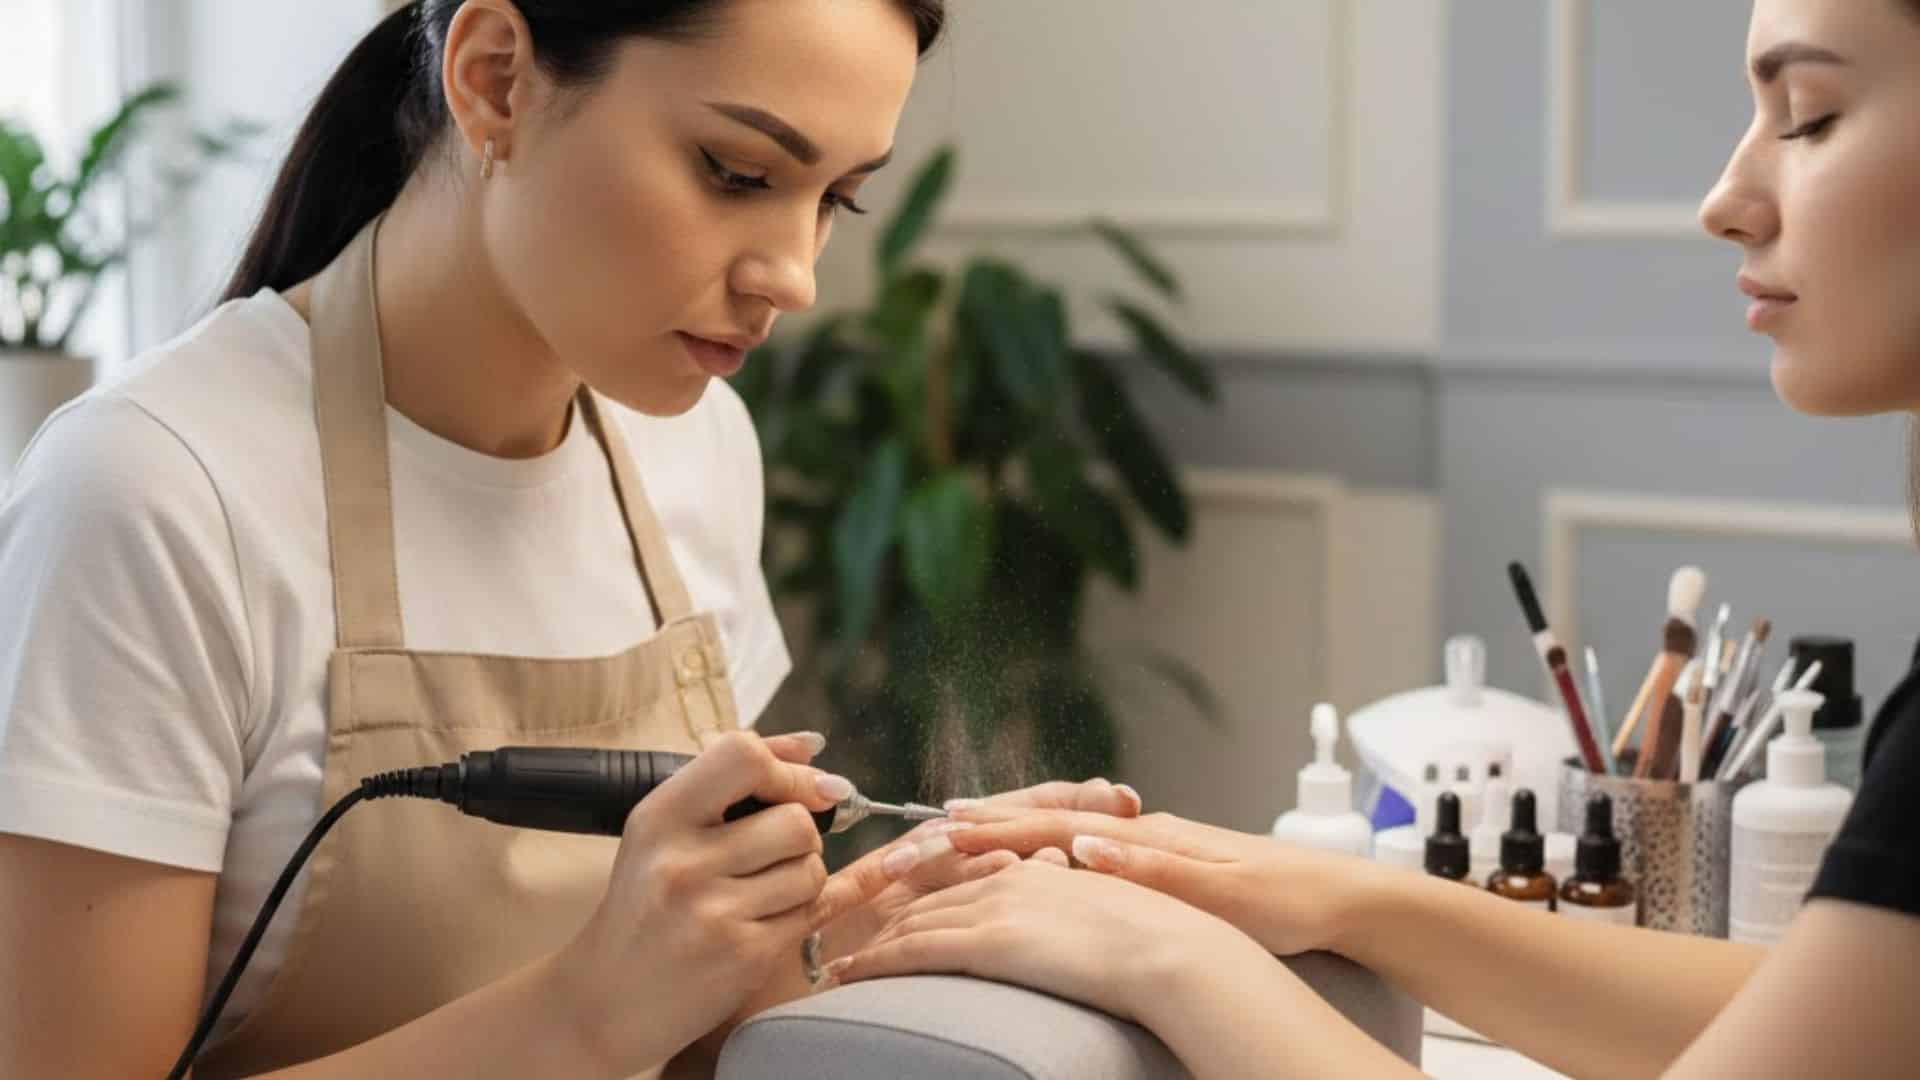
I’ll be honest with you: sometimes removing builder gel at home just doesn’t work out as planned.
If the gel won’t budge after 20 minutes of soaking, it’s time to visit a professional salon. Don’t keep trying if you notice your natural nails cracking, thinning, or splitting during the removal process.
A nail technician has professional-grade tools and experience that can remove stubborn gel without causing any damage to your nails.
I never feel embarrassed about going to a salon when I’m unsure or uncomfortable doing it myself. Your nail health matters more than saving a few dollars, so always choose professional help when you need it.
Post-Removal Care for Healthy Nails
I’ve learned that what you do after removing builder gel is just as important as the removal process itself. Here’s how I take care of my nails to help them recover and stay healthy:
- Apply Nourishing Oils Daily: Massage cuticle oil or vitamin E oil into your nails and cuticles every morning and night.
- Avoid Harsh Chemicals: Wear gloves when cleaning or doing dishes to protect your nails from drying chemicals and detergents.
- Give Your Nails a Break: Let your natural nails breathe for at least two weeks before applying any gel or extensions again.
- Use Nail Strengthening Treatments: Apply a nail strengthener or hardener to rebuild strength and prevent breaking or peeling during recovery.
Following these aftercare steps helps your nails recover faster and return to their natural strength. Consistent daily care makes a huge difference in how quickly your nails bounce back after builder gel removal.
Final Thoughts
I’m so glad I could walk you through my entire process for removing builder gel safely at home. Knowing how to remove builder gel correctly has saved my natural nails countless times and prevented expensive damage repairs.
The key is never rushing any step, even when you’re tempted to speed things up. Your nails will thank you later when they stay strong and healthy instead of becoming weak and brittle.
I always give my nails breathing room between applications, which helps them recover fully and maintain their natural strength.
What’s your biggest struggle when removing builder gel at home? Drop your questions or experiences in the comments below!