Moving to a new home is one of those life events that feels exciting in theory but overwhelming in practice. Between sorting through years of accumulated belongings, coordinating logistics, and making sure nothing gets left behind, the process can test anyone’s patience.
The good news is that a well-organized approach can take most of the chaos out of the equation. This guide walks through the essential steps to get your house fully ready so that when the big day arrives, everything falls into place without unnecessary headaches.
Getting Organized
The single biggest mistake people make when preparing for a move is waiting too long to start. Ideally, the planning phase should begin at least four to six weeks before moving day. This gives enough breathing room to handle each task without rushing through it.
Start by creating a master checklist of everything that needs to happen. Break it down week by week so that smaller tasks don’t pile up into an unmanageable mountain at the last minute. Things like notifying utility companies, updating your address with banks and subscriptions, and scheduling mail forwarding are easy to forget when you’re focused on packing boxes.
During this early stage, it also helps to walk through your entire house room by room. Take inventory of what you’re keeping, what you’re donating, and what needs to be thrown away. The fewer items you have to move, the faster and simpler the whole process becomes. If you’re unsure about how to coordinate the physical side of things or need a place to keep certain belongings while you settle in, speak to a professional at Blackhawk Moving & Storage to map out a plan that fits your timeline.
Sorting and Decluttering Room by Room
Once the checklist is in place, the next step is tackling the clutter. Every household accumulates things over the years that no longer serve a purpose. Closets full of clothes that haven’t been worn in ages, kitchen gadgets collecting dust, and boxes in the garage that haven’t been opened since the last move are all common culprits.
Go through each room methodically. A useful approach is the three-pile system: keep, donate, and discard. Take a hard look at each item and decide whether it genuinely serves a purpose or is just taking up space. If something hasn’t been used in over a year, chances are it won’t be missed.
For items in good condition, consider donating them to local charities or listing them in community groups. Broken or worn-out items should be disposed of responsibly. This step isn’t just about reducing the volume of things to pack. It also makes unpacking at the new place far less chaotic.
Packing Strategically for Efficiency
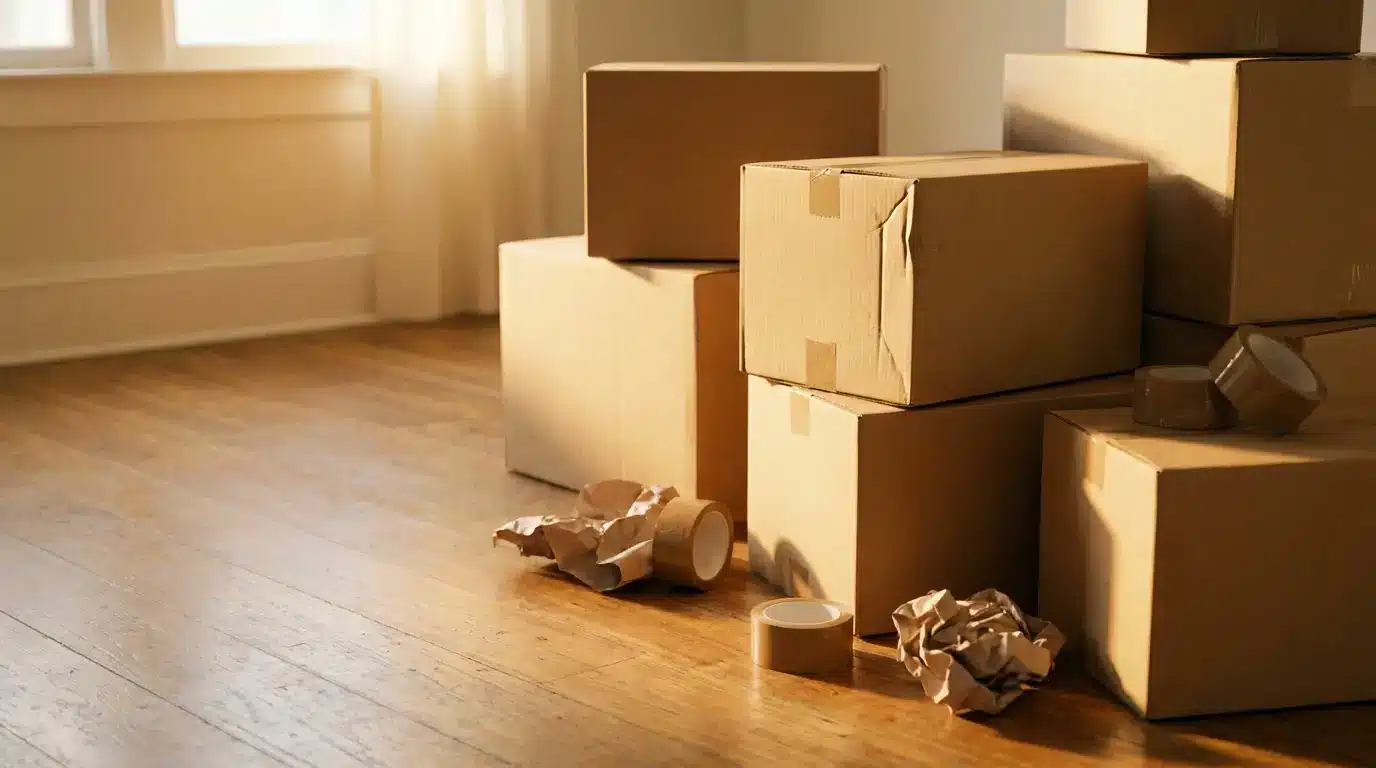
Packing is where most people lose time and energy, usually because they approach it without a plan. Random boxing leads to confusion on the other end when you’re trying to find essentials buried under holiday decorations.
Start with the rooms and items you use least. Guest bedrooms, storage areas, and seasonal items can be packed weeks in advance without affecting your daily routine. Leave the kitchen, bathroom essentials, and everyday clothing for the final few days.
Label every box clearly on at least two sides. Include both the contents and the room it belongs in at the new house. Color-coded labels or markers can speed things up even further. When boxes arrive at the new location, helpers can place them in the correct rooms immediately, saving a massive amount of reshuffling later.
Fragile items deserve extra attention. Wrap dishes, glassware, and anything breakable individually using packing paper or soft materials like towels and linens. This protects your belongings while also reducing the amount of separate packing material you need.
Keep a separate “essentials” box or bag that stays with you rather than going on the truck. This should include phone chargers, medications, important documents, toiletries, a change of clothes, and basic cleaning supplies. Having these items accessible means you won’t be tearing through boxes on the first night looking for a toothbrush.
Preparing the House Itself
Beyond packing your belongings, the house itself needs attention before moving day. Start with a thorough cleaning schedule. Doing preliminary work like wiping down shelves as you empty them keeps the process from becoming one giant task at the end.
Take care of any minor repairs you’ve been putting off. Patch small holes in the walls, fix leaky faucets, and replace burnt-out light bulbs. If you’re selling the property, these small touches make a noticeable difference during inspections. If you’re renting, addressing them can help ensure you get your full security deposit back.
Check all the rooms for items that are easy to overlook. Things mounted on walls, items stored on high shelves, belongings tucked into crawl spaces or attic areas, and anything in outdoor sheds should all be accounted for.
Coordinating the Final Details
The last week before the move is all about tying up loose ends. Confirm all arrangements, including the truck reservation, helper schedules, and any time-sensitive logistics like elevator bookings if you’re moving into an apartment building.
Disconnect and prepare appliances that are going with you. Refrigerators should be defrosted at least 24 hours in advance. Washing machines need to be drained and have their hoses secured. Electronics should be unplugged, and cords should be labeled or taped to the corresponding device, so setup at the new place is straightforward.
Set aside time to do a final walkthrough of every room, closet, cabinet, and storage area. Open every drawer and check behind every door. This five-minute sweep has saved countless people from leaving behind valuables or sentimental items.
With everything packed, labeled, cleaned, and confirmed, moving day becomes what it should be: a transition, not a crisis. The effort invested in preparation pays off the moment the last box is carried through the door of your new home, and you can actually enjoy the fresh start instead of dreading the aftermath.