I’ll be honest – I used to think fairy gardens were just those overly precious craft projects that collected dust on people’s porches.
You know, the ones with the tiny plastic mushrooms that looked more sad than magical? But then I actually tried making one with my niece last summer, and holy cow, I totally got it.
There’s something ridiculously fun about building a teeny-tiny world where fairies supposedly live, complete with pebble pathways and houses the size of your thumb.
In this blog, I’ll walk you through everything you need to know to make your own fairy garden, even if you’ve never tried one before.
You’ll learn what a fairy garden actually is, how to plan it, the steps to build one, and some of my favorite backyard fairy garden ideas. By the end, you’ll feel ready to create a magical little space of your own.
What is a Fairy Garden?
A fairy garden is basically a miniature garden designed to look like fairies could actually live there. Think of it as a dollhouse, but make it outdoors and alive with real plants.
You’ve got your tiny themed accessories – little houses, benches, pathways – mixed with actual living plants that stay small enough to keep the whole “miniature world” vibe going.
You can make them indoors on a windowsill or go all out in your backyard. Some people create elaborate fairy villages around trees with doors attached to the trunk, while others keep it simple with a teacup arrangement on their kitchen table.
The fairy garden ideas out there range from super minimalist (just moss and one tiny house) to absolutely bonkers, detailed (I’ve seen people build multi-level cliff villages in broken pots that look like Middle-earth).
That’s the beauty of it – there’s no wrong way to do this.
Plan Your Fairy Garden
1. Choose the Perfect Location
Before you start buying tiny furniture like a lunatic, figure out where this thing is actually going to live.
Indoor options are great if you want year-round fairy fun without worrying about the weather. A sunny windowsill, a side table, or even a covered porch works perfectly.
Outdoor options give you way more space to play with. The base of a tree is super popular (and looks magical with fairy doors), or you can claim a corner of your flower bed, set something up on the patio, or even use a balcony if you’re working with apartment life.
The big thing to consider is light. If your spot gets blasted by full sun all day, you’ll need plants that can handle that. Shady spots need shade-loving plants.
Revolutionary concept, I know, but you’d be surprised how many people forget this and wonder why their fairy garden looks like a tiny graveyard after two weeks.
2. Pick a Theme for Your Mini World
Picking a theme makes everything so much easier by helping you decide which decorations and plants to use. Here are some ideas that actually work:
- Woodland Cottage – Think mossy paths, twig furniture, pinecone “trees”
- Beach or Seaside Fairy Cove – Sand, shells, blue glass for water, tiny beach chairs
- Camping in The Woods – Mini tent, fake fire pit, log seating
- Fairy Village in Broken Pots – Use pot shards to create terraced levels
- Secret Garden Around a Tree Base – Fairy doors on the trunk, winding paths through roots
Honestly, having a clear theme makes all your fairy garden ideas feel less random and more like an actual place fairies would want to hang out.
3. Decide on Container vs In-Ground Fairy Garden
Container fairy gardens are portable, easier to control, and perfect if you’re renting or want to bring them indoors for winter.
You can use regular flowerpots, old bowls, teacups (for tiny ones), birdbaths, wooden crates, baskets, boots, lanterns – basically any container that can hold soil. I’ve even seen people use old suitcases and wheelbarrows.
In-ground fairy gardens give you more space and look more natural. You could create a ring around a tree trunk, use a rock border to define the space, or line a pathway with fairy houses and plants.
The downside? You can’t move it if you change your mind, and you’re dealing with whatever soil and drainage situation already exists there.
Step-by-Step to Making a Fairy Garden
Supplies You’ll Need
- Large planter
- Plants and succulents
- Potting soil
- Various-sized rocks and pebbles
- Moss and twigs to cover the potting soil
- Wooden birdhouse
- Any small objects to use as embellishments in the garden
Step 1 – Gather Your Supplies
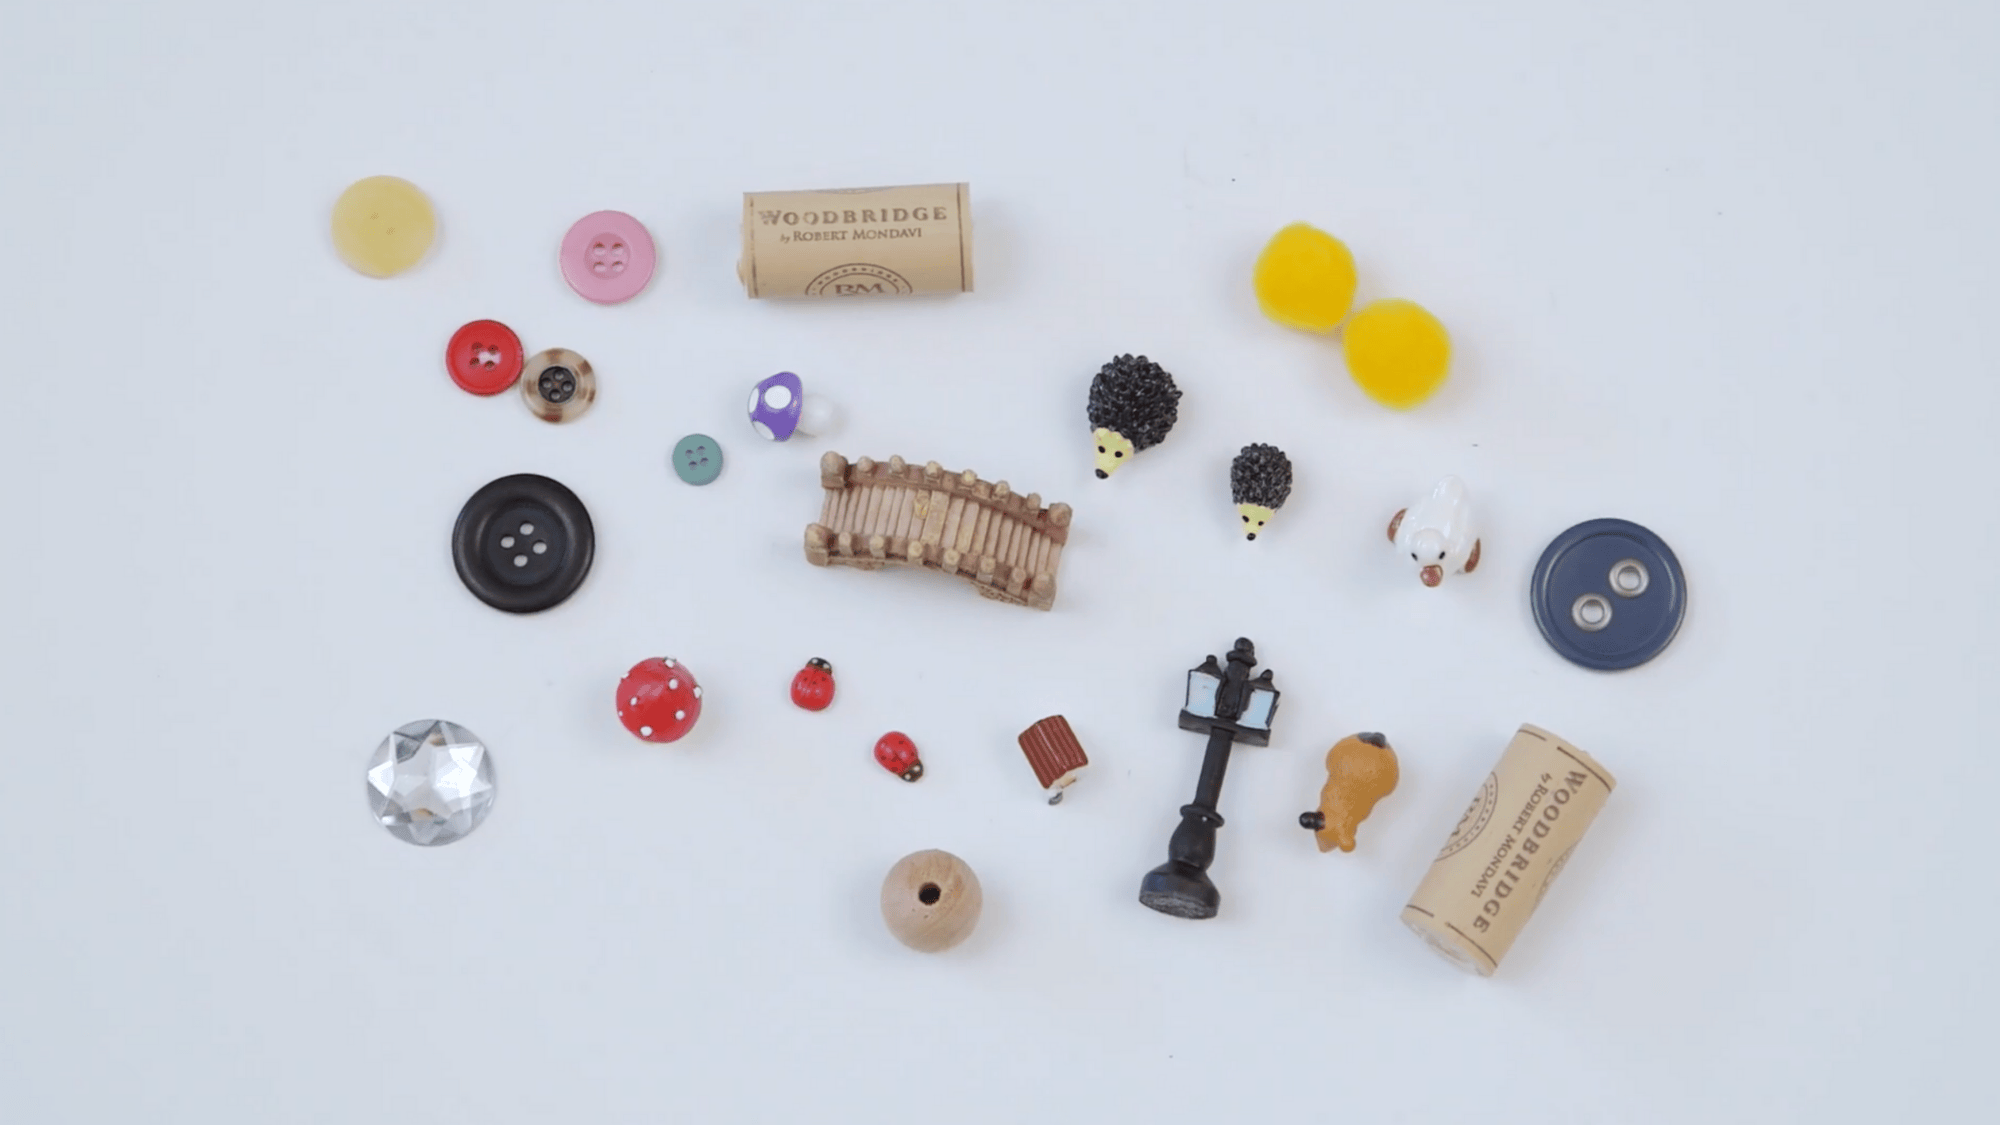
I’ll walk you through what you’ll need to get started! Grab a large planter, some potting soil, small plants or succulents, rocks and pebbles in various sizes, moss, twigs, a cute wooden birdhouse, and any small decorative objects that scream “fairy magic” to you.
These are going to be the building blocks of your enchanting little world.
Step 2 – Prepare Your Planter
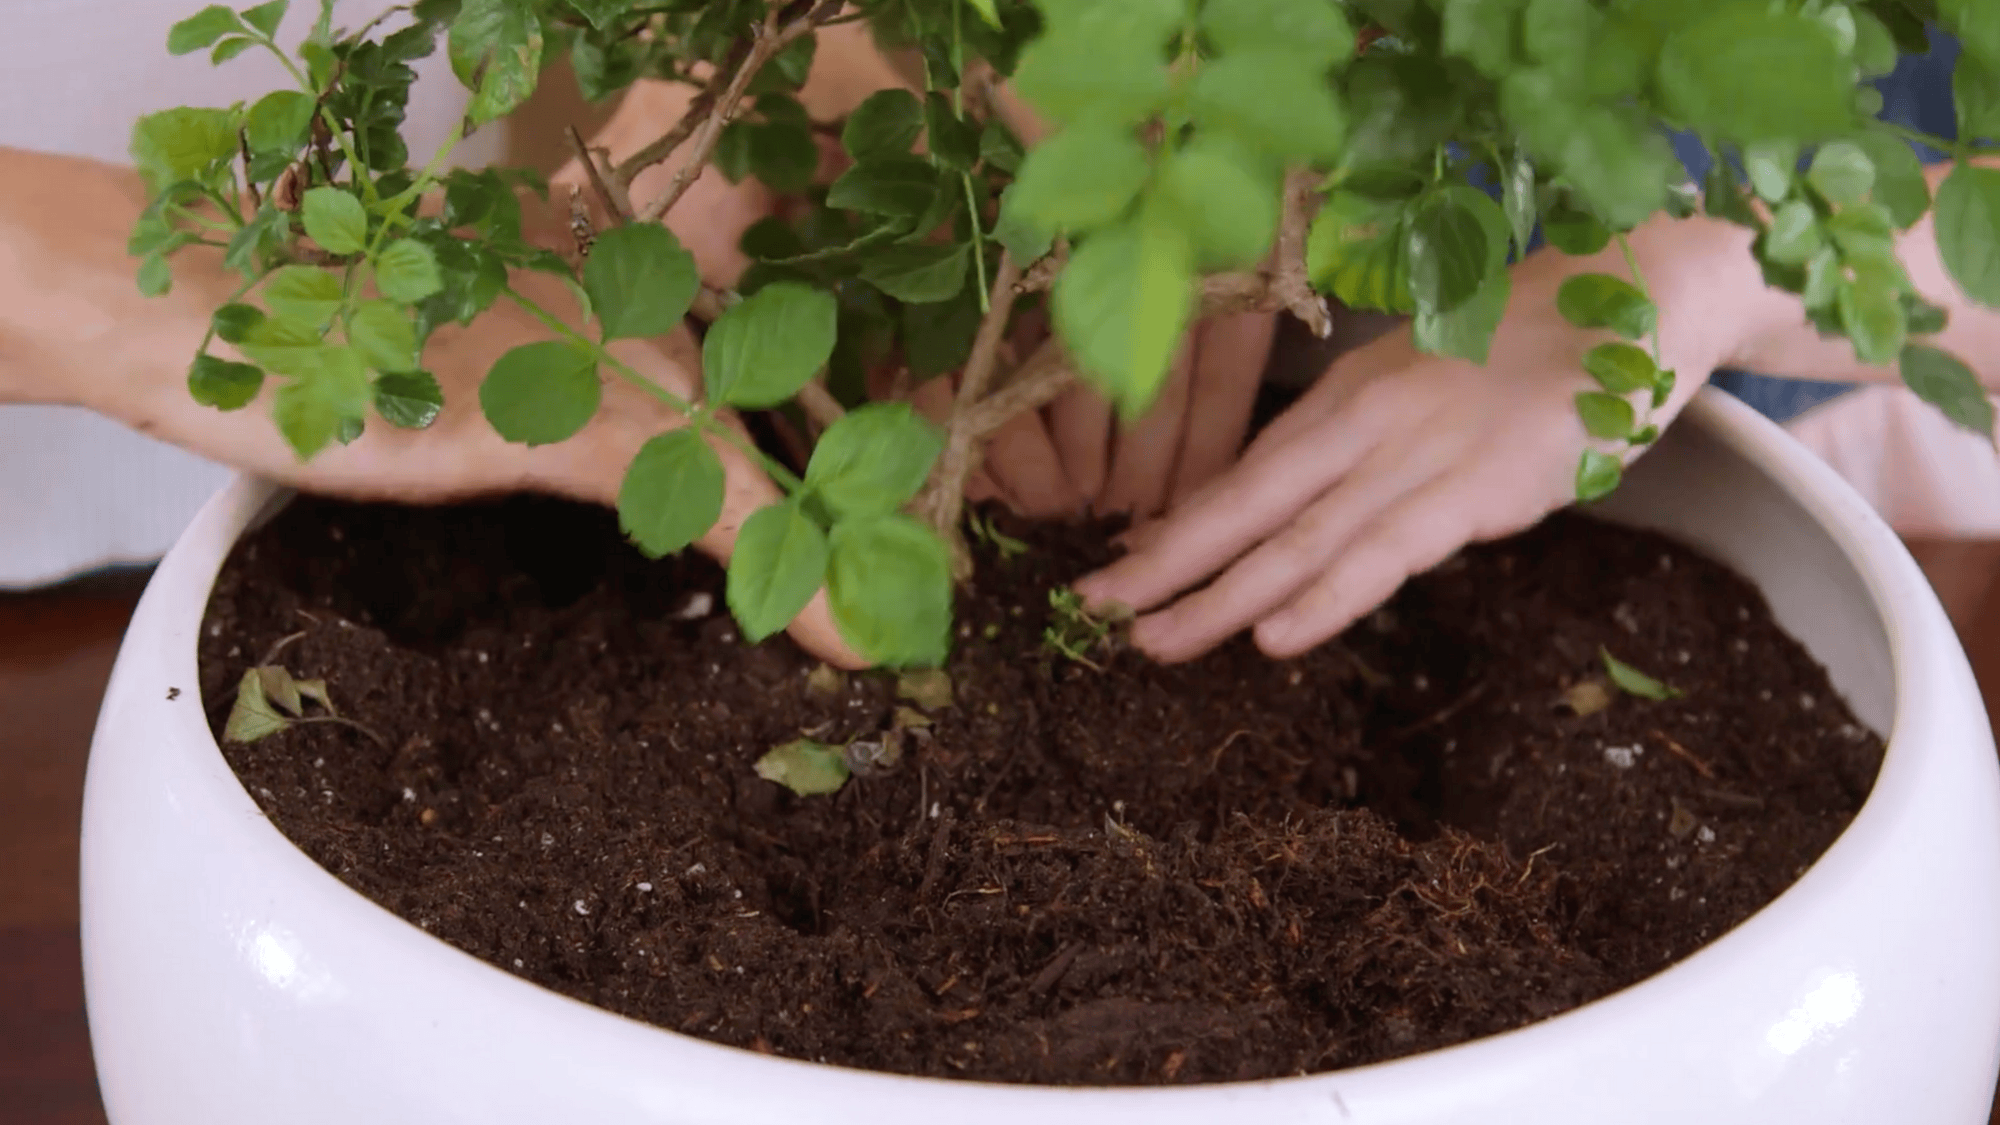
First, fill your planter with potting soil. Now here’s a fun tip: take your largest piece, maybe a miniature tree, and plant it right in the soil as your centerpiece.
This will give your fairies some lovely shade and a perfect spot for climbing adventures!
Step 3 – Add the House and Plants
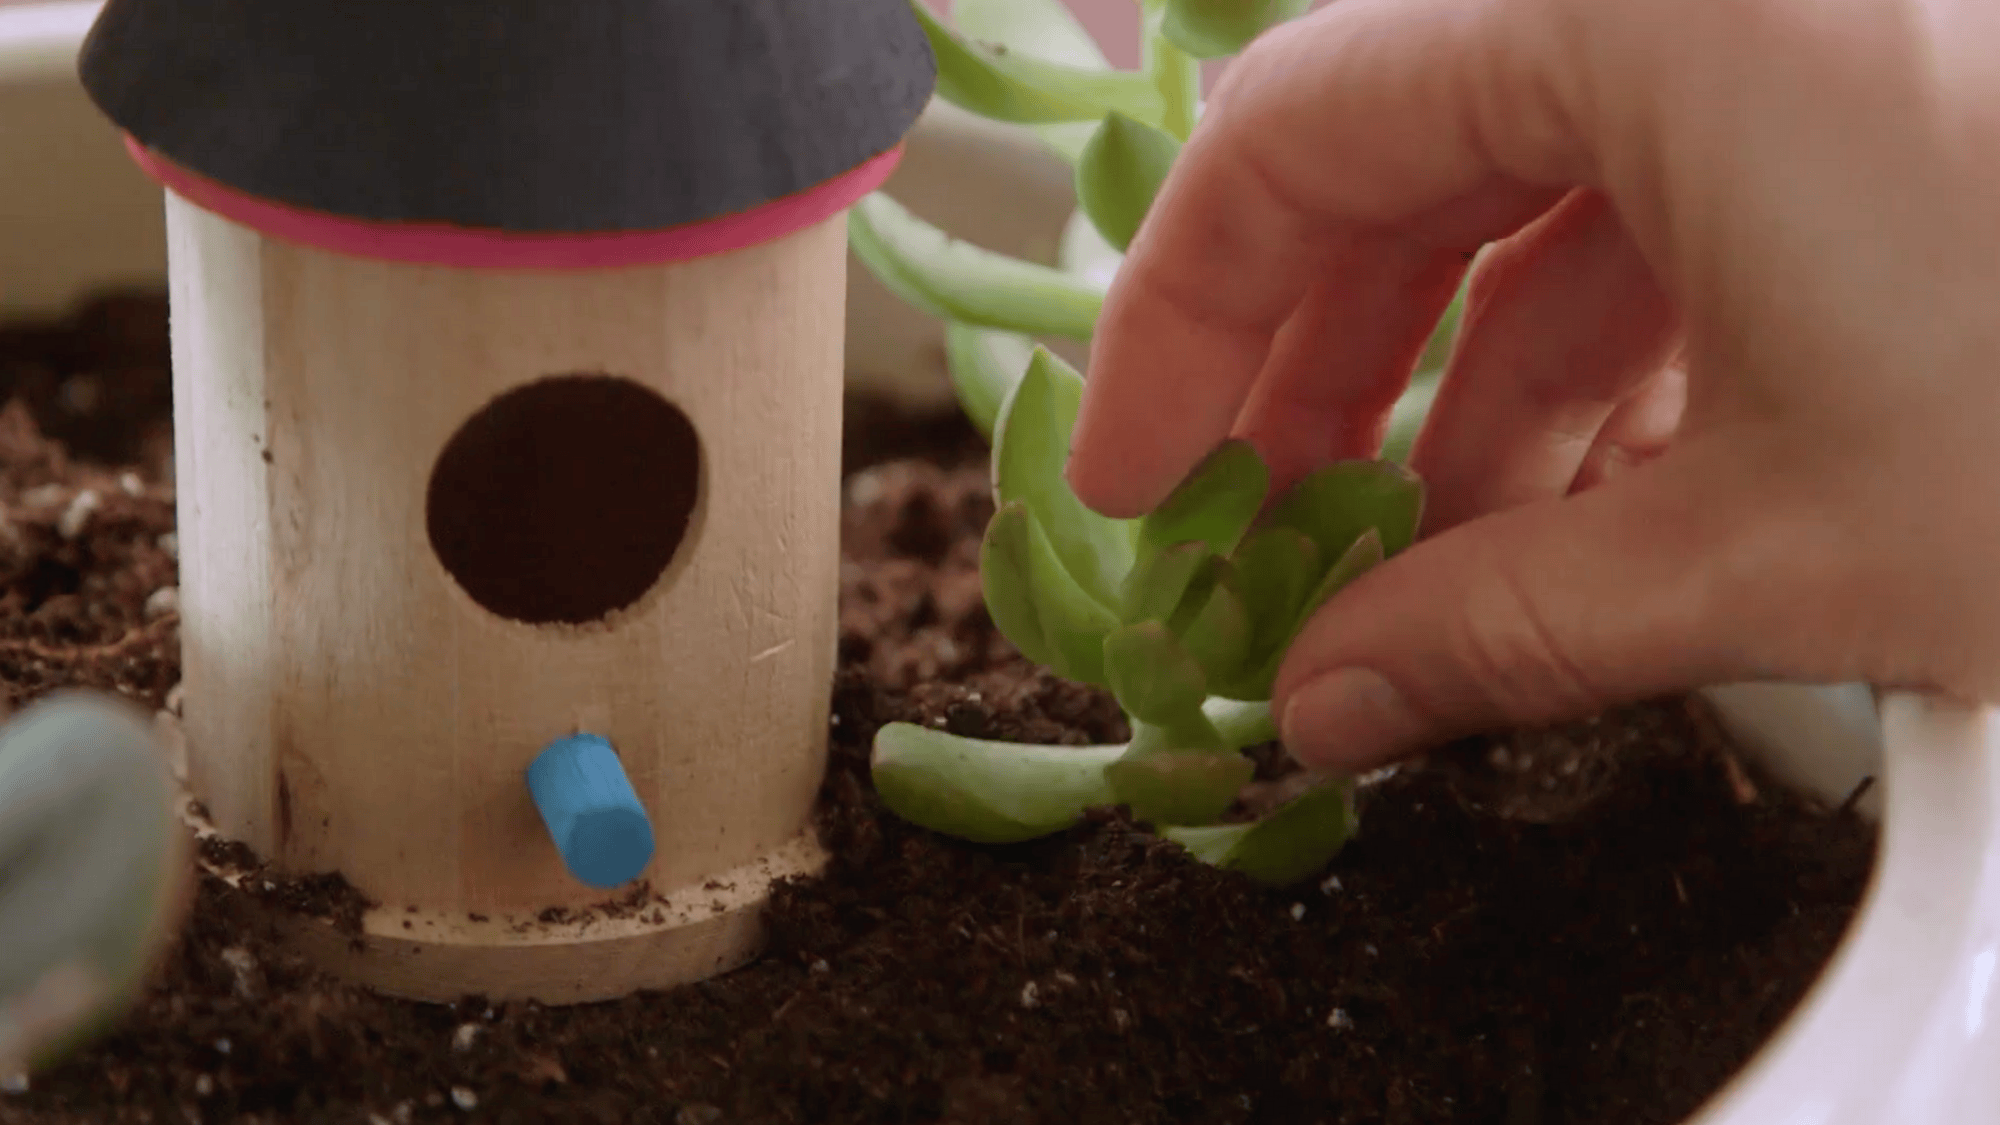
Next, nestle that adorable fairy house into your planter. Then it’s time to arrange your smaller plants and succulents around it.
I recommend placing the bigger plants toward the back—it creates this wonderful sense of depth that really brings the garden to life.
Step 4 – Create Your Landscape
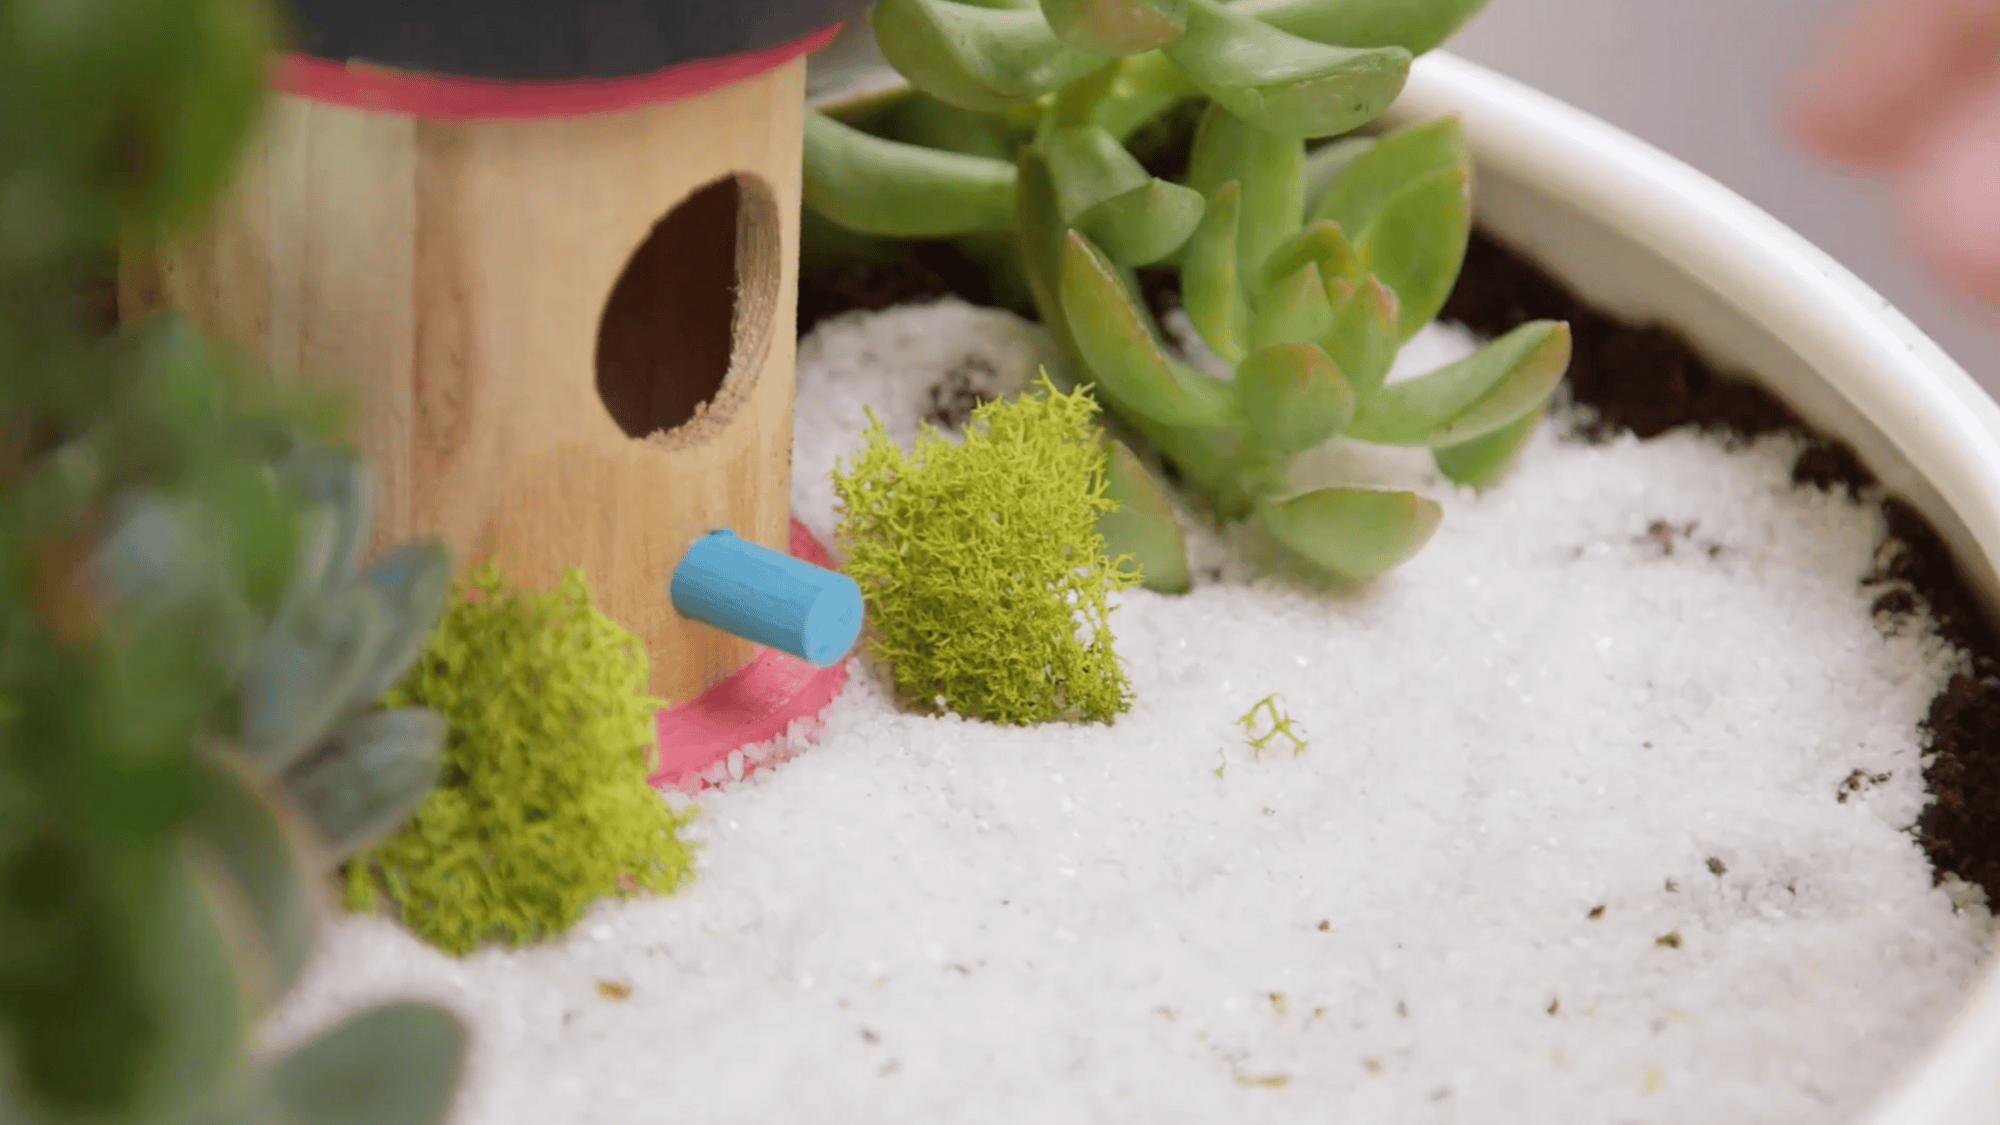
Now for the finishing touches on your landscape! Scatter rocks, sand, and moss across the garden surface.
The moss is especially magical, you can use it to cover any bare soil or shape it into tiny bushes. It really gives everything that natural, lived-in fairy feel.
Step 5 – Add Miniature Accessories
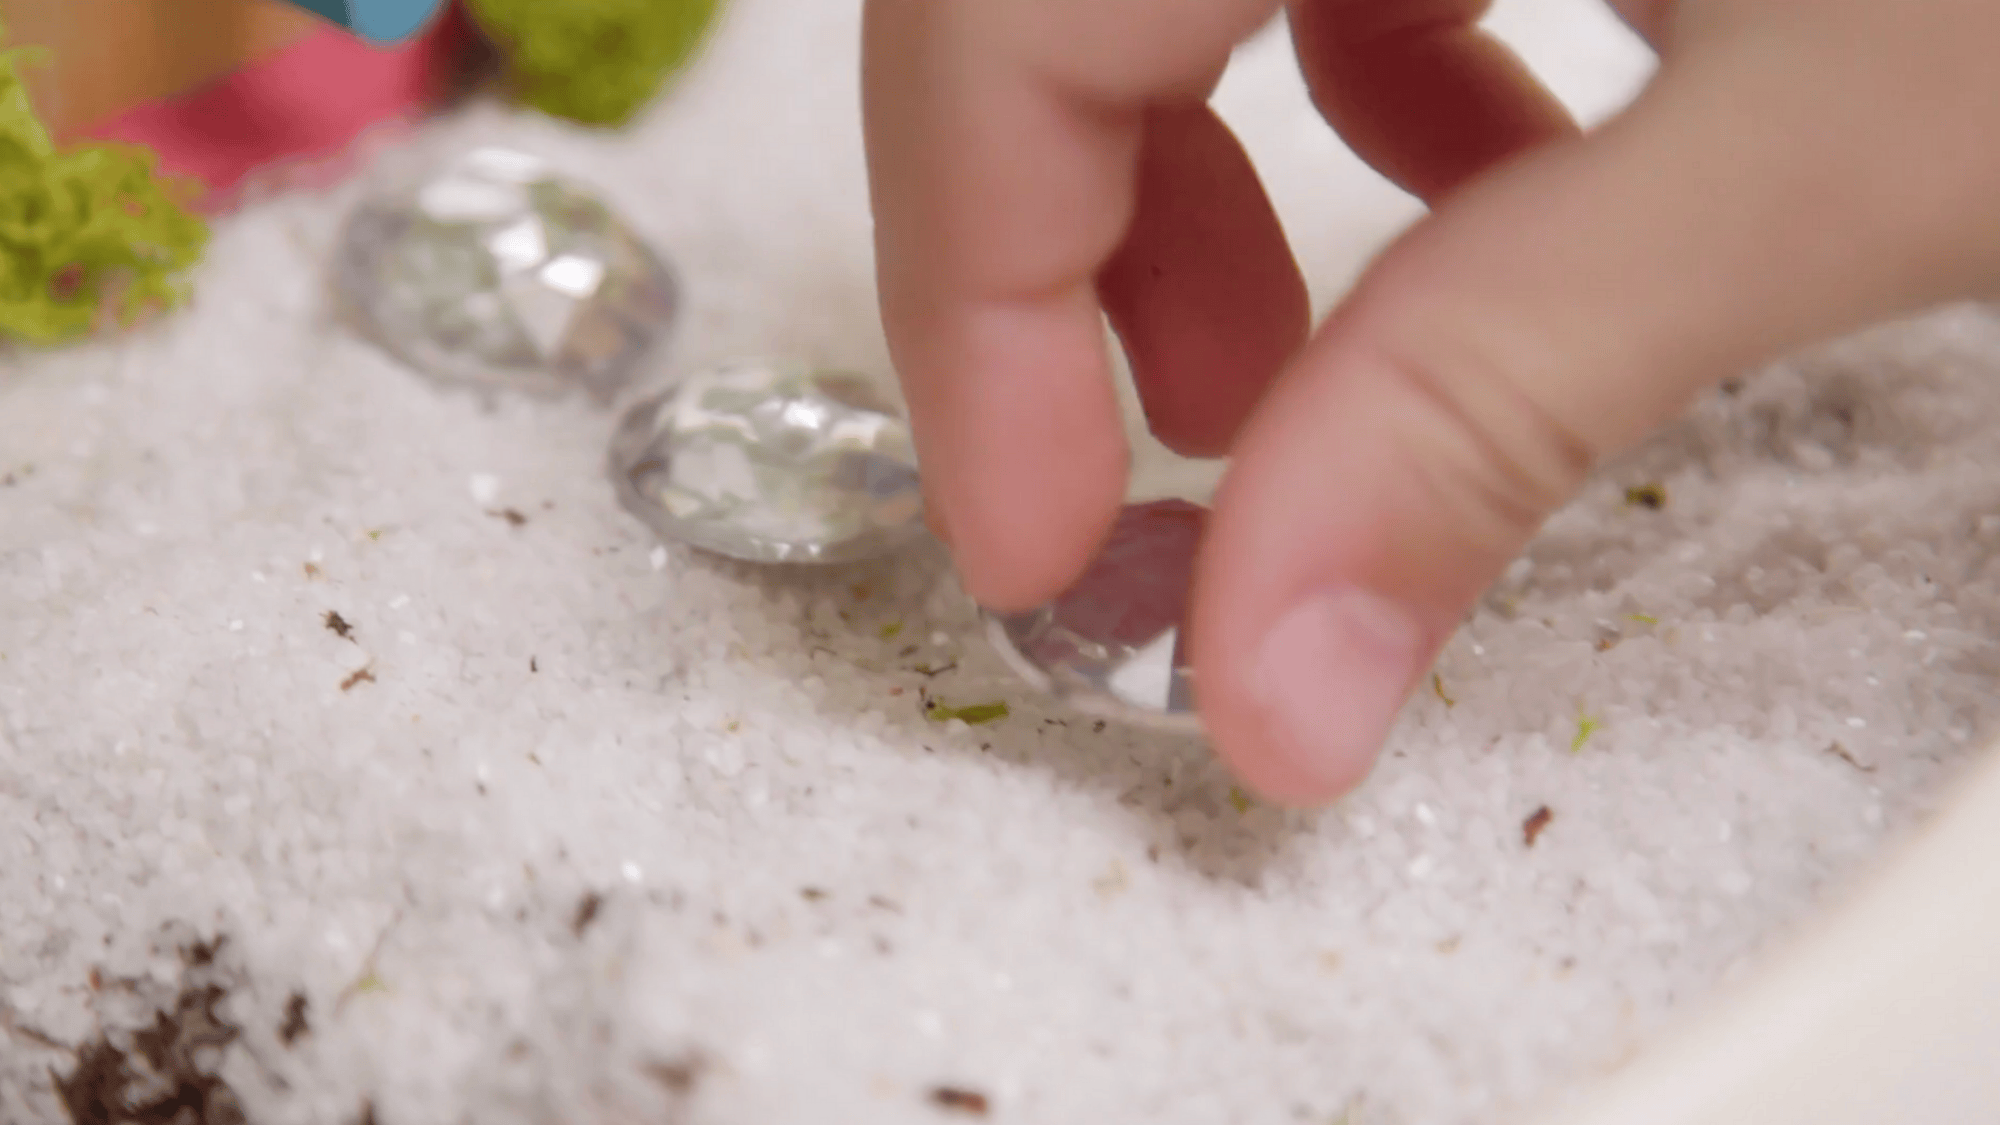
This is where the real fun begins! Add whimsical details like stepping stones, maybe a little pond using blue sand, miniature animals, or even craft a tiny tire swing from twigs and string.
These touches transform your garden into a truly inviting, magical hideaway.
Step 6 – Make It Your Own
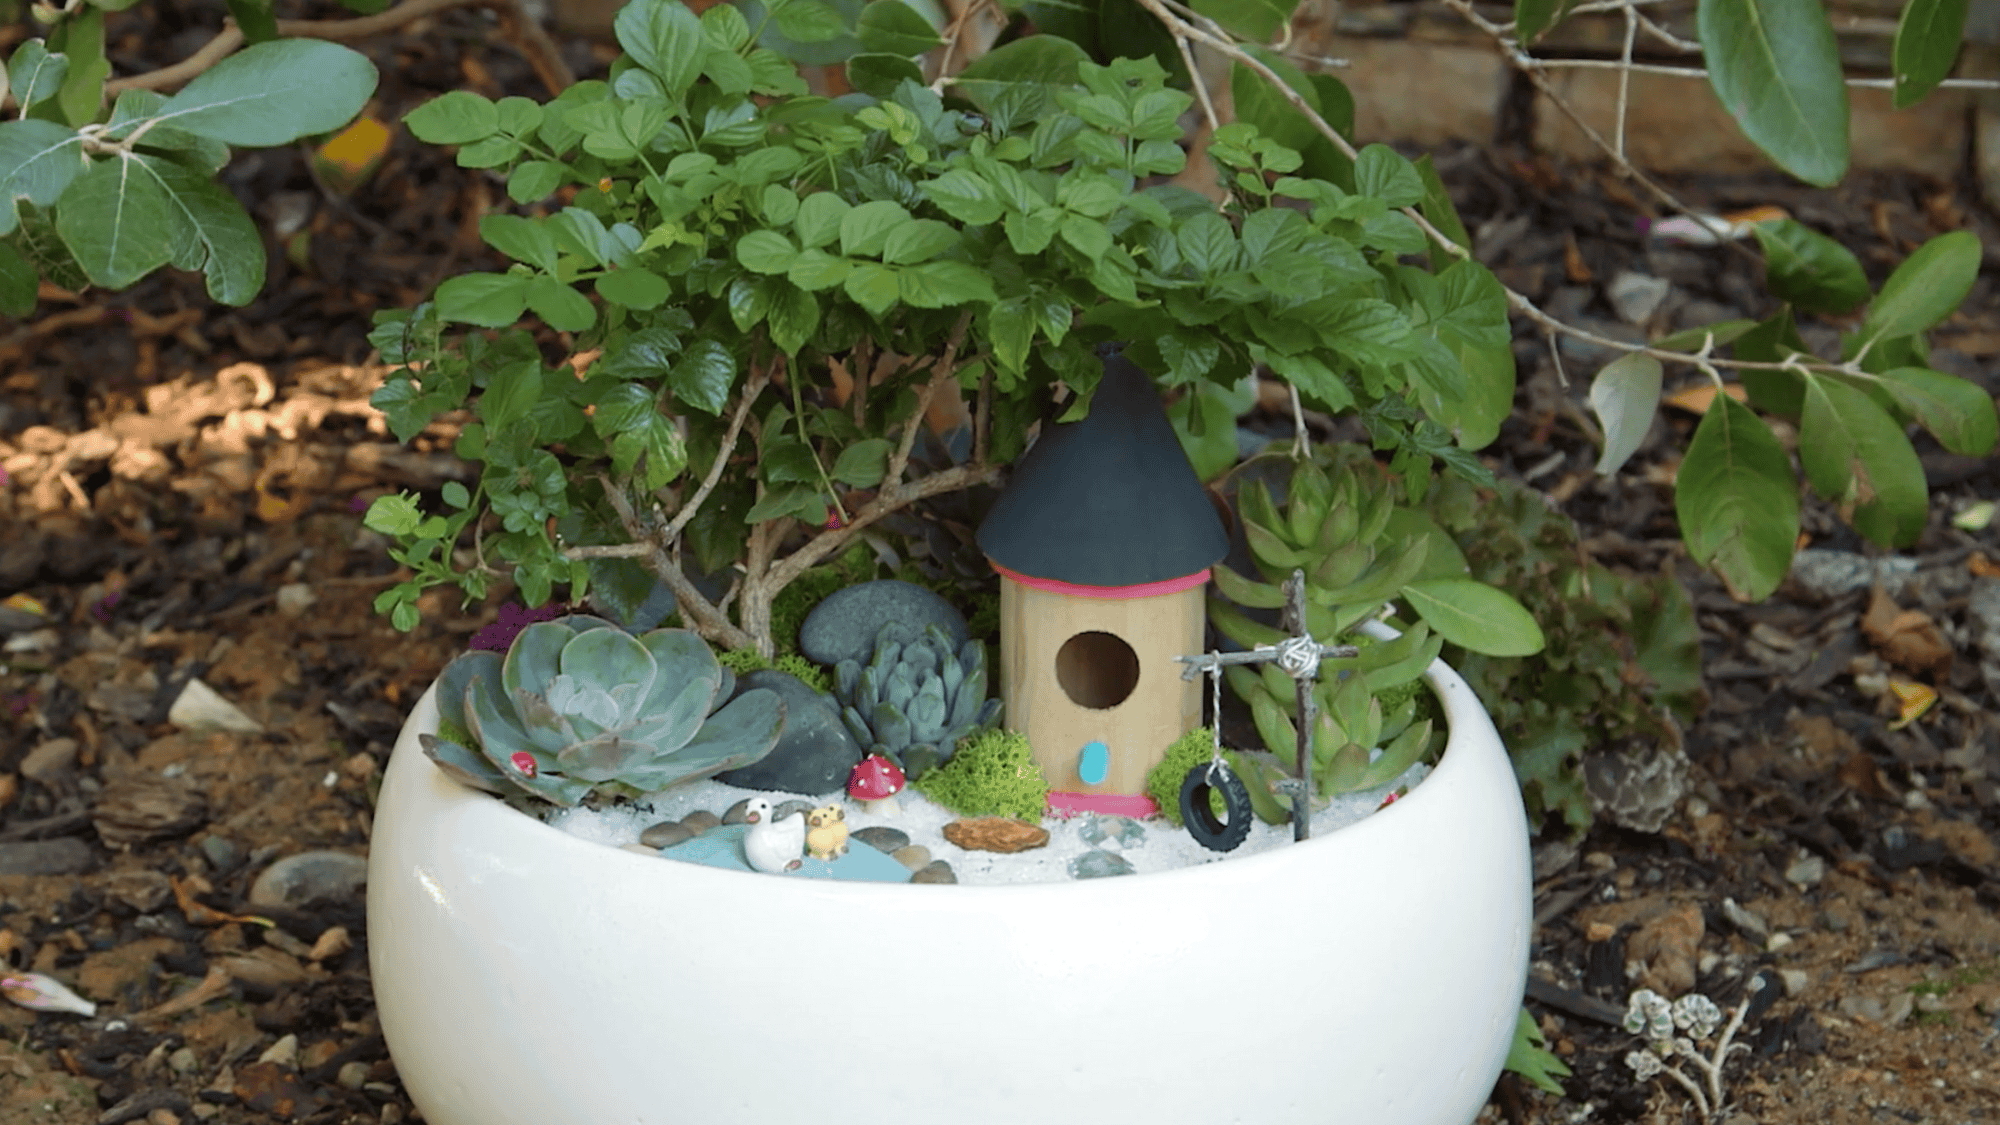
Here’s my favorite part: I encourage you to hunt around your house or out in the yard for small treasures you can repurpose as fairy furniture.
A bottle cap becomes a birdbath, a twig becomes a bench… let your creativity run wild! This personal touch is what will make your fairy garden uniquely yours and absolutely charming.
For a more in-depth guide, you can watch this DIY tutorial video:
Caring for Your Fairy Garden
Keeping your fairy garden healthy and magical takes a little regular attention, from watering and trimming to refreshing decorations so everything stays tiny, bright, and beautiful year-round.
- Watering & Light Care: Succulents need very little water, while leafy plants need more. Check soil moisture often, and adjust sunlight based on plant appearance to avoid stretching or burning.
- Keeping Plants Miniature: Regular pruning keeps plants from outgrowing the tiny landscape. Remove fast growers, trim back excess growth, and replace plants that overwhelm your fairy garden’s small spaces.
- Refreshing Your Fairy Garden: Every few months, clean away debris, refresh the sand or gravel, and swap out faded pieces. Add fun seasonal decorations to keep your fairy garden looking charming year-round.
Common Mistakes and Easy Fixes
| Problem | What’s Happening | How to Fix It |
|---|---|---|
| Plants Keep Dying | Light, watering, or drainage is probably off. Succulents dying may mean the environment isn’t suited to them. | Adjust sunlight, fix drainage, and water correctly. If succulents fail repeatedly, switch to moss or shade-loving plants. |
| Soil Erosion & Messy Layout | Soil washes away, paths get muddy, and slopes collapse during watering or rain. | Add rocks to support slopes, use edging for paths, and pack soil firmly during setup to prevent shifting. |
| Faded or Broken Decorations | Outdoor conditions fade wood and resin; pieces may break over time. Resin lasts but eventually needs replacing. | Seal wood with outdoor varnish, replace old resin décor, and keep craft glue nearby for small repairs. |
Final Thoughts
Making a fairy garden is one of those projects that feels small but ends up bringing so much joy. I love how each tiny detail creates a whole little world, and there’s always something new you can add or change.
Even if you build yours under a tree, in a pot, or inside a teacup, the fun comes from making it your own.
With the ideas, steps, and tips in this blog, I hope you feel ready to start creating a magical space that fits your style. And trust me, once you make one, you’ll want to make more.
If you’re ready to start, gather a few supplies, pick a theme, and let your imagination lead the way!