I’ve been planting marigolds every spring for about five years now, and they’ve never let me down. They’re one of those flowers that actually do what they’re supposed to, bloom all summer without needing much attention.
I’ve learned a few things along the way about timing, spacing, and keeping them happy, and I want to share what’s worked for me.
In this guide, I’ll walk you through when to plant marigolds based on your zone, how to start them from seed (both indoors and outside), the different types you can choose from, and how to handle the few problems that might come up.
Trust me, if I can grow these successfully, anyone can.
What You Need to Know Right Away
To grow marigolds, sow seeds 4–6 weeks before your last frost or direct-sow after frost in full sun and well-draining soil.
Space French types 8–10 inches apart, African types 10–12 inches. Water at the base, let the soil dry slightly between waterings, and deadhead to keep blooms coming.
When to plant marigolds: late spring in most zones.
- Sun: Full (6–8+ hours)
- Soil: Drains well
- Bloom time: About 8 weeks from sowing
When to Plant Marigolds (By USDA Zone)
Timing matters with marigolds, but it’s not complicated. I’ve learned that the key is really just waiting until the danger of frost has passed; these plants don’t handle cold well at all.
| Start Indoors | Transplant/Direct-Sow |
|---|---|
| Late March–April | Late May–June (after last frost) |
| March–April | April–May (after last frost) |
| February–March | February–March; second planting late August |
| October–February | October–February (cool-season blooms) |
I usually check my area’s last frost date online; there are plenty of free tools that’ll tell you exactly when it’s safe to plant. In my zone, I start seeds indoors around mid-April and move them outside in late May when the soil has warmed up.
How to Grow Marigolds from Seed (Indoors & Direct-Sow)
1. Starting Seeds Indoors (4–6 Weeks Before Last Frost)
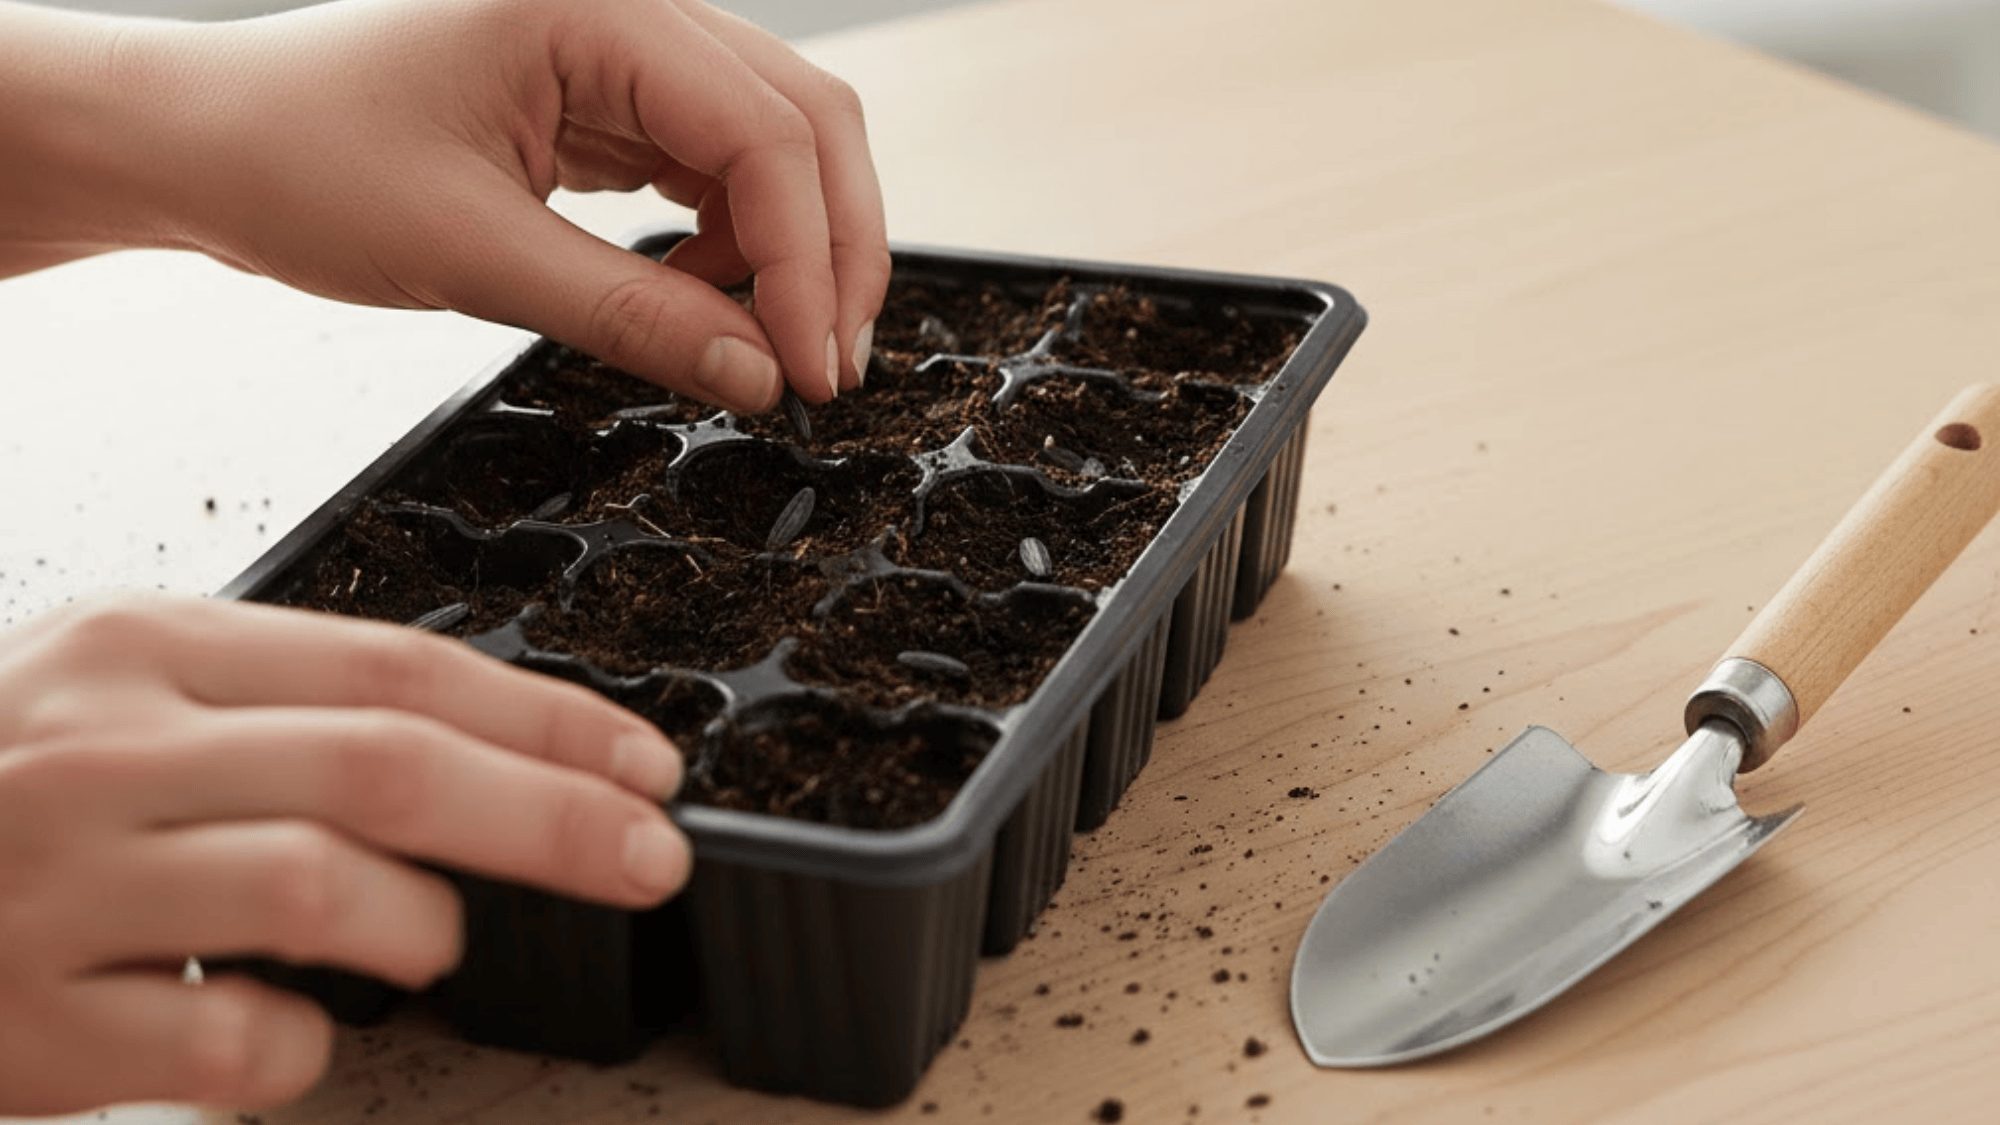
Starting marigolds indoors gives them a head start, and I find it’s worth the small effort if you want earlier blooms.
Here’s what I do:
- Use seed-starting mix (it’s lighter and drains better than regular potting soil)
- Sow seeds about ¼ inch deep
- Keep the temperature around 65–75°F
- Keep the soil lightly moist, not soggy, just damp
- Once seedlings have their first true leaves, place them in a sunny window or under a grow light
- About 7–10 days before transplanting, start hardening them off by moving them outside for a few hours each day
2. Direct-Sowing Outdoors
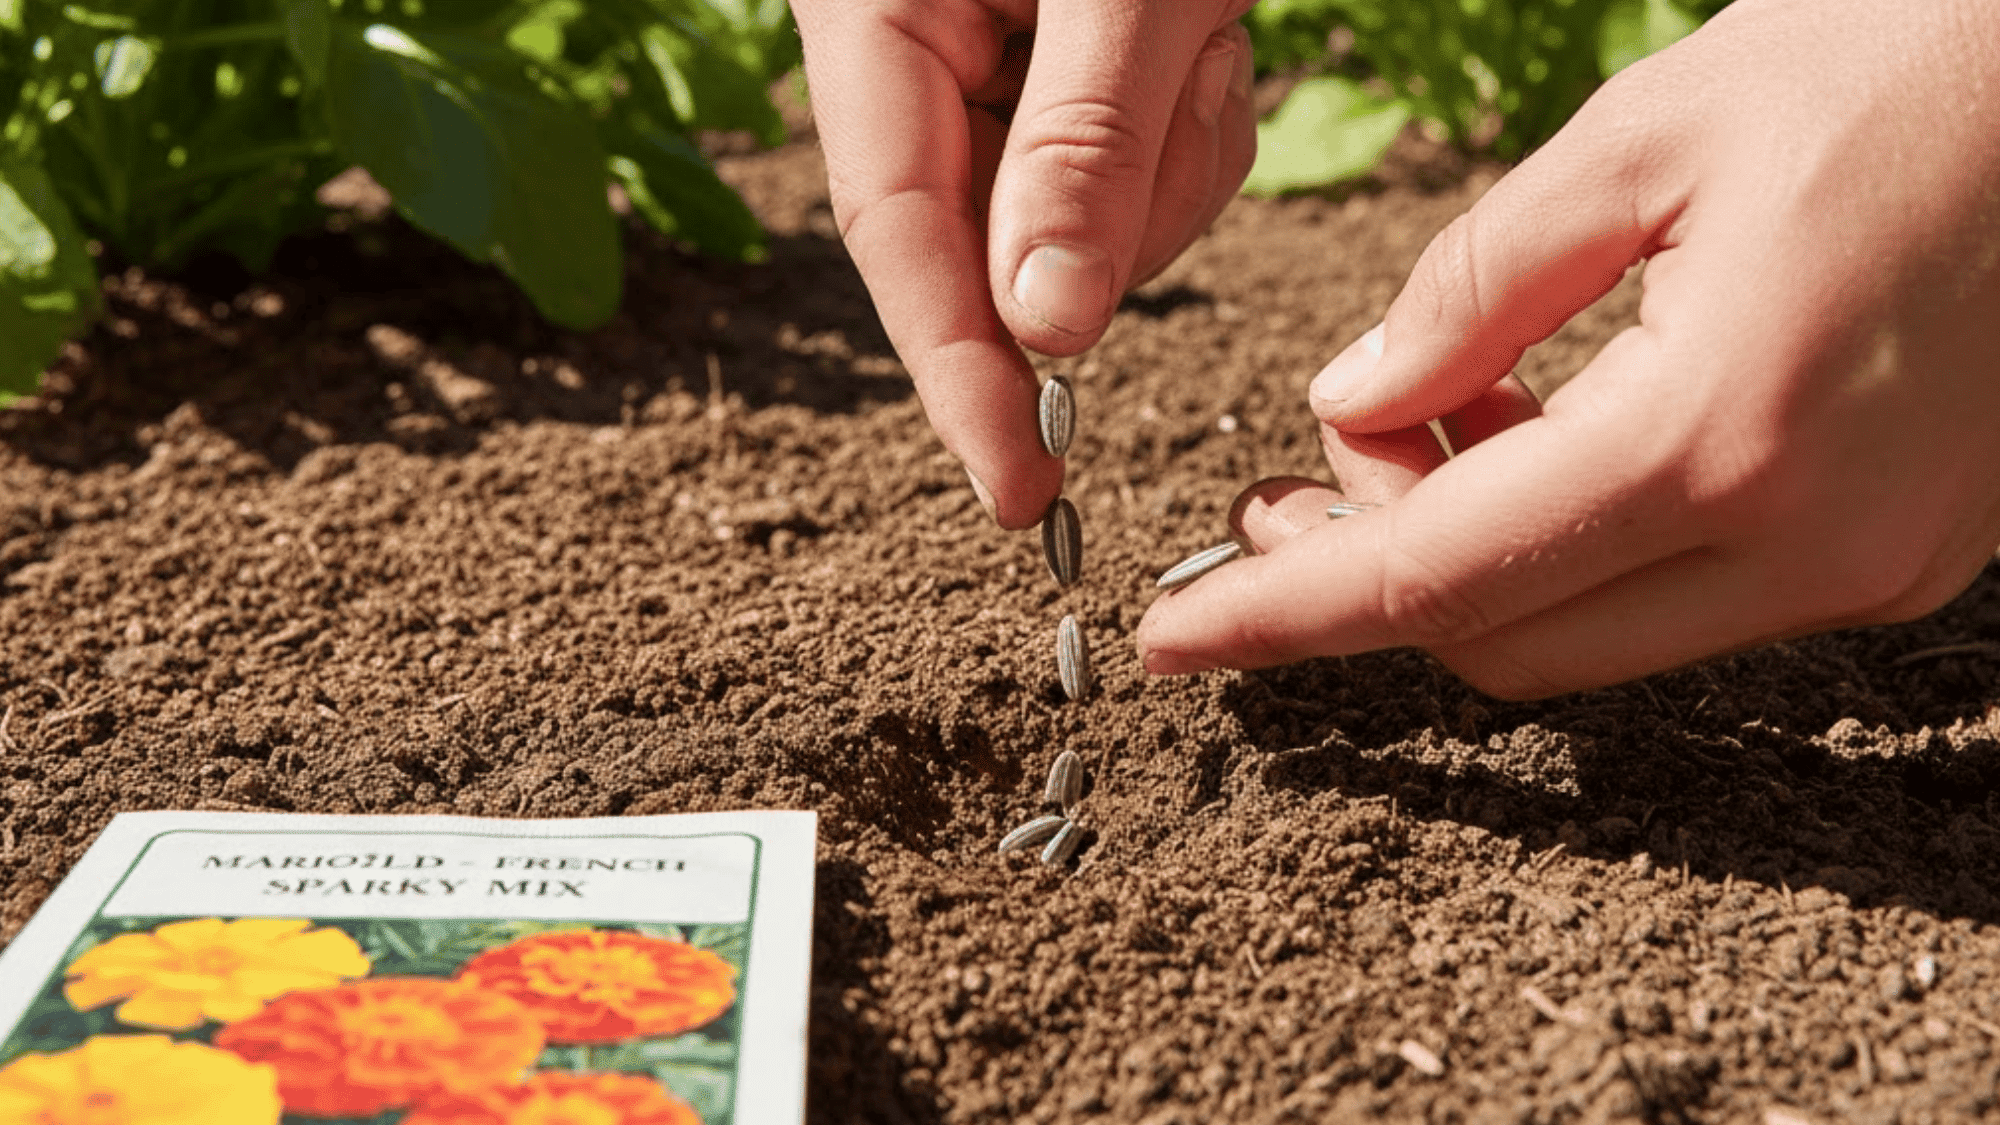
If you don’t want to bother with indoor starting, you can absolutely direct-sow once the soil has warmed up in spring. I do this sometimes when I want to fill in gaps in my garden beds.
- Wait until after your last frost date
- Sow seeds ¼ inch deep, spacing them about 1 inch apart
- Once seedlings are a couple of inches tall, thin them to proper spacing (see below)
- Water gently to keep soil moist until germination (usually 5–7 days)
3. Spacing & Sun Requirements
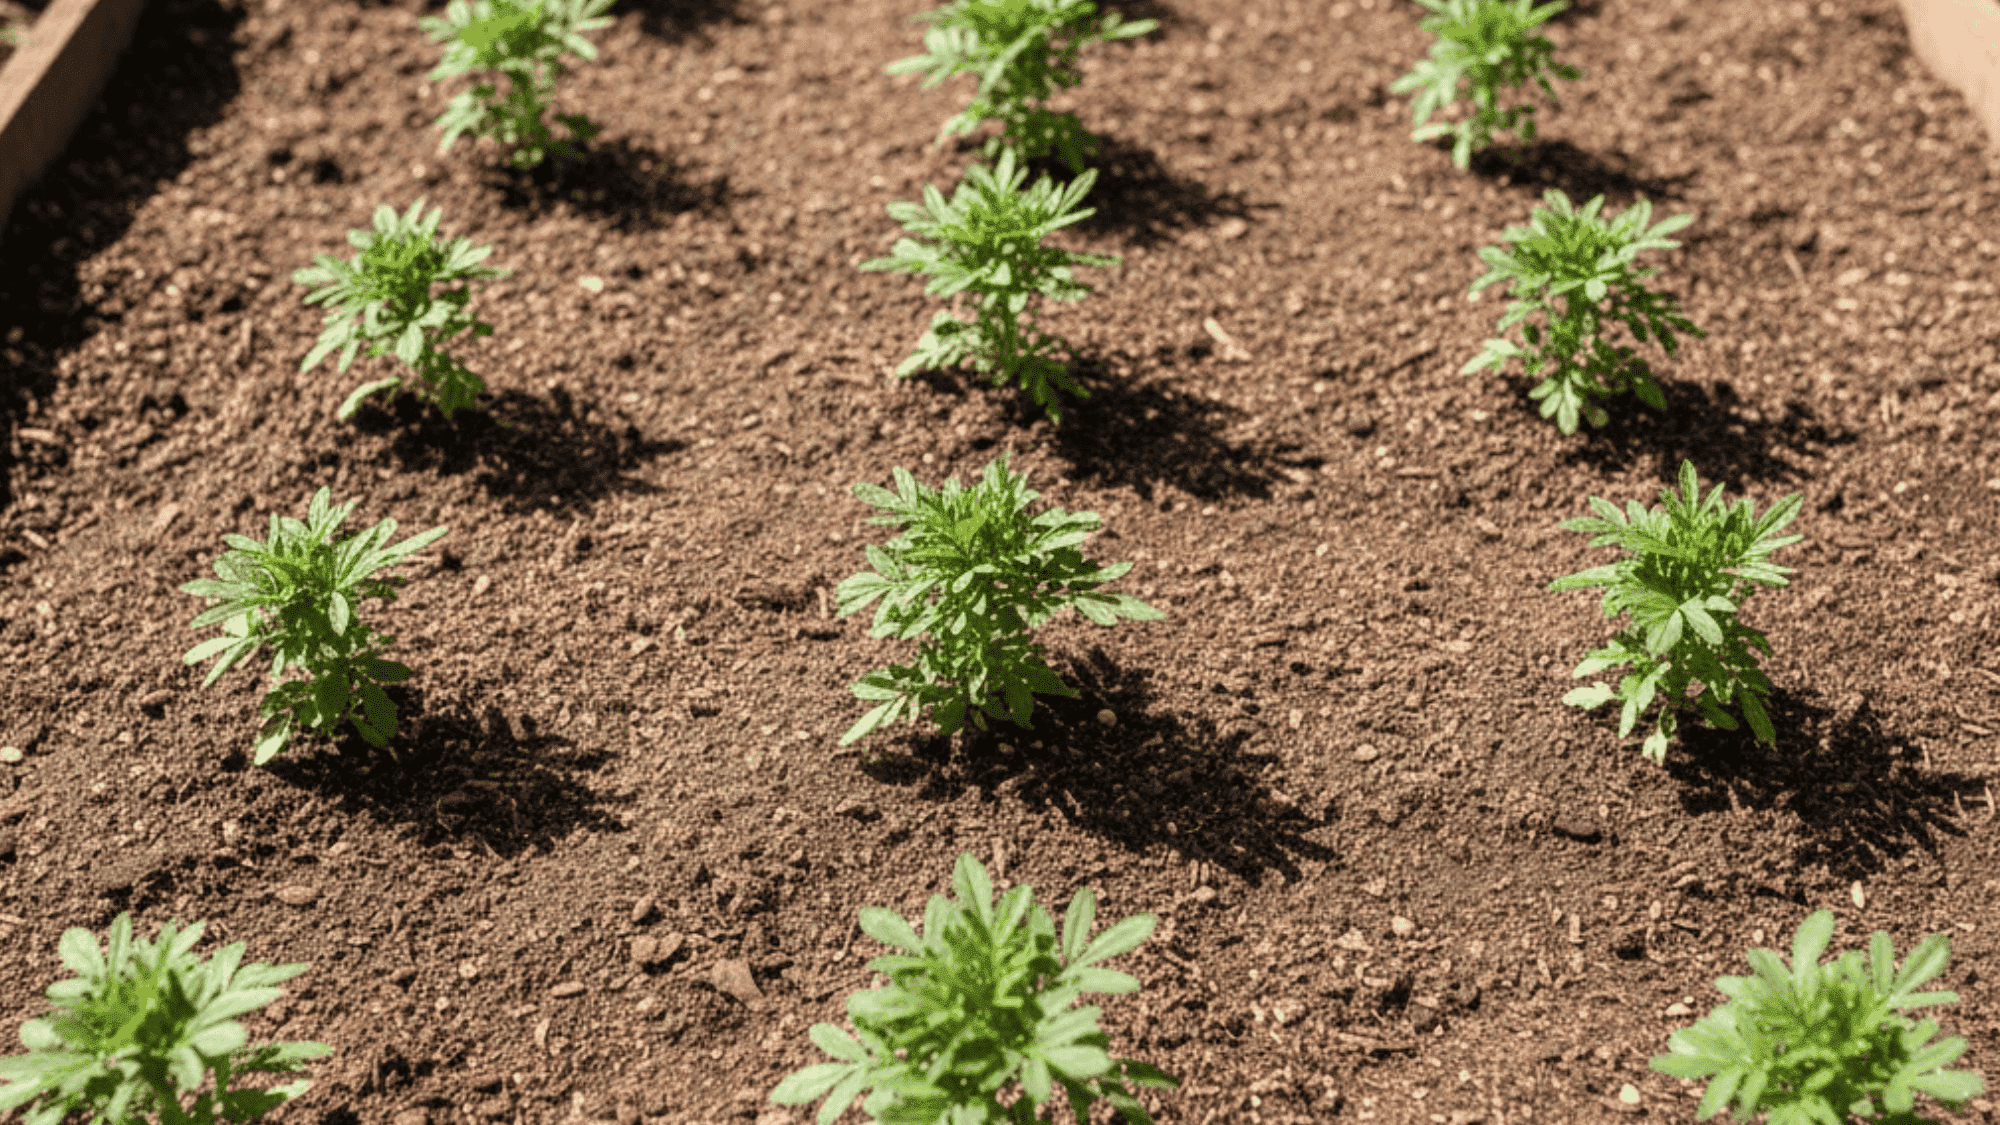
Getting the spacing right really makes a difference. I used to crowd my marigolds too close together, and they’d get leggy and compete for light.
- French marigolds (Tagetes patula): 8–10 inches apart
- African marigolds (T. erecta): 10–12 inches apart
- Signet marigolds (T. tenuifolia): 6–8 inches apart
Marigolds need full sun, which means at least 6–8 hours of direct sunlight. I’ve tried growing them in partial shade, and while they’ll survive, you won’t get nearly as many blooms.
4. Watering & Feeding
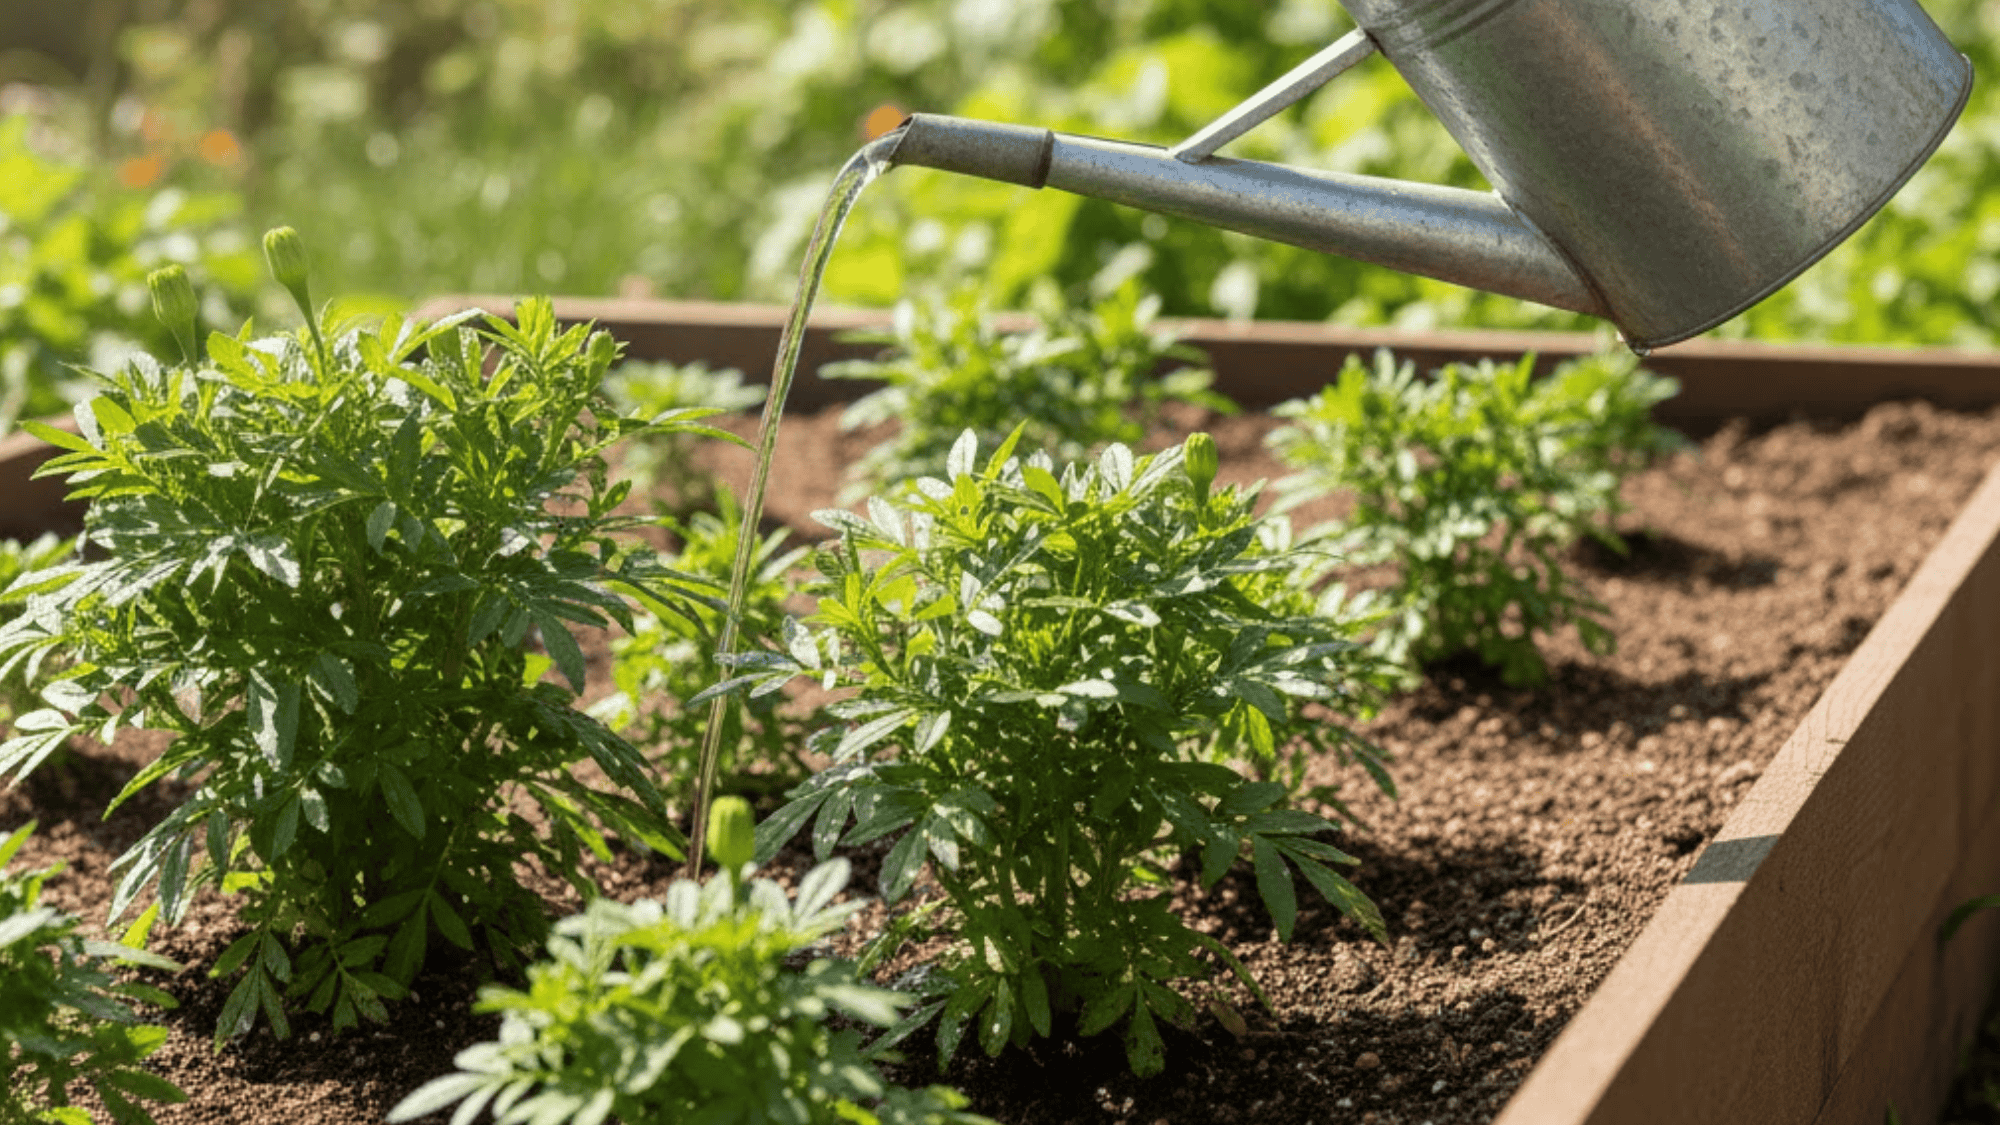
I water my marigolds at the soil level, not from overhead. Getting the foliage wet can lead to mildew problems, and nobody wants that.
- Let the top inch of soil dry out between waterings
- Water deeply but not too often—marigolds handle dryness better than soggy soil
- Go easy on fertilizer, especially nitrogen (too much gives you lots of leaves but fewer flowers)
- If your soil is decent, you really don’t need to feed them at all
- If your soil is poor, mix in some compost at planting time or use a light, balanced fertilizer once
5. Bloom Boosters
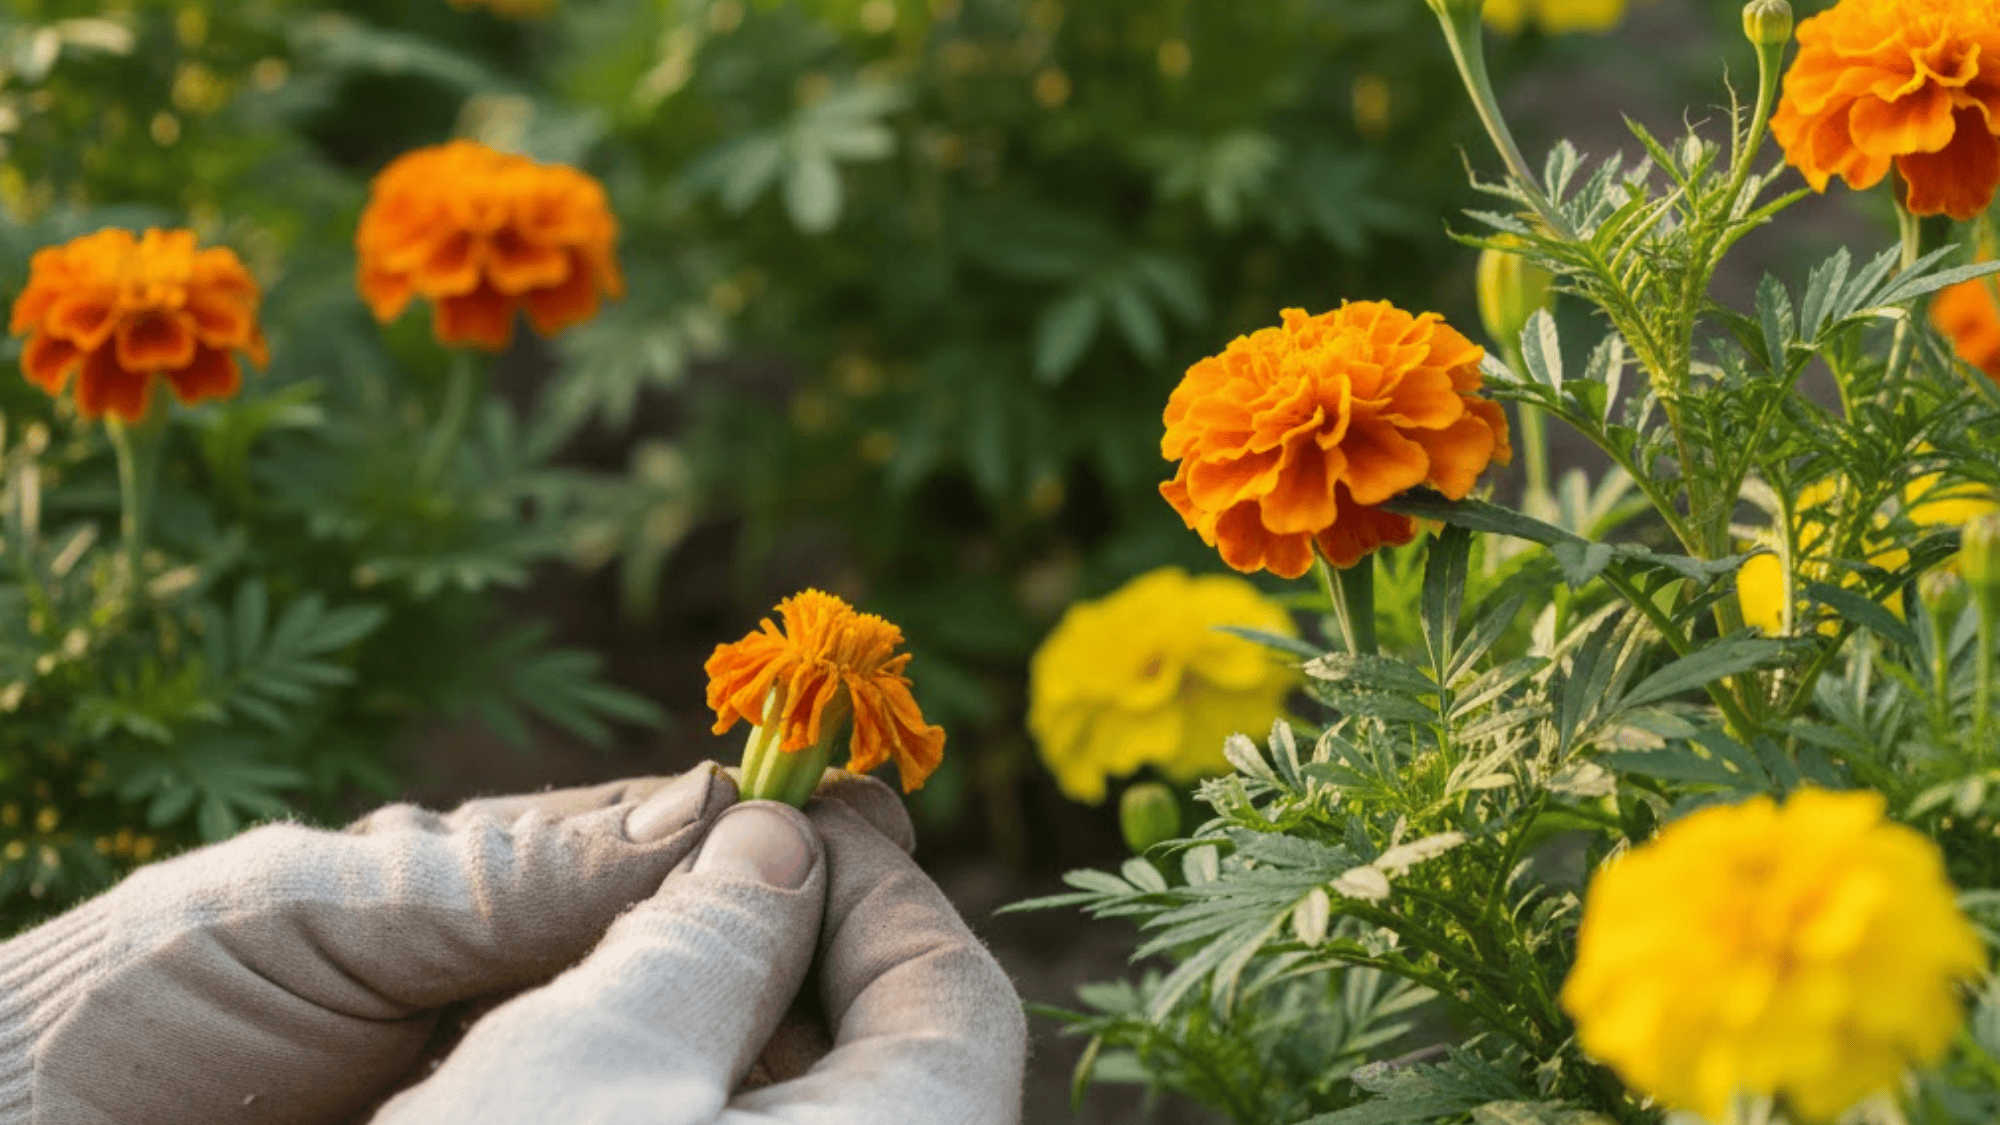
These are the little tricks I’ve picked up that keep my marigolds looking their best all season long:
- Pinch the first buds: I know it seems counterintuitive, but pinching off the very first flower buds encourages the plant to bush out and produce more stems, which means more flowers later
- Deadhead regularly: Pull off spent blooms every few days to keep new ones coming
- Mulch lightly: I spread 1–2 inches of mulch around the base to hold moisture and cut down on weeds
Growing Marigolds in Containers
I grow marigolds in pots on my patio every year because they add instant color right where I can see them. Container growing is easy, but there are a few things to keep in mind.
Pot sizes:
- 10-inch pots for African types
- 6–8-inch pots for compact French varieties
Container tips:
- Use a potting mix that drains well (not garden soil)
- Check moisture more often; containers dry out faster than garden beds
- Feed lightly every 4–6 weeks if blooms seem to slow down
- Make sure pots have drainage holes
Best Marigold Types for Your Garden
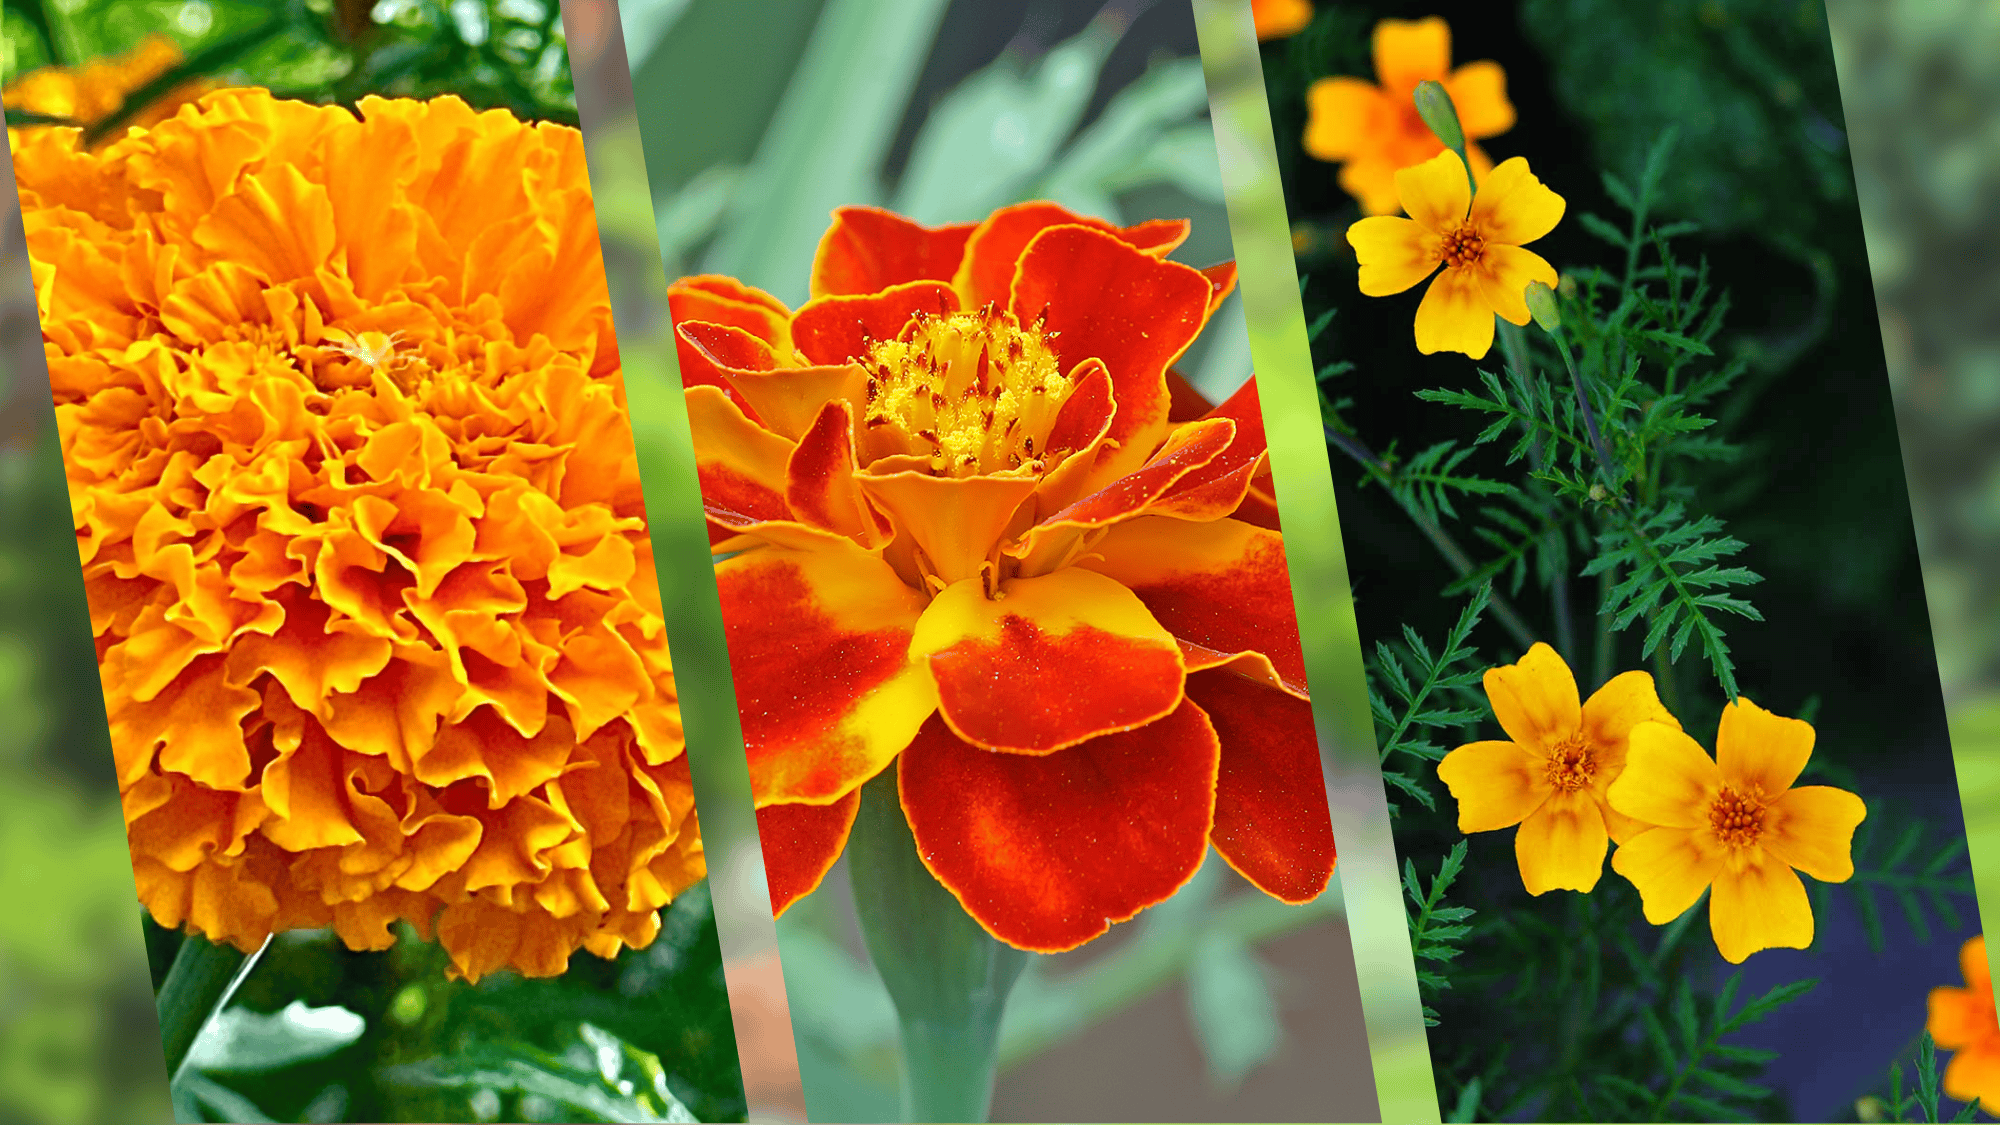
When I first started growing marigolds, I didn’t realize there were so many types. Now I grow a mix depending on what I need them for.
1. African Marigolds (Tagetes erecta)
These are the tall ones with big, pom-pom-style blooms. I plant them in the back of borders or in spots where I want height.
They’re great because they handle heat and drought better than other types. ‘French Vanilla’ is one of my favorites; its creamy white blooms stand out beautifully.
Best for: Back of borders, cut flowers, hot and dry spots
2. French Marigolds (Tagetes patula)
These are compact and bushy, perfect for edging or containers. They handle wetter weather better than African types, which I appreciate during rainy summers.
The ‘Bonanza’ series is reliable and available in many colors. I use French marigolds along pathways and in mixed container plantings.
Best for: Borders, containers, wetter climates
3. Signet Marigolds (Tagetes tenuifolia)
These have fine, feathery foliage and masses of small blooms. They’re more delicate-looking than the other types, and they love hot, dry conditions.
I grow ‘Lemon Gem’ in my herb garden because the foliage has a nice citrus scent.
Best for: Hot and dry sites, herb gardens, edging
Smart Companion Planting with Marigolds
I’ve heard all sorts of claims about marigolds over the years, some true, some not quite accurate. Here’s what I’ve learned from experience and from reading the research.
Good pairings:
- Marigolds pair well with tomatoes and other vegetables because they add general garden diversity
- Some French marigold varieties can reduce root-knot nematodes when grown as a cover crop and then worked into the soil before planting vegetables
What to know:
- Marigolds don’t create a pest-free forcefield around your garden (I wish they did)
- Their scent may deter some pests, but you’ll still need to monitor for problems
- Calendula (pot marigold) is edible; Tagetes (true marigold) is not typically eaten, so don’t mix them up
Common Problems & Easy Fixes for Growing Marigolds
I’ve dealt with pretty much every marigold problem at some point. Here’s how I handle the most common issues.
| Problem | Cause | Fix |
|---|---|---|
| Few blooms | Too much shade or nitrogen | Move to full sun; reduce fertilizer; deadhead regularly |
| Powdery mildew | Crowded plants or overhead watering | Space properly; water at base; prune for airflow |
| Aphids or spider mites | Common garden pests | Blast with hose every other day; use insecticidal soap if needed |
| Floppy or leggy stems | Not enough light or too much fertilizer | Move to a sunnier spot; skip fertilizer; pinch tips early |
The good news is that marigolds are pretty tough. Even when I’ve had problems, they usually bounce back quickly once I fix the issue.
Saving Marigolds Seeds for Next Year
At the end of the season, I let a few blooms fully dry on the plant so I can collect seeds. It’s simple and saves me money the following year.
How I save marigold seeds:
- Let flowers dry completely on the plant (they’ll turn brown and papery)
- Pull the flower head apart; the seeds are the dark, skinny pieces inside
- Spread seeds on a paper towel to dry for a few more days
- Store in a paper envelope or small jar in a cool, dry place
- Label with the variety and date
In warmer zones, some marigolds can behave like perennials or reseed on their own. I’ve had volunteers pop up in my garden beds the following spring, which is always a nice surprise.
Final Thoughts
I still remember the first time I planted marigolds; I was honestly surprised by how well they did with so little fussing from me. Over the years, they’ve become my go-to flower when I want color without the stress.
What I appreciate most is how they keep going all summer, even when I forget to water them for a few days or get too busy to deadhead regularly. They’re just genuinely easy plants that deliver exactly what they promise.
If you’re on the fence about trying them, I’d say just pick up a packet of seeds and give it a shot. You might be surprised at how quickly you’ll look forward to seeing them bloom each season.
What’s your favorite marigold variety? Drop a comment below and let me know how your garden grows.