I still remember my first Brussels sprouts harvest; those little cabbages lined up on tall stalks, and I thought, Wow, I actually did this.
Learning how to grow Brussels sprouts felt intimidating at first because they take forever compared to other vegetables, and they’re picky about temperature.
But here’s the thing: once I figured out their timing, it wasn’t nearly as complicated as I expected. They love cool weather, need a good few months to mature, and honestly, that waiting period taught me more about gardening than anything else.
If you’re new to this or already have a garden going, or if you grow organically as I do, I want to share what actually worked for me.
Pulling those sprouts off the stalk on a chilly fall morning? That made all the waiting worthwhile.
What Makes the Brussels Sprout Plant Tick?
Brussels sprouts are part of the Brassica family, just like cabbage and kale. The plant sends up this tall stalk, sometimes waist-high or more, and the sprouts grow at these little spots called nodes where the leaves attach.
Those big leaves sticking out everywhere? They’re not just for show. They feed the developing sprouts. I didn’t know this at first, but frost actually improves the flavor.
Cold weather makes the sprouts sweeter because they start converting starches into sugars. My first year, I harvested too early, and they tasted bitter.
Now I wait for that first frost. It’s like the plant knows exactly when it’s ready, and the difference in taste is obvious.
Getting the Basics Right for Growing Brussel Sprouts
Brussels sprouts have specific needs, and once I figured them out, my success rate shot up. Temperature, sunlight, soil quality, and spacing all play a role in how well your Brussel sprout plant develops.
1. Climate and Temperature
Brussels sprouts thrive between 45 and 75 degrees Fahrenheit. They can handle frost really well, and as I mentioned earlier, cold weather actually makes them sweeter.
Hot climates are tough for them, though. When temperatures stay above 80 degrees for too long, the plants get stressed, and the sprouts don’t form properly.
I tried growing them in late spring once, and it was a disaster. They need cool weather to do their thing, so timing your planting around your local climate matters a lot.
2. Sunlight Needs
These plants need full sun, at least six hours of direct sunlight daily. I planted mine in partial shade my first year, thinking they’d be fine, but the stalks grew weak, and the sprouts stayed small.
They’re heavy feeders that need all that sunlight to produce energy for those developing sprouts.
If your garden has shadier spots, save those for lettuce or spinach. Brussel sprout plant want the sunniest real estate you’ve got.
3. Soil Requirements
The soil needs to be rich, well-draining, and slightly alkaline with a pH between 6.0 and 7.5. I mix in lots of compost before planting because Brussel sprout plants are hungry.
They also need consistent moisture but hate sitting in waterlogged soil. My clay soil needed serious amending with organic matter to get the drainage right.
Test your soil pH if you can. It’s one of those things that seems fussy but actually makes a noticeable difference in how the plants perform.
4. Spacing and Airflow
Space your plants about 18 to 24 inches apart. I crowded mine together once, trying to maximize space, and it backfired.
Poor airflow invites diseases like powdery mildew and rot. The plants need room for air to circulate around those big leaves and developing sprouts.
It feels like you’re wasting garden space at first, but trust me, healthy plants with good airflow produce way more than cramped, diseased ones.
Getting Your Brussels Sprouts Started
You have three options for growing Brussel sprouts: seeds indoors, direct sowing outside, or buying transplants from a nursery.
I usually start mine indoors because it gives me better control, but the method you choose depends on your climate and how much time you have.
| Method | Timing | Key Steps | What Worked for Me |
|---|---|---|---|
| Starting Seeds Indoors | 4 to 6 weeks before the last frost | Seed trays at 65-70°F under grow lights. Harden off gradually over 7-10 days. | Best control over timing. Never skip hardening off, or they’ll wilt. |
| Direct Sowing Outdoors | When the soil reaches 45°F | Sow in garden beds. Needs a long, cool season. | Works for fall. Spring heat ruined mine. |
| Transplanting Seedlings | After hardening off | Bury the stem to the first true leaves. Space 18-24 inches. Stake if windy. | Deep planting = stronger roots. Staking prevents toppling later. |
What Experts Suggest: Most seasoned growers plant in succession, starting new batches every 2 weeks to extend the harvest window. Choosing early maturing varieties helps in regions with shorter cool seasons.
Growing Brussels Sprouts: A Step-by-Step Demonstration
Once your seedlings are ready or you’ve got transplants from the nursery, it’s time to get them in the ground.
This part is straightforward, but a few small details make a big difference in how well your Brussel sprout plant establishes itself.
Materials You’ll Need
- Compost or well-rotted manure
- Garden trowel or spade
- Watering can or hose
- Mulch (straw, leaves, or wood chips)
- Optional: balanced fertilizer or bone meal
Step 1: Prepare the Soil
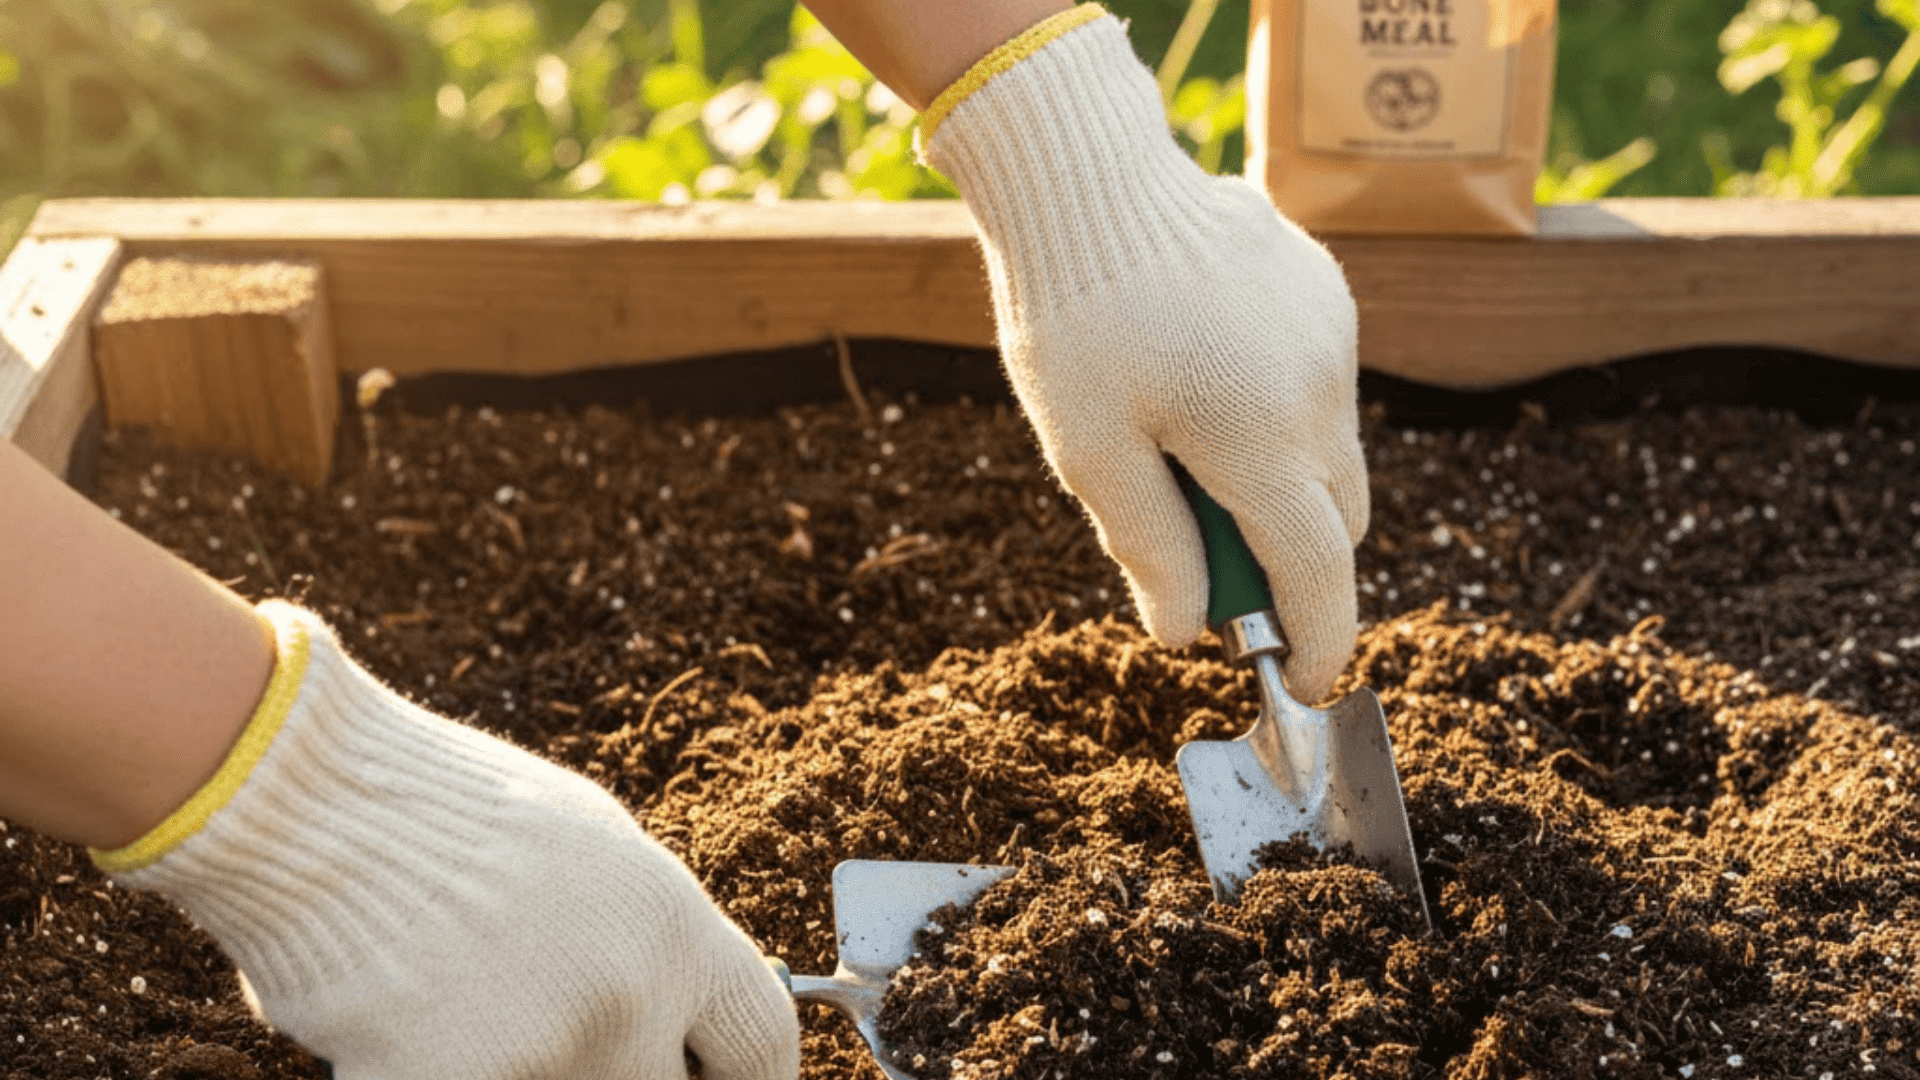
I start by loosening the soil about 12 inches deep where I’m planting. Then I mix in a generous amount of compost, maybe 2 to 3 inches worth, working it into the top layer. If your soil is acidic, adding lime helps balance the pH.
I also toss in some bone meal for extra phosphorus, which supports root growth. The soil should feel crumbly and rich, not compacted. Good preparation here means less trouble later with nutrient deficiencies or drainage issues.
Step 2: Plant at the Right Depth
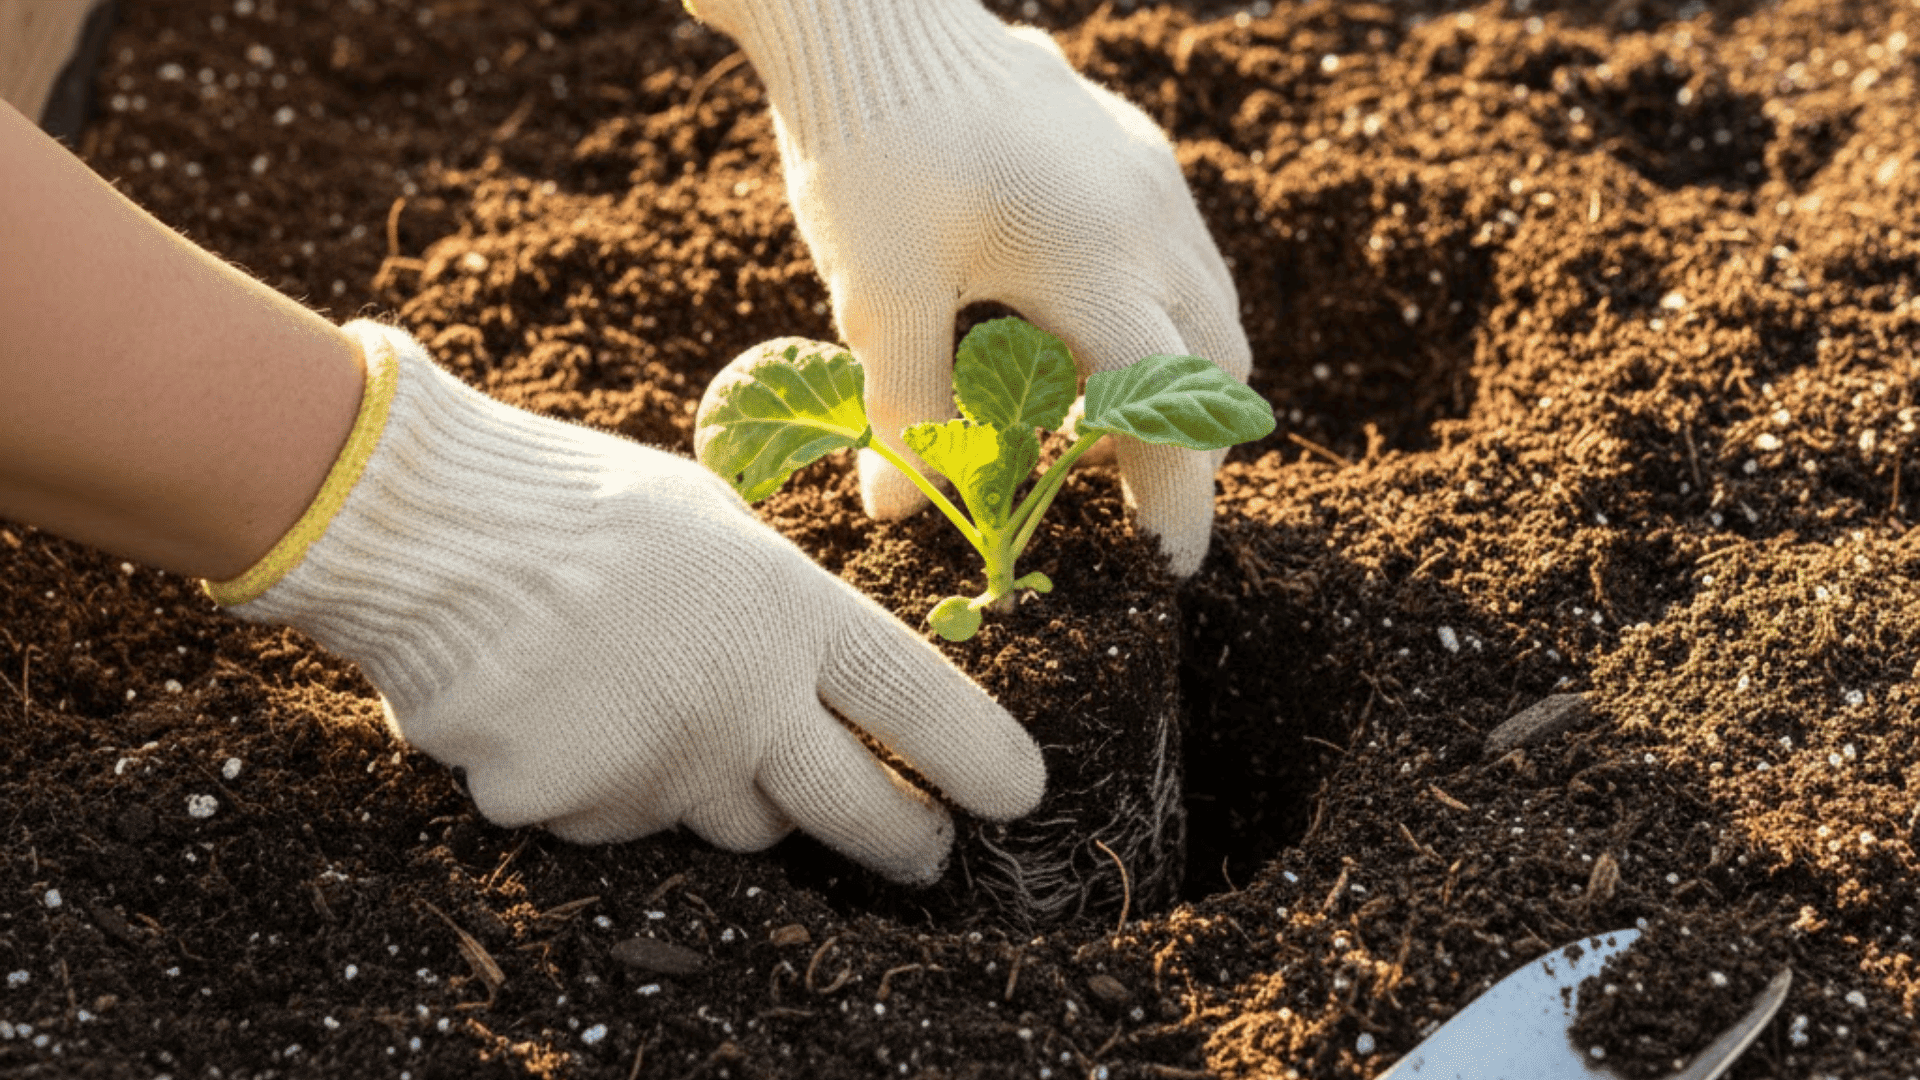
Dig holes about 6 inches deep and space them 18 to 24 inches apart. I plant the seedlings deeper than they were in their pots, burying the stem up to the first set of true leaves. This encourages stronger roots to develop along the buried stem.
Firm the soil around the base gently so the plant stands upright but isn’t compacted too tightly. That first year, I planted too shallow, and my plants toppled over easily. Deep planting fixed that problem completely.
Step 3: Water Thoroughly After Planting
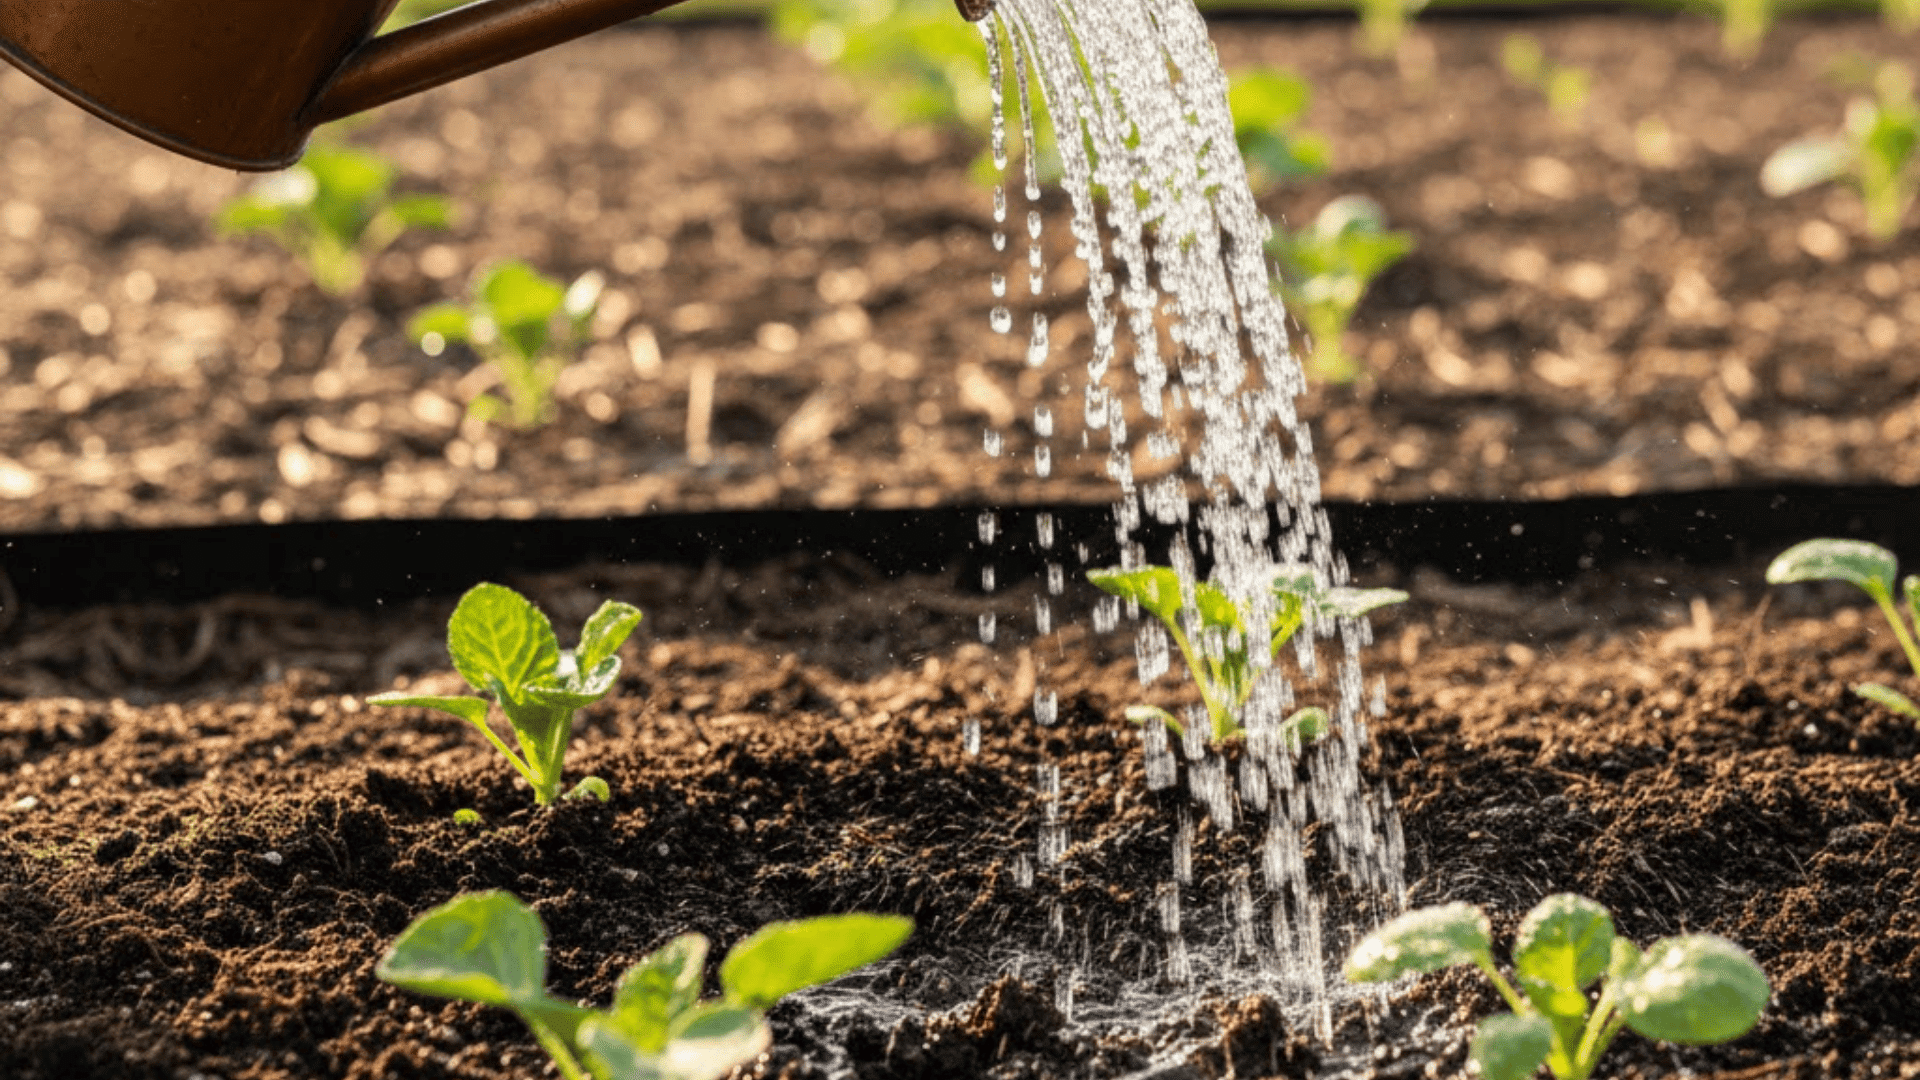
Right after planting, I give each seedling a good, slow soak. The soil should be moist several inches down, not just wet on the surface. This helps settle the roots and eliminates air pockets around them. I water gently so I don’t wash away soil from around the stem.
For the first week, I check daily and keep the soil consistently moist while the plants are establishing. Once they’re settled, I back off to watering deeply once or twice a week, depending on rainfall.
Step 4: Apply Mulch Around Plants
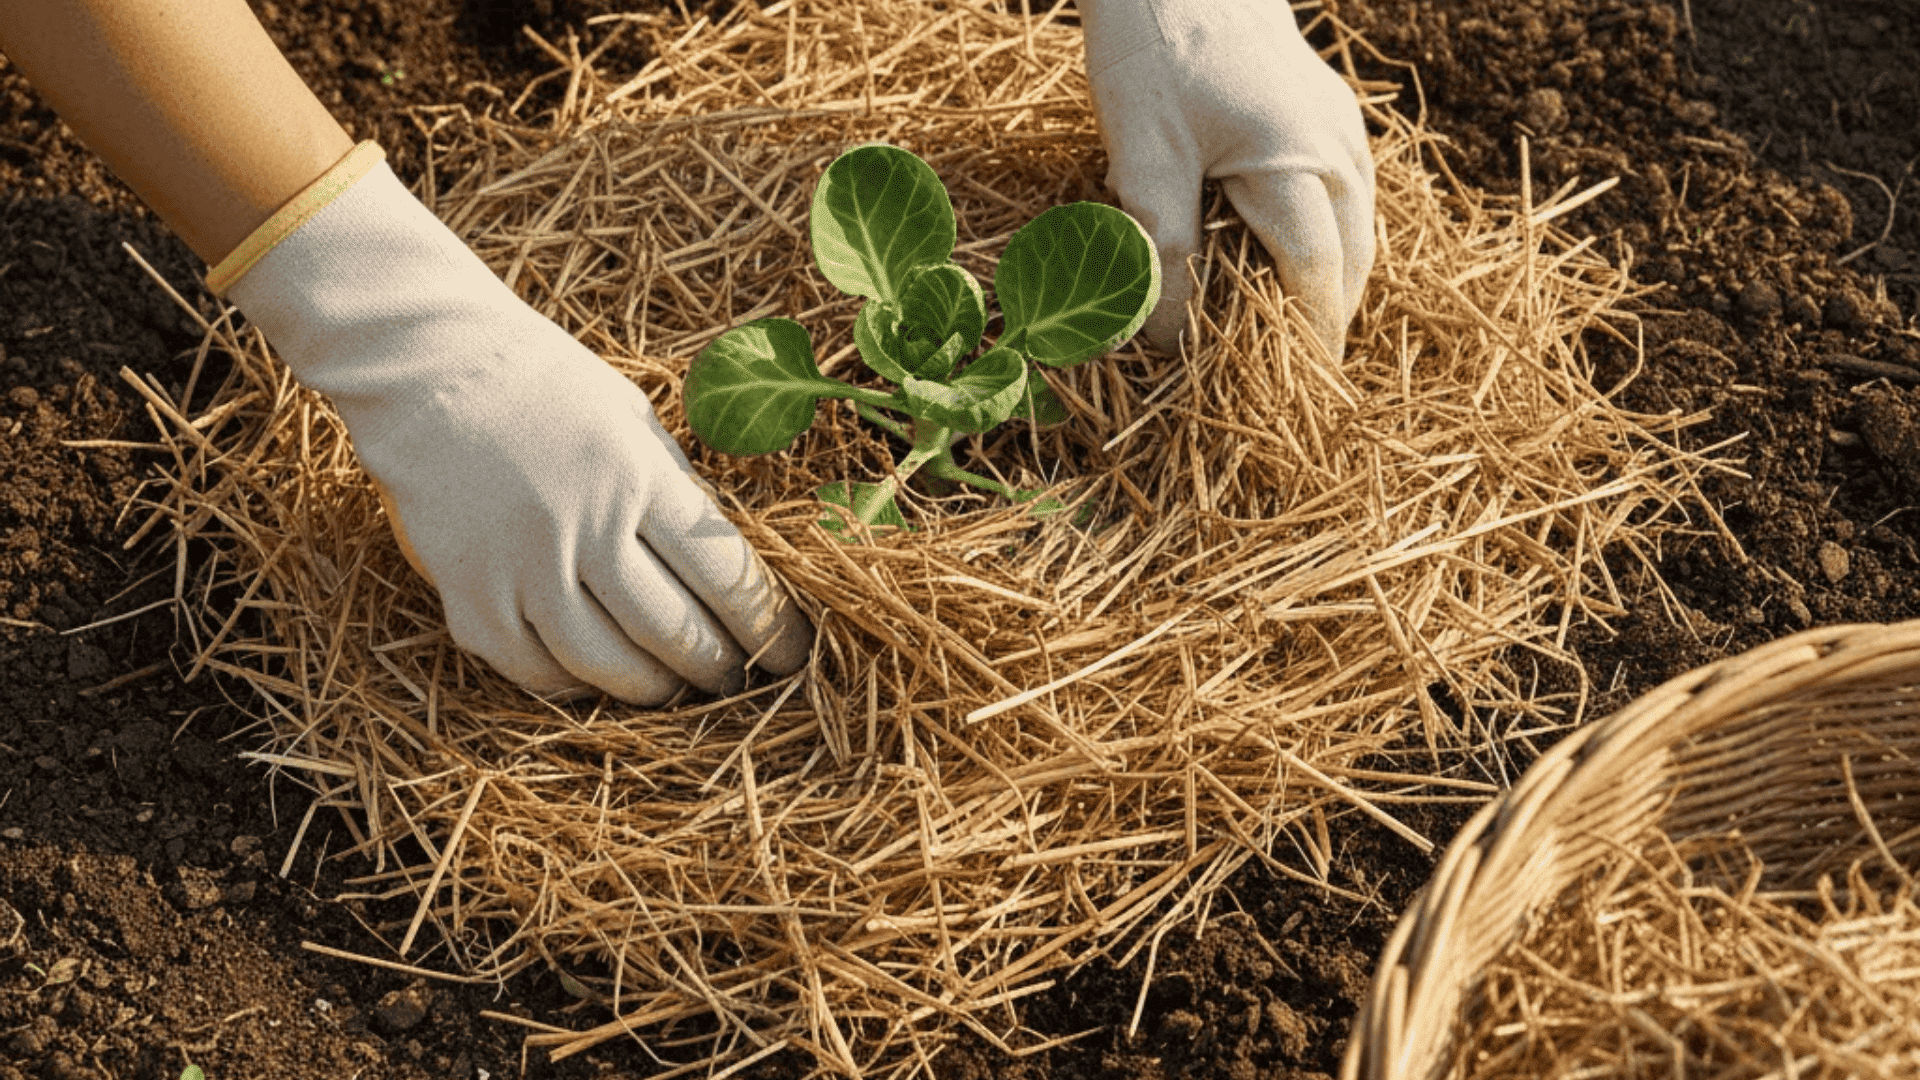
I spread a 2- to 3-inch layer of mulch around each plant, keeping it a few inches away from the stem itself. Straw works great, but I’ve also used shredded leaves.
Mulch keeps the soil temperature stable, holds in moisture, and suppresses weeds that compete for nutrients. In hot weather, it’s been a lifesaver for keeping roots cool. Just don’t pile it right against the stem, or you’ll invite rot and pests to move in.
Step 5: Monitor and Adjust
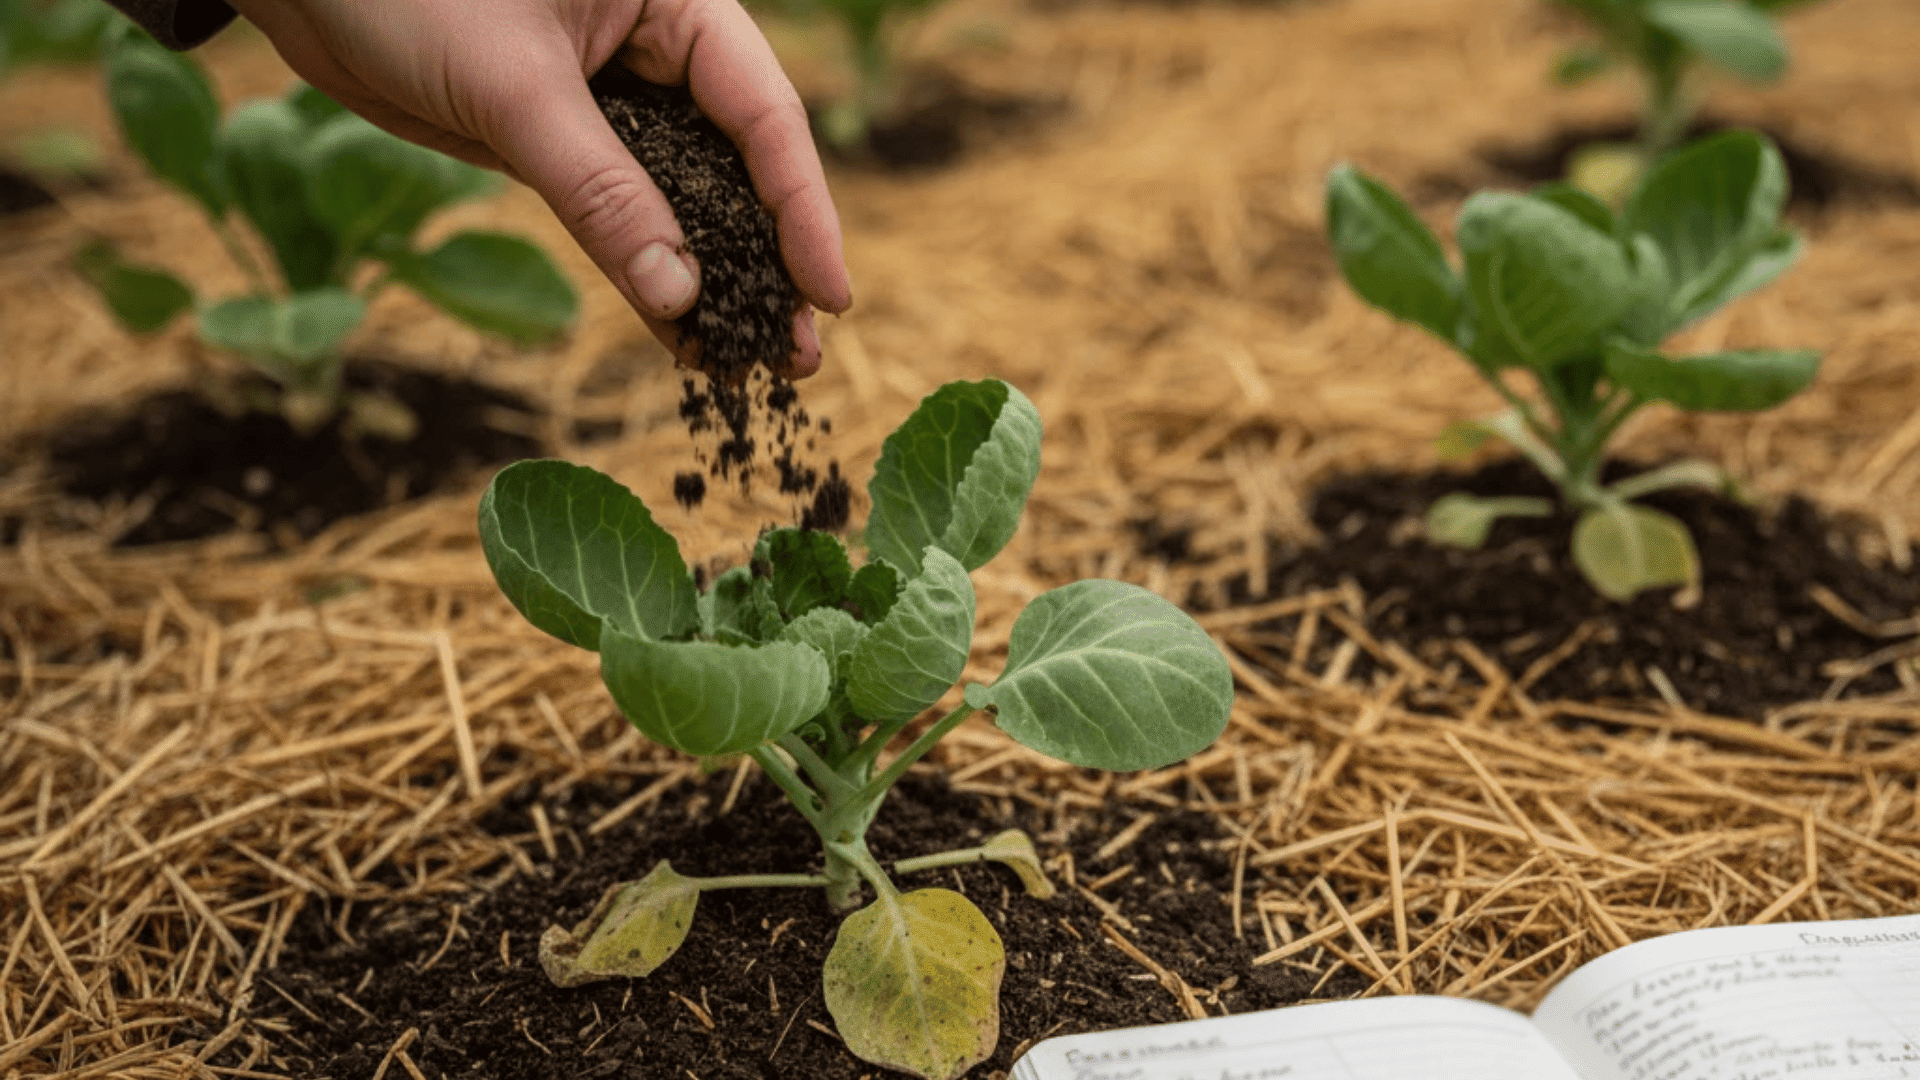
Over the next few days, I watch how the plants respond. Wilting during the hottest part of the day is normal at first, but if they don’t perk up by evening, they need more water.
Yellowing leaves might mean they need nitrogen, so I side-dress with compost. Checking in regularly during this establishment phase catches problems before they get serious.
Once the plants start growing new leaves, I know they’ve settled in, and the hardest part is over.
Keeping Your Brussel Sprout Plant Happy All Season
Once your Brussels sprouts are established, they need consistent attention through their long growing season. These plants are heavy feeders and take months to mature, so staying on top of basics makes all the difference.
- Water deeply once or twice weekly, to about an inch deep, reaching 6 inches down; shallow daily watering creates weak roots, and overwatering invites root rot.
- Feed with nitrogen-rich compost or fertilizer every 3 to 4 weeks, early on, then switch to balanced or low-nitrogen once sprouts form so energy goes into sprouts, not leaves.
- Remove lower leaves gradually as sprouts develop; I start when plants hit 18 inches tall, snapping off yellowing ones and healthy lower leaves to redirect energy upward.
- Stake plants around 2 feet tall or in windy spots using bamboo stakes and soft twine, tying loosely so the stalk can thicken without being choked.
- Stop fertilizing about a month before harvest and check ties periodically as the stalk grows; top-heavy plants need that support when they’re loaded with sprouts.
Once you get into a rhythm with these tasks, Brussel sprouts are honestly less fussy than I expected. They just need consistency, and they’ll handle the rest on their own.
Watching Your Brussels Sprouts Grow
Brussels sprouts go through distinct stages over their long growing season.
Understanding what’s happening at each phase helped me stop worrying when things looked slow or different from what I expected.
| Stage | What’s Happening | Timeframe | What I Do |
|---|---|---|---|
| Seedling Stage | Two seed leaves, then true leaves emerge. Plants stay low and delicate. | 1-2 weeks after sowing | Keep soil moist. Provide bright light. |
| Early Vegetative Growth | Rapid leaf production. Stem stays short and thick. | 4-6 weeks after transplanting | Feed with nitrogen fertilizer. Watch for pests. |
| Stalk Elongation | Stem shoots upward, 2-3 feet tall. Leaves space out at nodes. | 8-12 weeks | Stake if windy. Remove yellowing leaves. |
| Sprout Formation | Tiny buds appear at leaf nodes from bottom up. | 12-16 weeks | Switch to low-nitrogen fertilizer. Remove lower leaves. |
| Final Maturation & Frost | Sprouts reach 1-2 inches and firm up. Frost sweetens them. | 16-20+ weeks | Wait for frost. Check firmness before harvesting. |
Watching these stages unfold taught me that Brussels sprouts work on their own timeline. Rushing them doesn’t help, but knowing what to expect made the waiting easier.
When Things Go Wrong (And How I Fix Them)
Growing Brussel sprouts comes with its share of challenges, but most problems have simple fixes once you know what you’re dealing with.
I’ve dealt with pests, diseases, and weird growth issues, and catching them early made all the difference.
1. Pests That Love Brussels Sprouts
- Cabbage worms chew holes in leaves. I hand-pick them in the morning or spray with Bt, an organic bacterium that targets caterpillars without harming beneficials.
- Aphids cluster on new growth and undersides. A strong spray of water knocks them off, or insecticidal soap works for heavier infestations.
- Flea beetles leave tiny holes everywhere. Floating row covers prevent them best, and I sprinkle diatomaceous earth around the base as backup.
- Prevention beats treatment every time. I rotate crops yearly, use companion plants like nasturtiums, and check plants weekly to catch problems early.
2. Diseases to Watch For
- Clubroot causes swollen roots and stunted growth. No cure exists, so I yank infected plants fast and skip planting brassicas there for years.
- Downy mildew shows yellow patches with fuzzy undersides. Better spacing improves airflow, I skip overhead watering, and I remove affected leaves immediately.
- Black rot creates V-shaped yellow lesions that turn brown. Pull and destroy infected plants; never compost them, and disinfect tools after use.
- Healthy soil prevents most disease. Good drainage, proper pH, and staying out of wet gardens stop most problems before they start.
3. Growth Issues and Fixes
- Loose or tiny sprouts mean temperatures stayed too warm. Not much fixes it mid-season, but cooler planting timing next year solves it.
- No sprouts forming usually means too much nitrogen late. I cut feeding once the stalk elongates, so energy goes to sprouts, not leaves.
- Yellowing leaves signal nitrogen lack if widespread. Lower leaf yellowing is normal aging, but whole-plant yellowing needs compost side-dressing.
- Bolting from temperature stress ruins sprout development. Once flowering starts, I pull the plant and adjust next season’s timing.
Most problems come down to timing, soil health, and catching issues early. I check my plants every few days, which takes minutes but saves bigger headaches later.
Harvesting Your Brussels Sprouts the Right Way
Knowing when to pick Brussels sprouts took me a couple of seasons to figure out. Harvest too early, and they’re bitter, too late, and they get tough, but hit that sweet spot, and they’re perfect.
Knowing When They’re Ready to Pick
I look for a few clear signs before I start harvesting.
- Sprouts are 1 to 2 inches across, about walnut-sized, and feel firm when I squeeze them gently.
- They’re tight and compact, not loose or soft, with leaves wrapped snugly together.
- Color deepens to blue-green after frost, which means they’re at their sweetest.
- Lower sprouts mature first, so I pick from the bottom up over several weeks.
Picking and Storing Your Harvest
You can harvest individual sprouts as they mature or cut the whole stalk at once.
Here’s what works for each method.
| Method | How It Works | Storage |
|---|---|---|
| Hand-Picking | Twist and pull each sprout off from the bottom up as they mature. | Refrigerate in a plastic bag for 3 to 5 weeks. |
| Whole Stalk | Cut the entire stalk at the base once most sprouts are ready. Hang in a cool spot. | Lasts 4 to 6 weeks in a cool garage. Pick off as needed. |
| Freezing | Blanch 3 to 5 minutes, ice bath, dry, freeze. | Lasts 10 to 12 months. Roast without thawing. |
I hand-pick over several weeks because the plant keeps producing. After frost hits, I check every few days since that’s when flavor peaks. Whole stalk cutting works if I need a huge batch at once.
Can You Grow Brussels Sprouts in Pots?
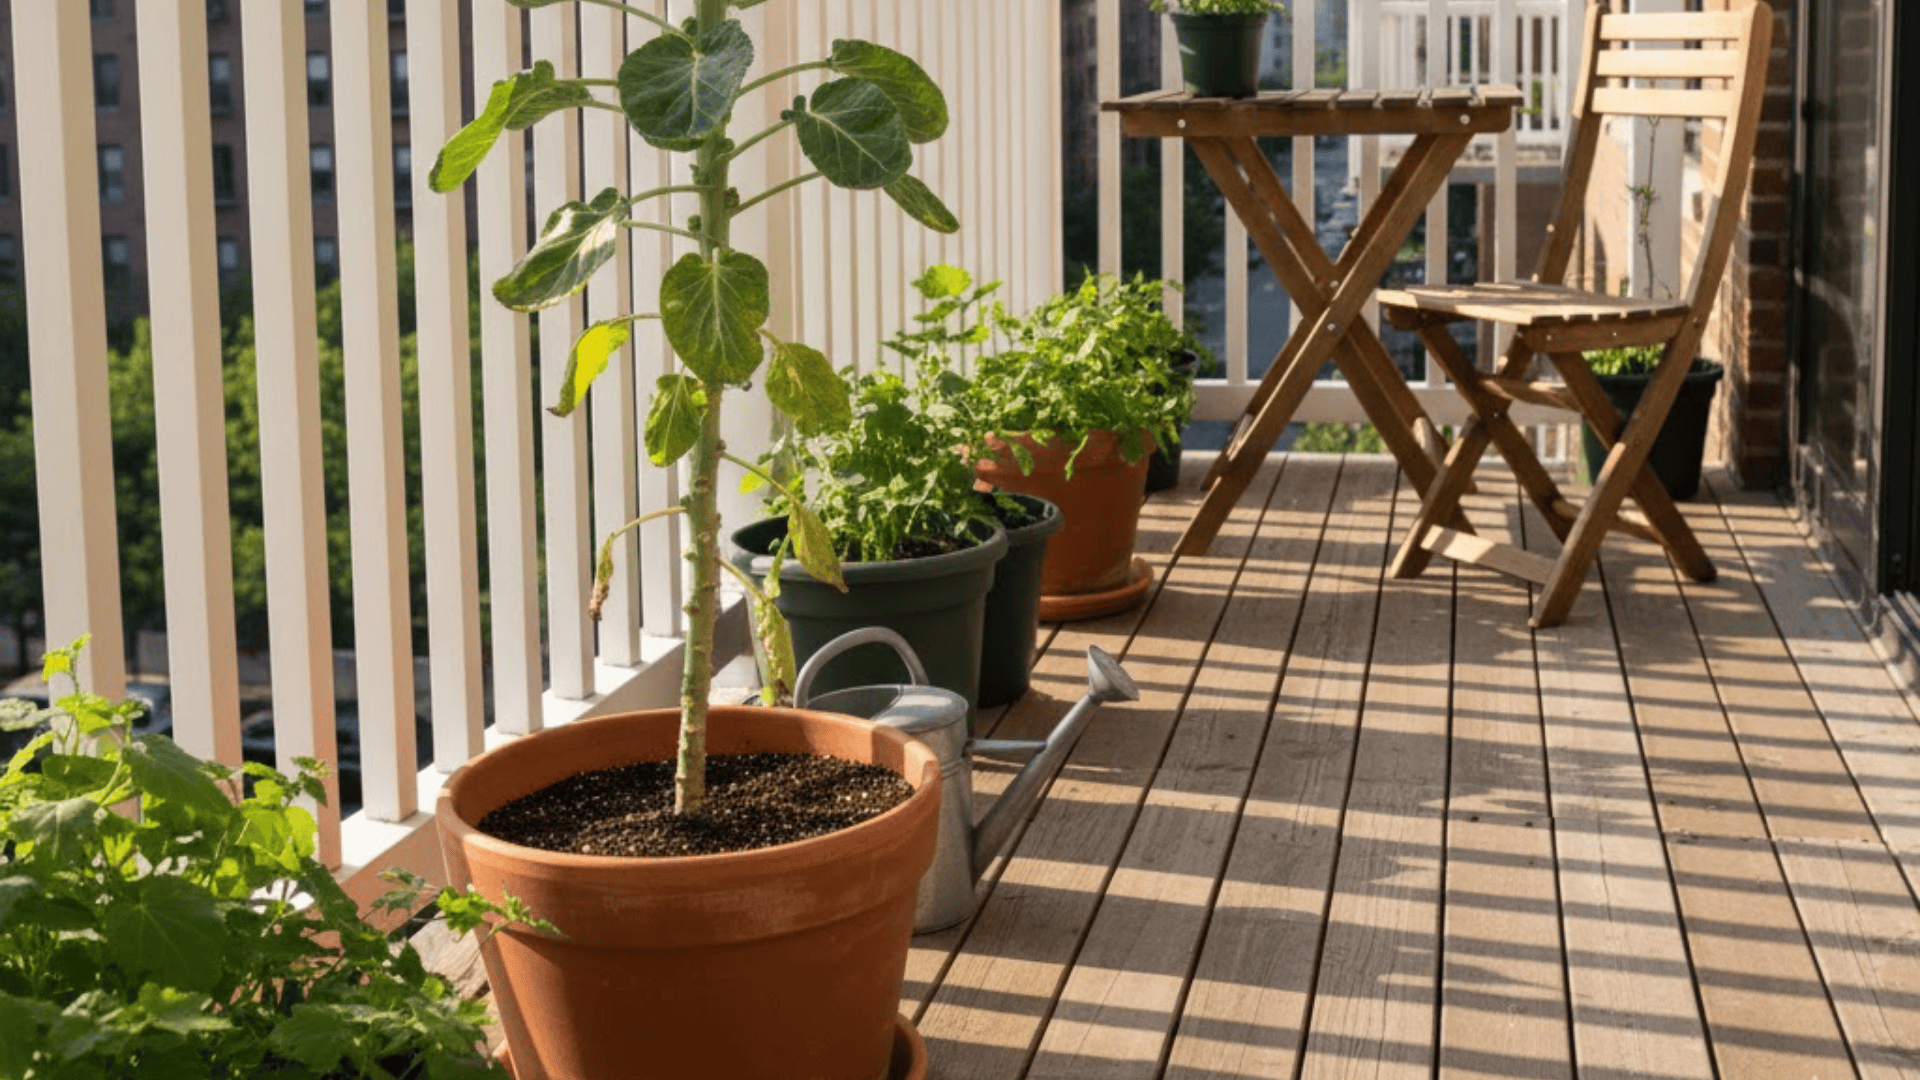
I tried growing Brussels sprouts in containers once, and it worked, but with limits. You need a deep pot, at least 12 to 18 inches, because the roots go deep and the stalk gets tall.
I used a mix of potting soil, compost, and perlite for drainage. Container plants dry out faster, so I watered almost daily in warm weather and fed every two weeks with liquid fertilizer.
“The sprouts formed fine, but they stayed smaller and the overall yield was maybe half of what I got from ground-planted ones.“
It’s doable if space is tight, but ground planting gives better results. If containers are your only option, go for compact varieties and don’t expect the same harvest you’d get from a garden bed.
What to Plant Next to Your Brussels Sprouts?
Companion planting made a noticeable difference in my Brussels sprout health. I plant onions, garlic, and carrots nearby because they repel pests like aphids without competing for nutrients.
Herbs like thyme, sage, and dill work well too, and they attract beneficial insects that keep the bad bugs in check. Beets and marigolds are solid choices for filling in gaps around the base.
Avoid planting other brassicas like cabbage or kale close by since they attract the same pests and diseases.
Strawberries and pole beans also don’t do well near Brussels sprouts because they compete for similar nutrients. Stick with plants that either repel pests or use different soil resources, and your Brussels sprouts will thank you.
Timing Your Brussels Sprouts by Where You Live
Where you live completely changes when you plant and harvest Brussels sprouts, I had to adjust my timing after moving, and understanding regional differences saved me from failed crops.
- Northern USA: Start seeds indoors in late May or early June for a fall harvest, transplant in July, and harvest from October through November after frost hits.
- Southern USA: Plant in late summer or early fall for winter harvest since springs are too short and summers too hot for proper sprout development.
- Coastal Areas: Mild, consistent temperatures work great for both spring and fall crops, so plant in early spring for summer harvest or late summer for winter picking.
- Mountain Regions: Short growing seasons mean starting seeds indoors in April or May, transplanting after the last frost, and hoping for harvest before hard freezes in September or October.
Getting the timing right for your region makes or breaks your Brussels sprout success. I always check my local frost dates and count backward from there to figure out when to start seeds.
Final Thoughts
I won’t lie, learning how to grow Brussels sprouts tested my patience more than any other vegetable.
But once I got the timing right and understood what these plants actually need, the payoff was worth every bit of waiting. That first harvest after frost, pulling firm, sweet sprouts off those tall stalks, felt like a real gardening win.
If you’re thinking about trying them, just commit to the timeline and trust the process.
Have questions or tips from your own Brussels sprout experience? Drop a comment below. I’d love to hear how your growing season goes.