You know that moment when you reach for your favorite earrings and notice they’ve lost their shine? I get why that feels frustrating, and it happens more often than you’d think.
Earrings collect buildup faster than most people realize, and what looks clean at first glance often isn’t. That’s exactly why knowing how to clean earrings the right way matters more than you might think.
Here, I’ll walk you through simple, safe cleaning methods for different materials, so your earrings stay comfortable to wear, hygienic, and looking their best.
Why Earrings Need Regular Cleaning?
I’ve learned that earrings need regular cleaning because they touch your skin, hair, sweat, and beauty products all day long.
This buildup happens fast, especially on posts and backs where moisture and oils collect the most. When I skip cleaning, buildup causes itching and redness. In worse cases, it can even lead to infections.
Beyond health, I’ve noticed that keeping earrings clean prevents tarnish and corrosion. They last longer and stay comfortable to wear.
A simple cleaning routine keeps your earrings looking beautiful. It also protects your ears from irritation and problems.
What do You Need to Clean Earrings?
Before you start cleaning your earrings, gather a few basic items. Most of these are common household supplies:
- Warm or lukewarm water
- Mild dish soap
- Soft cloth or microfiber cloth
- Soft toothbrush or cotton swabs
- Small bowl
- Baking soda (for silver earrings only)
- Aluminum foil (for silver earrings)
Having these ready makes the cleaning process quicker and helps prevent damage to fragile pieces.
How to Clean Earrings at Home: Step-by-Step Guide
I’ve found that cleaning diamond earrings at home takes just 20-30 minutes and is surprisingly effective when you follow the right steps. Here’s how I keep my diamond earrings sparkling without damaging them:
Step 1: Prepare the Cleaning Solution
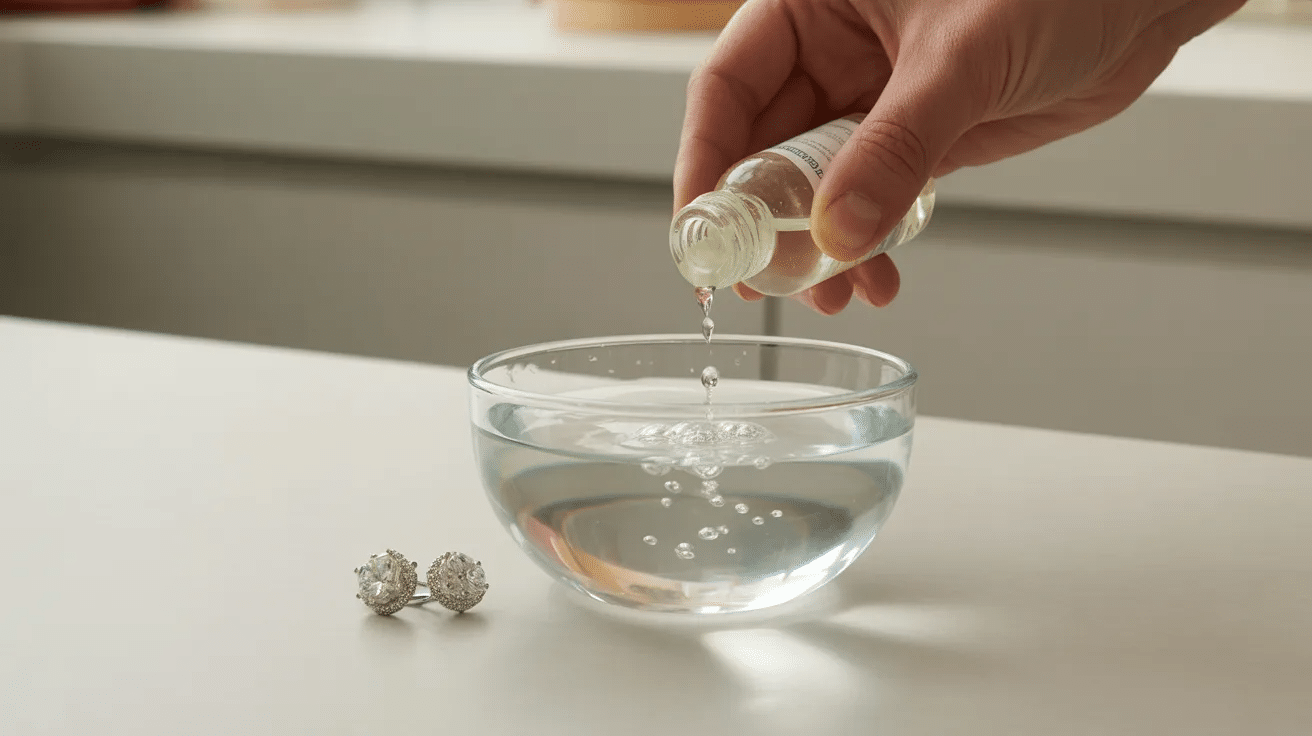
I always start by washing my hands thoroughly to avoid transferring oils onto my earrings. I fill a small bowl with lukewarm water, making sure it’s not too hot, as extreme temperatures can loosen settings.
I add just a few drops of mild dish soap to the water and gently swirl to create a light cleaning solution for my earrings.
Step 2: Soak the Diamond Earrings
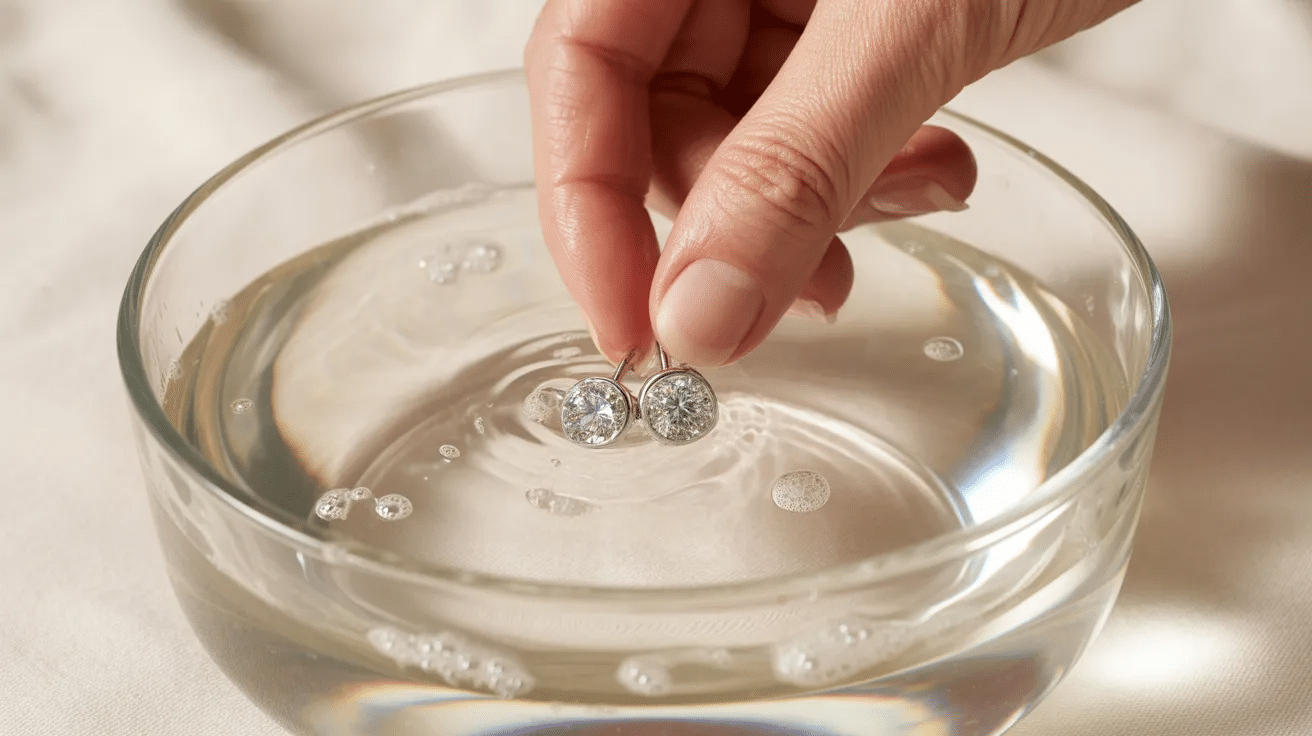
Carefully place your diamond earrings into the prepared soapy water, ensuring they’re fully submerged. Let them soak undisturbed for 10 to 15 minutes to allow the solution to loosen dirt, oils, and product residue that has accumulated in hard-to-reach areas.
This soaking time is crucial for effective cleaning without harsh scrubbing. Avoid leaving them longer than necessary, as extended soaking isn’t needed for diamonds and can waste time.
Step 3: Gently Brush the Earrings
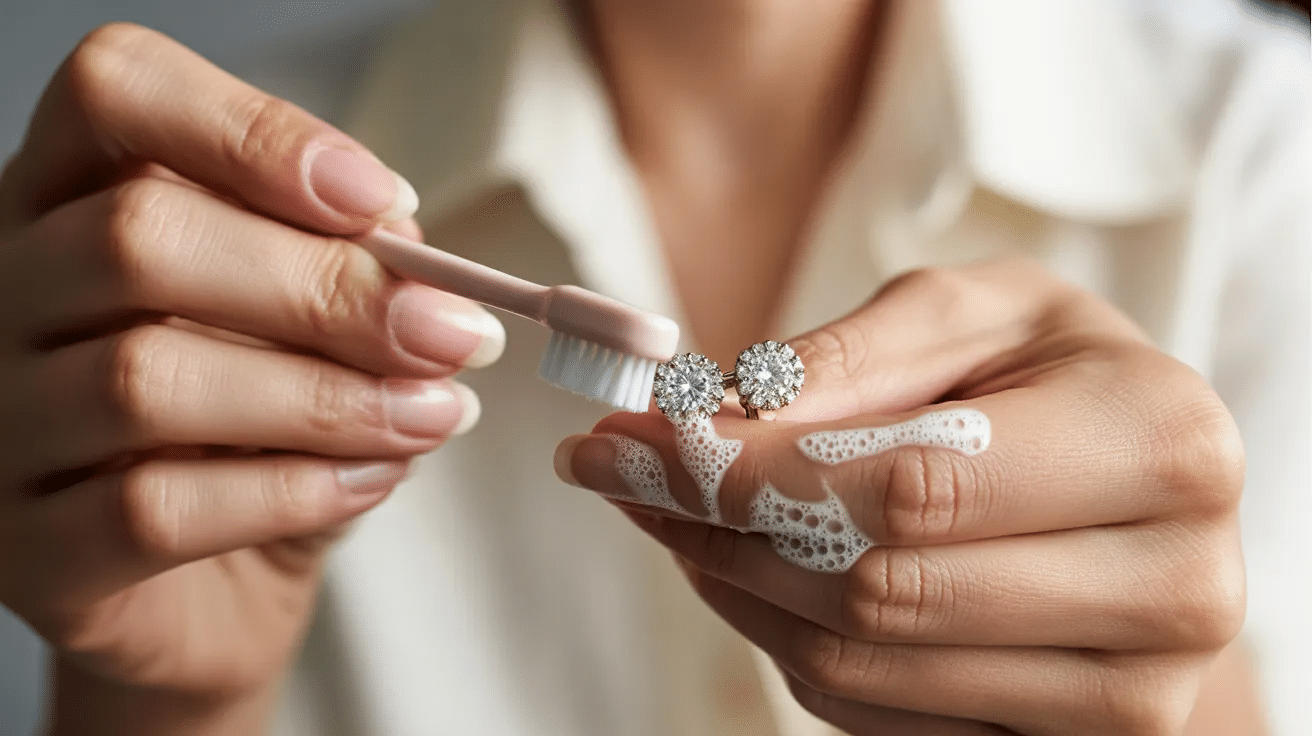
Remove the earrings from the bowl and examine them for remaining buildup. Using a soft, dry toothbrush with gentle bristles, carefully brush around the diamond settings, prongs, and crevices where dirt tends to hide.
Apply light pressure while brushing to avoid loosening stones or scratching the metal. Focus on areas behind the diamond and around the posts where oils accumulate most. This step restores the sparkle by removing the stubborn residue that the soaking loosened.
Step 4: Rinse and Dry the Earrings
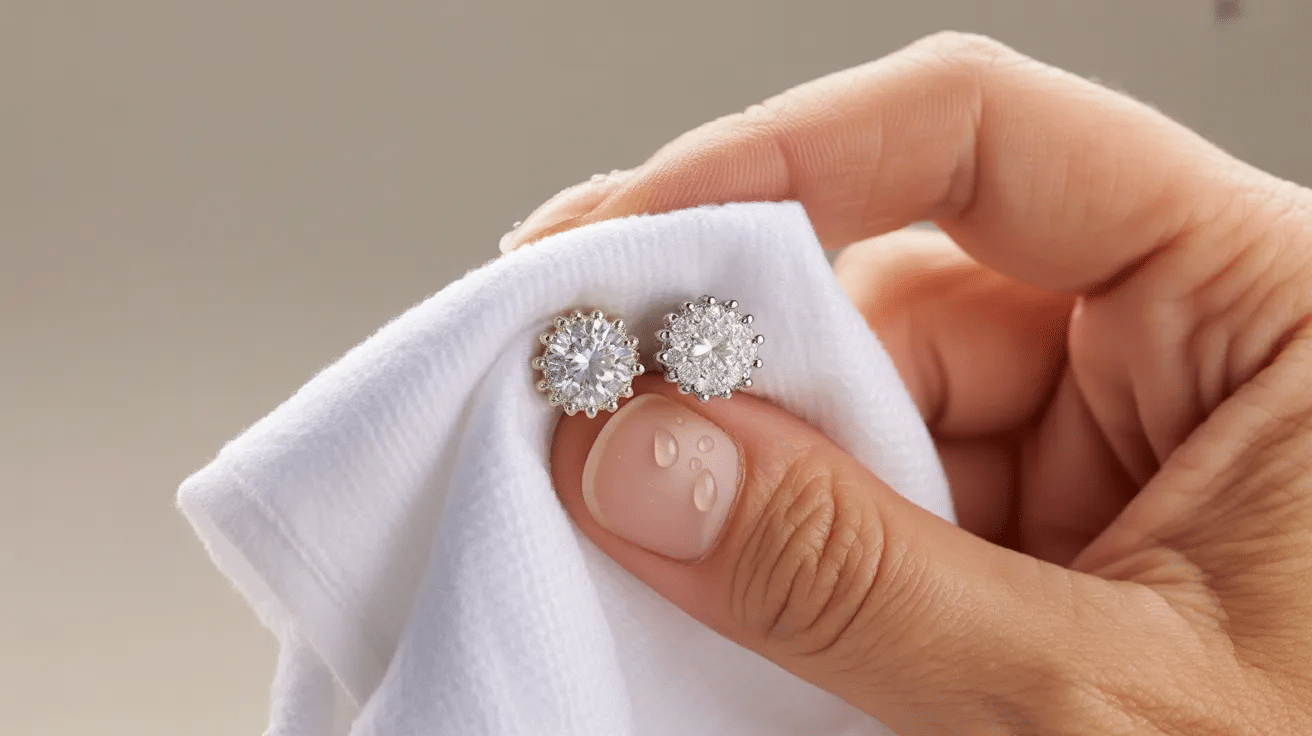
Before rinsing, plug your sink drain or place a mesh strainer over it to prevent loss. Hold each earring securely and rinse thoroughly under cold running water, removing all soap residue.
Gently pat dry with a clean, lint-free cloth, focusing on posts and settings. Allow them to air dry completely before wearing or storing them to prevent water spots and bacteria.
How to Clean Different Types of Earring Materials
Different earring materials require specific cleaning methods to maintain their appearance and prevent damage. Here’s your guide for safe, effective cleaning based on material type:
| Material | Cleaning Method | Important Tips |
|---|---|---|
| Gold Earrings | Use warm water and mild soap only. Gently scrub with a soft cloth or brush. | Avoid abrasive tools that scratch. Use alcohol for quick disinfecting, but avoid long soaks. |
| Silver Earrings | Make a baking soda and water paste for tarnish removal. Alternatively, use the foil-and-baking-soda method. | Dry immediately after cleaning to prevent dulling and water spots. |
| Pearl Earrings | Wipe gently with a damp cloth. Use mild baby shampoo only when needed for stubborn buildup. | Never soak pearls. Avoid alcohol and peroxide as they damage the nacre coating. |
| Gold-Plated and Fashion Earrings | Use a dry or slightly damp cloth to wipe the surface. Apply minimal pressure to protect the plating. | No soaking allowed as it strips plating. Handle carefully to extend wear life. |
Following material-specific care instructions protects your earrings and keeps them beautiful for years.
How to Disinfect Earrings
Disinfecting earrings kills bacteria and germs, especially after illness, sharing earrings, or extended storage periods for safer wearing. Follow these simple steps to keep your earrings clean and hygienic:
- Choose Disinfectant: Use rubbing alcohol (70% isopropyl) or hydrogen peroxide for effective disinfection. These solutions are readily available and work well on most metal earrings.
- Soak Metal Parts: Once you have your disinfectant ready, submerge only metal components (posts, hooks, backs) for 5 to 10 minutes. Avoid soaking pearls or porous stones, as these materials can be damaged by harsh solutions.
- Air Dry Completely: After soaking, remove earrings from the solution and let them air dry fully on a clean, soft cloth before wearing. This ensures no residue remains that could irritate your ears.
Note: Disinfect your earrings after illness, frequent daily wear, long-term storage, or before wearing newly purchased secondhand earrings.
Regular disinfection prevents ear infections and keeps your earrings hygienic for everyday wear.
How Often Should You Clean Earrings
Regular cleaning schedules depend on how frequently you wear your earrings and your skin sensitivity for optimal hygiene and shine.
| Wearing Frequency | Quick Wipe | Deep Clean | Disinfection |
|---|---|---|---|
| Daily Wear | After each use (30 seconds) | Weekly or bi-weekly (15-20 minutes) | Monthly with rubbing alcohol (2-3 minutes) |
| Occasional Wear (2-3x/month) | Before and after each wear (1 minute) | Every 1-2 months (15-20 minutes) | Before each use (2-3 minutes) |
| Rarely Worn (Few times/year) | Before wearing (1 minute) | Every 3-6 months (15-20 minutes) | Before each use (2-3 minutes) |
| New or Long-Stored Earrings | Upon retrieval (1 minute) | Before first use (20-30 minutes) | Immediately before wearing (3-5 minutes) |
| Sensitive Ears/Fresh Piercings | Every 2-3 days (1 minute) | Weekly (10-15 minutes, gentle) | Every 2-3 days with alcohol (2-3 minutes) |
Consistent cleaning based on your wearing habits keeps earrings safe, comfortable, and looking their best.
What Real People Say About Cleaning Earrings
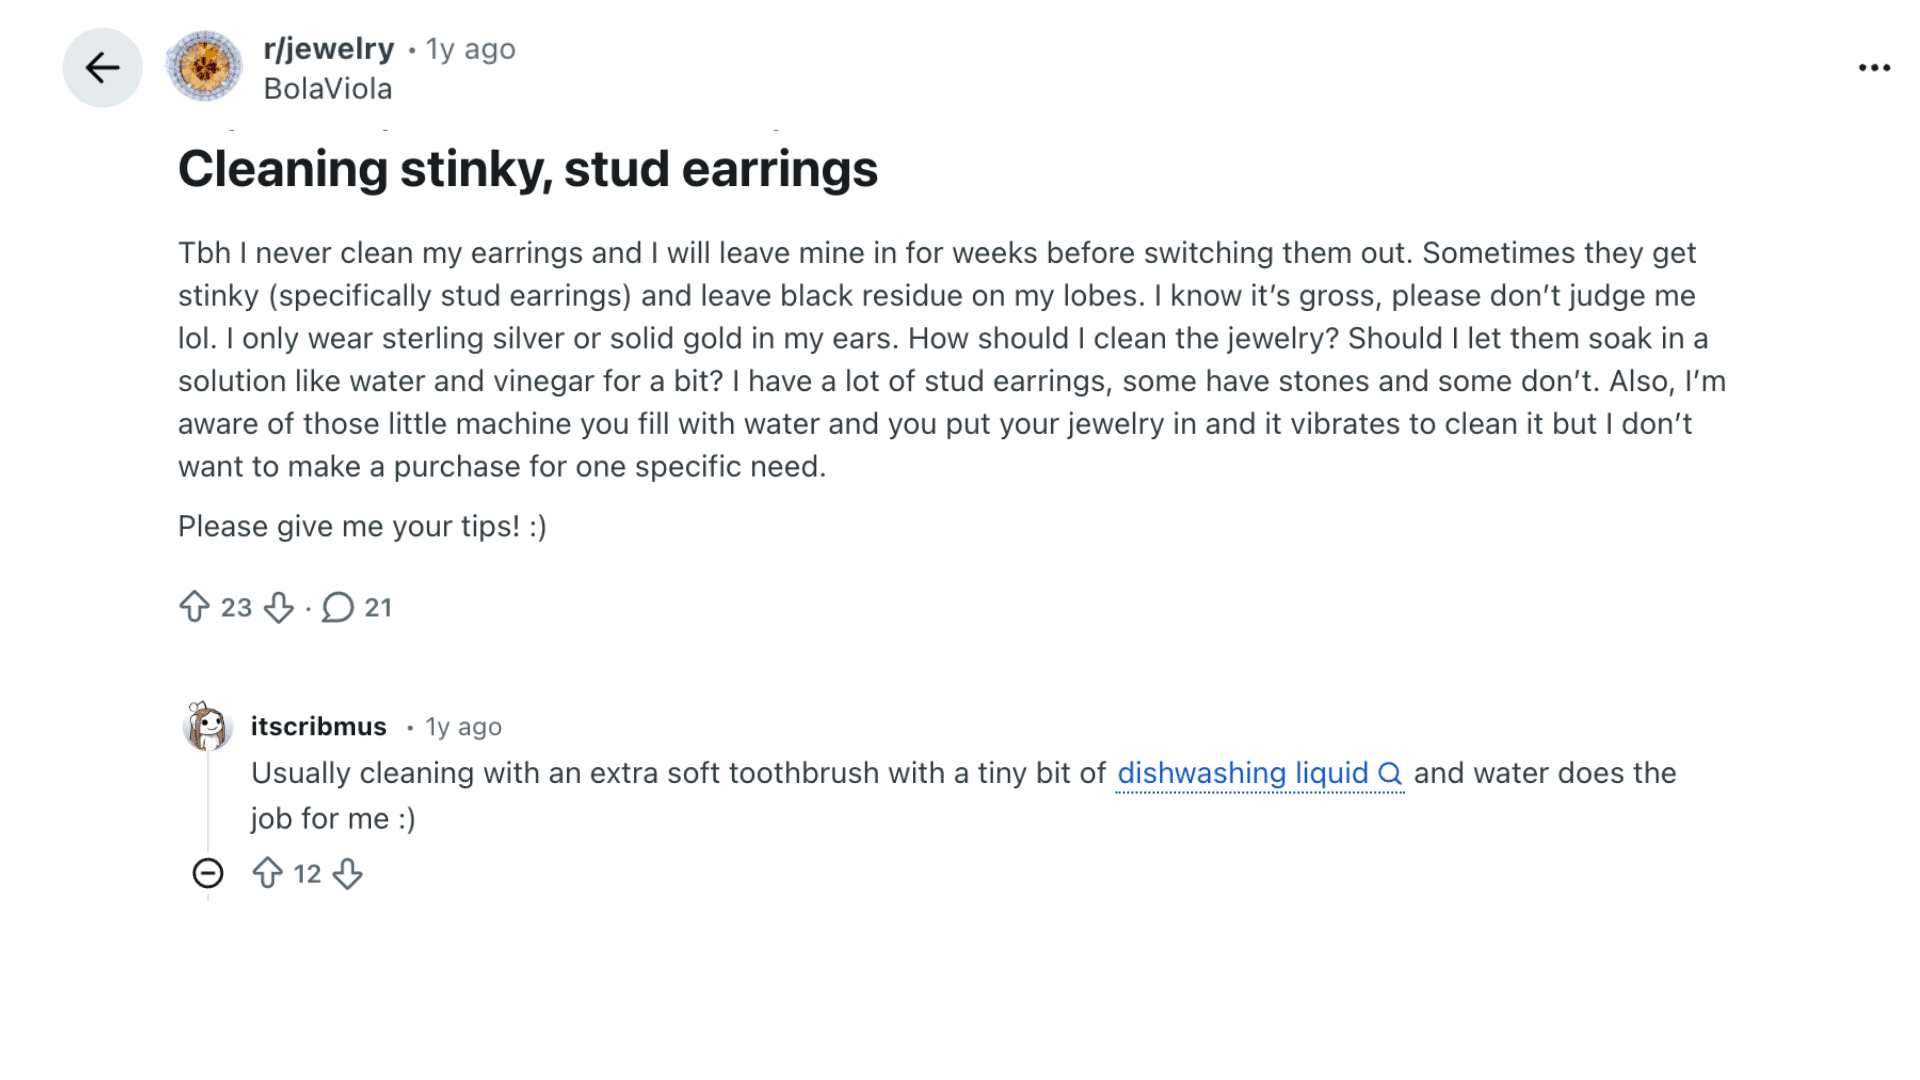
Many people admit they leave earrings in for weeks and only notice an issue when they smell or see residue. From shared experiences, the most common advice is simple and realistic.
As one user put it, “Usually cleaning with an extra soft toothbrush with a tiny bit of dishwashing liquid and water does the job for me.”
A soft toothbrush with mild dish soap and warm water works well for removing buildup from posts and backs. Sterling silver can leave black residue due to tarnish, so occasional deeper cleaning helps.
Alcohol swabs are often used to clean both ears and earrings during swaps. Community members also stress drying earrings fully and cleaning regularly to avoid odor, irritation, or discomfort.
Earring Maintenance Tips
Regular maintenance keeps your earrings looking fresh and helps prevent buildup, tarnish, and irritation. Here’s how I keep my earrings in top shape:
- Clean Regularly: Clean your earrings every 1-2 weeks to avoid buildup. A simple wipe with a soft cloth can remove oils and dirt. For deeper cleaning, use mild soap and warm water.
- Dry Properly: Always dry earrings thoroughly after cleaning. Moisture left behind can cause tarnishing, especially for silver.
- Avoid Harsh Chemicals: Keep earrings away from strong cleaners, perfumes, or hairsprays. These can damage the metal or stones.
- Store Properly: When you’re not wearing them, store your earrings in a clean, dry place. Use a jewelry box or a pouch to protect them from dust, moisture, and scratches.
These simple habits help extend the life of your earrings and keep them comfortable to wear.
When Professional Cleaning Is Worth It
While home cleaning works for most earrings, some pieces benefit from professional care and expertise for optimal results and safety.
Professional cleaning is essential for valuable or heirloom earrings that require expert handling. Intricate or fragile settings with fine details need specialized tools to avoid damage.
If you notice loose stones needing tightening or heavy tarnish that home methods can’t remove, a jeweler can safely restore your earrings.
For precious pieces, professional cleaning once or twice a year maintains their condition and catches potential issues like weakened prongs early.
Common Mistakes to Avoid
Avoid these common cleaning errors to protect your earrings from damage, discoloration, and premature wear while maintaining their beauty.
| Mistake | Why to Avoid |
|---|---|
| Using bleach or harsh cleaners | These chemicals can discolor metals, weaken settings, and permanently damage gemstones or finishes. |
| Soaking pearls or porous stones | Water penetrates the surface, weakening the structure and damaging the fragile nacre or stone composition. |
| Scrubbing too hard | Excessive pressure scratches metal surfaces, loosens stones from settings, and damages fine plating or finishes. |
| Wearing earrings before fully dry | Moisture trapped against skin causes irritation, promotes bacterial growth, and accelerates metal tarnishing. |
| Ignoring earring backs | Backs accumulate the most bacteria and buildup, leading to infections and skin irritation if left uncleaned. |
Avoiding these mistakes ensures your earrings stay safe, hygienic, and beautiful with every cleaning.
Final Thoughts
Earrings can change how comfortable and confident you feel, even when everything else stays the same. Once you understand how to clean earrings the right way, caring for your jewelry feels less overwhelming and more like a simple habit you can stick to.
You begin to notice what keeps them looking fresh, what helps protect your skin, and what allows your favorite pieces to last longer. That small effort shows, even in everyday wear.
I hope this helped you feel clearer about your cleaning options and more confident about caring for your earrings.
If you want to keep learning, I’ve shared more helpful posts on jewelry care, styling, and sizing. Take a look and keep finding what works best for you and your collection.