Ever applied self-tanner and walked out looking more patchy than sun-kissed? I have been there more times than I would like to admit.
You follow every step, wait patiently, and still end up second-guessing the results. Some days it looks great, and other days it just feels off.
That frustration is exactly why I put this together. Learning how to apply self-tanner at home the right way makes all the difference between a streak-free glow and a blotchy mess.
If you want a simple, reliable method that actually works, I will walk you through it step by step.
Understanding How Self-Tanner Works on Your Skin
Self-tanner creates color by reacting with dead skin cells on your skin’s surface. The active ingredient, DHA (dihydroxyacetone), produces a brownish tone through a chemical reaction.
Results vary based on your skin’s pH level, moisture balance, and texture. Dry or flaky areas absorb more product, causing darker patches and streaks.
Oily skin slows color development, resulting in lighter tones. Recognizing these factors helps you prepare properly before the application.
When you understand your skin type and condition, you can adjust your routine for smoother, more even coverage that lasts longer and looks natural.
How to Apply Self-Tanner at Home: Step-by-Step Guide
I’ve got a proven method that shows you exactly how to use self-tanner and get a smooth, even result every time. Each step builds on the last, so your color develops evenly and lasts longer. Follow these simple steps for a tan you can feel confident about:
Step 1: Exfoliate Your Skin Thoroughly
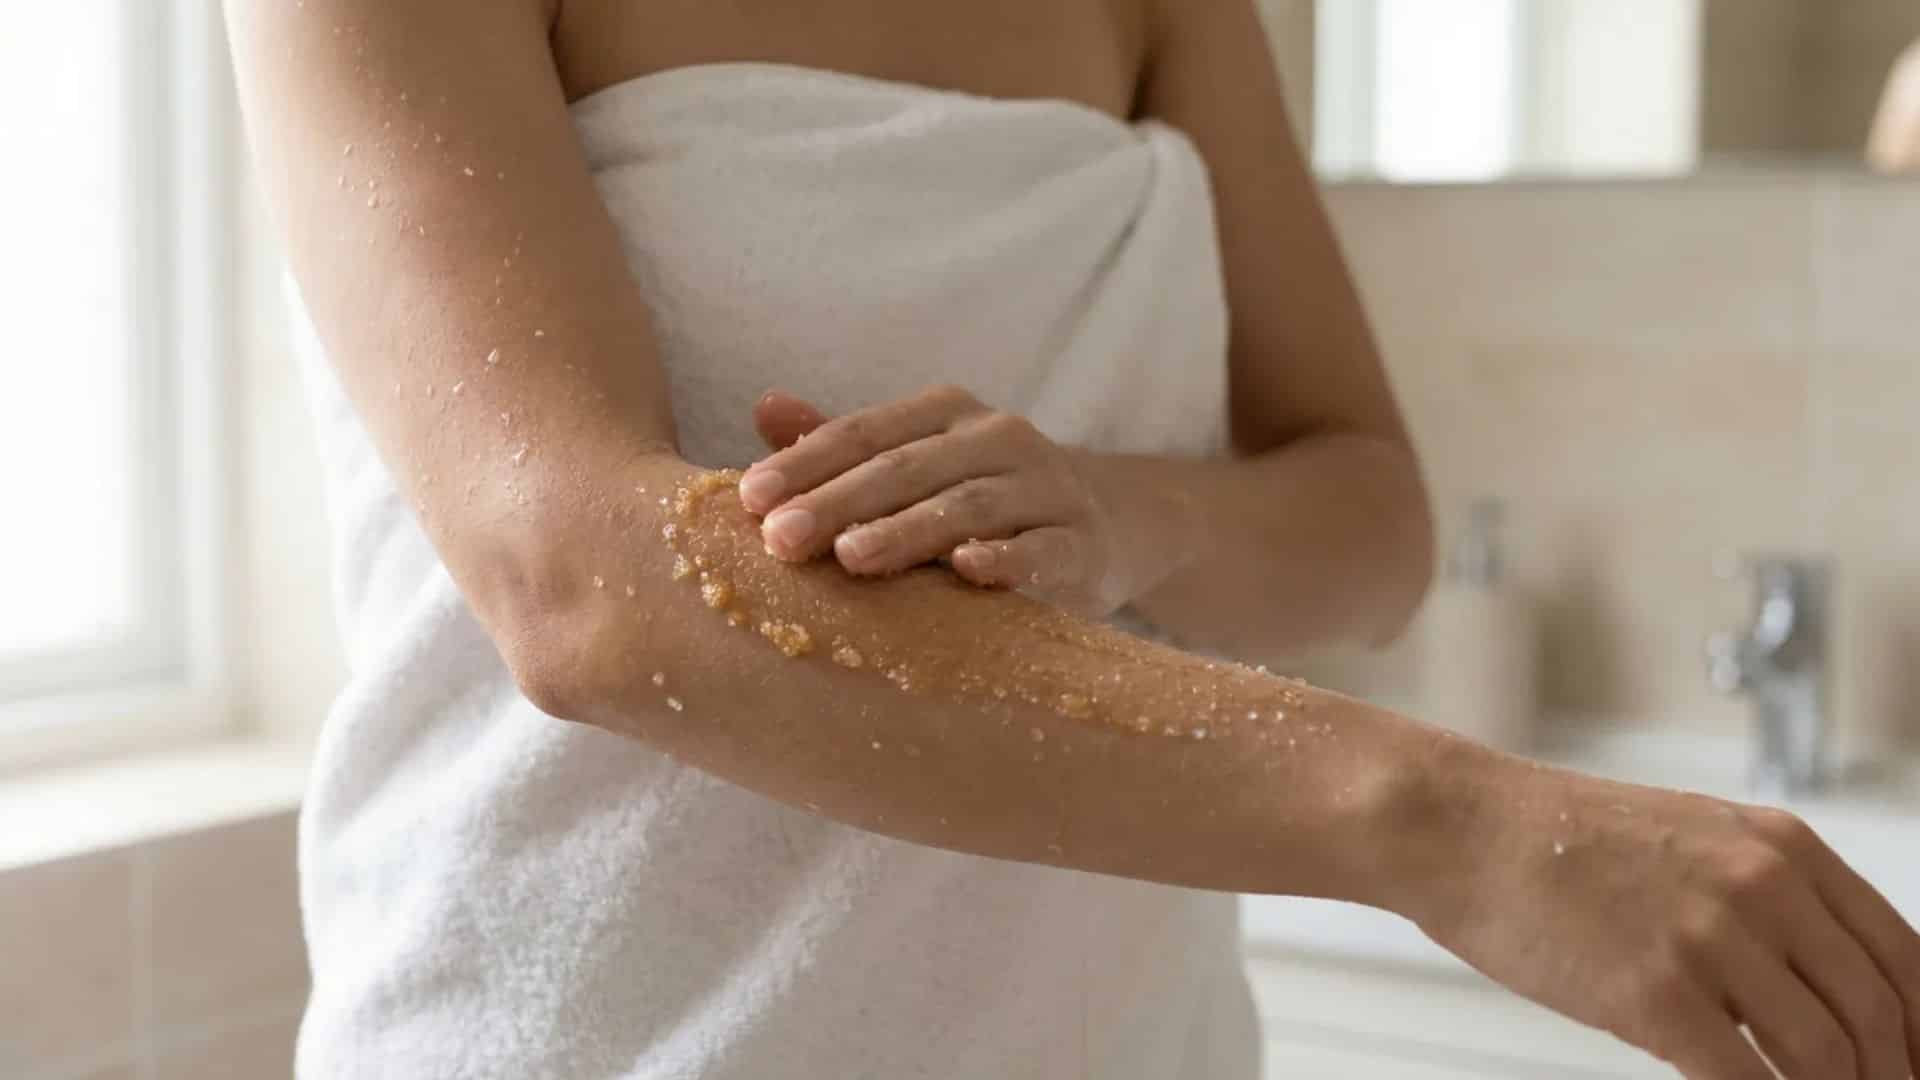
Exfoliation removes dead skin cells that can cause uneven color and patchy spots. I always exfoliate before tanning because it helps my results look smoother and more even.
Use a gentle exfoliator for your face and a body scrub or brush for your body. Focus on elbows, knees, hands, feet, and chest, since these areas grab more product and can turn darker if rushed.
Step 2: Lightly Moisturize Dry Areas Only
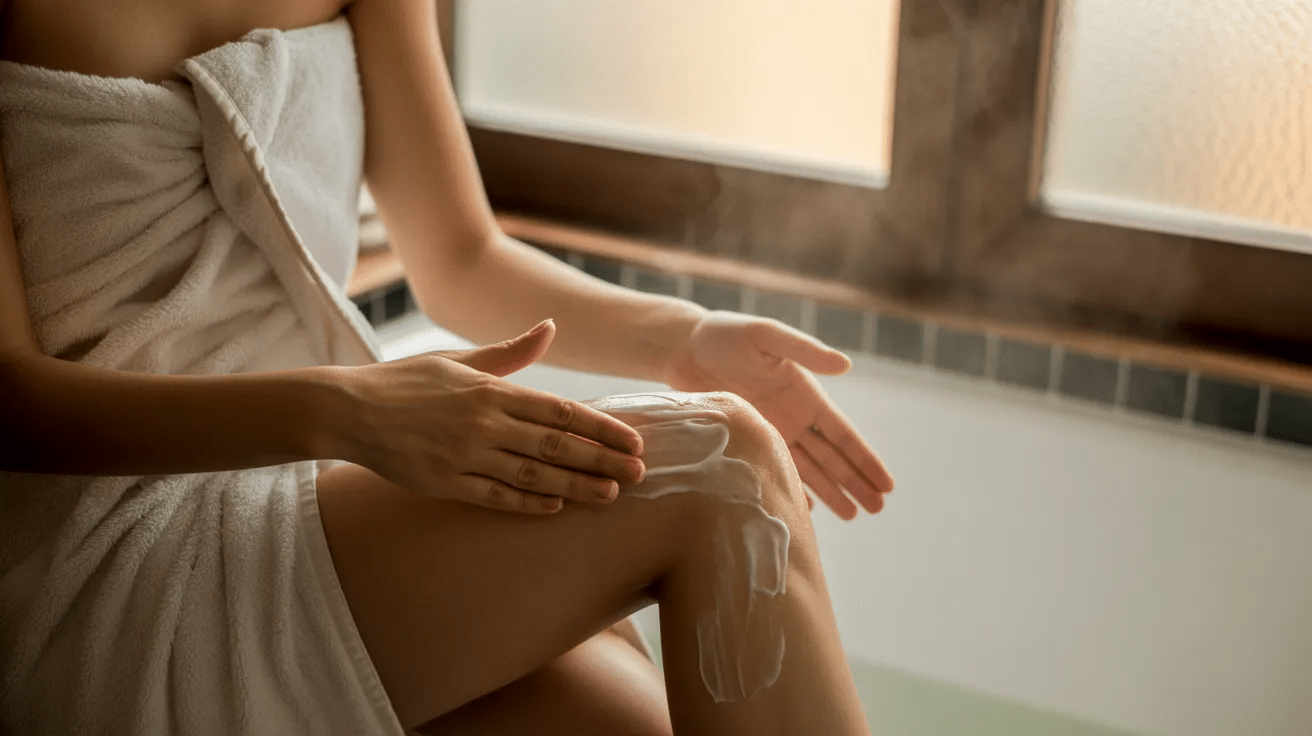
After I shower, I skip lotion on my whole body. I only apply a small amount of regular moisturizer to dry spots like my elbows, knees, and the tops of my feet.
I’ve learned that this light layer works like a barrier. It keeps extra self-tanner from settling into creases or rough patches, so my color turns out more even and balanced.
Step 3: Apply Self-Tanner to the Face Using Drops
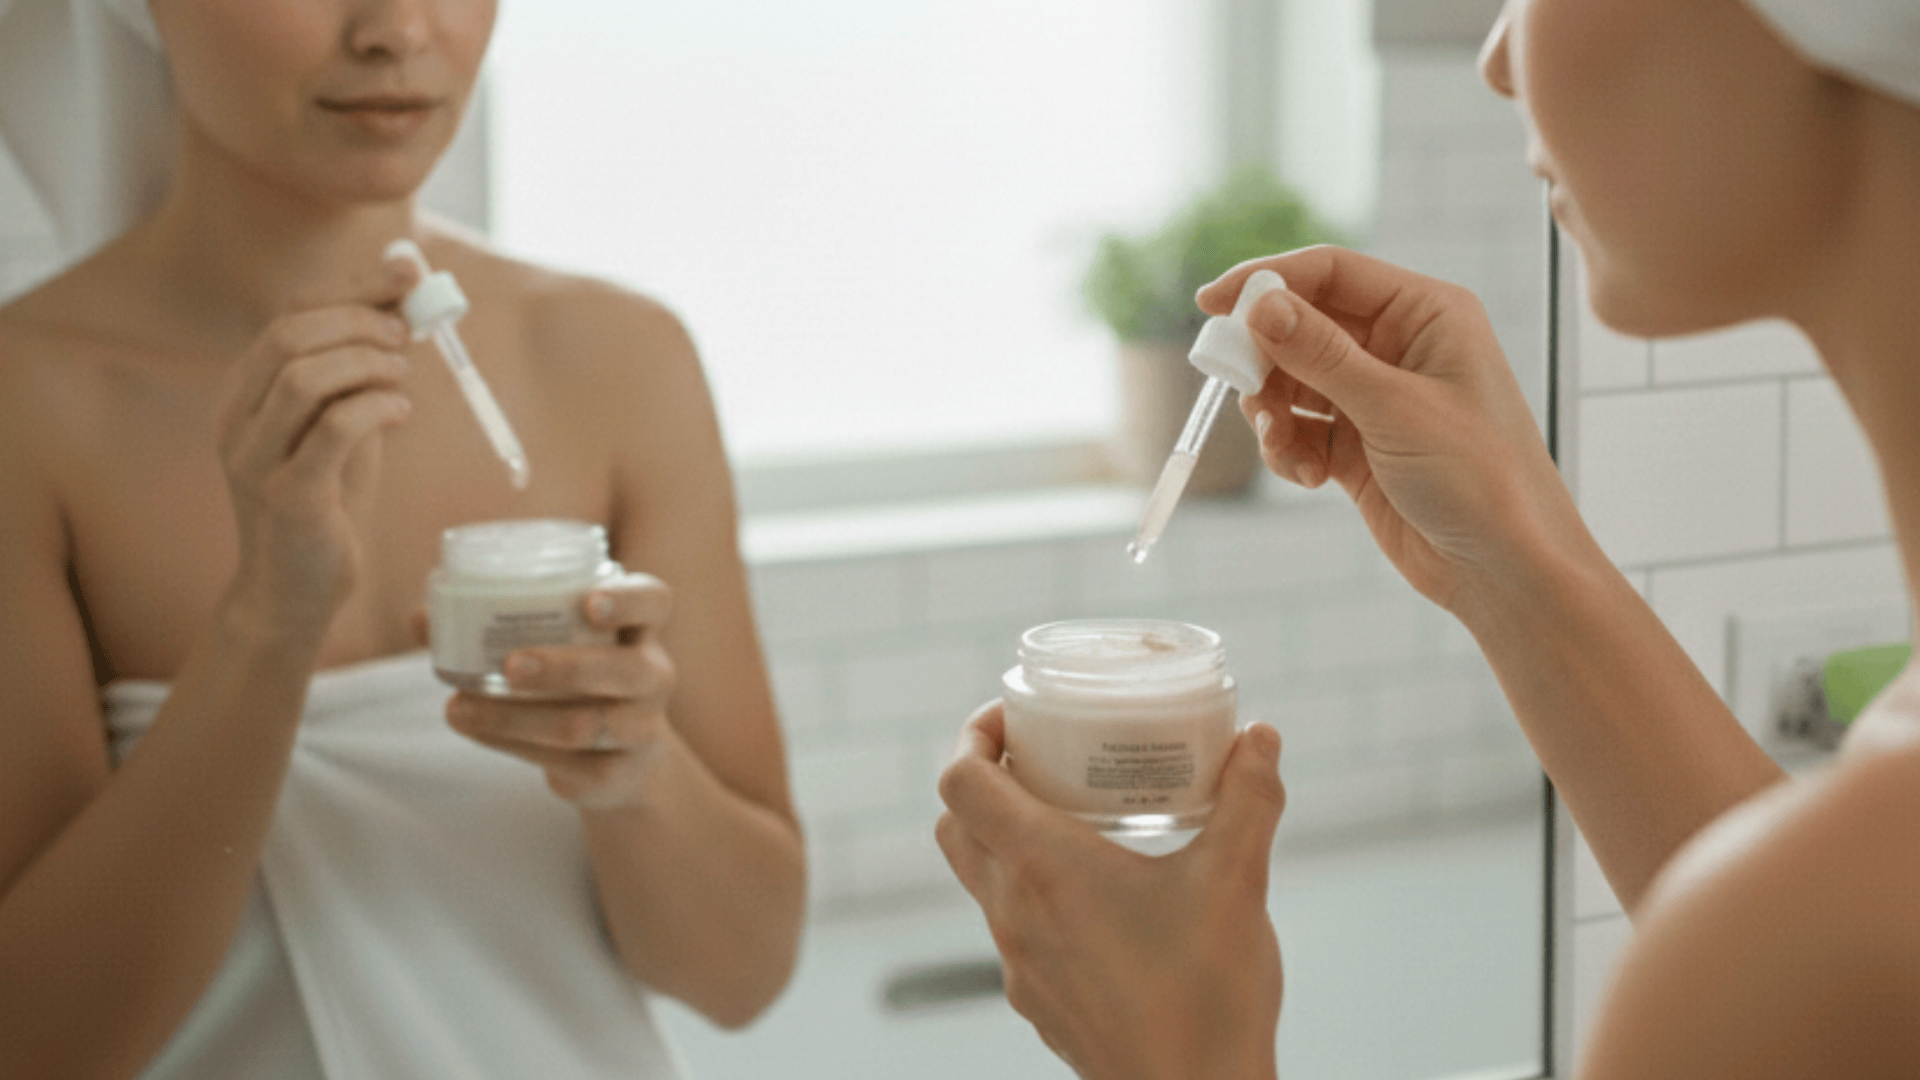
Facial self-tanner works best when mixed with regular moisturizer for controlled, buildable color. I mix the drops into my daily moisturizer so the shade develops gradually and looks natural. Add between 2 and 12 drops, depending on how deep you want your tan.
If you are new to self-tanning or have fair skin, start with fewer drops. Apply the mixture evenly over your face and neck, blending into your hairline and jawline. I usually see color develop within 1 to 4 hours.
Step 4: Apply Body Self-Tanner and Let It Develop
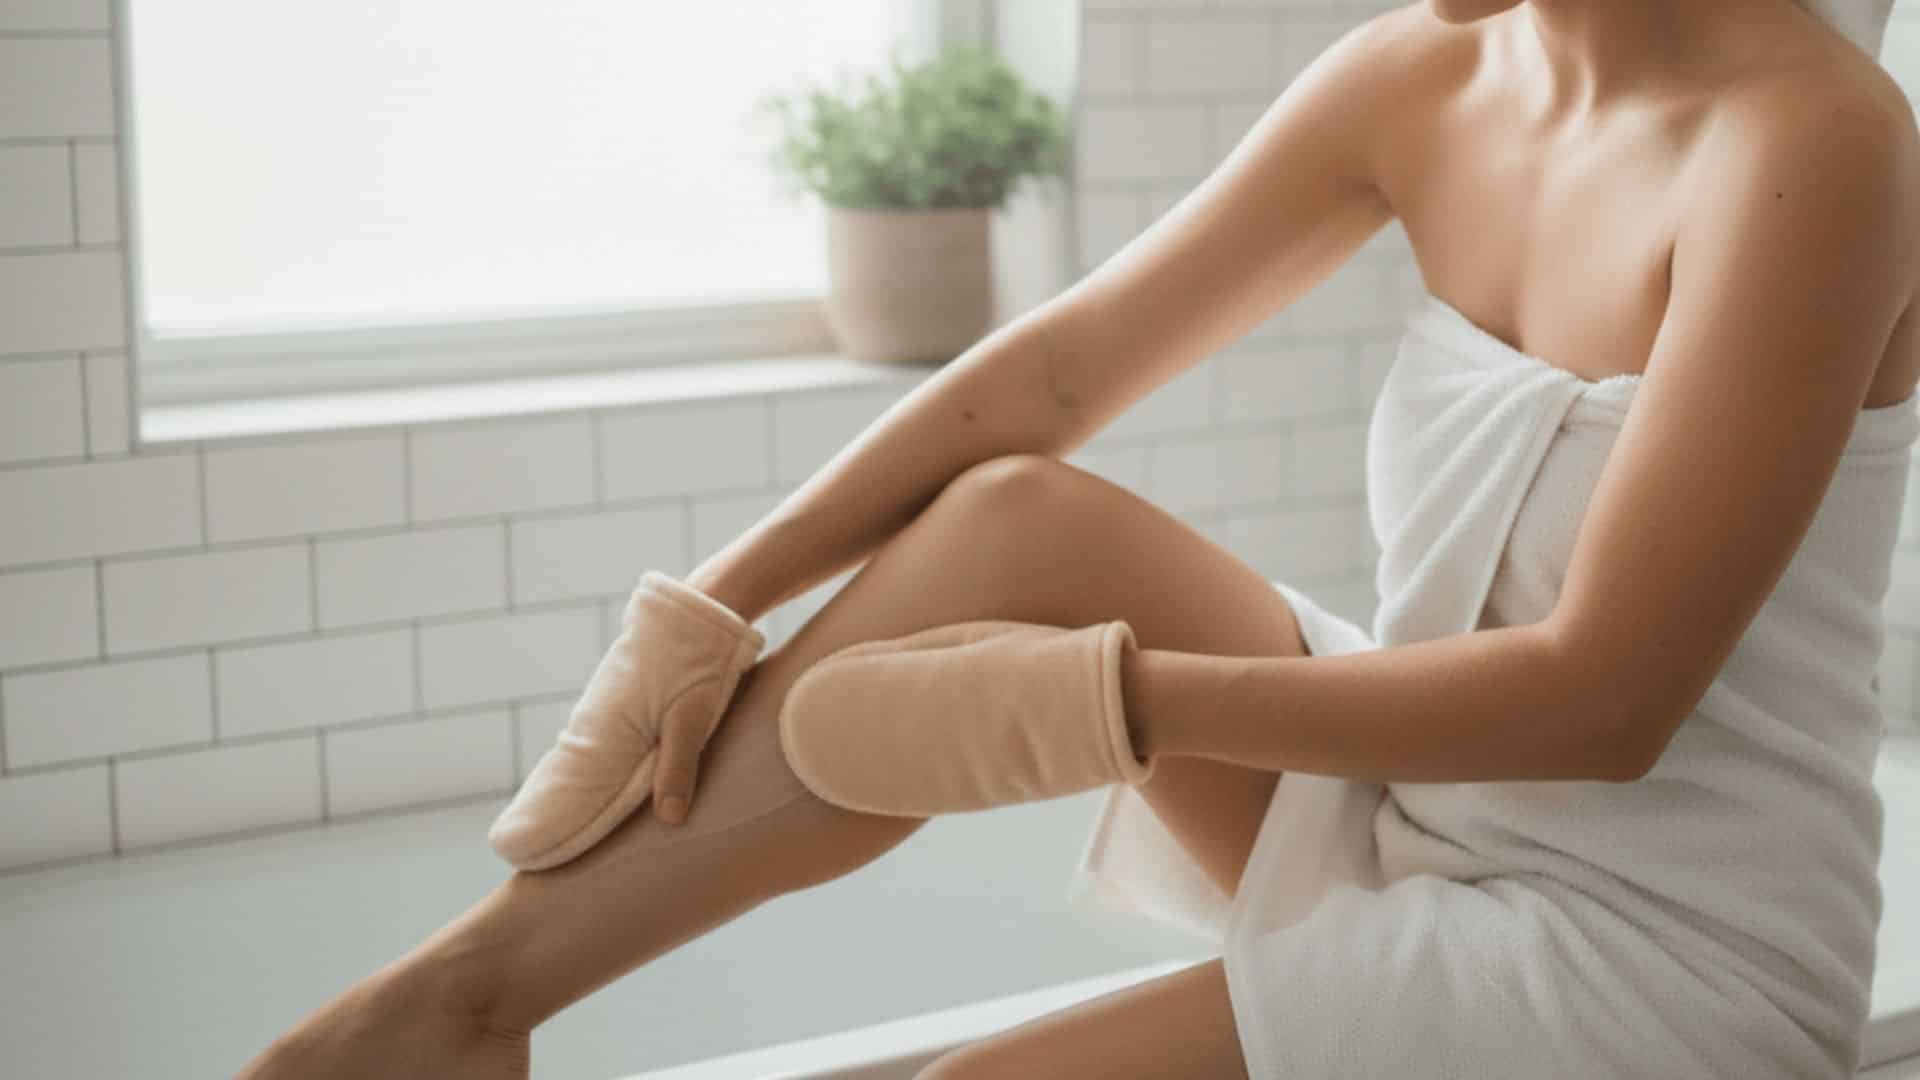
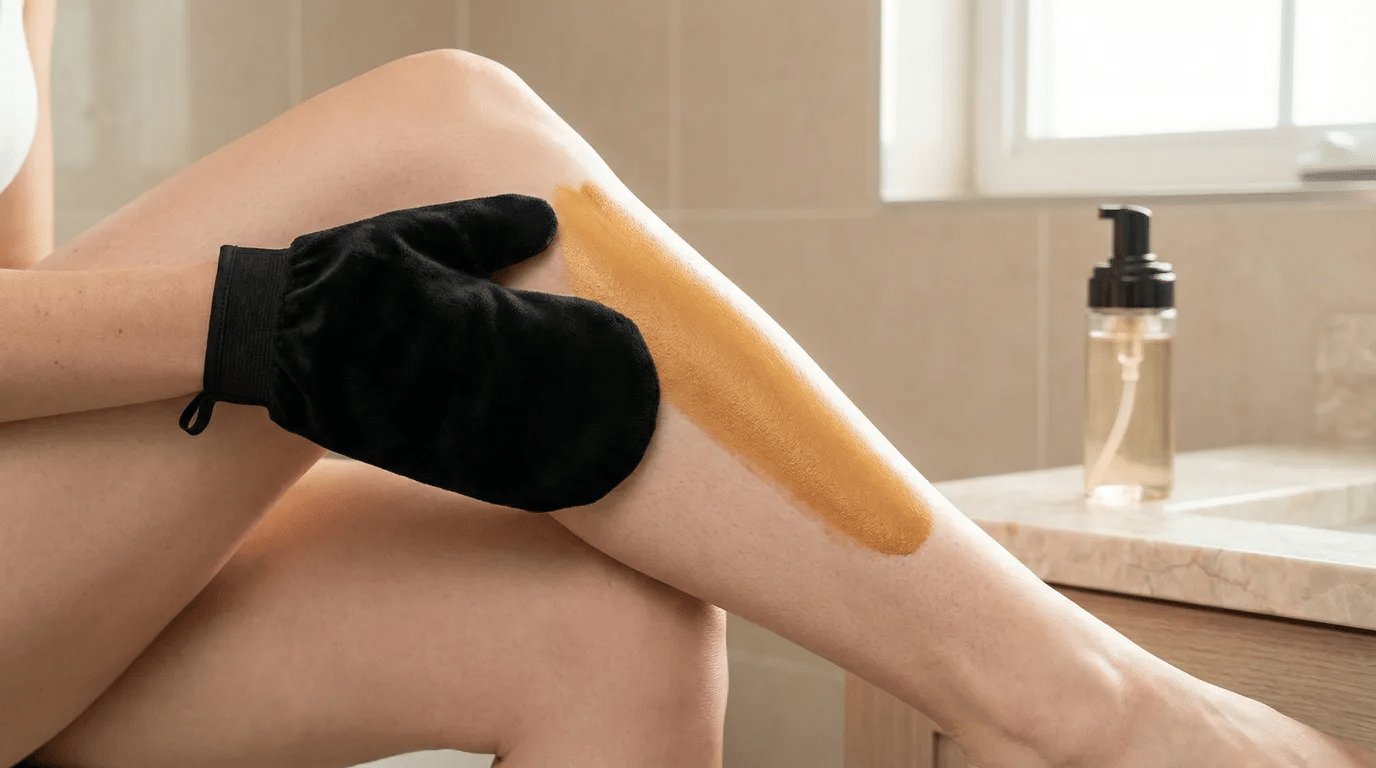
Start with your legs, using long, smooth strokes from thighs to ankles. I begin there to stay organized and avoid missed spots. Move to your arms from shoulders to wrists, then cover your torso fully.
Leave the tanner on for several hours or overnight. When I rinse, I use only water and skip soap the first time so the color develops evenly and lasts longer.
Top-Rated Self-Tanners to Purchase
Here are some top-rated self-tanners you can find on Amazon.com:
1. Jergens Natural Glow Instant Sun Body Mousse
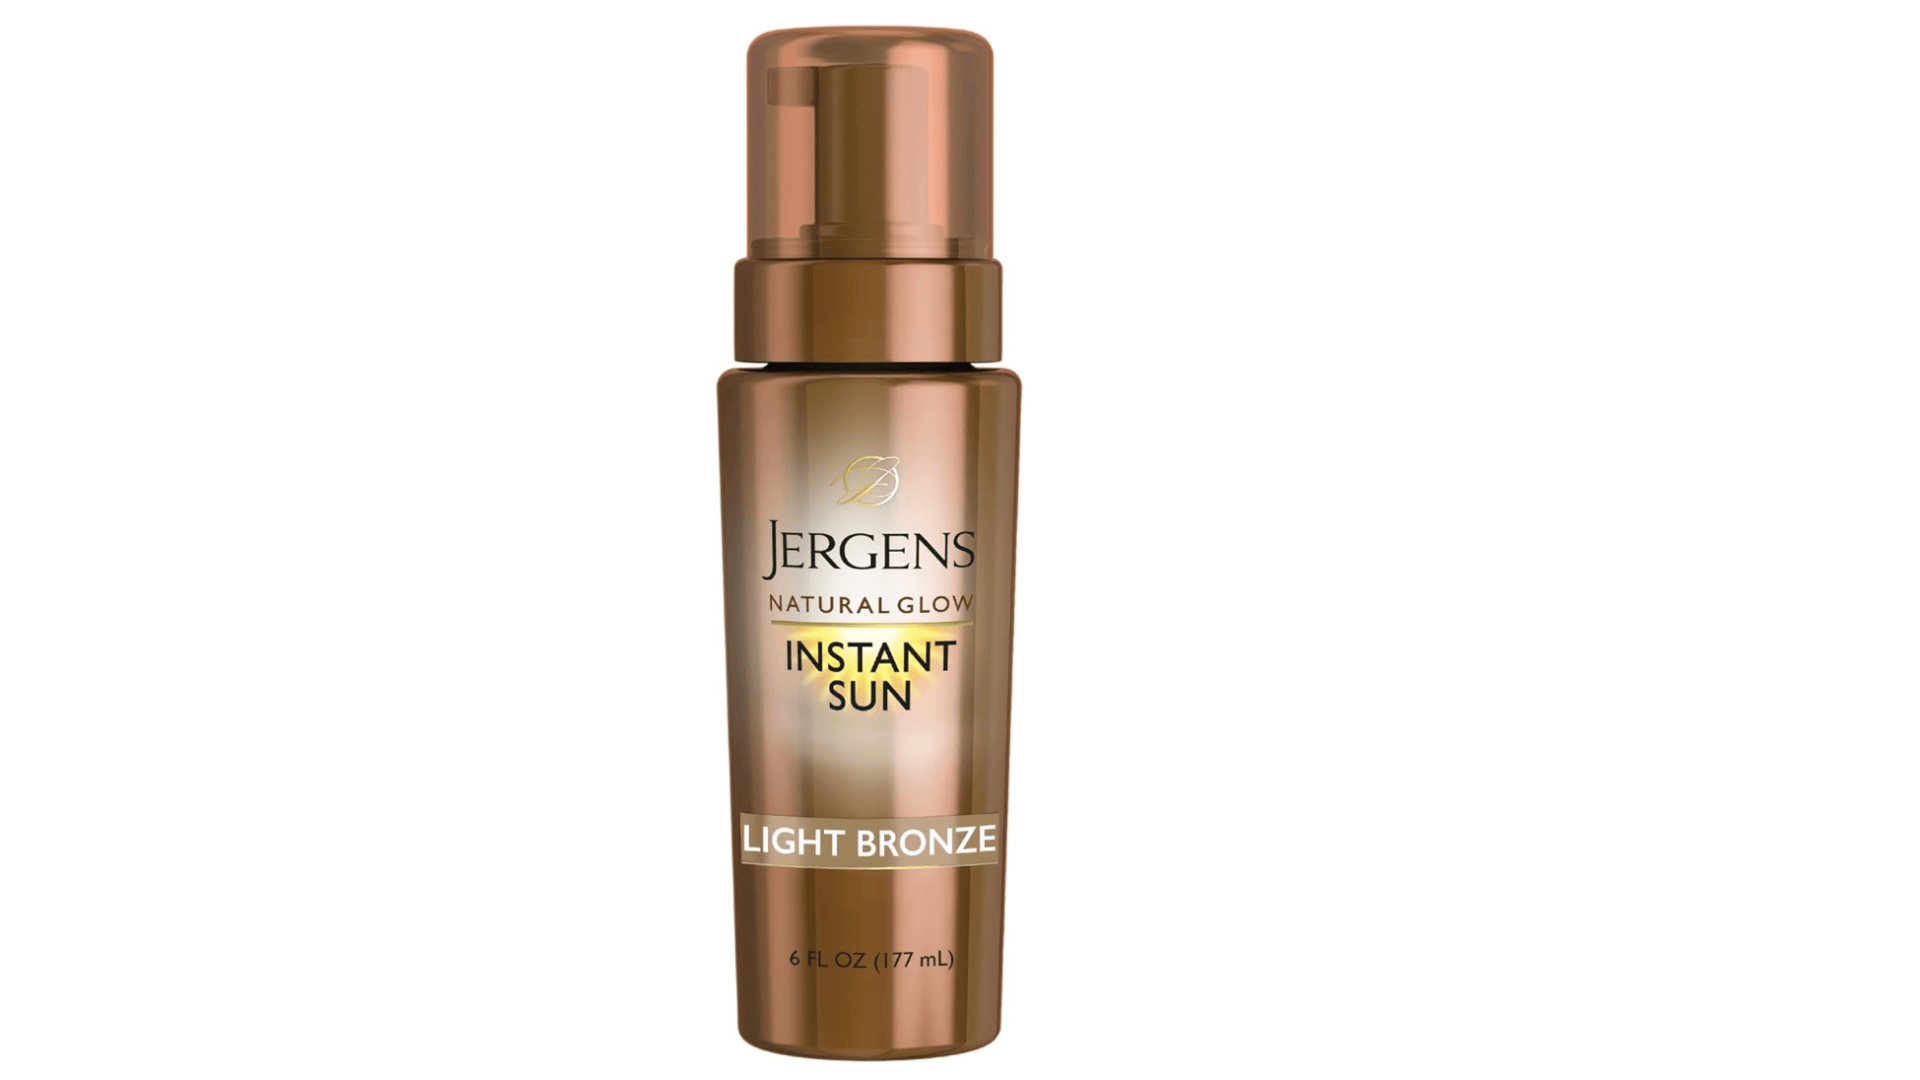
Jergens Natural Glow Instant Sun Body Mousse is a fast-drying formula designed for an effortless, streak-free tan at home. It blends smoothly into the skin and develops a natural-looking glow without the orange undertone many self-tanners leave behind.
Lightweight and easy to apply, it suits beginners and experienced users alike. A reliable everyday option for a sun-kissed finish without stepping outside.
- Rating: ★★★★☆ (4.4 out of 5 stars)
- Price Range: $10 to $15
2. Loving Tan 2 HR Express Self Tanning Mousse
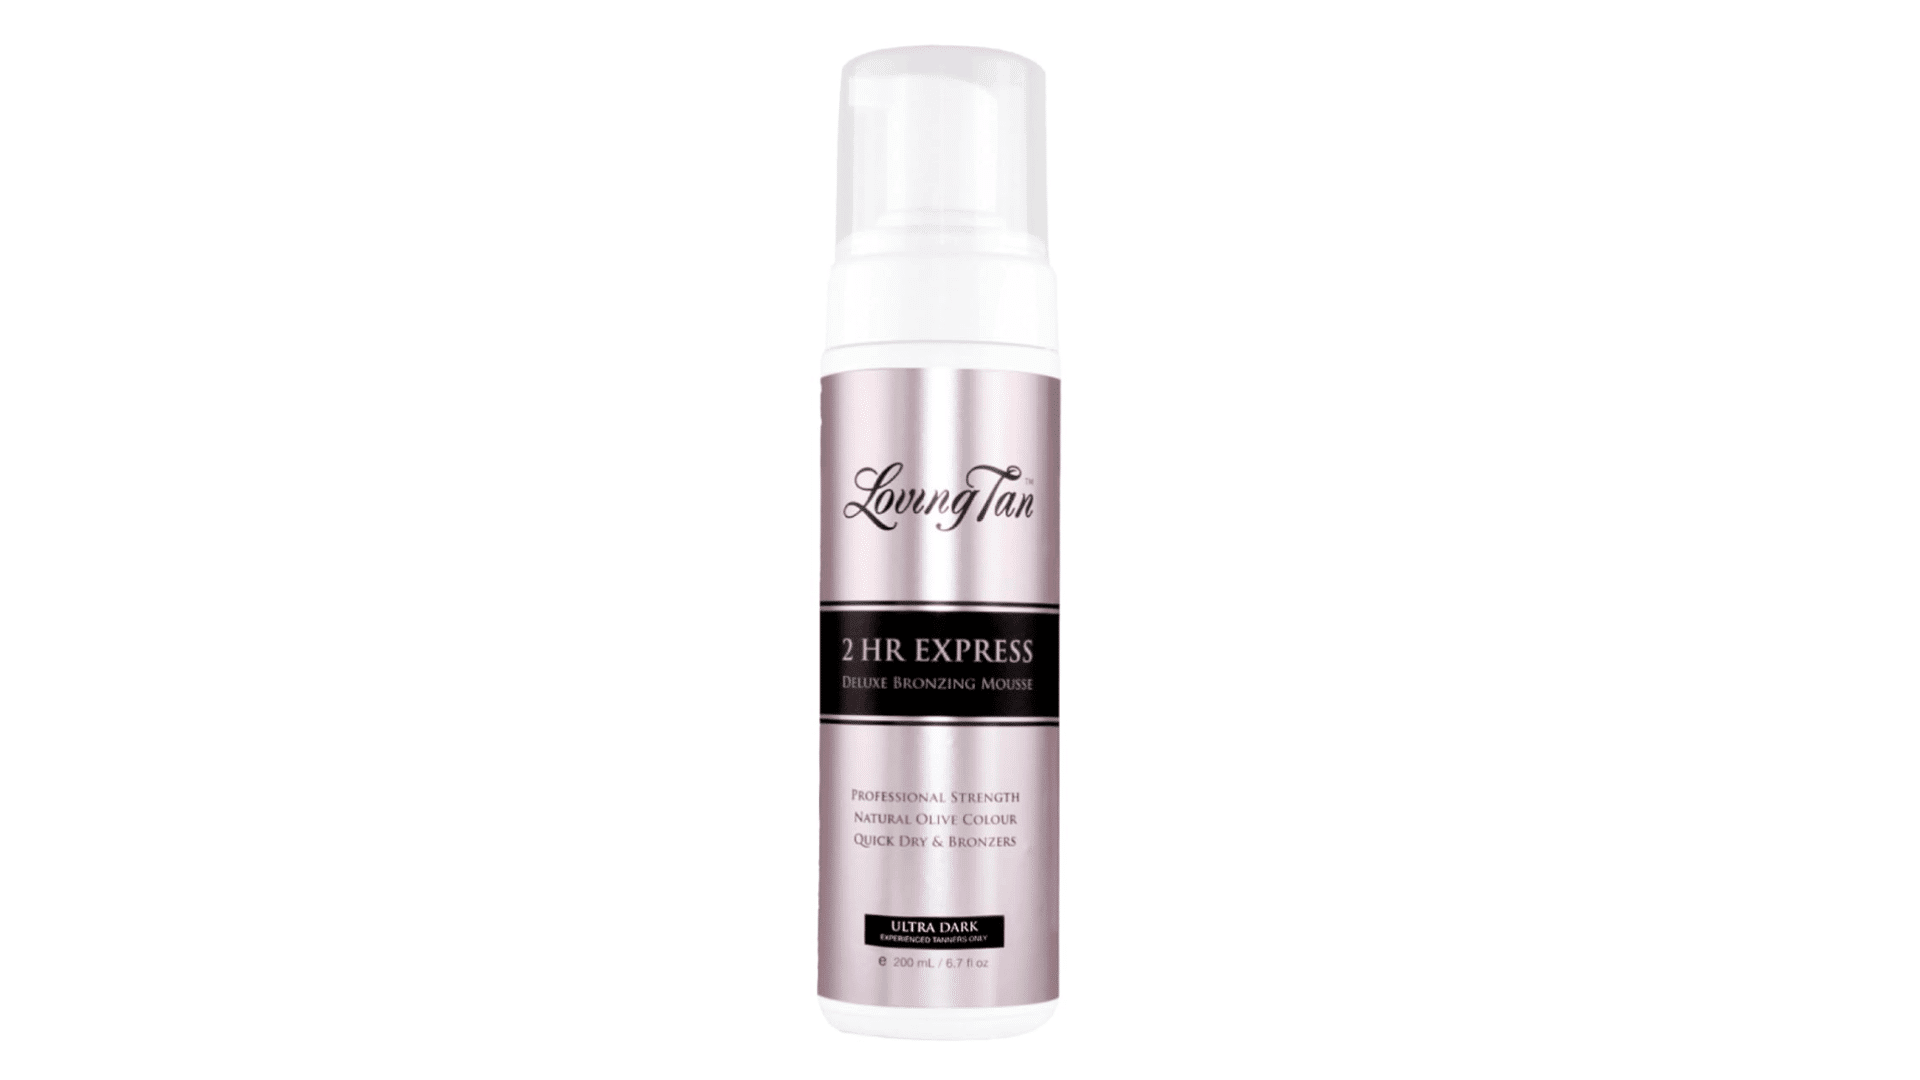
Loving Tan 2 HR Express is a professional-grade self-tanner that delivers a deep, even tan in just two hours. Its lightweight mousse texture glides on smoothly and dries quickly, making it ideal for those short on time.
The formula is known for its even fade, so you never deal with patchy skin as it wears off. A top pick for fast, salon-worthy results at home.
- Rating: ★★★★★ (4.6 out of 5 stars)
- Price Range: $55 to $75
Note: These are estimated prices only and may vary depending on the retailer, location, and time of purchase.
How to Fix Self-Tanner Mishaps
Even with careful application, self-tanner mishaps happen. But don’t worry, I’ve got simple fixes for the most common issues that will help you get your tan back on track:
1. Toothpaste for Dark Spots
Apply non-gel white toothpaste directly onto concentrated dark patches and leave it on for 5 minutes before buffing away gently. The mild abrasives lift excess DHA without stripping surrounding color. For best results, keep these tips in mind:
- Use only non-gel, white toothpaste.
- Leave on for exactly 5 minutes.
- Buff with a damp washcloth in circular motions.
With this simple fix, those stubborn dark spots will fade quickly without compromising the rest of your tan.
2. Hand Sanitizer for Fresh Mistakes
Dab hand sanitizer immediately onto streaks before they fully set into the skin. The alcohol content breaks down fresh DHA quickly, making early-stage correction far easier and more effective than waiting. Here’s how to do it right:
- Act within the first 15–20 minutes.
- Use a cotton pad for precise application.
- Follow up with a light moisturizer after correction.
Speed is everything here; the faster you act, the cleaner and easier your correction will be.
3. Hydrogen Peroxide for Orange Tones
Dilute hydrogen peroxide with equal parts water and apply to orange-tinted areas using a cotton pad. This neutralizes DHA-caused discoloration effectively without aggressive scrubbing that could worsen patches nearby. Follow these precautions carefully:
- Always dilute before applying to the skin.
- Use a cotton pad for controlled application.
- Avoid contact with eyebrows or hairline.
Used correctly, hydrogen peroxide is one of the most effective ways to neutralize unwanted orange tones safely at home.
4. Micellar Water for Face Fixes
Gently lift uneven facial tanner using micellar water on a cotton pad, working in soft circular motions. It removes excess product without disrupting your skin barrier or causing irritation around sensitive facial areas. Keep these application tips in mind:
- Use an oil-free micellar formula.
- Apply with light, circular motions only.
- Avoid rubbing too aggressively near the eyes.
This gentle approach ensures your skin stays calm and balanced while effectively correcting uneven facial color.
5. Baby Wipes for Instant Streaks
Wipe fresh streaks immediately with unscented baby wipes using gentle circular motions across affected areas. Acting within 30 minutes before the product fully develops gives the best correction results. To get the most out of this fix:
- Choose unscented, alcohol-free baby wipes.
- Work in circular motions, not straight lines.
- Repeat if streaks remain after the first wipe.
Baby wipes are the most accessible quick fix you can keep on hand during every self-tanning session.
How to Make Self-Tanner Last Longer
When you know how to use self-tanner the right way, it’s easier to make your color last. I’ve found that a few simple habits can help extend your tan for several extra days. Here’s how to keep it looking fresh and even:
| Category | Do This | Avoid This |
|---|---|---|
| Shower Habits | Lukewarm water, 5-10 minutes, pat dry | Hot water, long showers, harsh scrubbing |
| Soaps & Products | Sulfate-free, gentle cleansers | Sulfates, exfoliants, acids, retinol |
| Moisturizing | Apply immediately after showering, oil-free lotions | Heavy oils, skipping moisturizer |
| Maintenance | Gradual tanner every 2-3 days, touch up friction areas | Letting tan fade completely before reapplying |
Following these maintenance practices can extend your tan’s life by 3-5 extra days with minimal effort and consistent care.
Advanced Tips and Tricks
I’ve learned a few professional-level techniques that take self-tanning results beyond the basics. These expert strategies help me achieve customized, salon-quality color right at home. If you’re ready to master the art of tanning, here’s how:
- pH-Balancing Toner: Apply a pH-balancing toner before self-tanner to neutralize skin’s surface, allowing DHA to react evenly for consistent, patch-free color.
- Mix With Aloe Vera Gel: Mix aloe vera gel with your tanner for smoother application, slowing absorption slightly so you have more time to blend without streaking.
- Cool Hairdryer Trick: Use a hairdryer on the coolest setting post-application to speed drying, preventing transfer onto clothing or bedsheets while locking in an even finish.
- Petroleum Jelly Barrier: Dab petroleum jelly along your hairline, eyebrows, and ears before applying face tanner to prevent staining in hard-to-correct areas.
- Tan in Natural Light: Always apply in a naturally lit room to spot uneven patches instantly, since artificial lighting masks streaks that only appear once color fully develops.
With these advanced tips, you’ll be able to customize your tan and get salon-quality results every time. Enjoy flawless color with a little extra effort!
Final Thoughts
Learning how to apply self-tanner doesn’t have to feel stressful or confusing. When you slow down, stay consistent, and pay attention to the small details, results become more predictable.
I want you to walk away from this guide feeling calmer and more confident the next time you reach for self-tanner.
If you enjoyed this breakdown, you might also like my other blogs where I share practical skin and beauty tips in the same easy-to-follow way.
Take a look around, find what fits your routine, and keep building habits that actually work for you. A good result is not about perfection. It is about understanding your skin and making smart, simple choices that suit you.
Frequently Asked Questions About Applying Self-Tanner at Home
How long should I wait after applying self-tanner before getting dressed or showering?
Wait at least 10 minutes before getting dressed, and wear loose, dark clothing for the first few hours to avoid transfer. For showering, the timing depends on your product; most standard self-tanners need 6 to 8 hours to fully develop, while express formulas can be rinsed in as little as 2 hours, depending on how deep you want the color. When you do rinse, use water only and skip soap for that first wash. Using soap too early breaks down DHA before the color sets completely.
Do I need a tanning mitt, or can I apply self-tanner with my hands?
A tanning mitt makes a real difference and is worth the few dollars it costs. Applying with bare hands means DHA absorbs into your palms and between your fingers, leaving them darker than the rest of your skin. A mitt gives you even, streak-free coverage and more control over blending. If you don’t have one, wearing thin latex or nitrile gloves works as a substitute, just wash your hands thoroughly with soap immediately after each section, regardless.
Why does my self-tanner turn orange instead of brown?
Orange results usually come down to one of three things: too much product applied at once, a formula that doesn’t suit your skin tone, or not exfoliating beforehand. DHA reacts differently on everyone, and fair or dry skin tends to pull orange more easily. Using a gradual tanner and building color slowly gives a more natural brown tone. If you’re already dealing with orange patches, diluted hydrogen peroxide on a cotton pad can neutralize them without disturbing the surrounding color.
How often should I reapply self-tanner to maintain the color?
Most self-tans last 5 to 7 days before fading noticeably. To keep the color looking fresh without buildup, reapply every 3 to 4 days using a gradual tanner rather than waiting until it fades completely and starting over with a full application. Areas that see the most friction — inner wrists, behind the knees, ankles fade faster and may need a light touch-up sooner. Moisturizing daily with an oil-free lotion is the single most effective thing you can do to slow the fade between applications.
Can I apply self-tanner over existing tan or leftover color?
Yes, but only if the existing color is still even. If your current tan is patchy or fading unevenly, applying more product on top will make the patchiness worse, not better. In that case, exfoliate first to even out the surface, then reapply from scratch. If your base color is still smooth and even, you can go straight over it with a gradual tanner to top up the depth. Just avoid layering a full-strength formula over a fading tan, it tends to grab unevenly in the spots where color has already worn off.