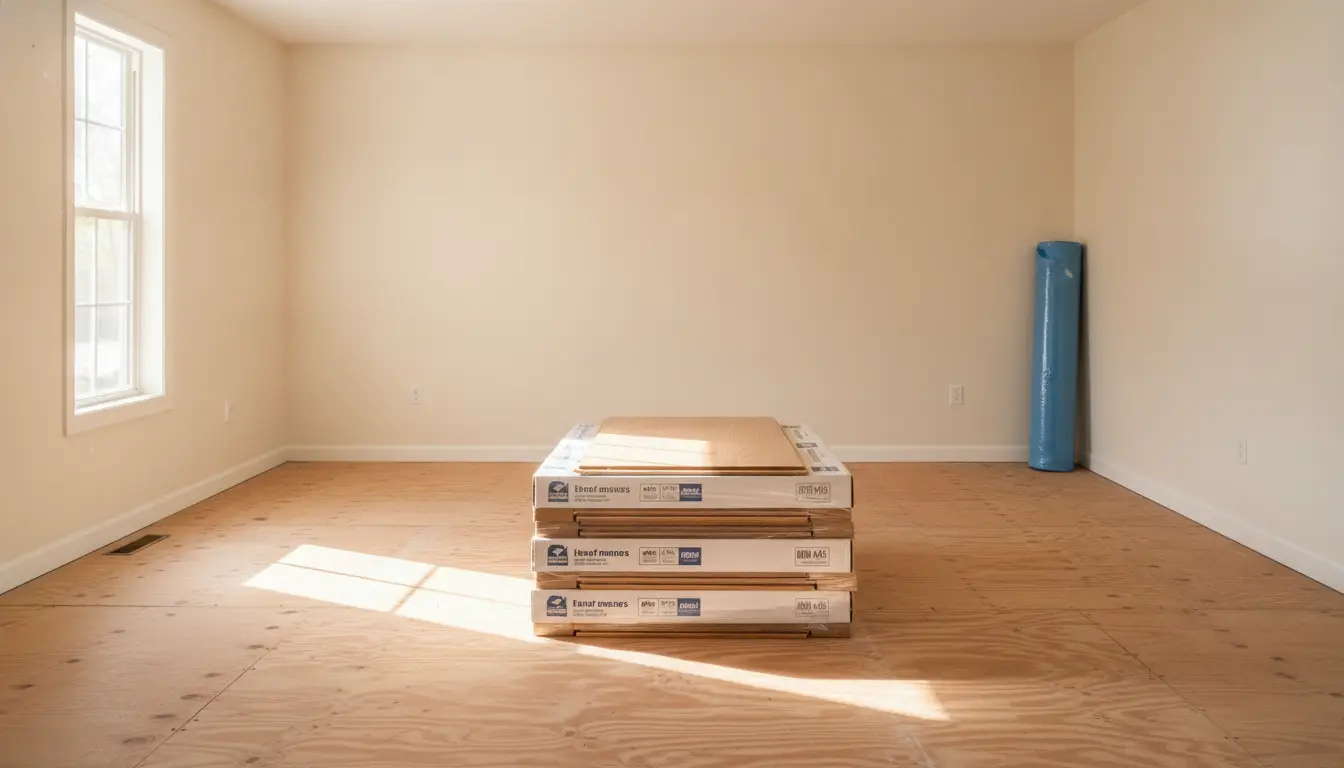
Most flooring failures aren’t the result of subpar materials or poor workmanship. The blame can be pinned on the 48-72 hours leading up to the installation, where homeowners neglect to take some of the preparatory steps. These steps are essential, albeit not that obvious. When you prep the site correctly, the installation day runs smoothly – without a hitch. If not, get ready for delays, claims, or worse, a floor replacement within the first year of use.
Clear the Room Completely, Not Partially
Make sure that professional installers have clear, unhampered access to each wall, corner, doorway, and closet. This will require that you remove all furniture, rugs, and any floor-length drapes or curtains that might be in the way or get in the middle of the action.
Closets are easily forgotten by homeowners. Make sure closets are cleaned out before the crew arrives to avoid having them sit around waiting for you to empty them out.
Especially heavy or bulky items such as bookshelves, pianos, large appliances, and other dense objects need a plan. Some installation companies will move furniture for a fee, but most expect the space cleared before they arrive.
If you’re not sure what your contractor covers, ask during scheduling rather than assuming. A half-cleared room slows the crew down, and slower work often means a longer bill.
Wall art and anything hanging near baseboards should come down too. Vibration from demolition and nailing can knock things loose, and installers won’t want to work around fragile items anyway.
Inspect the Subfloor Before Anyone Shows Up
The most critical element to the performance of your new finished floor is the least thought about by the average homeowner. It’s your subfloor and it needs to be in solid condition before you put down any new surface. Otherwise, you’re throwing good money after bad.
Walk the room. Do you hear squeaks? Are there any loose, visible cracks? Were there soft areas or spots where the floor dipped when you checked? These are not merely cosmetic issues. They are structural defects that will show through new flooring if they are not fixed first.
The industry benchmark for subfloor flatness is a 3/16-inch variance per 10 feet. That’s a difficult standard to meet, and homeowners don’t always grasp that. It doesn’t matter how top-notch your installation crew is – if your subfloor’s uneven, click-lock floors will flex and separate over time, and glue-down products won’t properly adhere.
If you have any loose boards or squeaks, please make a note of these when setting up your job. The crew will need to know so they can plan time for repairs rather than finding out in the middle of the install. Fixing subfloor issues after the new flooring goes down means tearing it back up.
Get a Moisture Test Done on Concrete Slabs
If you are putting a wood floor over concrete, you must get the moisture tested. More than 90% of hardwood flooring problems can be attributed to moisture. Professional installers know this and will test moisture levels before they begin, and they’ll likely refuse to warranty the work if testing wasn’t done first.
A moisture vapor test measures how much moisture is moving up through the slab. If that test comes back too high, you need a vapor barrier or moisture retarder installed underneath the new flooring, no exceptions.
Skipping this step because the slab “looks dry” is how homeowners end up with buckled boards, mold growth under the floor, and a warranty claim that gets denied.
Testing takes time – sometimes 24-48 hours depending on the method. Do it at least two days before the wood arrives.
Confirm the Acclimation Plan With Your Installer
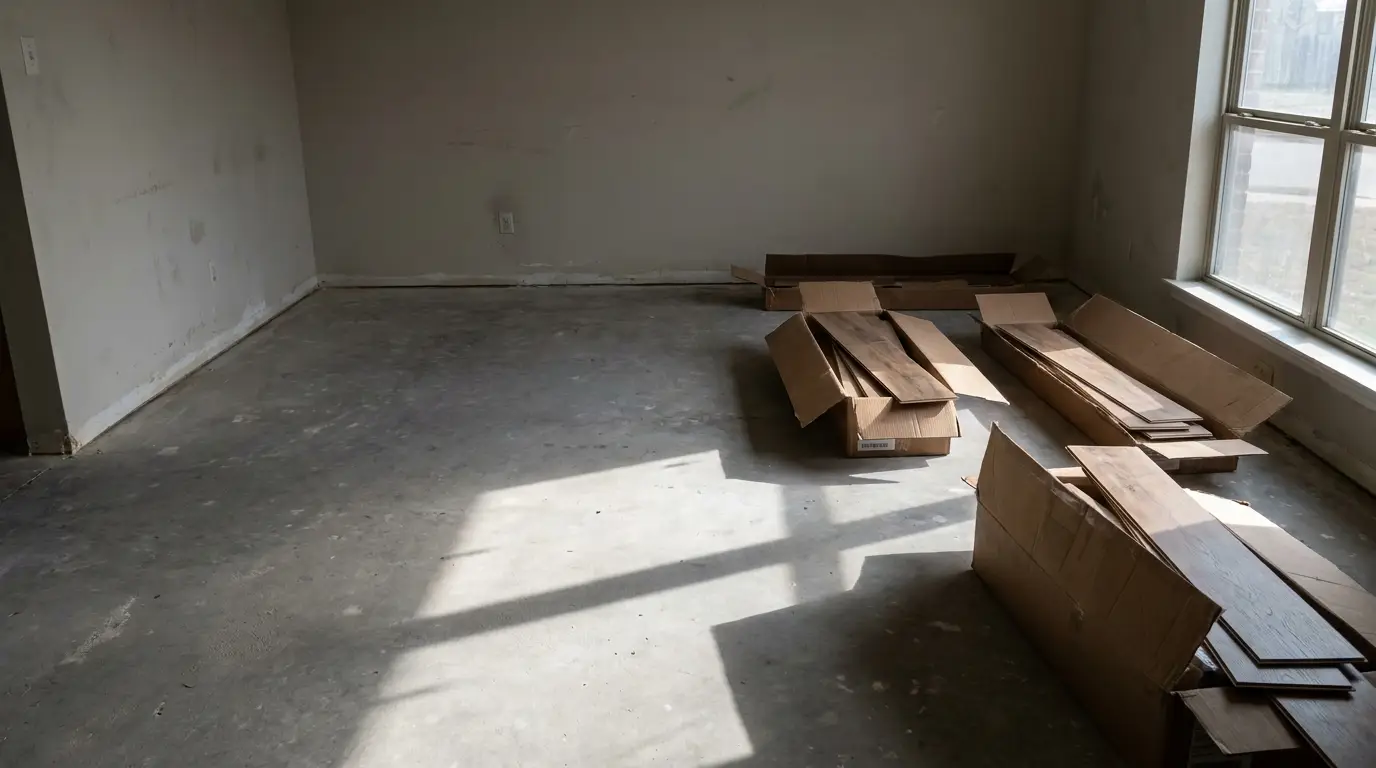
Wood and laminate planks must be exposed to the room’s humidity levels before installation. The boxes are opened and the planks sit in the actual room, with the HVAC at normal living conditions, for 48 to 72 hours or whatever the manufacturer requires.
This gets overlooked more than any other step since it feels like it’s adding extra time rather than it being a must-do. It’s not optional. Planks that haven’t had time to get used to your home’s humidity and temp will expand or contract post-install. That’s when you see gapping, cupping, or boards lifting at the seams a few months after they were put in.
Talk to your installer about when the materials are being delivered relative to install day. If they’re not factoring in an acclimation window into the schedule, ask why.
Handle Doors, Trim, and Clearance Issues in Advance
Installing new flooring can raise the height of the floor by an eighth to half an inch, so most hollow-core interior doors will need to be trimmed if they are to swing freely once the new floor is down. This can be bundled into the scope of the flooring installer’s job, or you can hire a carpenter to come take care of it the day before install.
Baseboards are your other decision point. You can pay the installers to remove and reinstall your existing baseboards so the floor goes in cleanly underneath, or you can leave your baseboards in place and have them butt the new flooring up against it, finishing that edge with quarter-round molding. The former looks nicer but costs more and risks damaging the wall during removal; the latter is faster, cheaper, and easier.
Make up your mind before installation day, because it changes how the crew preps the perimeter of the room. Floating floors also need an expansion gap around the perimeter, usually a quarter to a half inch depending on the product, which gets hidden under baseboard or quarter-round. If you’re skipping trim work entirely, that gap will be visible, so plan the finish accordingly.
Disconnect Appliances and Line Up Logistics Before Day One
If the new floor will be laid in high-traffic areas like the kitchen, laundry room, or a bathroom that has a toilet installed, you will need to give thought to the movement of your major appliances and fixtures. This would typically include refrigerators that are connected to a water line, dishwashers, washers, and dryers.
If any of these become part of your responsibility as the homeowner, it is also good practice to shut off the water supply the night before. Most crews are punctual and you don’t want to be scrambling to find the water shut-off while they idly twiddle their thumbs in your driveway.
Schedule a Walkthrough and Vet Your Contractor Properly
Having a pre-install walkthrough solves more problems than any single item on this list. This is when you and the contractor decide who’s getting rid of the old floor, who’s hauling it away, where the debris is being stored, and how and where the new materials will be arriving. Skip this important step, and guess what? Two tons of filthy old carpet will be taking up residence in your garage for half a month.
This is also the time to discuss topics like moisture testing, subfloor leveling, and what will happen if the installation crew uncovers something awful while tearing out your old floor. An experienced team like Cutting Edge Flooring Services LLC will talk through the entire checklist with you before starting the job, run the moisture tests, and flag subfloor concerns before the first plank goes down rather than after.
That kind of upfront communication is a better predictor of a smooth job than almost anything else you can control as a homeowner.
If a contractor brushes off questions about moisture testing or subfloor flatness, take that as a signal. Those aren’t optional steps for a company that stands behind its work.
Set Up Dust Control and Protect Your HVAC System
Demolition creates dust, and if your HVAC system is running during that phase, it’ll pull dust through the ductwork and spread it to every room in the house. Sealing vent registers in the work area before demolition starts is a small step that saves a lot of cleanup later. Some crews hang temporary plastic barriers at doorways leading to the rest of the house for the same reason.
Once installation wraps, change your HVAC filter. Even with precautions, some dust gets through, and a fresh filter keeps it from recirculating for weeks afterward.
Temperature and humidity control matter during the whole process too, not just for comfort. Most flooring manufacturers specify a temperature and humidity range that needs to be maintained during acclimation, installation, and the curing period afterward. Running your HVAC outside that range, even for cost-saving reasons, can void a warranty.
Keep the Space Clear After Installation, Too
The job isn’t finished when the crew leaves. Glue-down floors need to cure before they can withstand regular traffic, and that can be anywhere from a 12-hour wait to 48 hours or more, depending on the adhesive. Stepping on the floor too soon is bad enough, but dragging furniture over it can ruin your bond and leave a permanent mark.
You don’t want kids and dogs racing across it, either, at least until two full days have passed, and maybe more. If you can’t keep your pets away from the room, you might want to send them elsewhere while you wait for the floor to cure.
You’re safe to bring in small furniture after a day, but large pieces should wait. Nobody gets anxious feet more than you do, but it’s better to be safe than sorry.
The Floor Is Only as Good as the Prep
Skilled installers may be able to install your floor despite some obstacles, but they won’t be able to remedy a damp slab, an unflattened subfloor, or planks that were rushed through acclimation. More than your installation, your prep window is where you have the most control over how your floor performs five years down the road, not just how it looks on day one.
Give that 48-to-72-hour window before the installers show up with boxes the same priority and attention to detail as the installation itself, and the rest of the job tends to take care of itself.