Starting a home remodel is exciting, but plumbing is one area where small mistakes can quickly turn into delays, extra costs, or unfinished work. Whether you are updating a bathroom, replacing a kitchen sink, adding a laundry area, or improving an older utility space, a simple plumbing checklist can help you prepare before any walls are opened or fixtures are removed.
For beginner DIY homeowners, the goal is not to become a professional plumber overnight. The goal is to understand what you already have, what needs to be replaced, and what supplies should be ready before the project begins. Here is a practical plumbing checklist to follow before starting your next remodel.
1. Measure Existing Pipe Sizes
Before buying any fittings, valves, or supply lines, check the size of your existing pipes. Pipe size matters because plumbing parts are not always interchangeable. A fitting that looks close may still be the wrong size or connection type.
Common residential pipe sizes include 1/2 inch and 3/4 inch for water supply lines, while drain lines are often larger, such as 1-1/2 inch, 2 inch, or 3 inch depending on the fixture. Use a tape measure or pipe sizing tool to check the outside diameter, but also confirm the pipe type, because copper, PEX, CPVC, and PVC are measured and connected differently.
Write down each size clearly. For example:
“Bathroom vanity hot/cold supply: 1/2 inch PEX”
“Kitchen sink drain: 1-1/2 inch tubular”
“Main branch line: 3/4 inch copper”
This simple step can prevent buying the wrong elbows, adapters, valves, or connectors.
2. Check All Shut-Off Valves
Before removing any fixture, confirm where the shut-off valves are located and whether they still work. Many older homes have valves that are stiff, corroded, leaking, or difficult to turn. If a valve does not fully stop the water, it should be replaced before the remodel begins.
Check under sinks, behind toilets, near washing machines, around water heaters, and at the main water shut-off. Turn valves gently and watch for leaks around the handle or connection points. If a valve feels stuck, do not force it too aggressively, as old valves can break.
For remodels involving kitchens, bathrooms, or laundry rooms, replacing old stop valves during the project is often a smart upgrade. It gives you better control later and makes future repairs easier.
3. Make a Complete Fittings List
One common DIY mistake is starting a project with only the main fixture or pipe but forgetting the small parts needed to complete the job. Fittings, adapters, couplings, elbows, tees, washers, rings, clamps, unions, and supply connectors can all be project-critical.
Before you buy supplies, sketch a simple layout of the plumbing area. It does not need to be professional. Mark where pipes start, where they turn, where they connect to fixtures, and where valves will go. Then list every fitting needed.
For example, a basic vanity remodel may require supply stop valves, braided supply hoses, drain fittings, a P-trap, wall adapters, and possibly pipe extensions. A laundry remodel may require outlet boxes, hammer arrestors, valves, hoses, and drain connections.
If you are not sure what part names to search for, browsing product categories at a plumbing supply store like PlumbingSell can help you compare common fittings, valves, outlet boxes, hoses, and pipe accessories before ordering.
4. Confirm the Required Tools
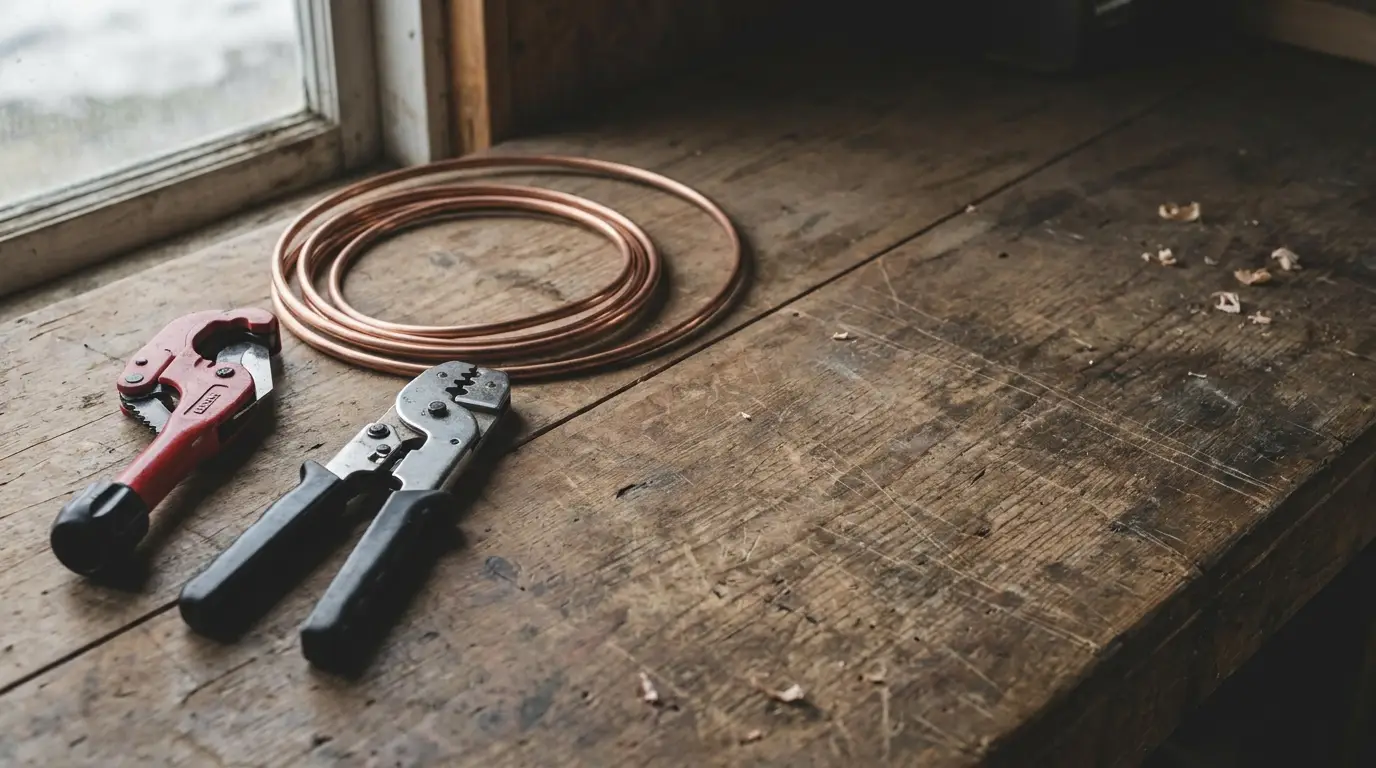
Even simple plumbing updates usually require more than a wrench. The tools you need depend on the pipe material and connection method.
For PEX projects, you may need a PEX cutter, crimp tool, clamp tool, expansion tool, rings, or clamps depending on whether you are working with PEX-A or PEX-B. For copper pipe, you may need a pipe cutter, deburring tool, press tool, soldering supplies, or compatible press fittings. For PVC drain work, you may need a saw, primer, cement, measuring tape, and a deburring tool.
Make a tool checklist before starting. If a tool is expensive or only needed once, check whether it can be rented locally. Also confirm that the tool matches the connection system you plan to use. For example, expansion fittings and crimp fittings are not installed the same way.
5. Inspect Old Connections Carefully
Older plumbing can hide problems behind cabinets, walls, or fixtures. Before remodeling, look closely at visible connections for corrosion, mineral buildup, cracked plastic, loose fittings, stains, or signs of past leaks.
Pay attention to areas under sinks, behind toilets, around washing machines, near water heaters, and below bathrooms or kitchens if you have basement access. A remodel is often the best time to fix weak connections because the area is already open.
If you find green corrosion on copper, rusted valves, brittle plastic, or water stains, do not ignore them. These issues may not fail today, but they can become serious once pipes are moved or fixtures are replaced.
6. Order Supplies Early
Plumbing delays often happen because one small part is missing. A remodel can come to a stop because of a fitting, valve, adapter, or hose that was not ordered in time.
Once your pipe sizes, connection types, fitting list, and tools are confirmed, order supplies early. This gives you time to check that everything fits before demolition begins. It also allows room for returns, exchanges, or extra parts if your original measurements were slightly off.
For DIY homeowners, it is usually better to have a few extra basic fittings than to stop the project halfway through. You can explore common remodel supplies such as valves, PEX fittings, PVC parts, outlet boxes, and hoses at PlumbingSell before starting your project.
Final Thoughts
A successful home remodel is not only about choosing new fixtures or finishes. The plumbing behind the walls, under the sink, and near each fixture needs careful planning too. By measuring pipe sizes, checking valves, listing fittings, confirming tools, inspecting old connections, and ordering supplies early, beginner DIY homeowners can avoid many common problems.
A little preparation before the project begins can save time, reduce stress, and help the remodel move forward with fewer surprises.