Want a garden that looks lovely without all the fuss and formal rules? Cottage garden layouts are perfect if you love a natural and relaxed style. I learned that these designs create beauty without the need for fancy plans or special skills.
You don’t need expensive materials or training to make yours look truly amazing. The best part is watching your space change as all the plants grow freely. These layouts work beautifully in tiny yards or in much larger outdoor spaces, too.
You can start with just a small area and expand whenever you’re ready. I’m sharing all the tricks that helped me successfully design my own cottage garden. Your yard is about to become your favorite happy place to hang out.
What is a Cottage Garden?
A cottage garden is a relaxed planting style that mixes flowers, herbs, and vegetables all together. I love how these gardens feel natural and unplanned, even though they need careful thought behind them.
Plants grow close together in layers, creating a lush, abundant look throughout the entire space. Curving pathways wind through the beds, inviting you to explore and discover new blooms daily.
Climbing plants scramble up rustic fences, arbors, and trellises, adding height and vertical interest everywhere. The design avoids straight lines and formal arrangements, preferring a more casual, flowing appearance instead.
I think cottage gardens feel welcoming because they celebrate abundance rather than strict control over nature. This style works beautifully in small yards or larger properties, depending on your available space.
Material You’ll Need to Design Your Cottage Garden
Having the right materials on hand before starting makes the entire process smoother and more enjoyable. Here’s everything I used to create my cottage garden:
| Category | Items Needed |
|---|---|
| Planning Tools | Graph paper, pencil, measuring tape |
| Marking Materials | String and stakes |
| Digging Tools | Spade and shovel |
| Soil Preparation | Compost, soil amendments, mulch |
| Plants | Perennials, annuals, herbs, vegetables |
| Vertical Elements | Trellises, arbors, fencing, and climbing plant supports |
| Hand Tools | Garden gloves, hand tools |
| Watering Equipment | Watering can or hose |
| Transport | Wheelbarrow |
Most of these items are basic gardening essentials you might already have at home. Gathering everything beforehand saved me multiple trips to the garden center and kept the project moving along smoothly.
How to Design a Cottage Garden: Step-by-Step Guide
I created my cottage garden by following a simple process of planning, choosing the right plants, and adding adorable features that brought natural beauty to my yard. Here’s how I did it:
Step 1: Plan Your Cottage Garden Layout on Paper
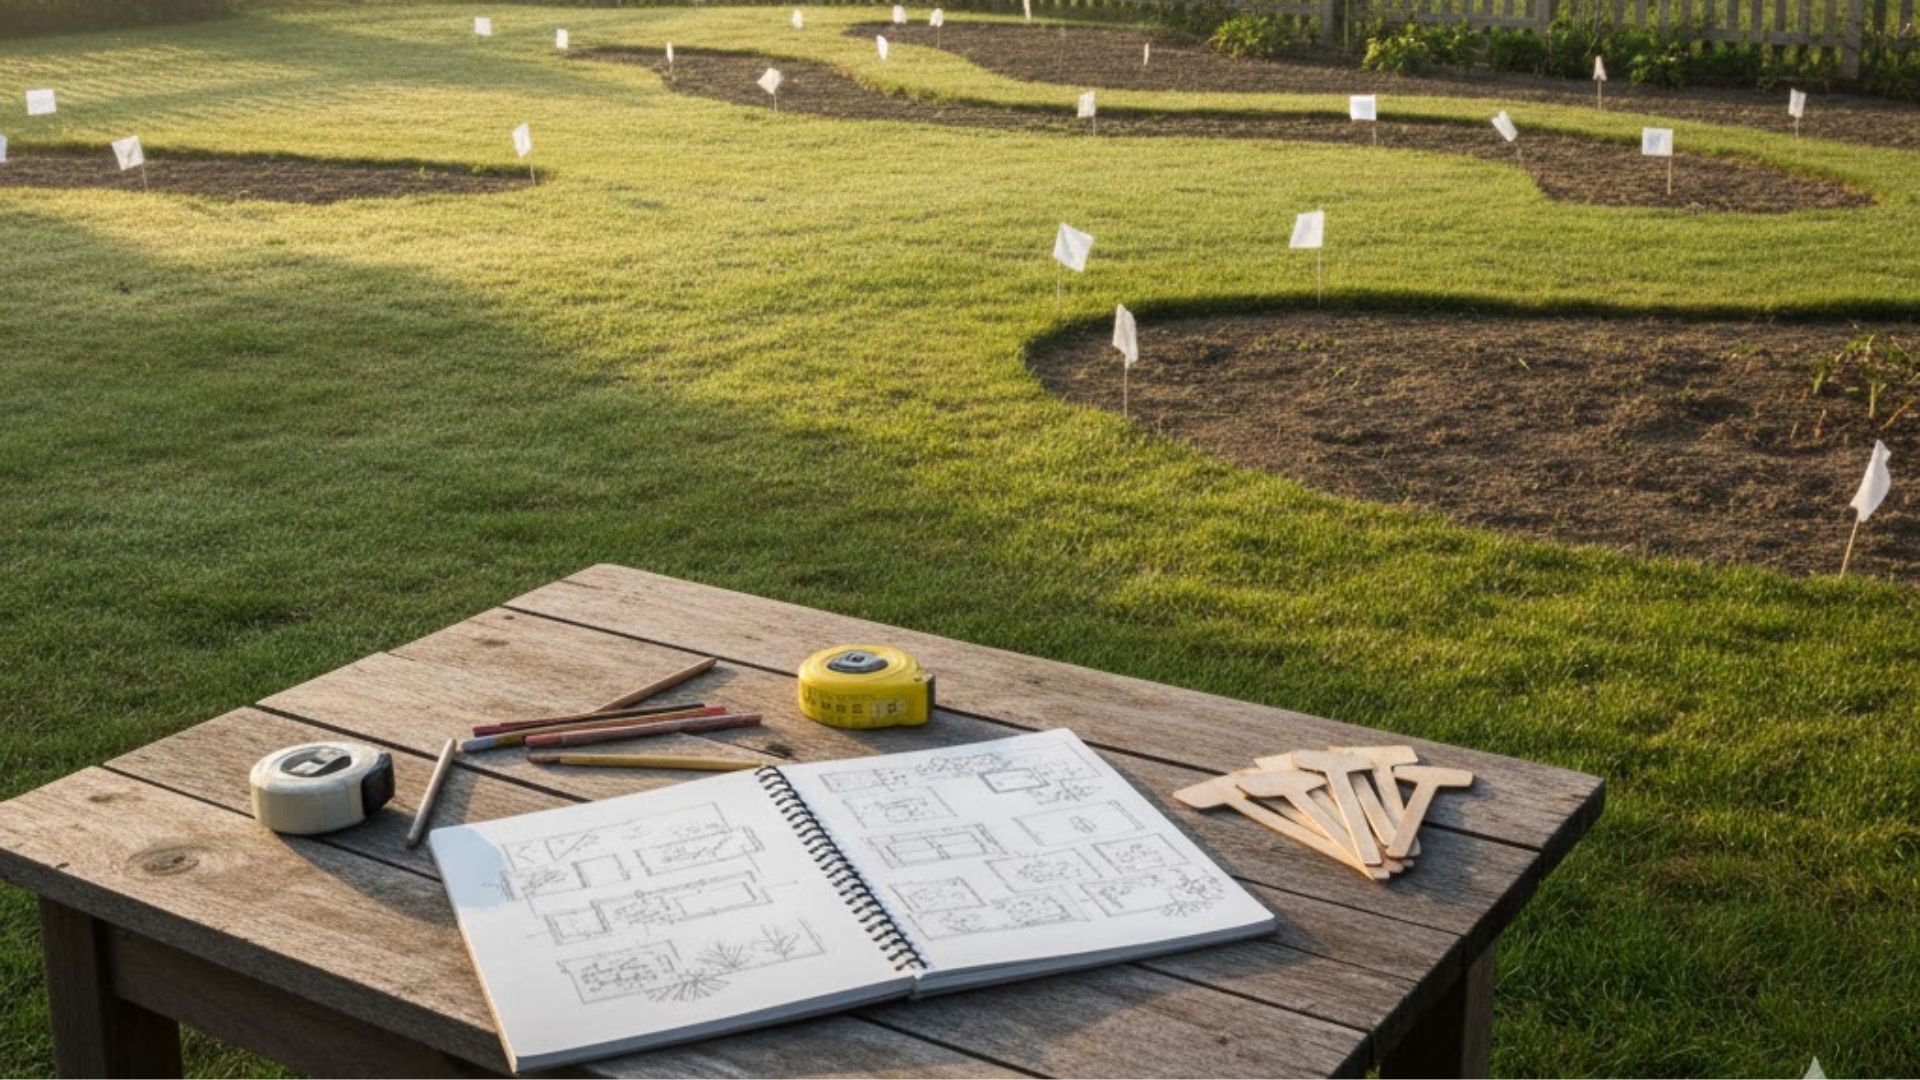
Starting with a simple sketch really helped me picture the whole space before lifting a single tool. Measuring the yard properly made sure everything fit without feeling cramped or oddly spaced later on.
I marked out curved paths, planting spots, and little features like benches or arbors to keep things clear in my head.
This planning stage saved me so much time and avoided a lot of mistakes once I got outside. Keep the sketch loose; new ideas always pop up as you go, and it’s nice to adapt along the way.
Step 2: Choose the Right Location
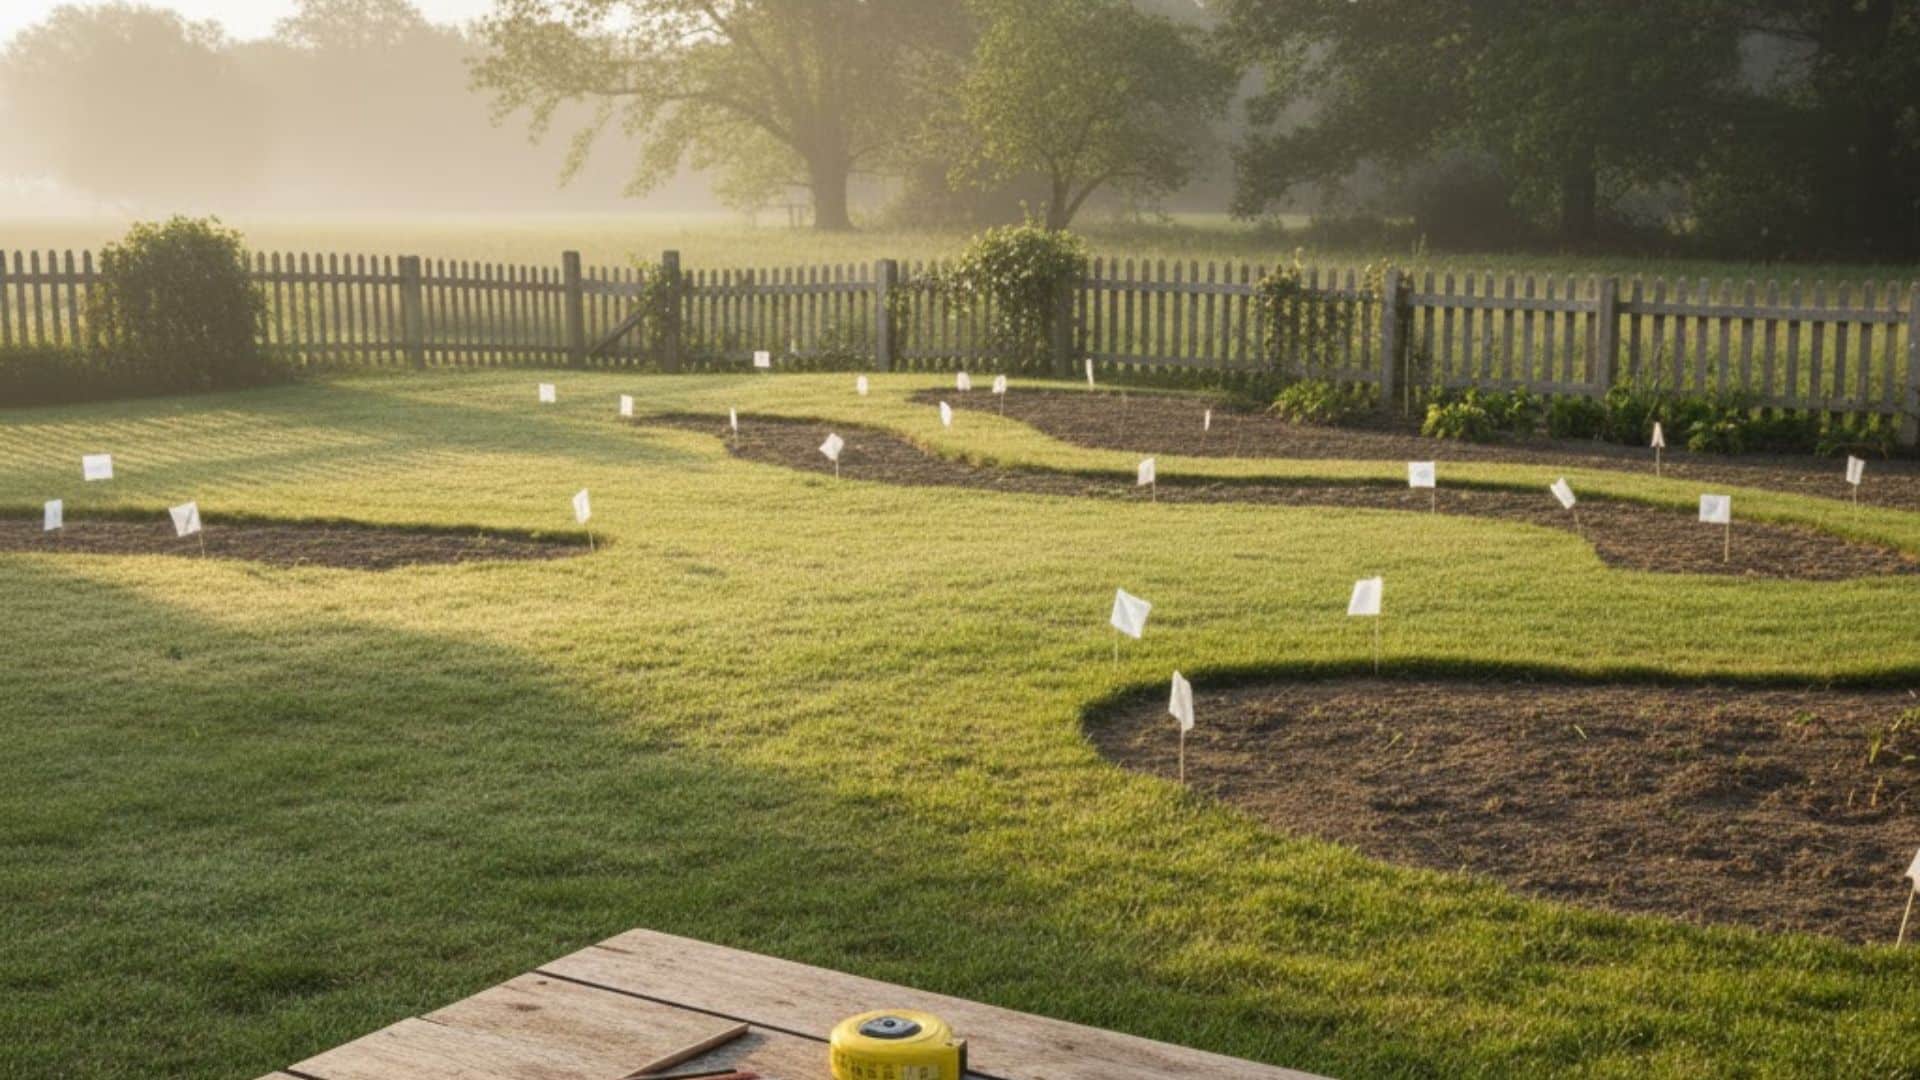
The sunniest corner of the yard worked best for me since cottage garden favourites love plenty of light. Aim for a spot that gets at least six hours of sunshine each day.
I also kept an eye on drainage, avoiding areas where rainwater tends to sit. Choosing a location I could see from the house made it an even more enjoyable day-to-day.
And having water nearby was a lifesaver during those hot, dry summer spells when everything needs extra attention.
Step 3: Select Your Plants Carefully
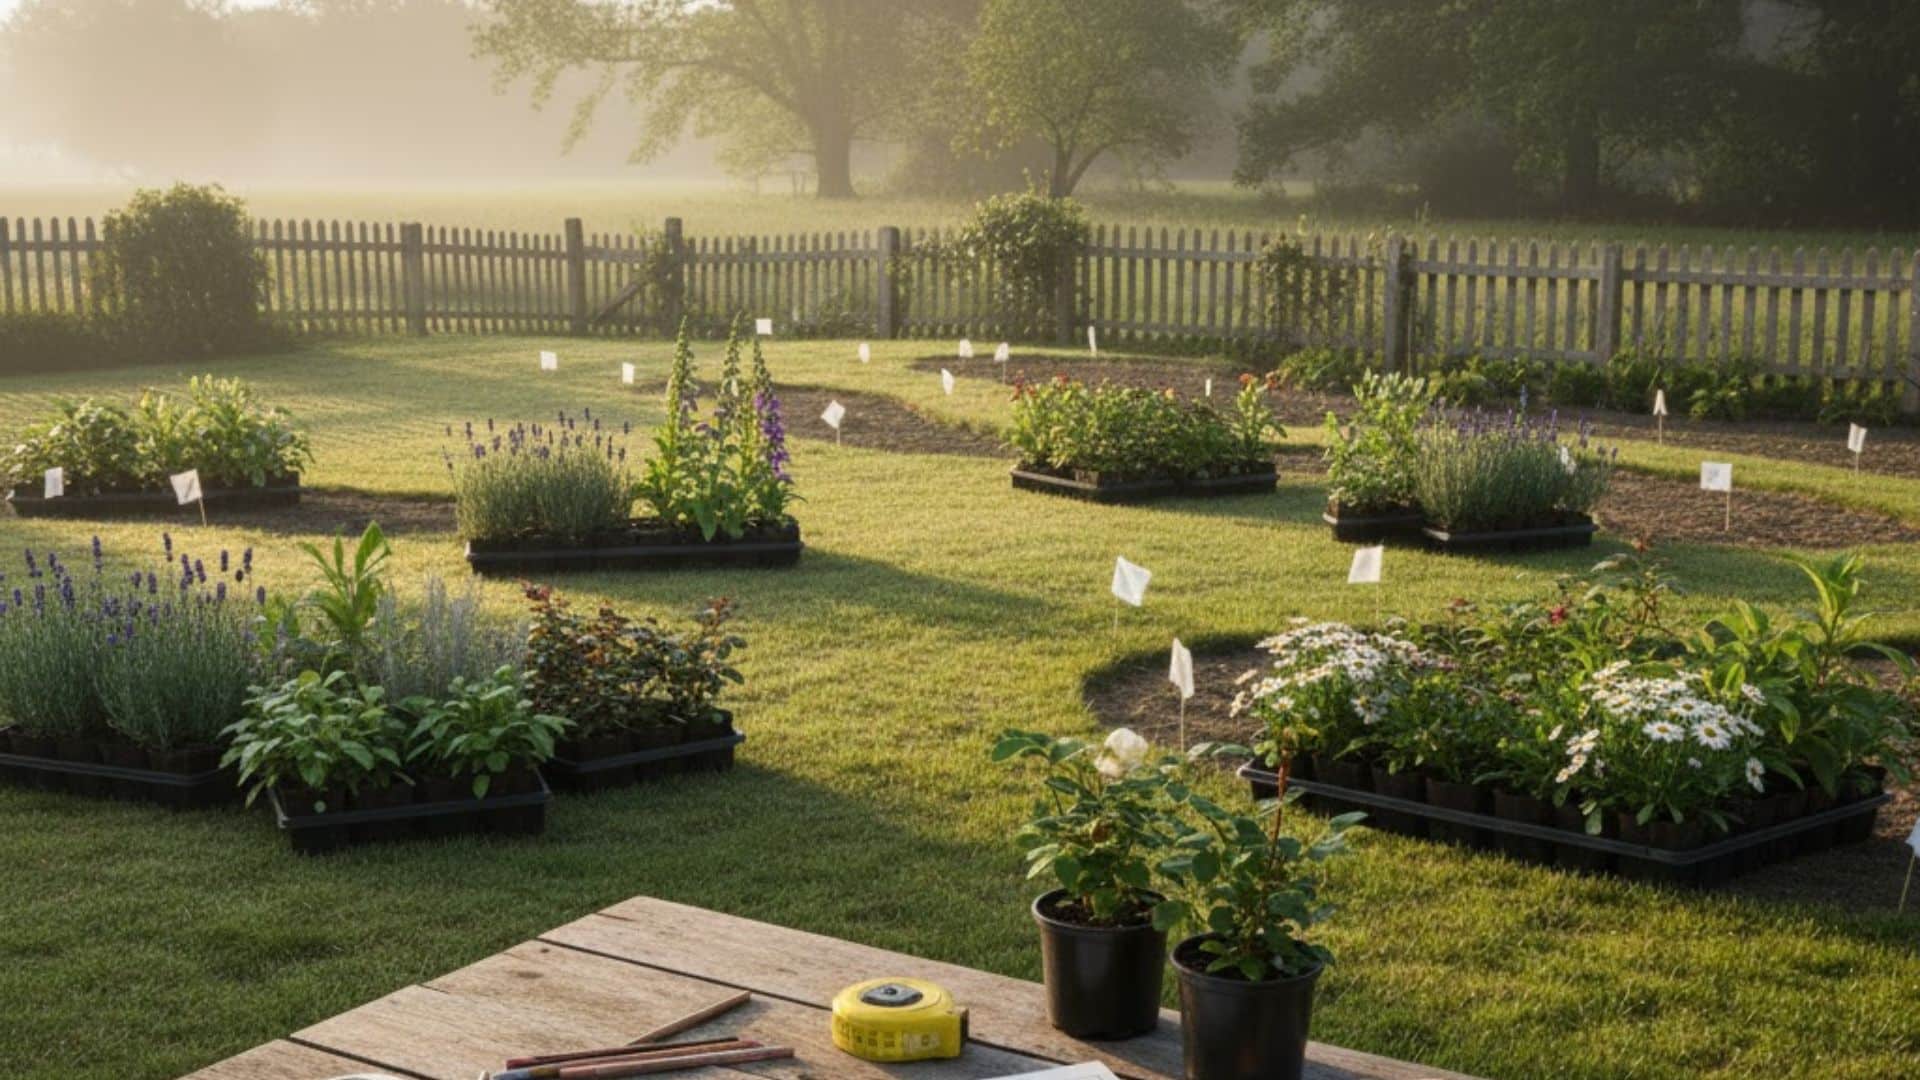
Mixing perennials, annuals, herbs, and even a few vegetables gives the garden colour and interest all year round. Picking plants with different bloom times means something lovely is always happening in the beds.
Classics like roses, lavender, foxgloves, and daisies fit the cottage look beautifully. I always double-check each plant’s light and water needs so there are no surprises later.
Grouping plants with similar requirements has made the whole space healthier and far less work overall.
Step 4: Plant in Layers by Height
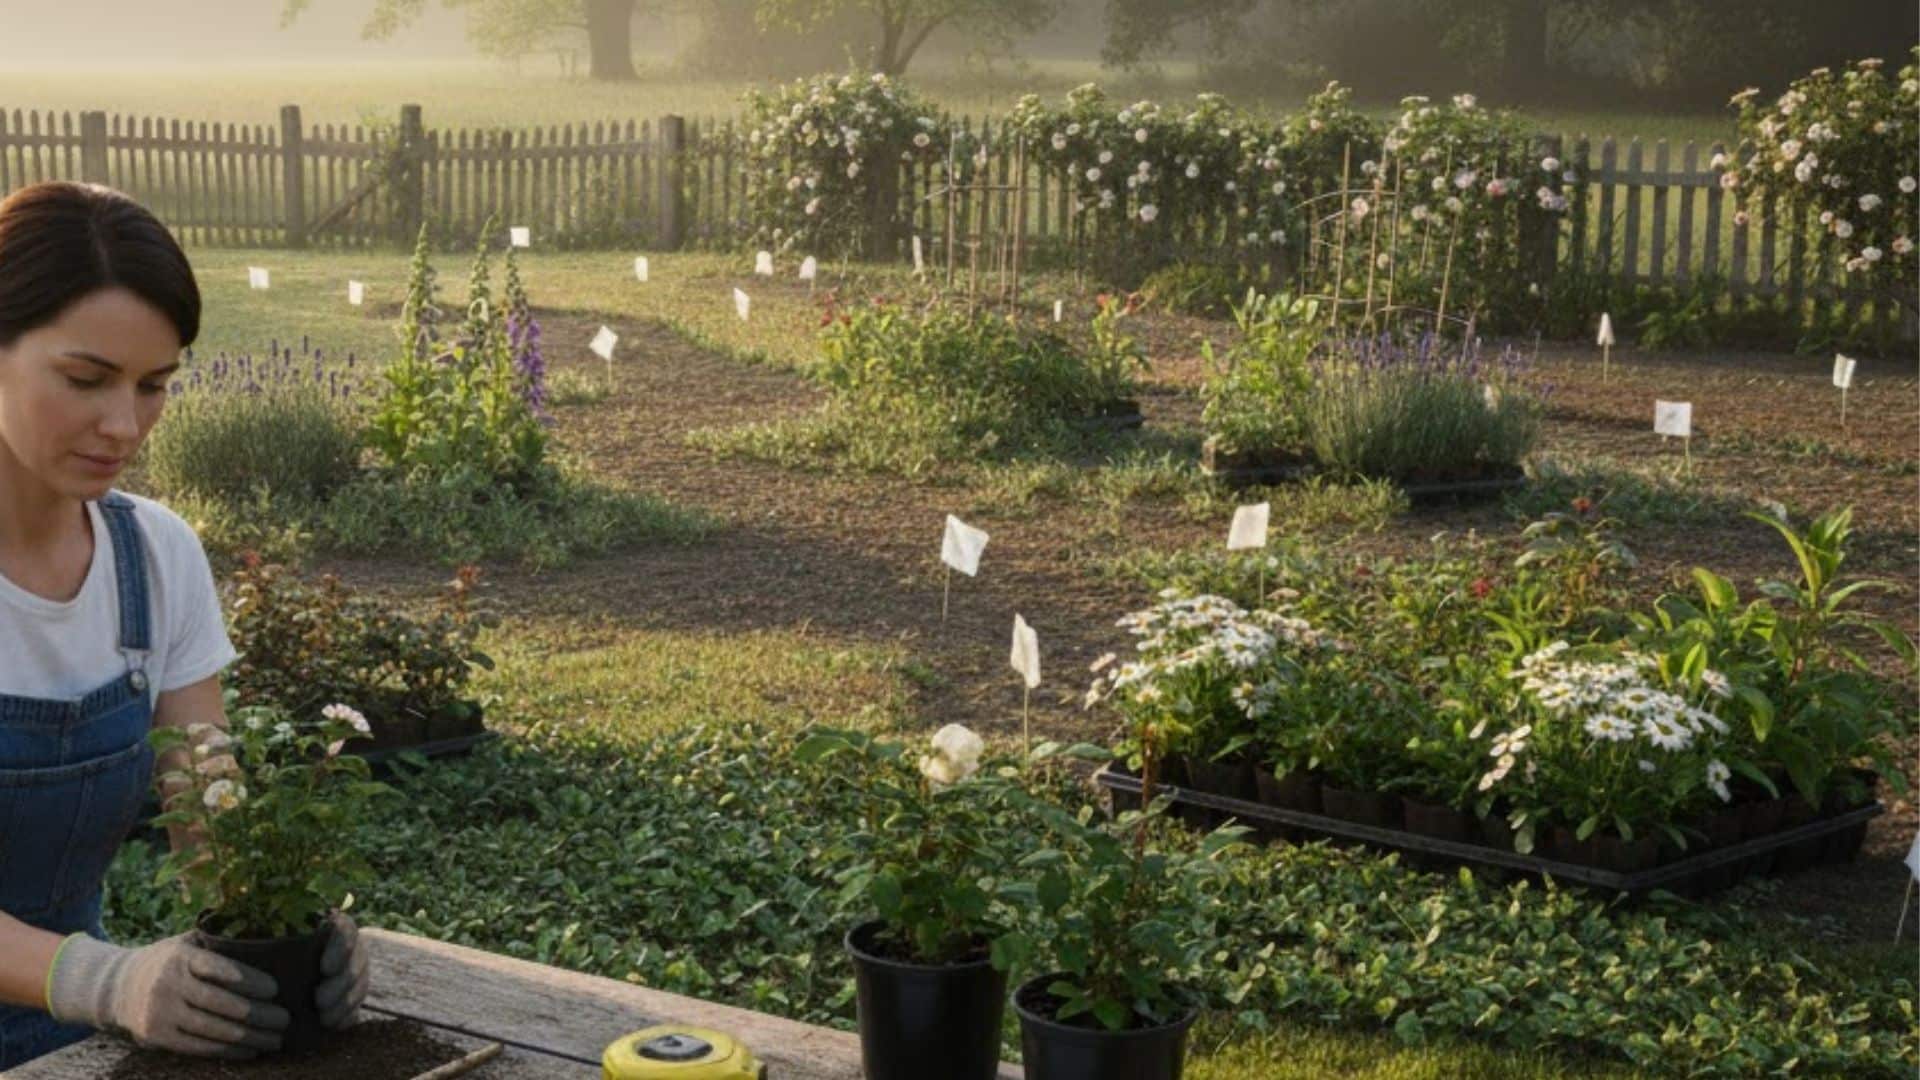
Tall beauties like hollyhocks and delphiniums sit at the back, giving the beds structure and height. Medium growers, roses, salvias, and the like, fill the middle, creating a nice, natural flow.
Smaller plants such as violas and alyssum spill over the front edges, softening paths and giving that lovely, overflowing look.
Planting this way keeps everything visible and ensures each plant gets enough sun. Leaving little gaps at first really pays off, because everything fills in faster than you expect.
Step 5: Add Vertical Structures
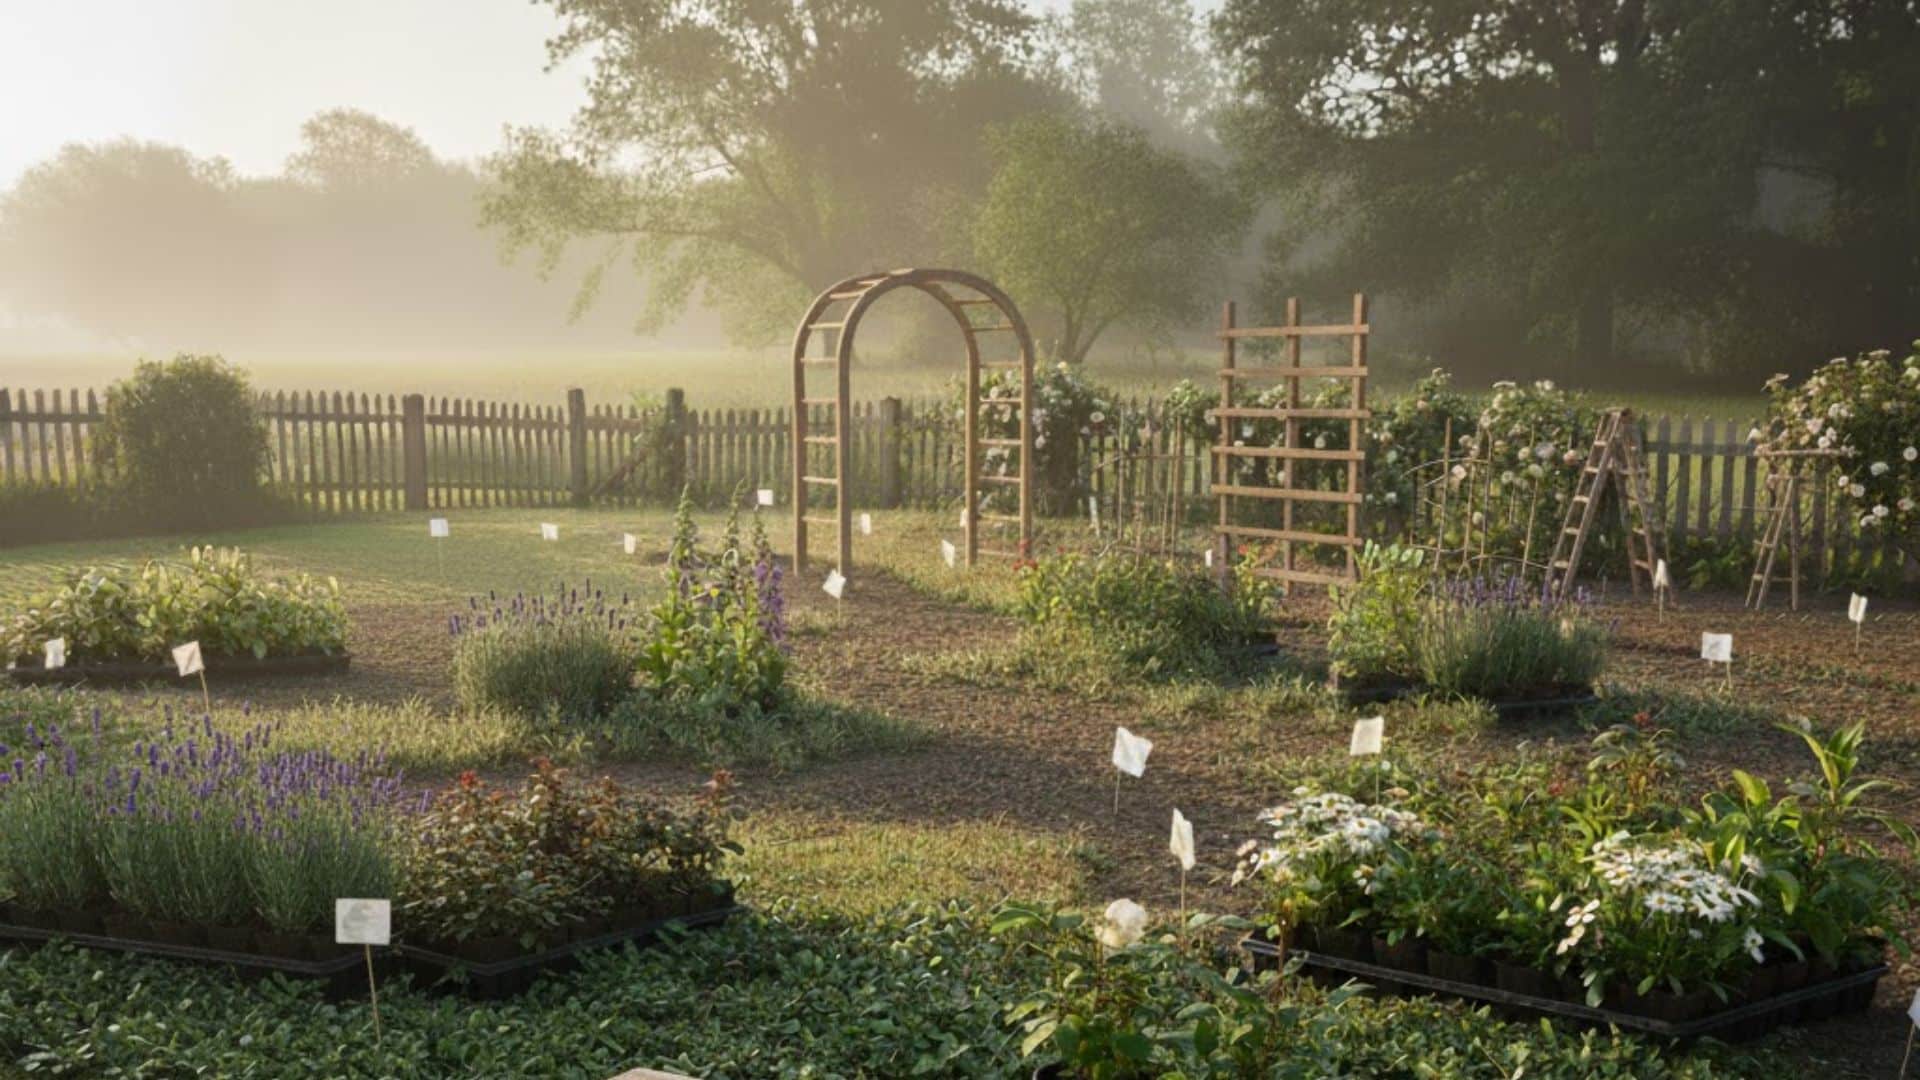
Trellises, arbors, and rustic fencing give climbers like roses, clematis, and sweet peas something to scramble up.
They add instant height and appeal while making the most of limited space. Wooden posts, wire mesh, or even an old ladder can bring that lovely cottage feel.
Just make sure any structure won’t throw too much shade over nearby plants. I let my wooden pieces age naturally, and they’ve developed the prettiest rustic look over time.
Cottage Garden Planning Mistakes You Should Avoid
I learned through trial and error that certain planning mistakes can really hold back a cottage garden’s potential. Here are the key pitfalls I avoided (or wish I had):
- Overcrowding plants and forgetting walking space: Leaving room between plants and creating proper pathways ensures everything has space to grow, and you can actually access your garden for maintenance.
- Poor plant height placement: Putting tall plants at the front blocks everything behind them, so always arrange by height with the tallest at the back.
- Forgetting seasonal interest: Choosing plants that all bloom at once leaves your garden looking bare for months, so mix varieties with different flowering periods.
- Ignoring soil conditions and lacking structural shrubs: Testing your soil first and including evergreen shrubs gives your garden a solid foundation that supports long-term health and year-round appeal.
These mistakes are easy to make when you’re excited to get started, but taking time to avoid them pays off tremendously. A little extra planning at the beginning saves frustration and replanting work down the road.
Expert Tips for a True Cottage Garden Look
Creating an original cottage garden feel comes down to a few key design principles that I picked up along the way. Here’s what made the biggest difference in my garden:
- Repeat your favorite plants throughout the space to create visual harmony and a cohesive look that ties everything together naturally.
- Blend soft color palettes and plant in clusters of odd numbers like three or five instead of single specimens for a fuller, more natural appearance.
- Embrace a bit of intentional messiness by letting plants spill over edges and intertwine rather than keeping everything rigidly structured.
- Mix edible plants like herbs and vegetables right in with your ornamental flowers to capture that traditional cottage garden practicality.
- Use natural materials such as stone pathways, gravel borders, and weathered wood features instead of modern plastics or metals for an original rustic feel.
These simple techniques changed my garden from looking like a regular flower bed into something truly special. The beauty of cottage gardens is that they get better with time as plants mature and develop their own character.
Final Thoughts
Cottage garden layouts don’t have to feel overwhelming or complicated at all, really. You’ve got all the information needed to start changing your yard right away.
I found that patience and flexibility made the biggest difference for me personally. Your space will look better each season as everything matures and fills in. Don’t stress if it looks a bit wild or unfinished in the beginning.
That relaxed appeal is exactly what makes these gardens feel so welcoming and special. I’m still learning and adjusting things as my plants grow and spread out.
The fun never really stops when you’re working with living plants that change. Start your garden today and drop a comment below sharing your plans with me!