If you’re craving a dessert that’s both comforting and indulgent, oatmeal carmelitas are the perfect treat to satisfy your sweet tooth.
These gooey, chewy bars combine rich caramel, chocolate, and oats in the most satisfying way.
If you’re a seasoned baker or a beginner, making oatmeal carmelitas at home is a breeze, and I’ll walk you through each step to ensure they turn out perfectly.
From preparing the ingredients to achieving that ideal caramel center, this guide covers everything you need.
By the end of it, you’ll have a batch of these irresistible bars that are sure to impress. Ready to get started? Let’s dive into the recipe and make some magic happen in the kitchen!
Understanding Oatmeal Carmelitas
Oatmeal carmelitas are gooey, chewy bars that have been a beloved American dessert since the 1960s, when they first appeared in community cookbooks across the Midwest.
These layered bars combine the comfort of oatmeal cookies with the indulgence of caramel and chocolate, making them a favorite at potlucks, bake sales, and family gatherings for generations.
What makes them so popular is that perfect balance of textures, the slightly crisp oat topping gives way to a rich, melty center that’s neither too sweet nor too heavy. They’re the kind of dessert that appeals to everyone, from kids who love the chocolate to adults who appreciate the buttery oat flavor.
I’ve brought these to countless events, and they’re always the first dessert to disappear from the table.
Step-by-Step Recipe Instructions
Before I get into the details, I want to mention that this recipe is forgiving. Even if you’re new to baking, you’ll find these bars come together quickly.
The key is taking your time with each layer so everything sets properly. This recipe can serve 12-18 people, depending on how big you cut your squares. Now let me show you exactly what I do.
Ingredients List
I always gather all my ingredients before I start, so the process goes smoothly. Here’s everything you’ll need to make these delicious oatmeal carmelitas:
- 1 1/2 cups quick-cooking oats
- 1 cup all-purpose flour
- 1 1/2 cups light brown sugar
- 1/2 teaspoon baking soda
- 1/2 teaspoon salt
- 3/4 cup unsalted butter, melted
- 1 teaspoon vanilla extract
- 1 cup caramel sauce (store-bought or homemade)
- 1 cup semi-sweet chocolate chips
- 1/2 cup chopped nuts (optional, such as pecans or walnuts)
Most of these ingredients are pantry staples, which is one reason I love this recipe so much. Now let’s get into how to put it all together.
Step 1: Preheat and Prepare Your Pan
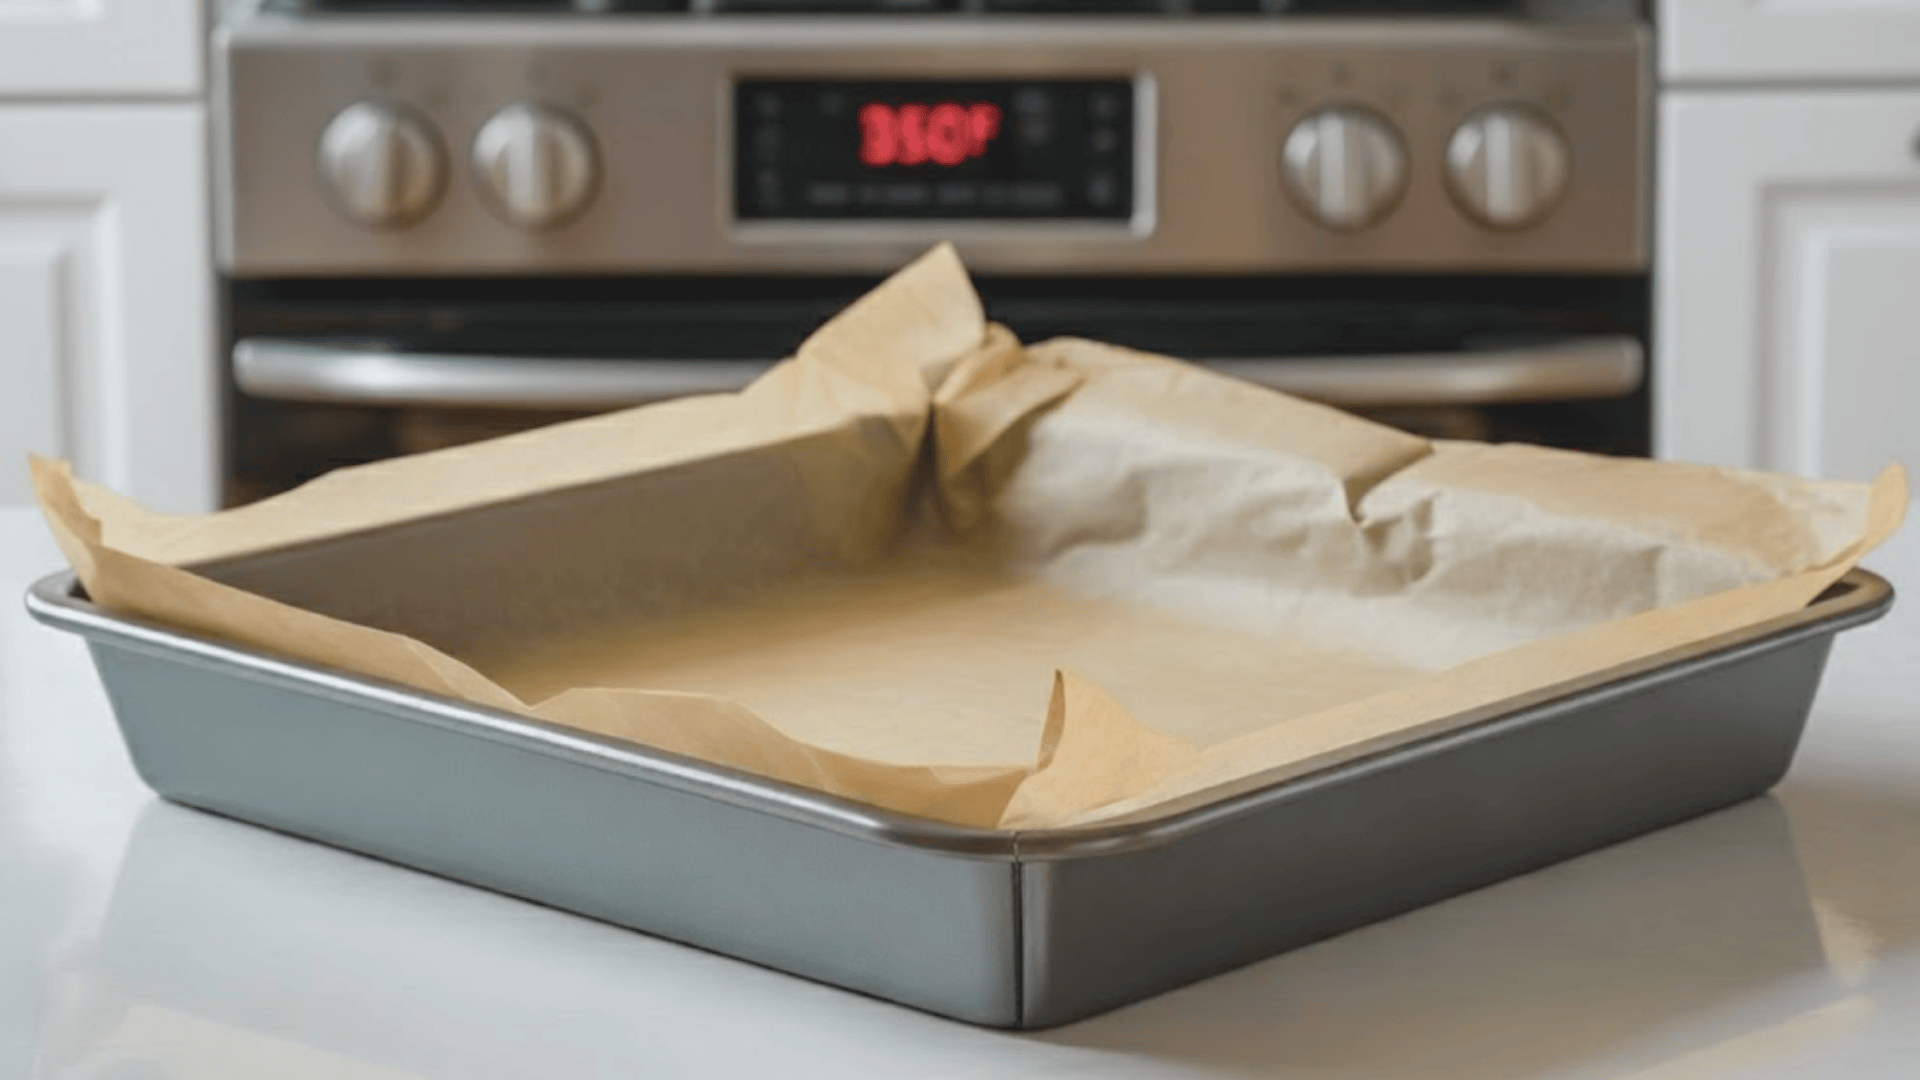
Set your oven to 350°F (175°C) and let it warm up while you prep everything else. I always line my 9×13-inch baking pan with parchment paper, leaving some overhang on the sides.
This makes removing the bars so much easier once they’ve cooled. Trust me, trying to cut them directly in the pan without parchment is a mess. A little prep work here saves a lot of frustration later.
Step 2: Make the Oatmeal Crust
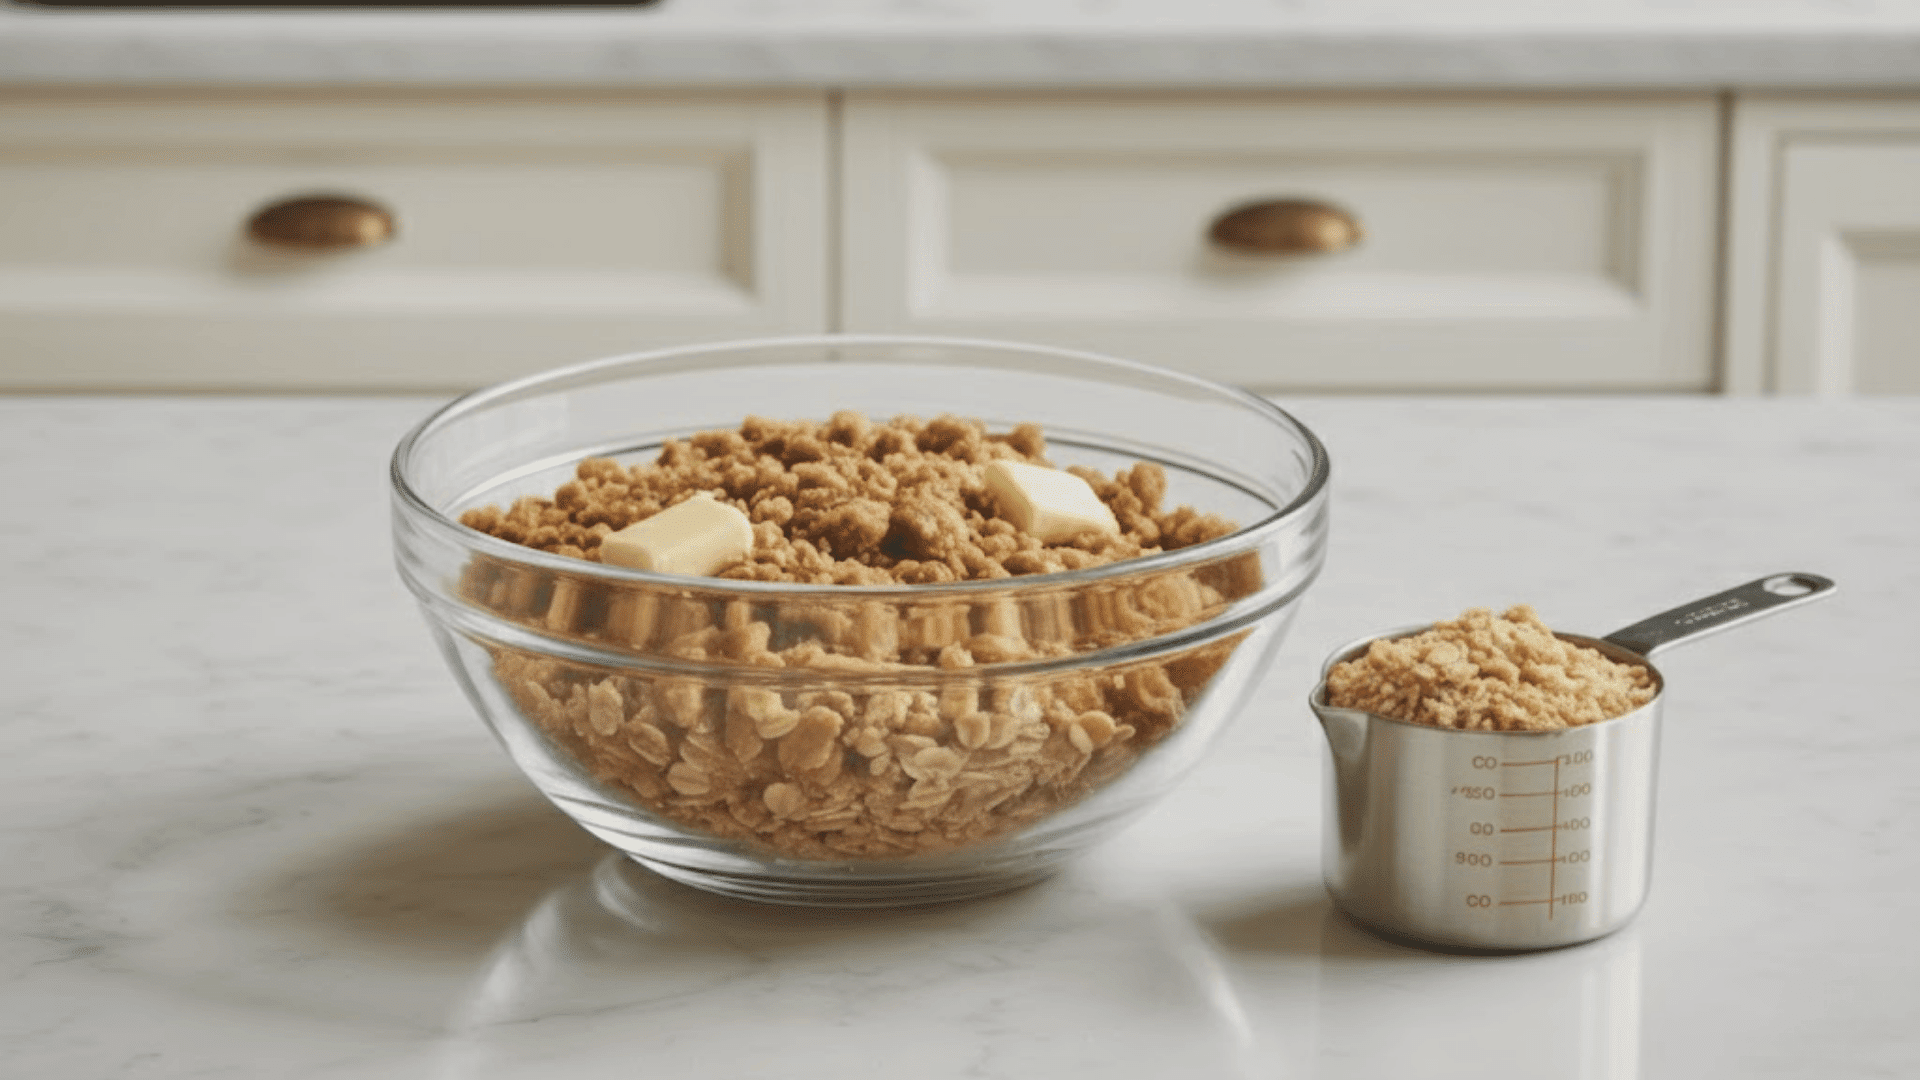
Grab a medium-sized bowl and mix together the oats, flour, brown sugar, baking soda, and salt. Pour in the melted butter and vanilla extract, then stir until everything forms a crumbly dough.
It should hold together when you squeeze it, but still look a bit rough. Reserve 1 1/2 cups of this mixture in a separate bowl for the topping, then press the rest firmly into your prepared pan to create an even crust.
Step 3: Add the Caramel Layer
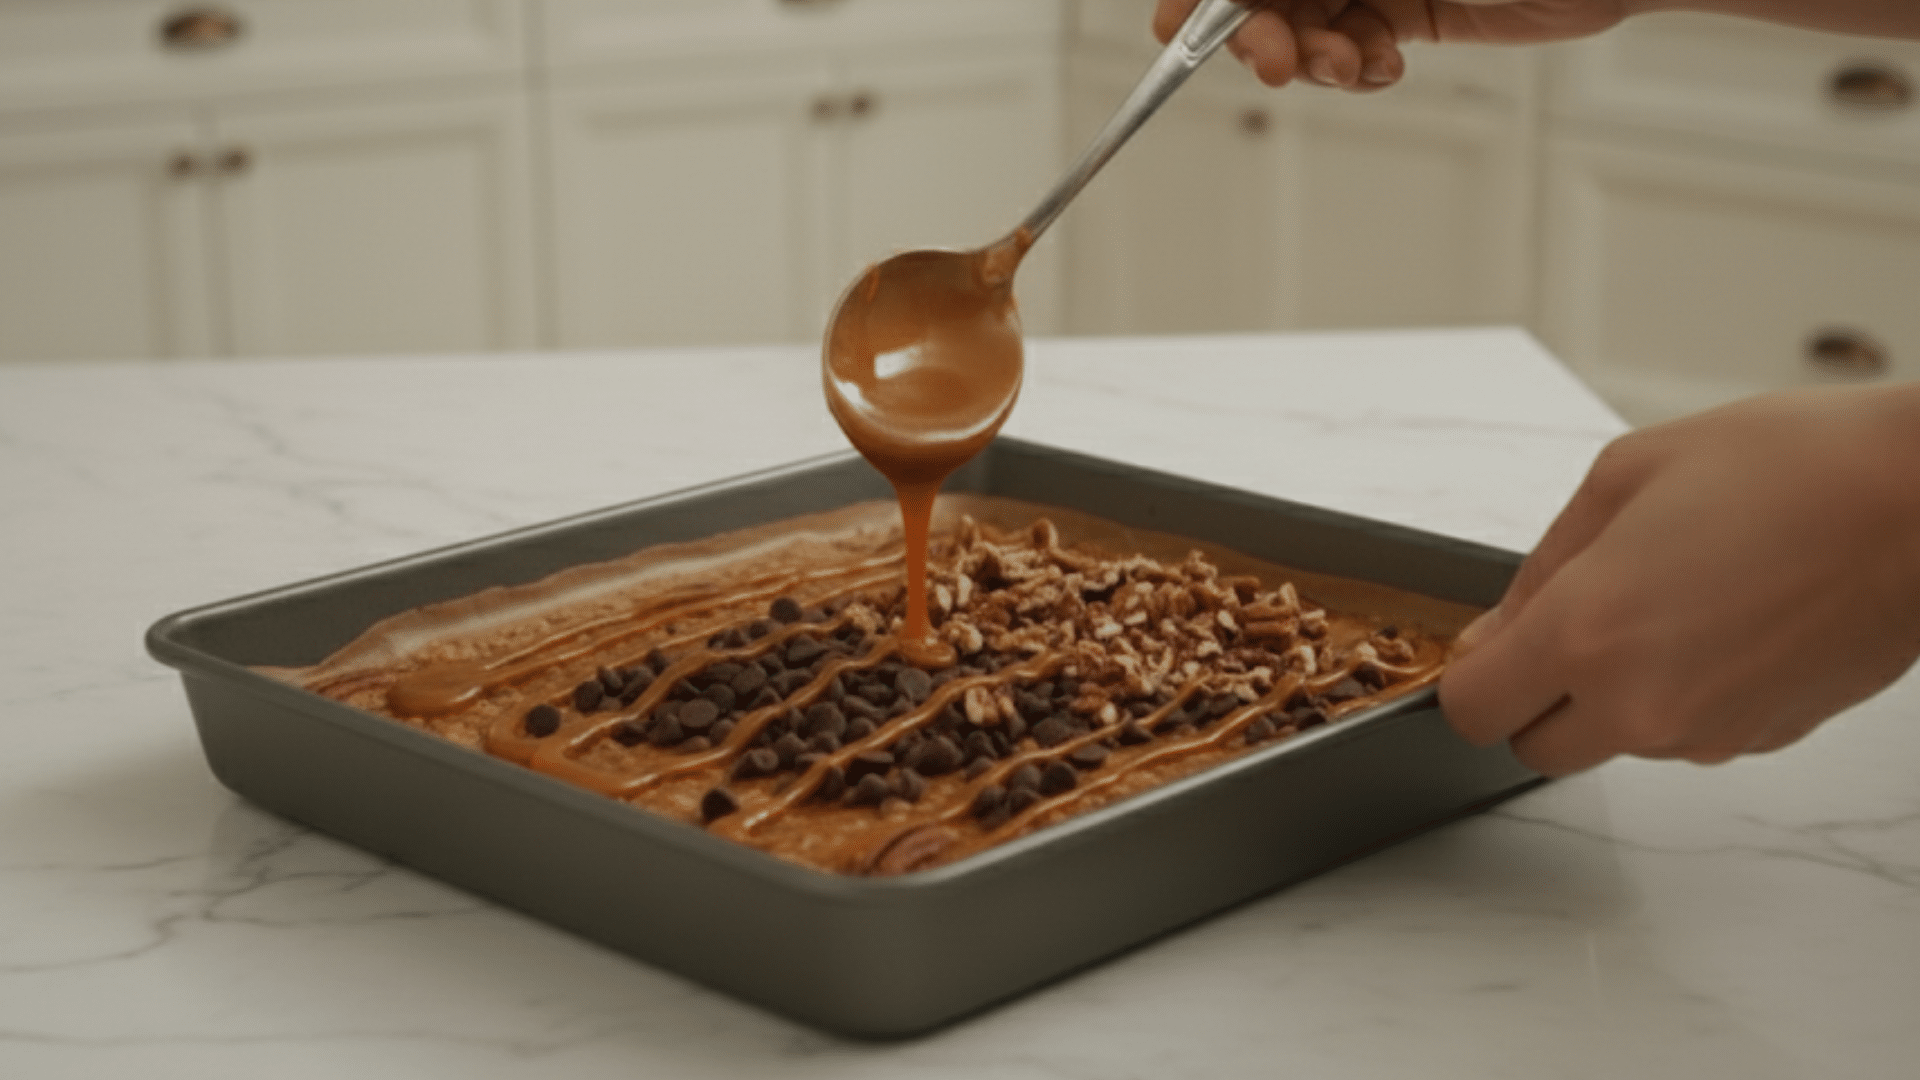
Now comes the fun part. Drizzle your caramel sauce evenly over the oatmeal crust. I use a spoon and work in a back-and-forth motion to get good coverage. Don’t worry if it’s not perfect; it’ll spread as it bakes.
Next, sprinkle the chocolate chips over the caramel, then the chopped nuts, if you’re using them. I personally love the crunch that pecans add, but these are just as good without nuts.
Step 4: Add the Topping
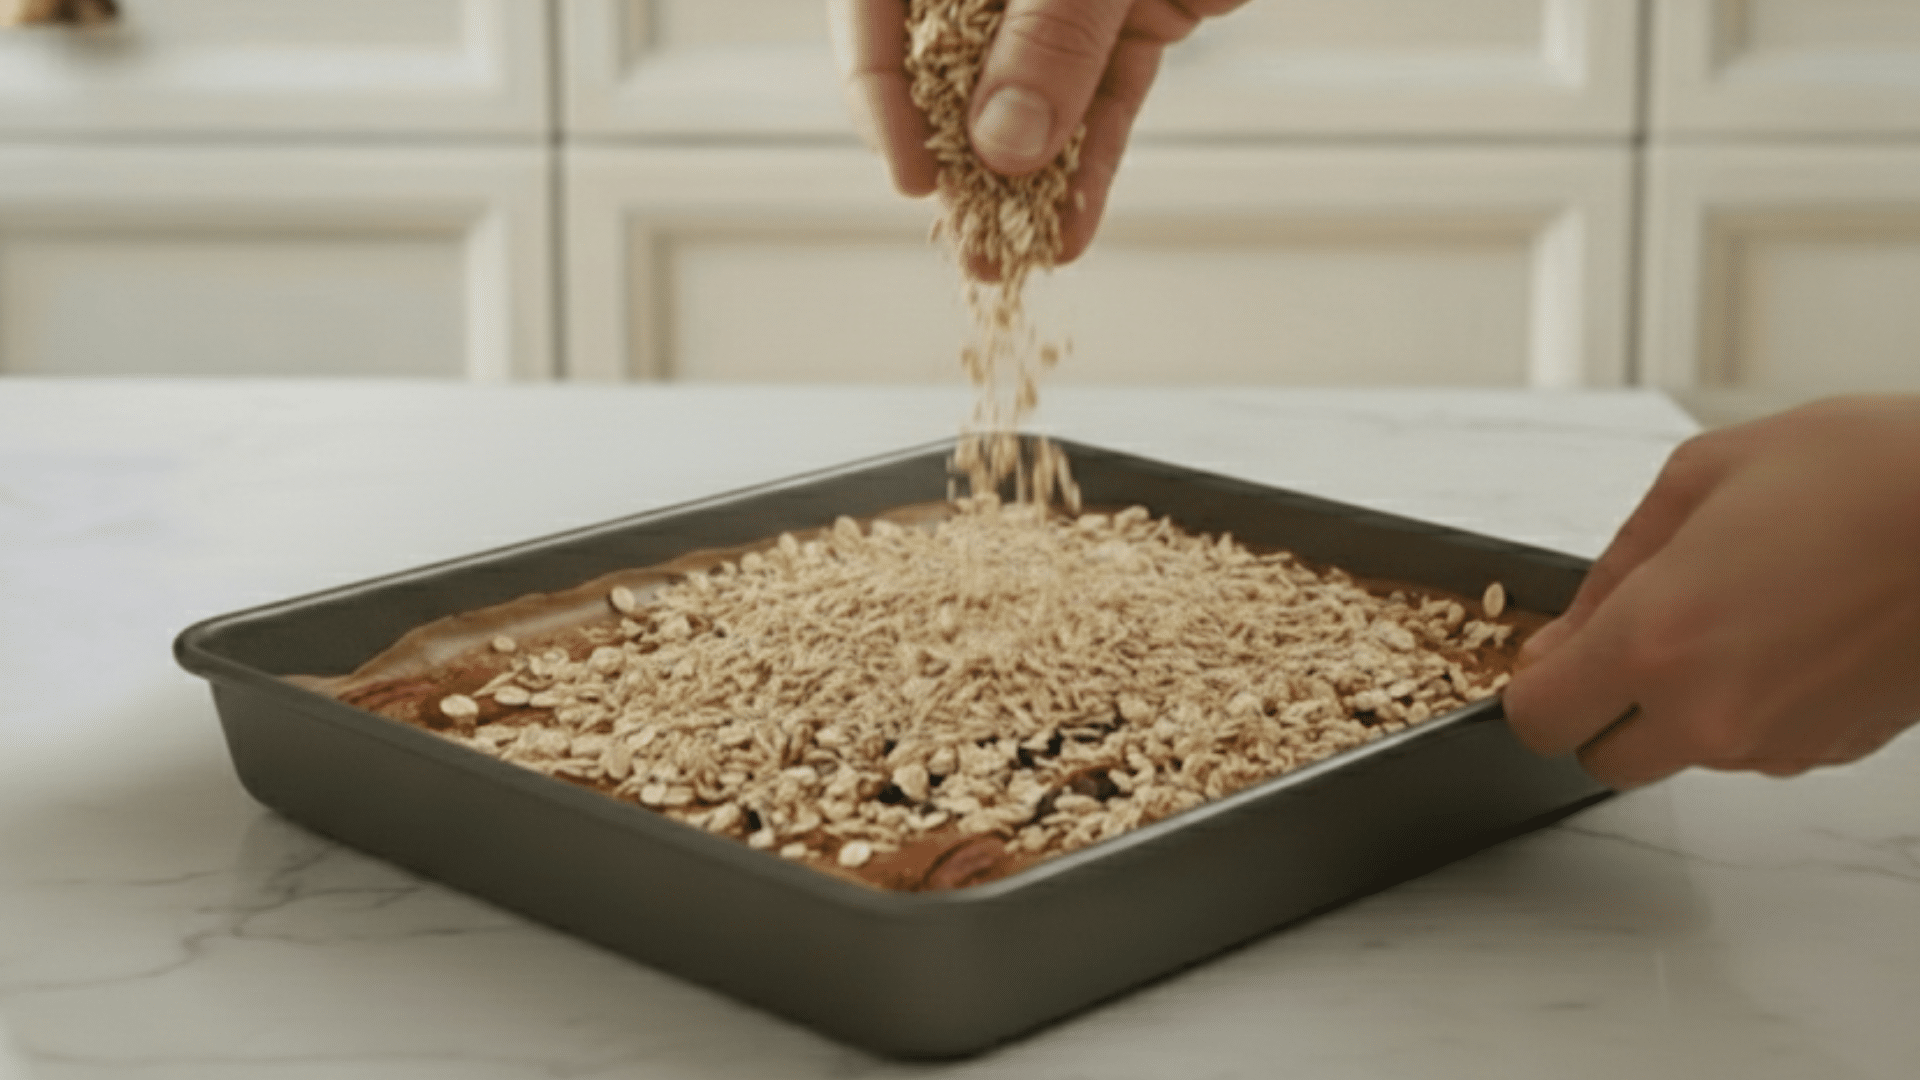
Take that reserved oatmeal mixture and sprinkle it evenly over the caramel and chocolate layer. I use my fingers to break up any large clumps and distribute them as evenly as possible.
The important thing here is not to press down, just let it sit loosely on top. This creates that signature crumbly topping that contrasts so well with the gooey center. It might look like there’s not enough topping, but it’s perfect.
Step 5: Bake the Oatmeal Carmelitas
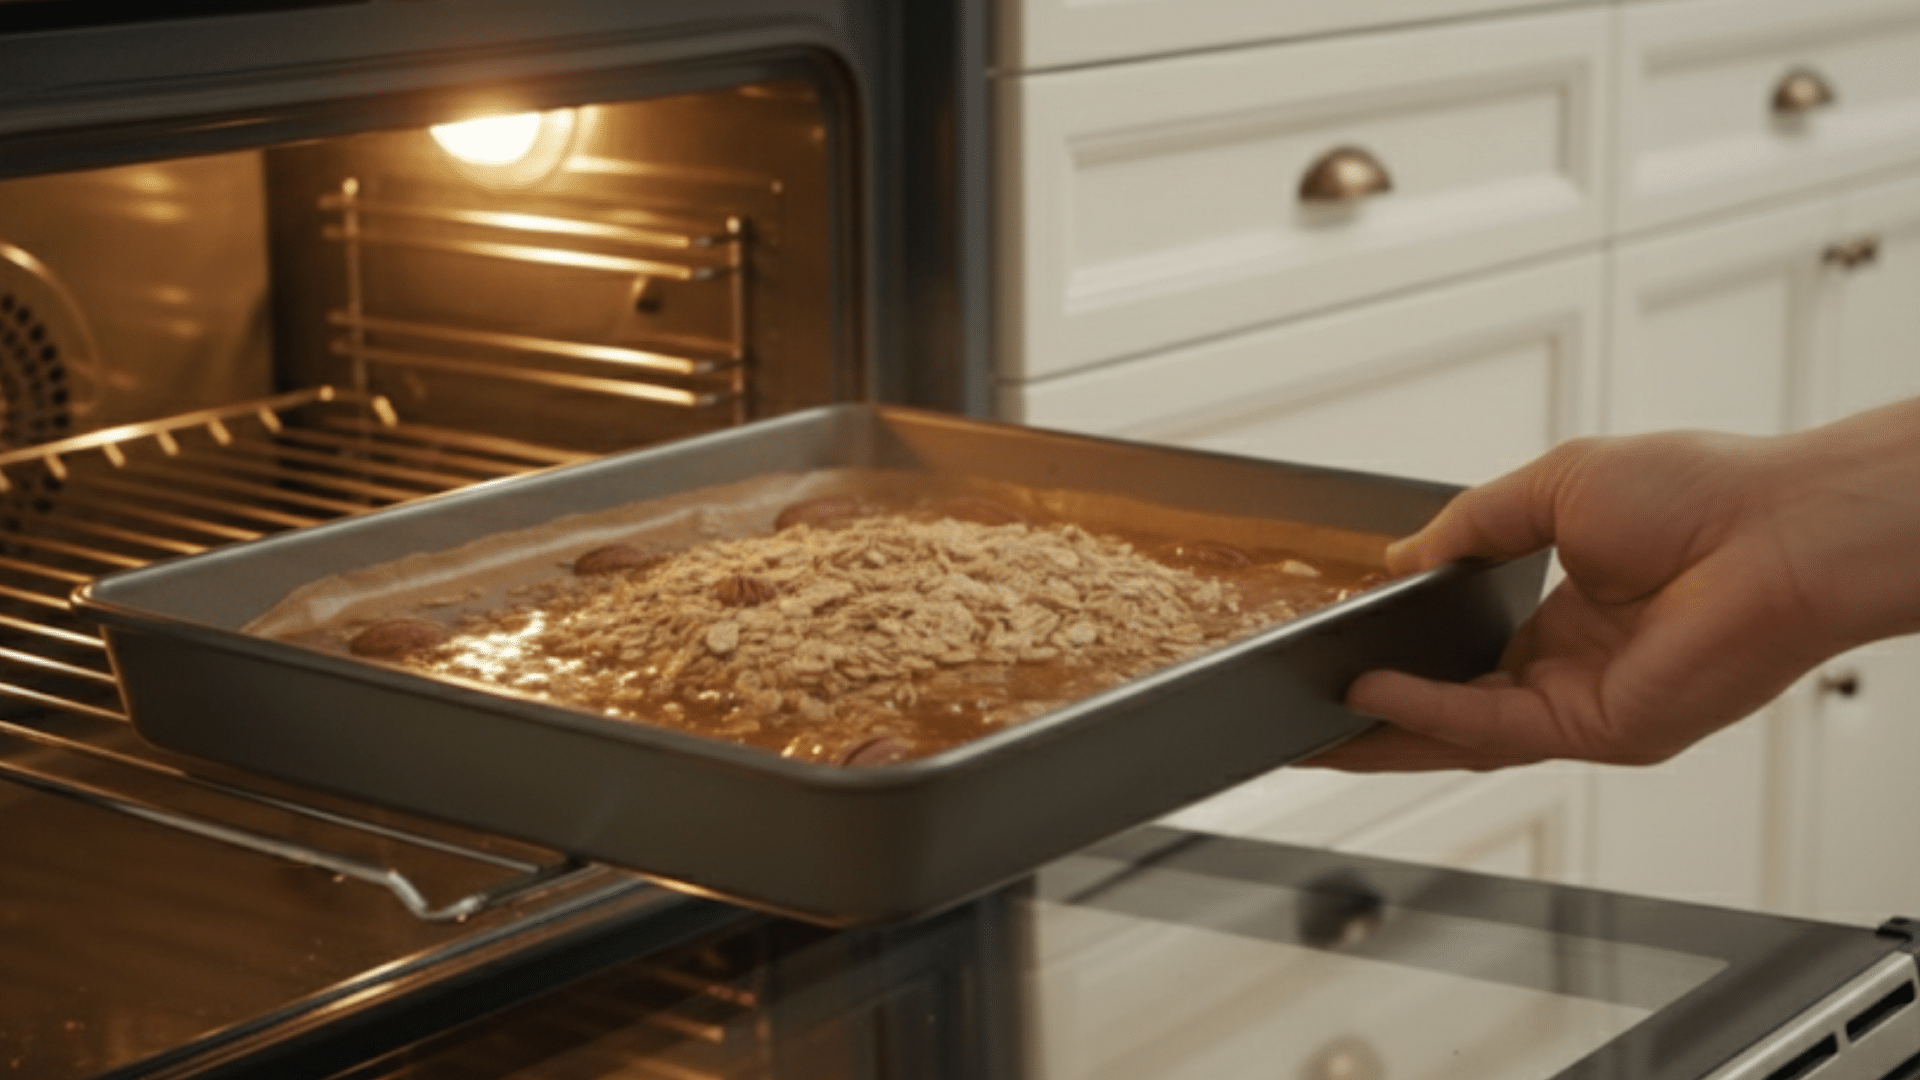
Slide the pan into your preheated oven and bake for 25 to 30 minutes. You’re looking for a golden brown top and bubbling caramel around the edges. I usually check around the 25-minute mark because ovens vary.
The center might look slightly soft, and that’s exactly what you want. Remember, these bars will firm up as they cool, so don’t be tempted to overbake them or you’ll lose that gooey texture.
Step 6: Cool and Cut
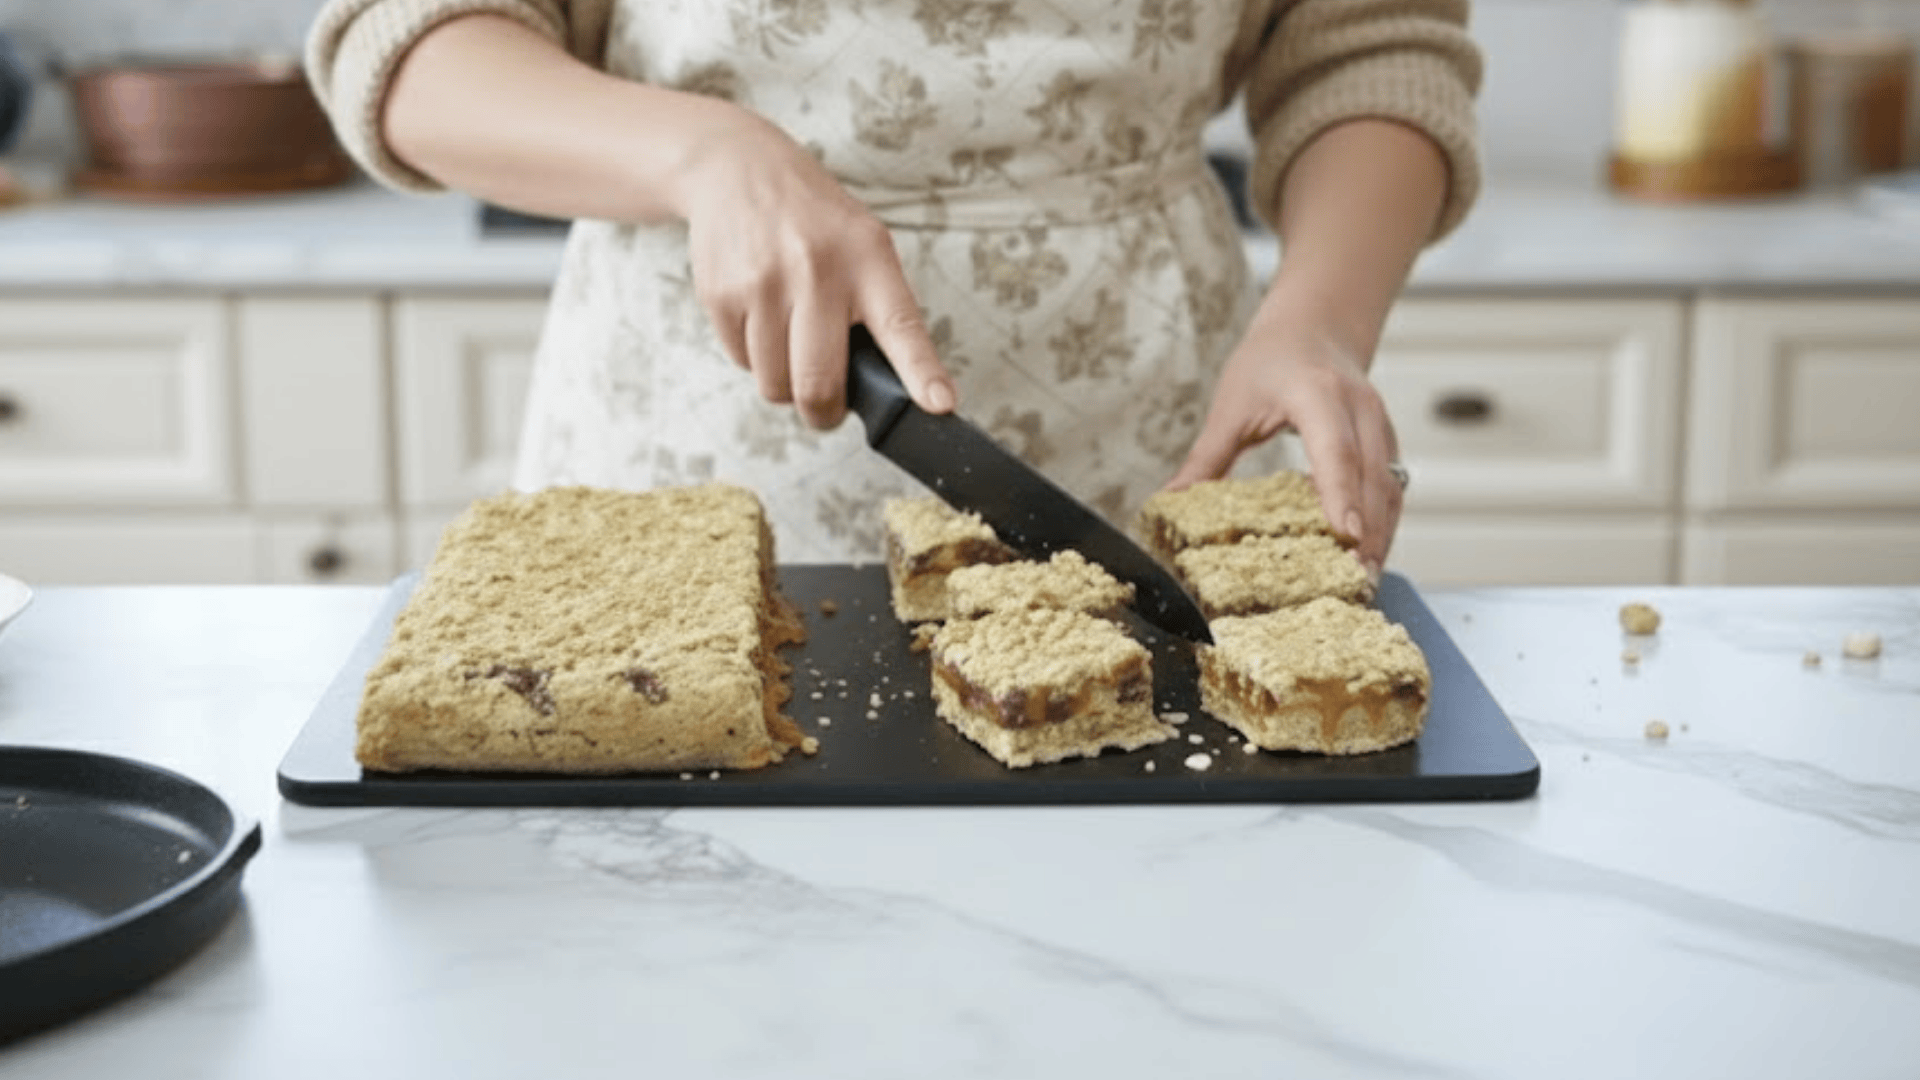
This is the hardest part, waiting. Let the carmelitas cool completely in the pan, which takes about two hours at room temperature. I know it’s tempting to cut into them right away, but the layers need time to set.
Once they’re cool, use the parchment overhang to lift the whole thing out of the pan, then cut into squares or bars with a sharp knife. I get about 24 bars from one batch.
The smell alone while these bake is worth making them. Once you pull them from the oven and let them cool, you’ll have bars with distinct layers that hold together perfectly.
I love serving these at parties or bringing them to potlucks because they travel well and everyone always wants more.

Customization for Your Taste
Sometimes I like to switch things up based on what I have on hand or dietary preferences. Here are the substitutions I’ve tried that work really well:
| Substitute for | Original Ingredient | Alternative | Notes |
| Preference for texture | Quick-cooking oats | Old-fashioned oats | Creates a chewier texture with more bite |
| Lower glycemic index | Brown sugar | Coconut sugar | Slightly less sweet with caramel notes |
| Personal taste preference | Semi-sweet chocolate chips | Milk or dark chocolate | Adjust based on sweetness preference |
| Dairy-free/vegan | Butter | Coconut oil or margarine | Makes the recipe dairy-free |
| Flavor variation | Caramel sauce | Dulce de leche | Adds a deeper, creamier caramel flavor |
I’ve made these with almost every combination above, and they always turn out delicious. The texture changes slightly with old-fashioned oats, but some people actually prefer that heartier bite.
Tips for the Best Oatmeal Carmelitas
After making these bars dozens of times, I’ve learned a few tricks that make all the difference between good carmelitas and absolutely perfect ones. Here’s what I always keep in mind:
- Don’t overbake; remove when slightly soft in the center, as they’ll firm up while cooling and stay gooey.
- Cool completely before cutting, wait at least two hours, or the caramel will be too runny, and the bars will fall apart.
- Line your pan with parchment paper for easy removal, preventing sticking and letting you lift the entire batch out.
- Press the crust firmly; a solid base holds everything together and prevents layers from separating when cutting.
- Customize with bits of toffee, sea salt, shredded coconut, or different nuts to make these bars uniquely yours.
These simple tips have saved me from many baking mishaps over the years. Follow them, and you’ll have bakery-quality bars every single time you make this recipe.
Final Drip
Making oatmeal carmelitas has become one of my go-to recipes when I need something sweet and satisfying, but also don’t just want a bowl of sugar.
These desserts make me feel better about my sweet cravings because they contain oats and can be made healthier with coconut oil and dark chocolate.
The combination of buttery oats, gooey caramel, and melty chocolate is hard to beat, and the fact that they’re so simple to make is just a bonus. Even if you mess up the recipe, the worst-case scenario will taste just as good.
If you love gooey, caramel-filled desserts as much as I do, save this recipe and enjoy this good homemade treat. I’d love to hear how yours turn out. Drop your thoughts in the comments below.