Want to know how to care for air plants without killing them in the first week? I asked myself that same question when I brought my first one home from the store.
These little plants look so weird and alien that I honestly had no clue where to start. I kept staring at it, thinking there must be some secret trick I was missing.
Turns out they’re way less complicated than they look, which was a huge relief for me. You’re probably feeling the same mix of excitement and confusion I felt back then.
The cool thing is that air plants actually want to survive, and they’ll work with you. Once I figured out their simple routine, everything just clicked into place.
Meet Air Plants: Nature’s Soil-Free Survivors
I remember the first time I saw an air plant and thought, “How is that even staying alive without dirt?” Air plants, scientifically called Tillandsia, are unique plants that grow without any soil at all, which seems impossible at first.
These plants absorb water and nutrients directly through their leaves instead of roots, as you’d expect from normal plants. They naturally grow on trees, rocks, and other surfaces in places like Central and South America, Mexico, and the southern United States.
Air plants use tiny hair-like structures called trichomes on their leaves to soak up moisture and nutrients from the air. The roots they have are mainly for attaching themselves to surfaces rather than feeding, as your typical houseplant does.
This amazing ability makes them perfect for creative displays and easy indoor growing anywhere in your home.
How to Take Care of Air Plants the Right Way?
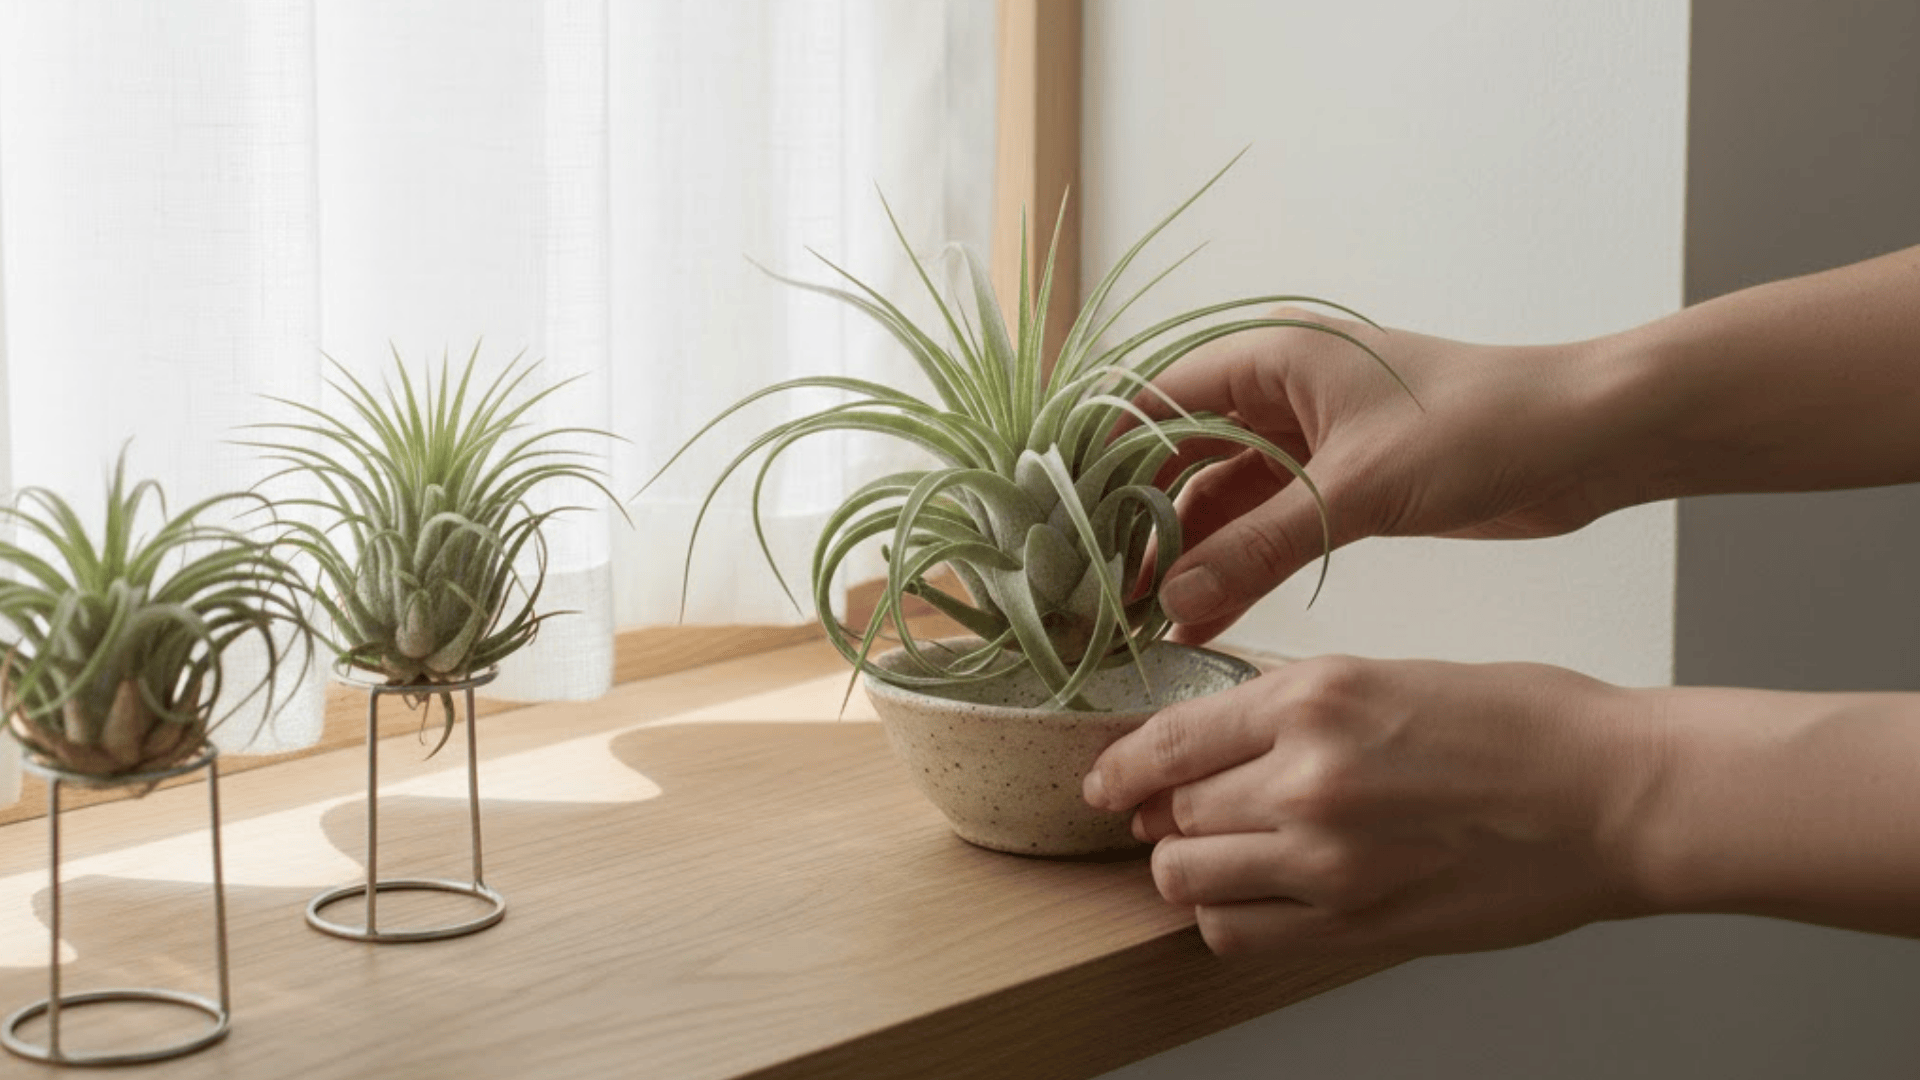
I’ve learned that air plants need the right light, water, and airflow to really thrive. Once you get these basics down, your plants will stay healthy and keep growing for years. Here’s everything I think you should know about air plant care:
Light Requirements for Air Plants
Air plants are pretty easygoing when it comes to light. They don’t need direct sun beating down on them all day. Here’s what you need to know:
- Bright, indirect light works best: Place your air plants near a window where they get filtered sunlight throughout the day.
- Direct sun can burn the leaves: If you notice brown or crispy tips, your plant is getting too much harsh light.
- Too little light makes them stretchy: Air plants that don’t get enough light will grow long and weak-looking.
- Fluorescent lights can work indoors: If you don’t have good natural light, put them under grow lights for 12 hours daily.
Getting the light right makes a huge difference. Watch your plants and move them until you find their perfect spot.
How to Water Air Plants Properly?
I found that watering air plants is totally different from watering regular potted plants. These little guys absorb water through their leaves instead of roots. Here’s how I do it for the best results:
- Step 1: Fill a bowl with room temperature water. Make sure the bowl is big enough to submerge your air plants completely.
- Step 2: Dunk your air plants in the water. Let them soak for 20 to 30 minutes once a week.
- Step 3: Shake off excess water gently. Turn them upside down and give them a little shake to remove trapped water.
- Step 4: Let them dry completely before putting them back. Place them on a towel in a spot with good airflow.
Misting can help between soakings, but it’s not enough on its own. Stick to a regular soaking schedule for the healthiest plants.
Best Water Type to Use
The type of water you use matters more than you might think. Not all water is safe for these sensitive plants. Here’s what works best:
| Water Type | Is It Safe? | Why or Why Not |
|---|---|---|
| Tap water | Sometimes | Contains chlorine and chemicals that can harm air plants over time |
| Filtered water | Yes | Removes most chemicals and is gentle on the leaves |
| Rainwater | Best | Natural and chemical-free, exactly what air plants get in the wild |
| Distilled water | Yes | Pure and safe, but lacks natural minerals air plants might enjoy |
| Softened water | No | Has too much salt, which can damage or kill your air plants |
If tap water is all you have, I suggest letting it sit out overnight. The chlorine will evaporate and make it safer for your plants.
Air Circulation and Drying
After you water your air plants, I always make sure they dry out completely within four hours. You don’t want water sitting in the center of the leaves because that’s how rot starts. Good airflow is your best friend here.
I like to place my air plants upside down on a dish rack or towel near a fan or open window. If you keep them in enclosed terrariums or spaces without much air movement, take them out to dry after watering.
The key is making sure no water pools anywhere on the plant. Once they’re totally dry, you can put them back in their display spots, and they’ll be perfectly happy.
How Often to Water Air Plants?
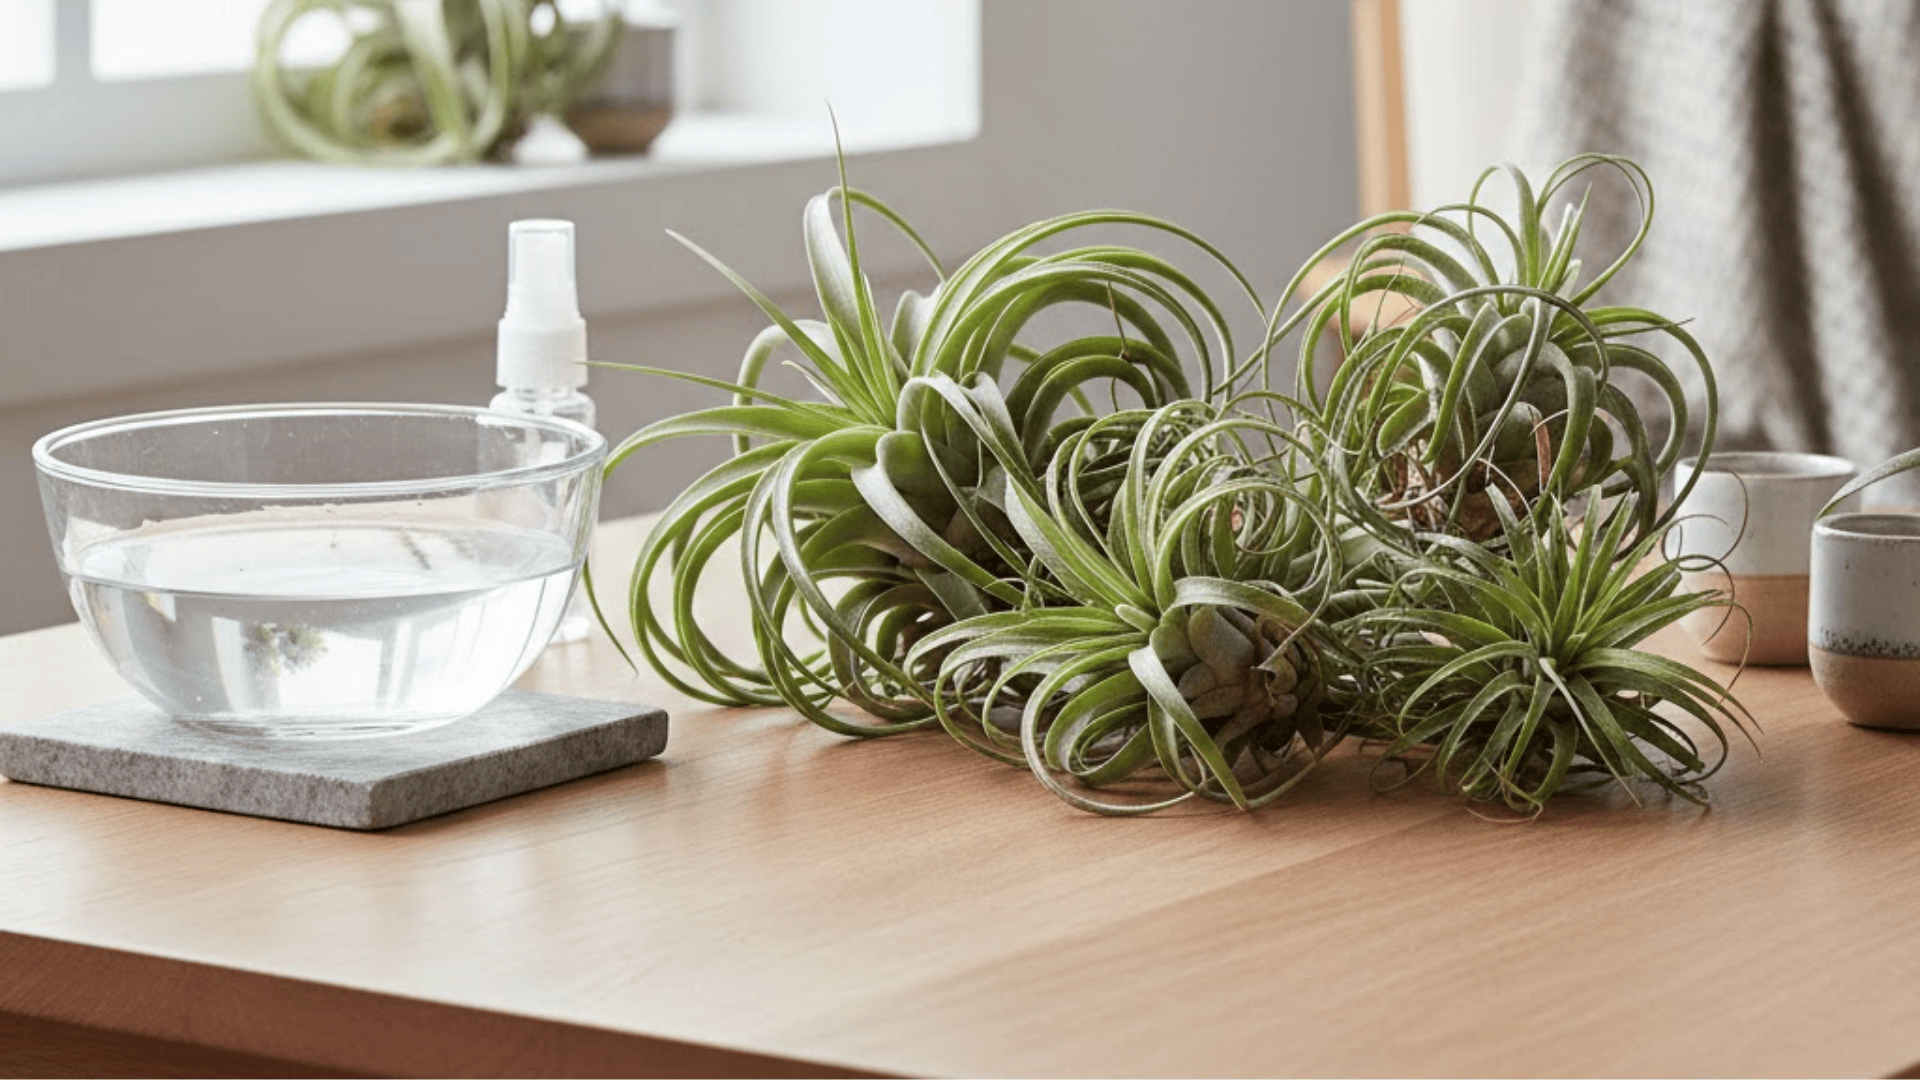
Getting the watering schedule right is one of the most important parts of air plant care. Your plants will tell you what they need if you know what to look for. Here’s how to figure out the perfect watering routine:
Weekly Watering Schedule
I’ve found that most air plants do best with a consistent weekly watering routine. The exact timing depends on where you keep your plants and what your home is like. Here’s a guide based on different conditions:
| Home Conditions | How Often to Water | Why |
|---|---|---|
| Average humidity (40-60%) | Once a week | Perfect balance for most air plants to absorb enough water |
| Dry climate or winter heating | Twice a week | Low humidity pulls moisture out of leaves faster |
| High humidity (70%+) | Every 10-14 days | Plants absorb moisture from the air between waterings |
| Air conditioning running | Twice a week | AC removes moisture from the air just like heating does |
| Near bright windows | Twice a week | Extra light and warmth mean plants use more water |
Start with once a week and adjust based on how your plants look. You’ll figure out the right schedule after watching them for a few weeks.
Signs Your Air Plant Needs Water
Air plants are pretty good at showing you when they’re thirsty. You just need to know what signs to watch for. Look for these signals that your plant needs a drink:
- Leaves start to curl inward: When air plants get dry, their leaves roll up or curl to conserve moisture.
- Color looks dull or faded: Healthy air plants have vibrant color, but thirsty ones look washed out or grayish.
- Leaves feel soft or limp: Well-hydrated air plants have firm leaves, while dehydrated ones feel soft when you touch them.
- Tips turn brown or crispy: Dry leaf tips are a sign your plant has been thirsty for too long.
Once you start paying attention to these signs, you’ll get better at catching problems early. I always check my air plants before watering day to see if any need an extra soak.
When and How to Feed Air Plants?
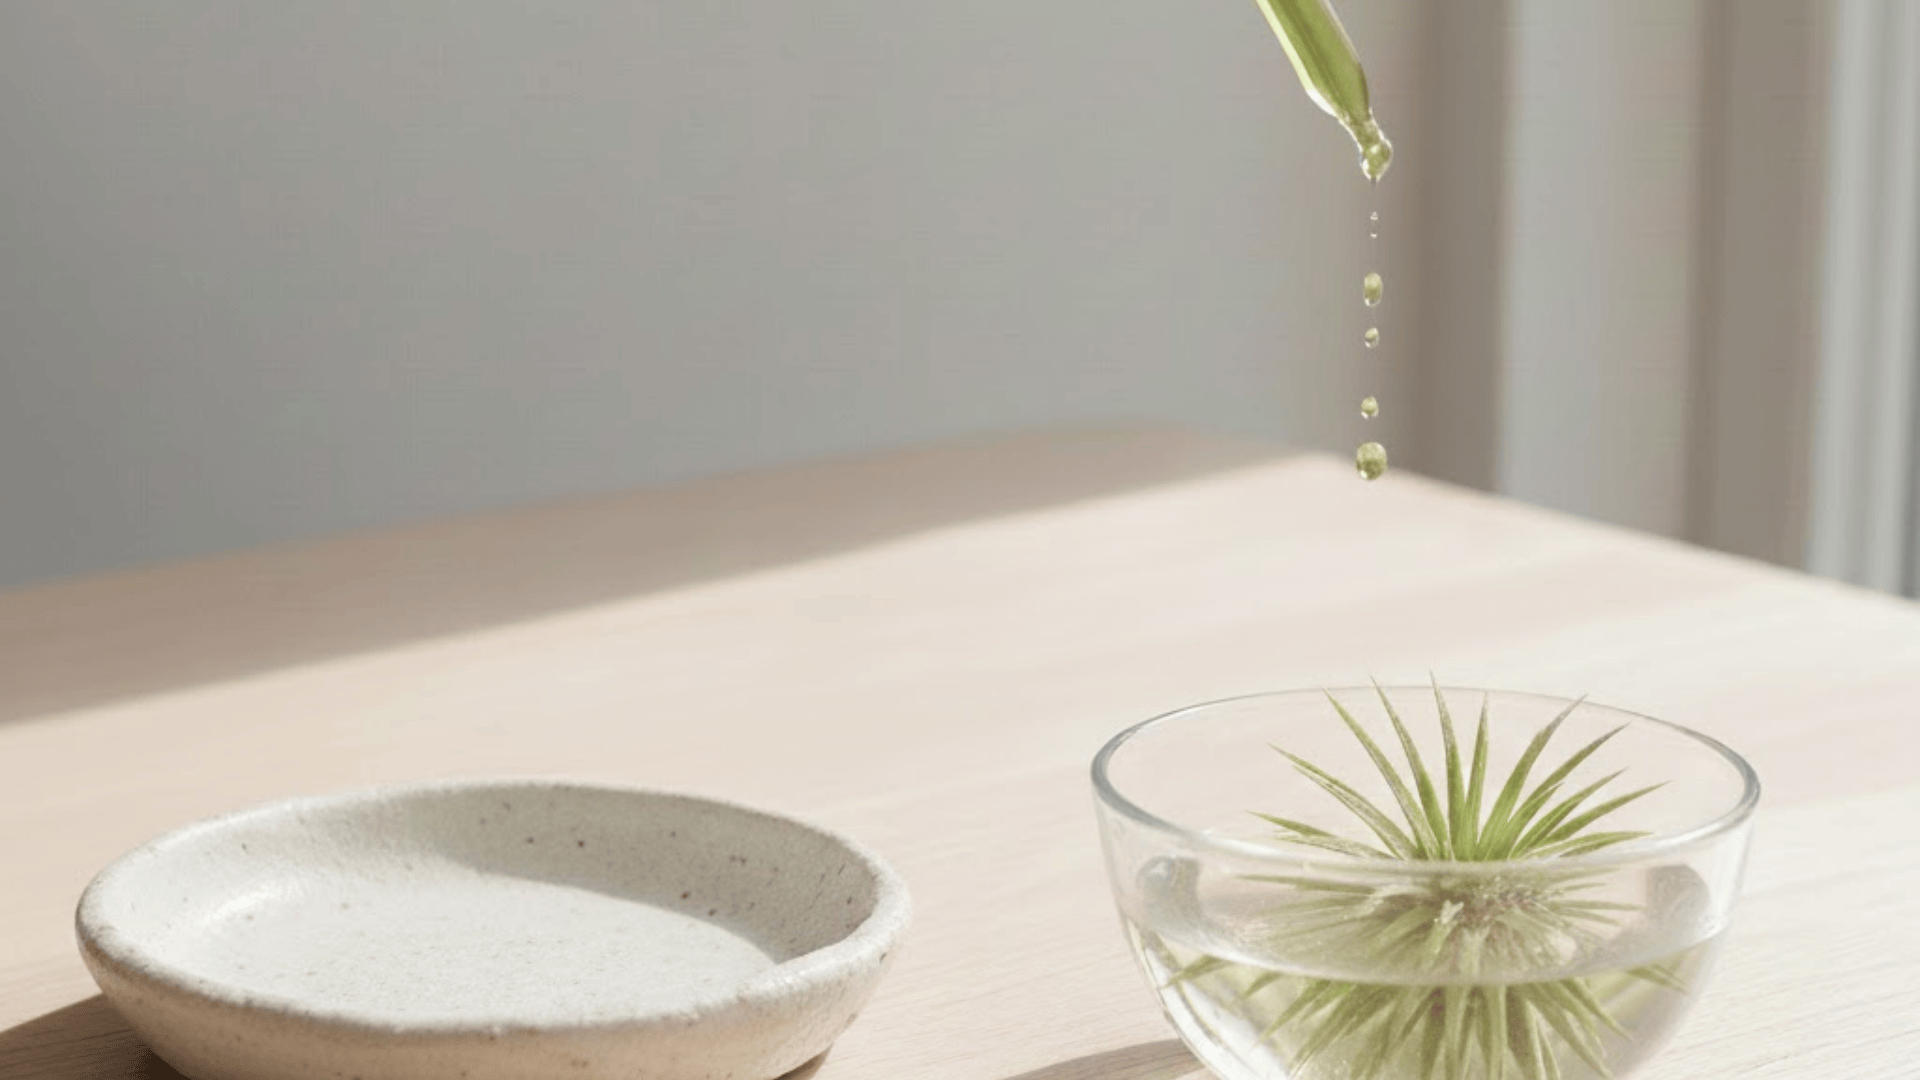
Air plants can survive without fertilizer, but I’ve noticed they grow faster and look healthier when you feed them. In the wild, they get nutrients from rain and debris that lands on their leaves. Your home doesn’t have these natural sources.
Fertilizer helps your air plants produce more vibrant colors and encourages them to bloom. You need a special fertilizer made for bromeliads or air plants specifically. Regular plant food is way too strong and will burn them.
Look for one that’s low in nitrogen and dilute it to quarter strength. I fertilize my air plants once a month during spring and summer. Add the diluted fertilizer to their soaking water on watering day. In fall and winter, I stop fertilizing completely because air plants grow more slowly then.
Best Places to Keep Air Plants Indoors
Air plants are super flexible when it comes to where you can display them around your home. Here’s where air plants do best indoors:
| Location | Why It Works | What to Watch For |
|---|---|---|
| Bathrooms | Humidity from showers keeps plants hydrated | Needs a window for light |
| Kitchens | Good airflow and natural light | Keep away from stoves and grease |
| Living Rooms | Bright indirect light near windows | Avoid direct sun that burns leaves |
| Bedrooms | Gentle light from windowsills works well | Skip dark corners with no airflow |
| Hanging Displays | Wire holders allow air circulation | Don’t block light or hang in drafts |
| Tabletop Displays | Bowls and trays make beautiful displays | Never leave sitting in water |
| Terrariums | Open glass containers look gorgeous | Closed ones trap moisture and cause rot |
I like to move my air plants around until I find spots where they really thrive. You’ll know you’ve found the right place when your plants start growing new leaves and looking vibrant.
How to Help Air Plants Bloom?
I think seeing an air plant bloom is one of the coolest rewards for taking good care of them. Here’s how you can encourage your air plants to flower:
- Give them bright indirect light every day: Air plants need consistent good light for several months before they’ll produce flowers.
- Feed them diluted fertilizer once a month: The extra nutrients help trigger blooming when plants are mature and ready to flower.
- Keep them in a spot with good air circulation: Healthy airflow helps plants stay strong enough to put energy into flowering.
- Be patient because blooming takes time: Most air plants need to be at least two years old before they’re mature enough to bloom.
Blooming is a natural part of your air plant’s life cycle. After it flowers and makes pups, the mother plant will slowly fade away.
Common Air Plant Problems and Solutions
I’ve dealt with most of these air plant problems at some point in my plant care journey. Here’s what usually goes wrong and how you can fix it:
| Problem | What’s Causing It | How to Fix It |
|---|---|---|
| Brown or Crispy Tips | Not enough water or too much direct sun | Soak more often and move away from harsh light |
| Mushy Base or Rot | Sitting in water too long or not drying completely | Let it dry fully after watering and increase airflow |
| Air Plant Not Growing | Not enough light or needs fertilizer | Move to a brighter spot and feed monthly in spring |
| Leaves Turning Yellow | Too much water or not enough air circulation | Water less often and place it in a spot with better airflow |
| Plant Feels Soft or Limp | Severely dehydrated from missing waterings | Give it a longer soak of 2-4 hours to rehydrate |
| Leaves Falling Off | The plant is dying from rot or extreme neglect | Check the base for rot and remove any dead parts |
Catching problems early makes them much easier to fix. Check your air plants regularly so you can spot issues before they get serious.
That’s a Wrap
So that’s pretty much everything I wish someone had told me when I started with air plants. I’m still amazed at how easy it is to keep them happy once you get the hang of it.
My favorite part is how forgiving they are when life gets busy, and I forget about them for a bit. You’re probably realizing now that how to care for air plants isn’t some big mystery after all.
I bet you’re already thinking about where you’d put one in your space. Maybe you’ll grab one next time you’re at a plant shop and see how it goes.
I’d love to hear how your air plant pilgrimage turns out. What room in your house would be perfect for one? Let me know in the comments below!