Want to know the secret behind that crusty, tangy bread everyone talks about? I’ll walk you through a sourdough loaf recipe that’ll completely change how you see baking.
You don’t need fancy equipment or special ingredients; just patience and the right steps. Sourdough might seem intimidating at first, but once you understand the process, it becomes second nature.
I’ll show you exactly what to do, when to do it, and how to troubleshoot along the way. By the end, you’ll be pulling a golden, crackling loaf from your oven like a pro. Let’s turn your kitchen into your own mini bakery.
What Makes Sourdough Bread Special?
Sourdough bread is a naturally fermented bread made with wild yeast and bacteria from a sourdough starter, rather than commercial yeast.
Unlike regular bread, which uses store-bought yeast for a fast rise, sourdough takes its time to ferment and develop its one-of-a-kind taste.
I’ve always found it fascinating that sourdough dates back to ancient Egypt, making it one of the oldest breads. It’s recently surged in popularity as home bakers brought traditional baking methods back and adopted its original flavor.
I love how sourdough also offers health benefits, like better digestion and improved nutrient absorption.
Ingredients and Tools for the Perfect Sourdough Loaf
Before diving into the baking process, I always make sure I have all my ingredients and equipment ready to go. Here’s what you’ll need to create your perfect sourdough loaf:
Ingredients
Making sourdough bread requires just a few simple ingredients that come together to create a delicious, crusty loaf. Here’s everything you’ll need to get started:
For the Sourdough Starter:
- 50g flour
- 50ml water
- (Repeat daily feeding for 5-7 days until active)
For the Dough:
- 500g bread flour (or all-purpose flour)
- 350ml water (70% hydration)
- 100g active sourdough starter
- 10g salt
Total Water Needed: Approximately 400ml (0.4 liters) – including both starter and dough
Equipments
Having the right equipment makes the sourdough baking process much smoother and more enjoyable. I’ve found that you don’t need anything fancy, but these tools will help you get the best results:
| Equipment | Details |
|---|---|
| Jar | At least 500ml capacity for the starter |
| Large mixing bowl | For mixing the dough |
| Bench scraper | For handling and shaping dough |
| Banneton or proofing basket | 8-9 inch round or oval |
| Dutch oven | 5-7 quart size with lid |
| Sharp blade or lame | For scoring |
| Wire cooling rack | For cooling the baked loaf |
| Serrated bread knife | For slicing |
| Kitchen scale | For accurate measurements |
| Parchment paper | For easier transfer |
| Thermometer | To monitor dough temperature |
| Plastic wrap or kitchen towel | To cover the dough during rises |
Most of these items are probably already in your kitchen. If not, you can find them at any kitchen supply store or online.
How to Make a Sourdough Loaf: Step-by-Step Recipe
I’ll take you through making a gorgeous sourdough loaf that serves 4-6 people, just right for sharing with loved ones.
The whole process takes about 24 hours, with just 30 minutes of hands-on work. Here’s how to create your sourdough loaf:
Step 1: Preparing Your Sourdough Starter
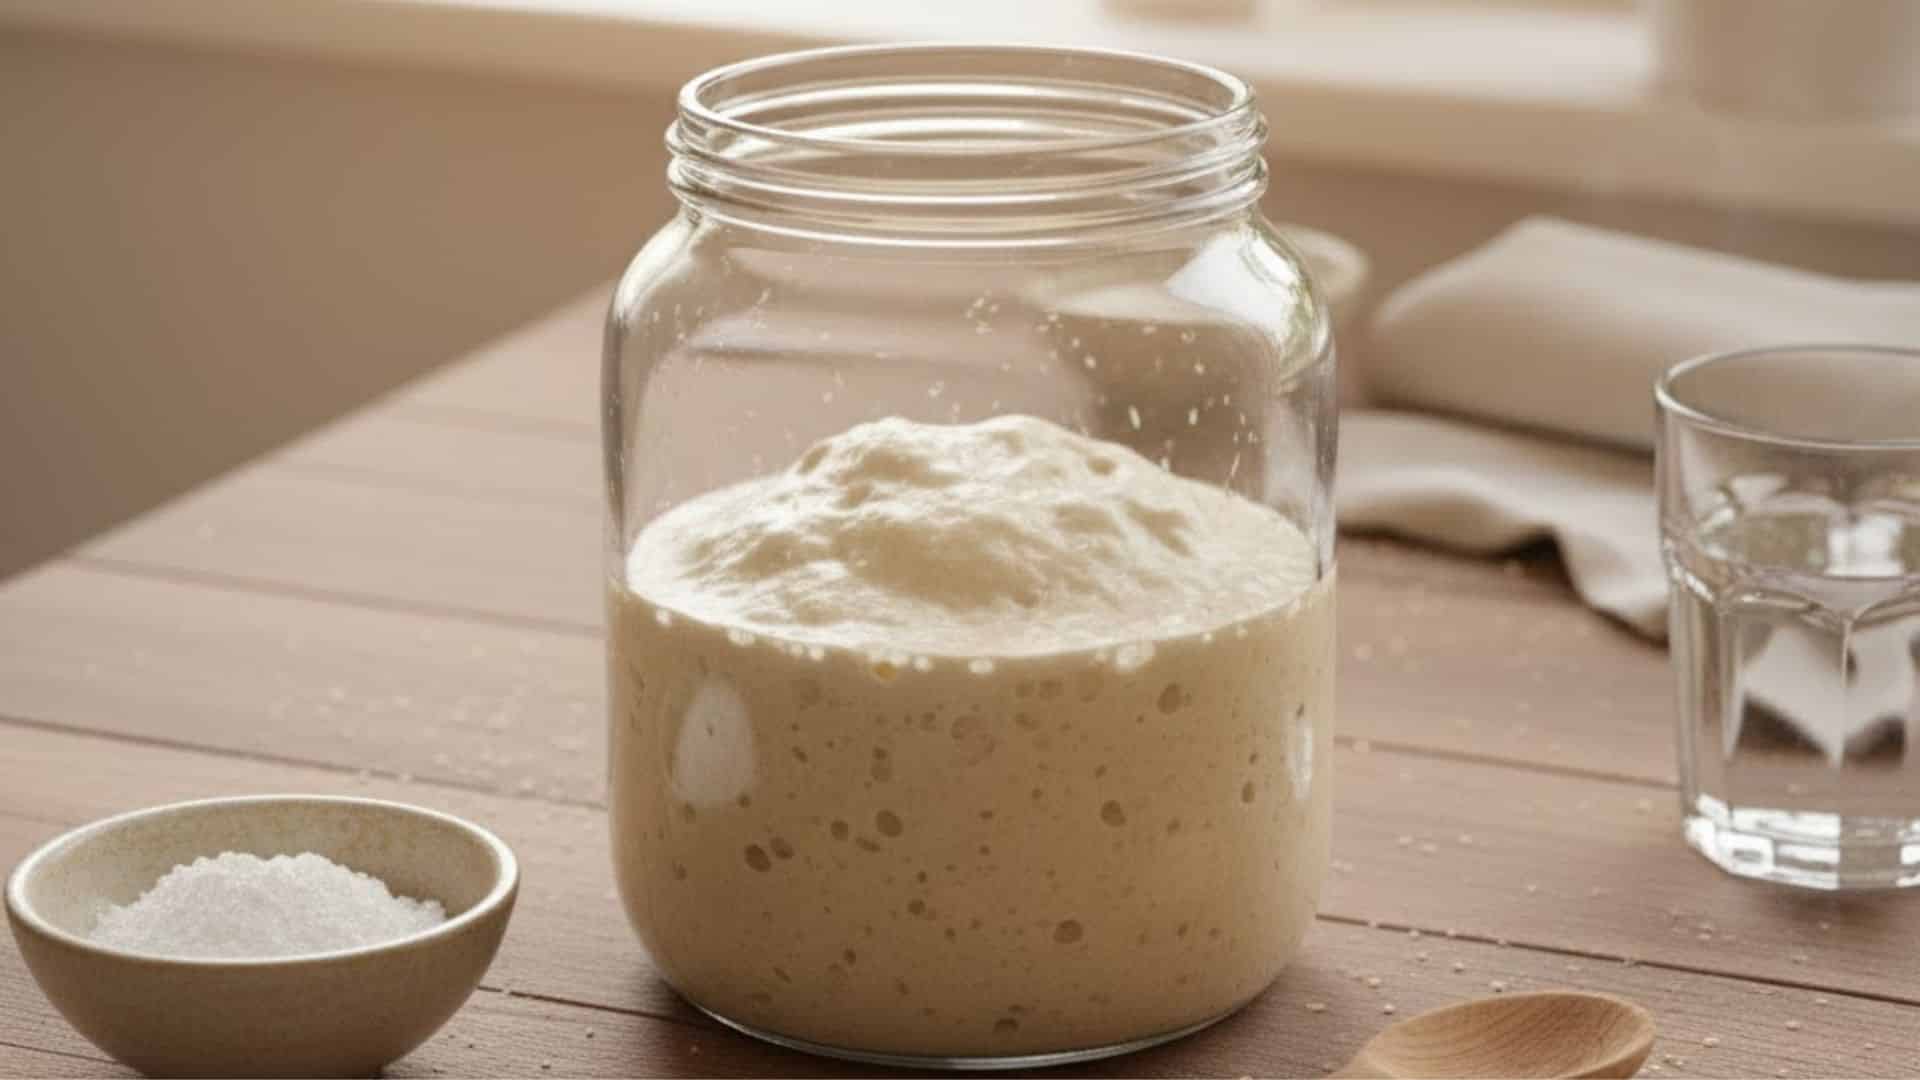
Start by mixing equal parts flour and water in a jar to create your starter. Feed it daily with fresh flour and water for 5-7 days, and soon you’ll see it bubble and double in size within 4-6 hours.
When it smells slightly sour and passes the float test, it’s ready to go. I always make sure the starter is bubbly and active before using it for baking—this is key to getting that tangy flavor!
Step 2: Mixing the Dough
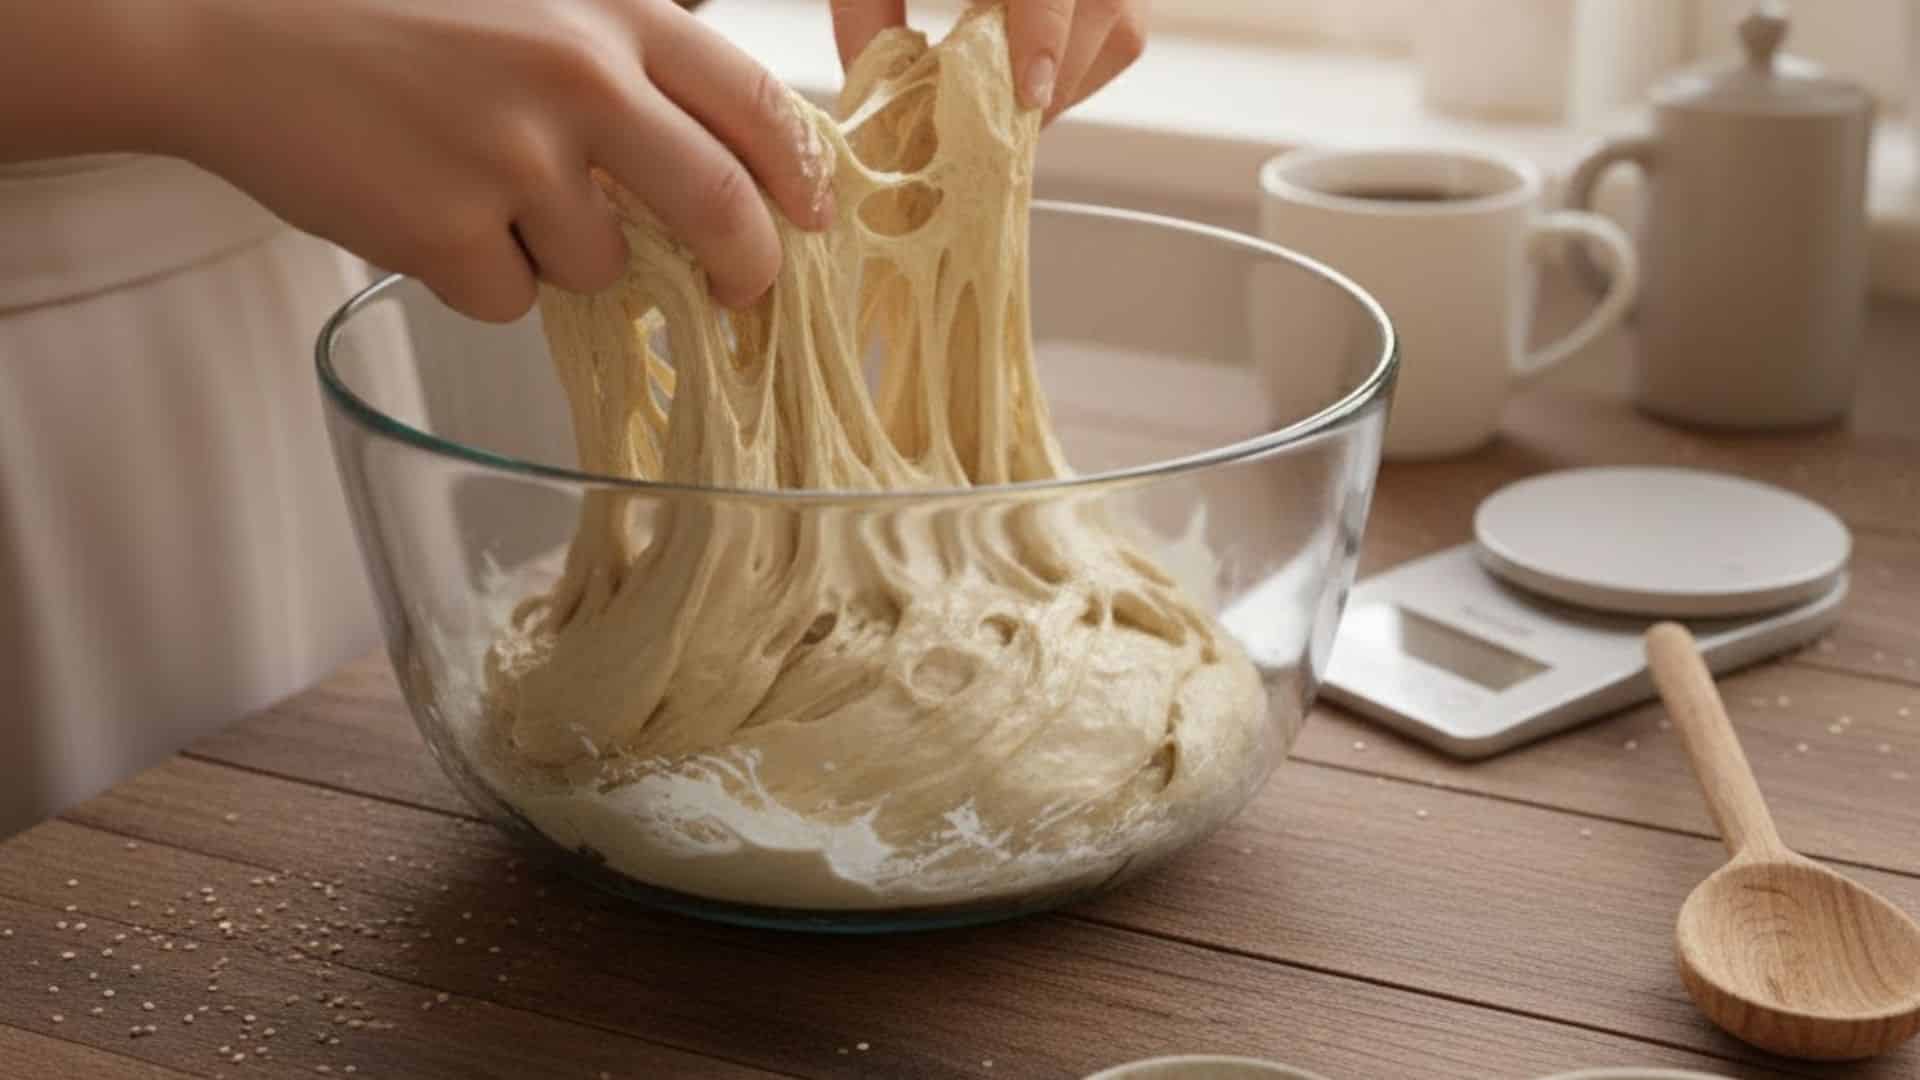
Mix your flour and water first, and then let it rest for 30 minutes. This resting phase, known as autolyse, helps the flour absorb the water and develops the texture of the dough.
Add your active starter and salt, and then mix everything by hand. I love using my hands to squeeze and fold the dough until it’s sticky but still comes together just right; not too wet, not too dry.
Step 3: Bulk Fermentation (First Rise)
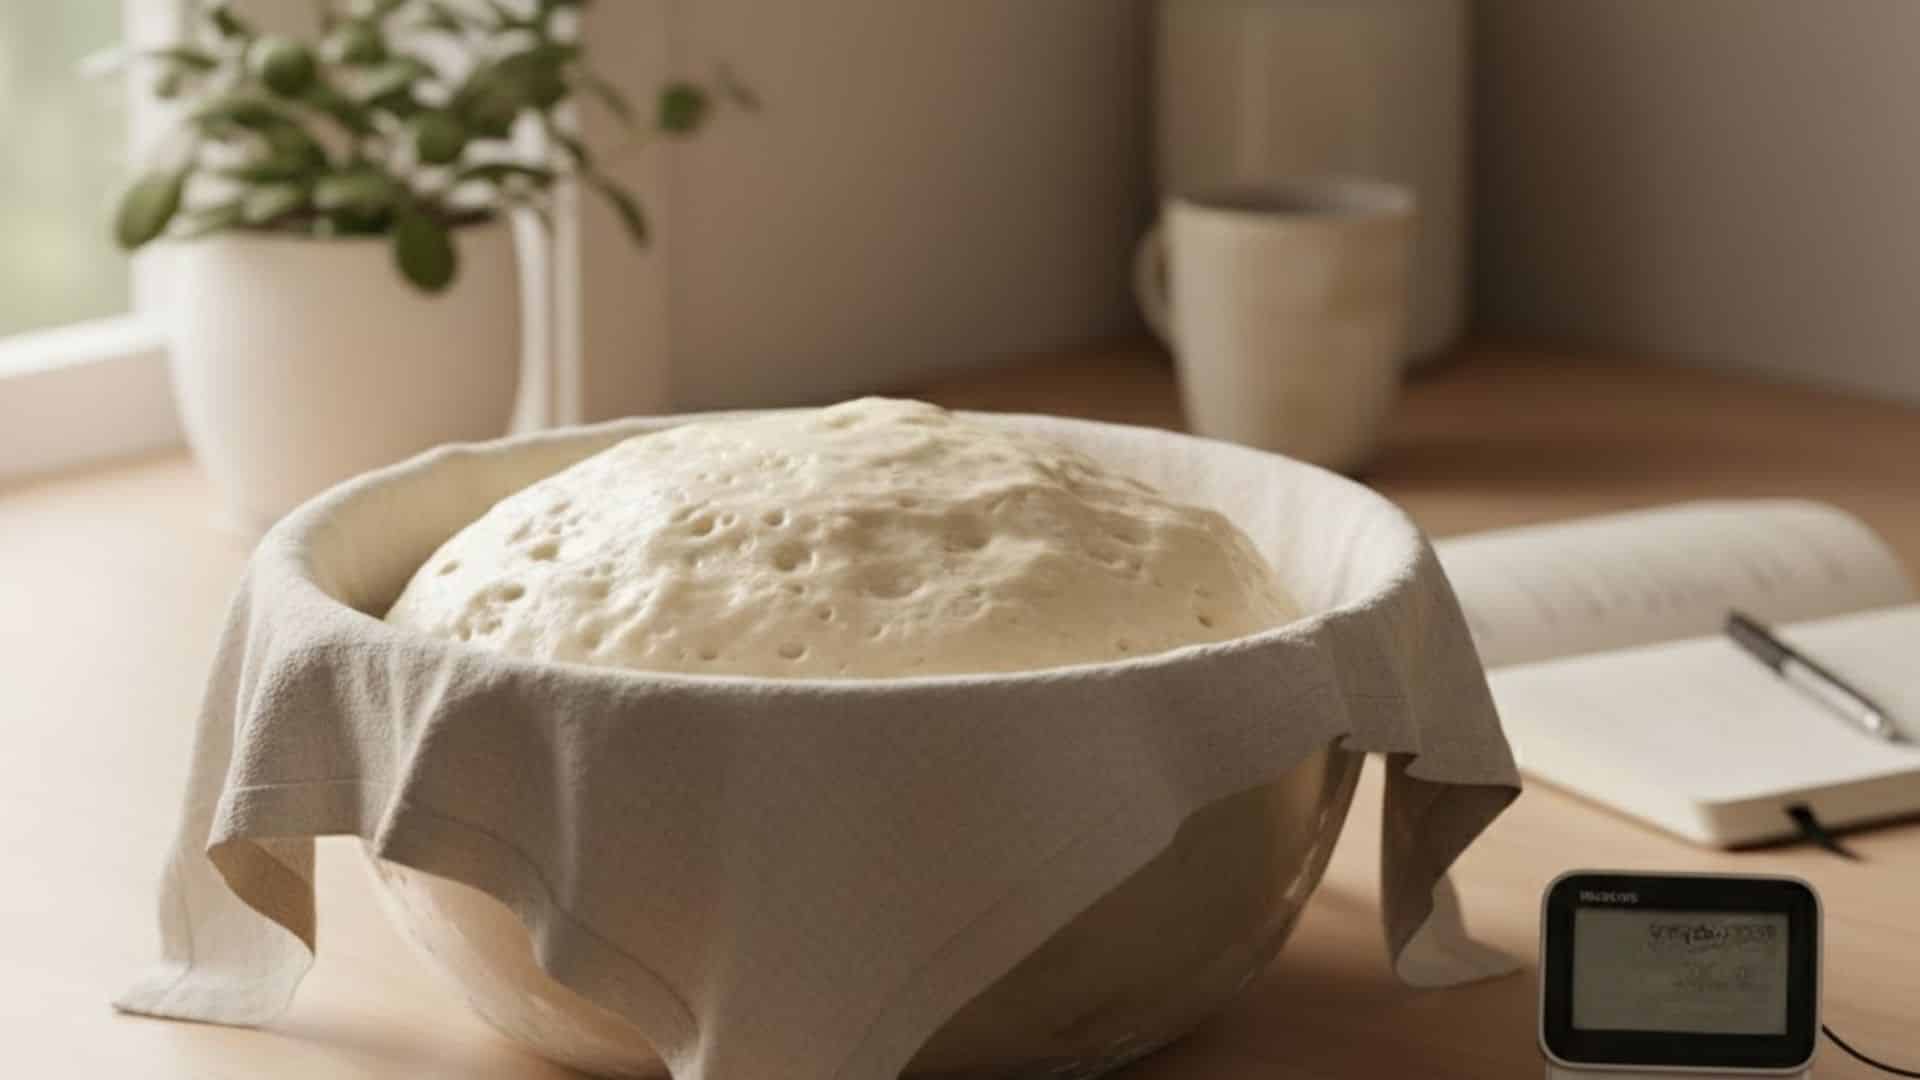
Let the dough rise at room temperature for about 4-5 hours. During the first two hours, perform stretches and folds every 30 minutes to help build strength and develop structure.
I gently pull one side of the dough up and fold it over itself. Once this stage is done, the dough should be about half its original size and feel airy and light.
Step 4: Shaping the Dough
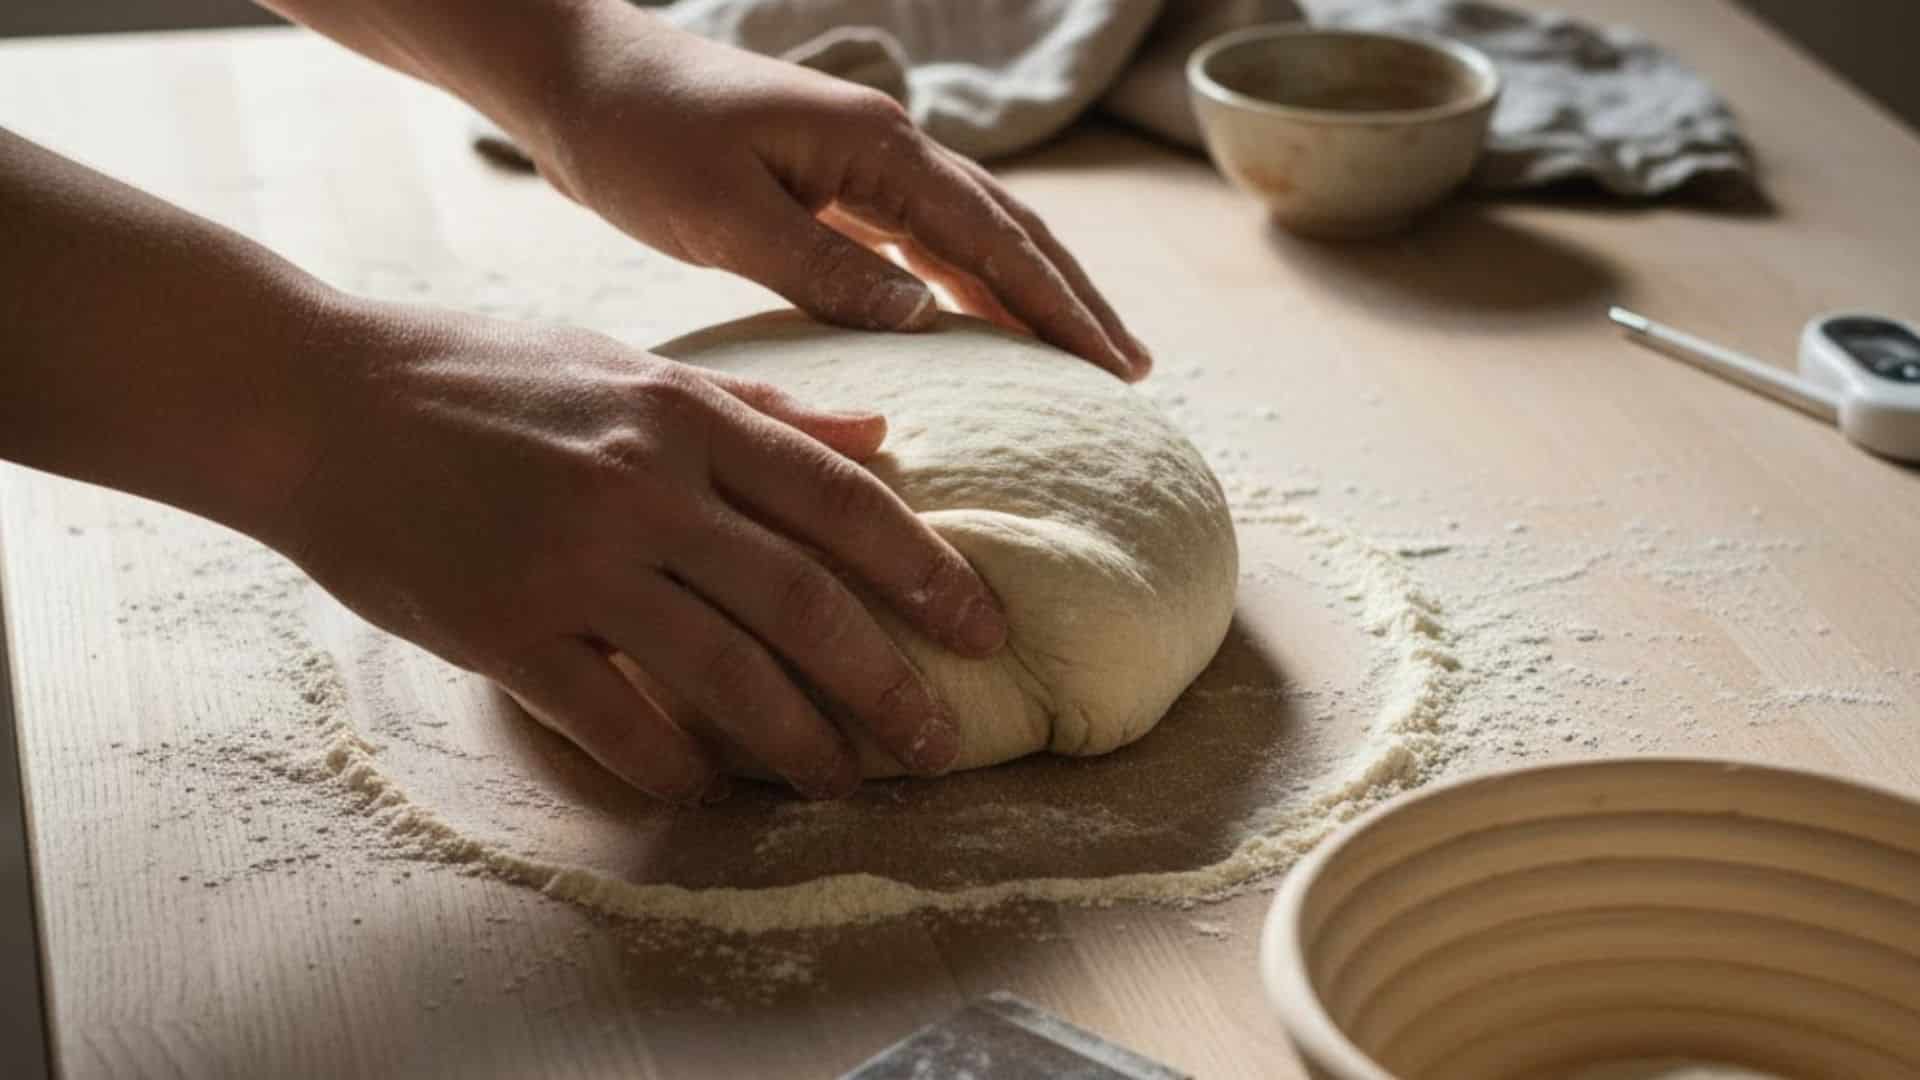
After the first rise, turn the dough out onto a floured surface and shape it into a round or oval loaf. Fold the edges towards the center to create tension on the surface.
I like to use a bench scraper to help rotate and tighten the dough into a smooth ball. This shaping is crucial for ensuring that the dough rises upward in the oven rather than spreading out.
Step 5: Proofing the Dough (Second Rise)
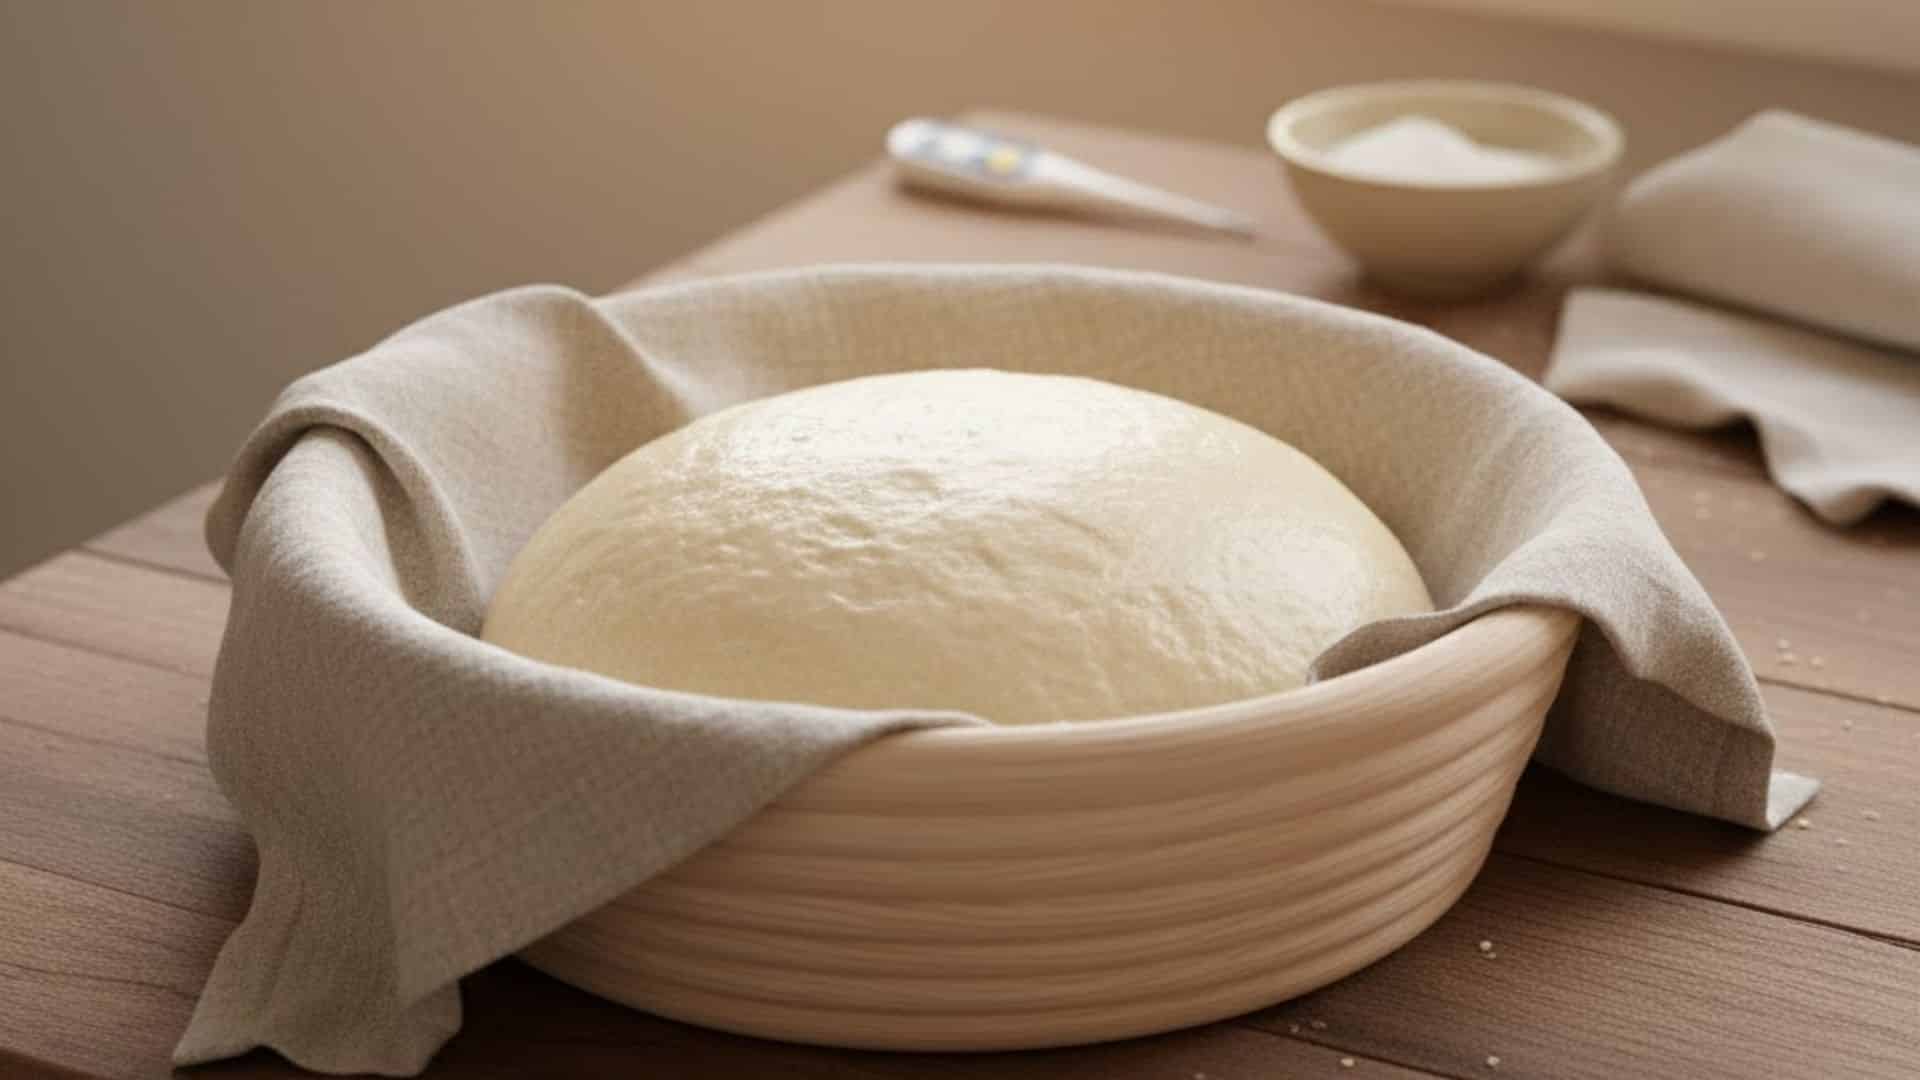
Place the shaped dough in the fridge for 8-12 hours to cold proof. This enhances the flavor and makes the dough easier to score. I prefer proofing mine overnight, especially since it fits into my schedule, and the results are always worth it.
If you’re short on time, proofing at room temperature for 2-3 hours works too. The dough will feel puffy and spring back when pressed lightly.
Step 6: Scoring and Baking
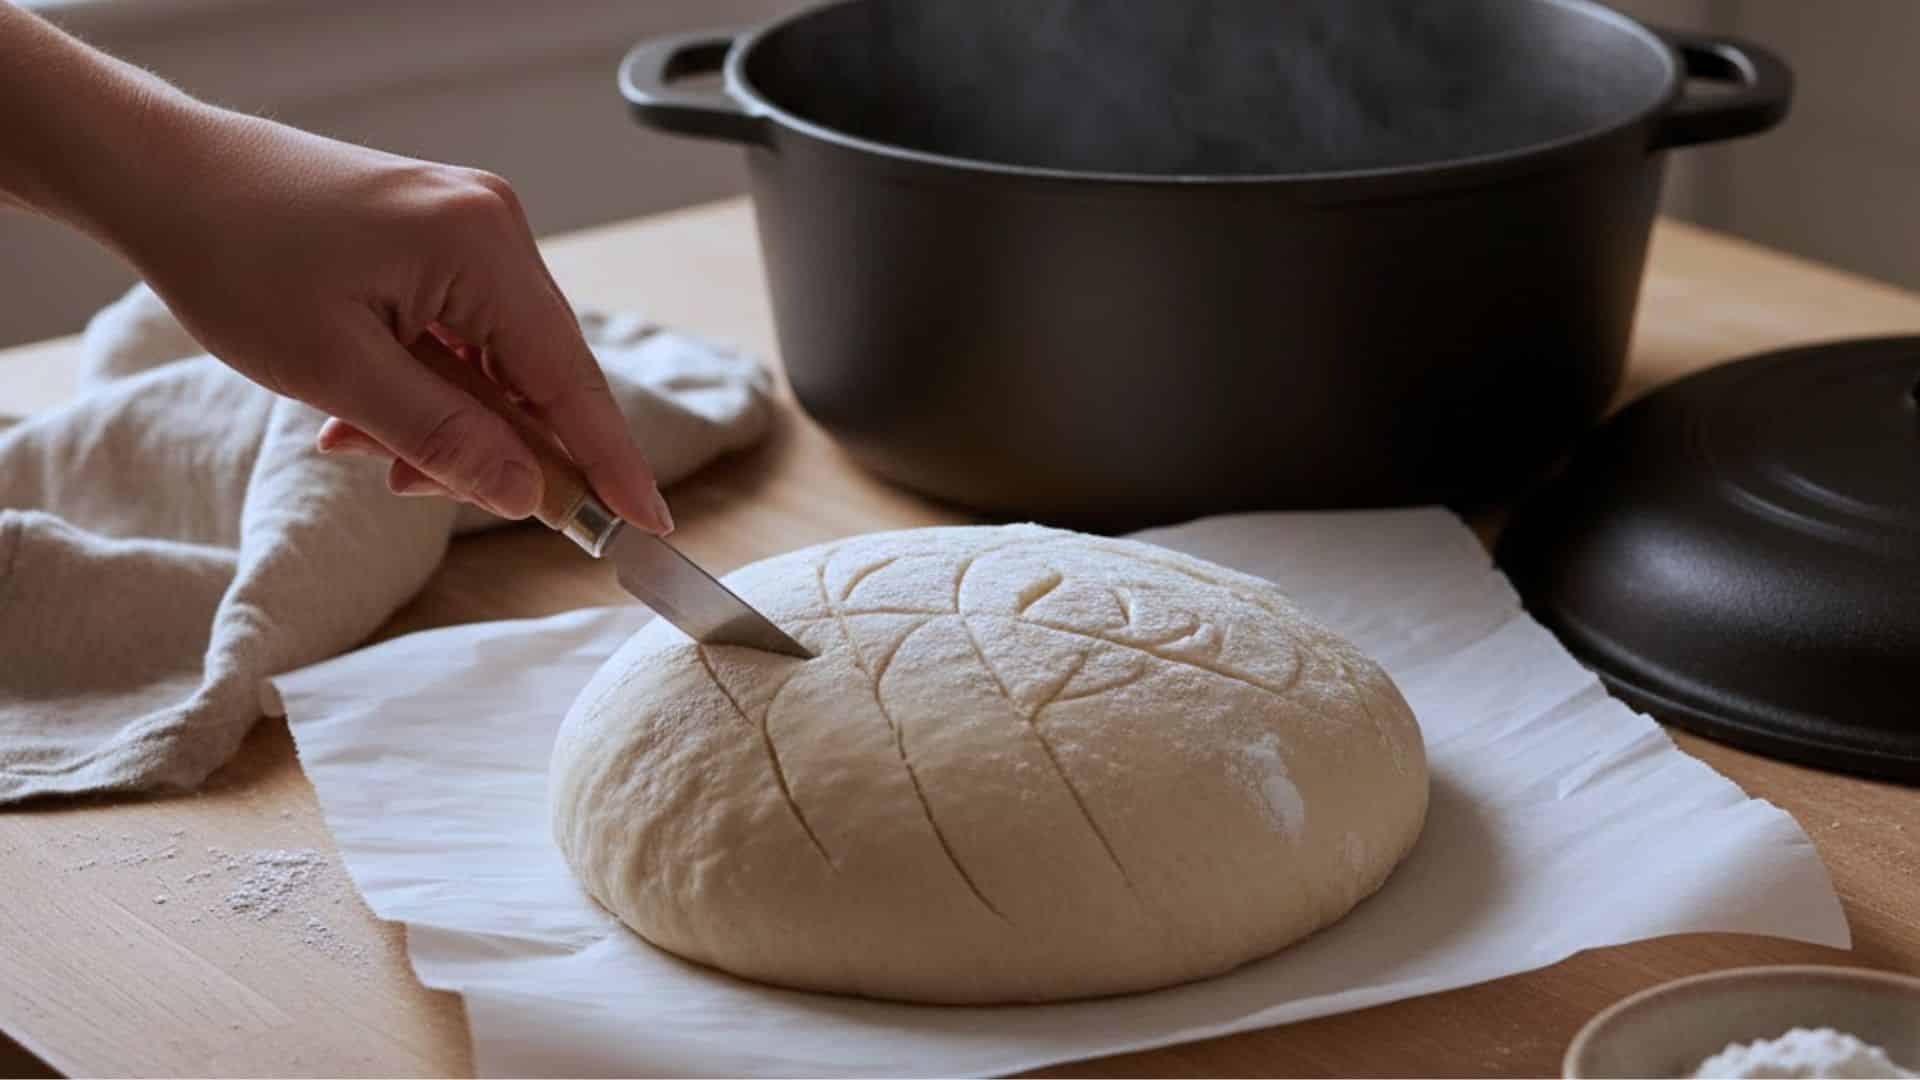
Preheat your oven with a Dutch oven inside for at least 30 minutes. Once your dough is ready, score a deep slash across the top using a sharp blade. I always score at a slight angle to help the loaf rise beautifully.
Carefully place the dough in the hot Dutch oven, cover with the lid, and bake for 20 minutes. After that, remove the lid and bake for another 25 minutes until the crust turns golden and crispy.
Step 7: Cooling and Slicing
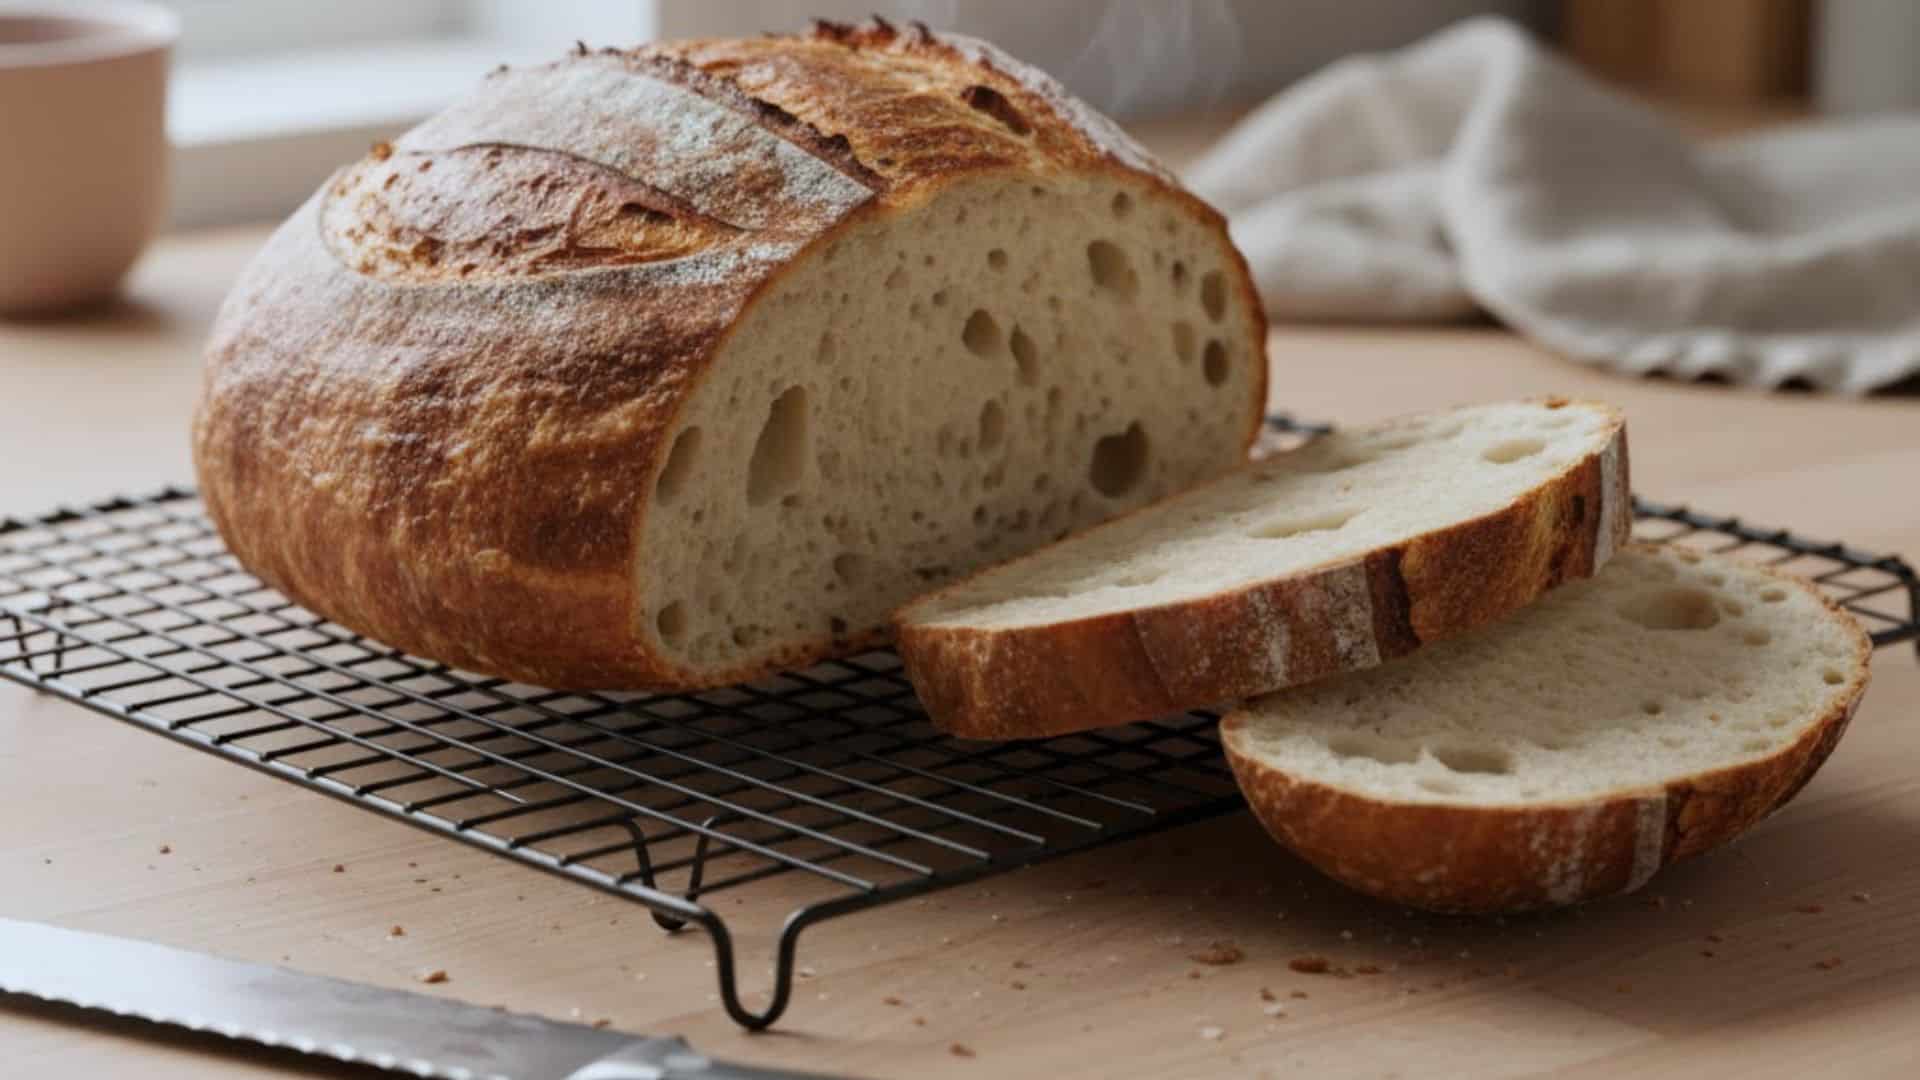
Once your sourdough is out of the oven, let it cool completely on a wire rack for at least two hours.
I know it’s tempting to slice right away, but waiting helps the crumb set properly and avoids any gummy texture. Once it’s fully cooled, use a sharp serrated knife to slice the loaf cleanly. Enjoy!
Sourdough Bread Variations to Try
I love experimenting with different sourdough variations to switch things up and keep my baking exciting. Here are some great options that you can easily experiment with:
| Variation Type | Best for | Flavor Profile | Usage |
|---|---|---|---|
| Whole Wheat Sourdough | It’s perfect for those who want to add more fiber to their bread. | Nutty, earthy, slightly sweet | Hearty loaves, great for sandwiches. |
| Rye Sourdough | If you enjoy a denser bread with a unique rye flavor, this is a great choice. | Tangy, dense, rustic | Pairs well with smoked meats and cheese. |
| Spelt Sourdough | This is ideal for those looking for a milder and easily digestible bread. | Mildly nutty, soft | Lighter, airier loaves. |
| Rosemary & Garlic Sourdough | For a Mediterranean twist, this one is a must-try. | Savory, fragrant, herbaceous | Pairs with soups and salads. |
| Olive Oil Sourdough | If you prefer a rich, moist crumb, this version is perfect. | Rich, slightly fruity | Great for dipping or Mediterranean dishes. |
| Cinnamon Raisin Sourdough | If you enjoy a sweeter loaf for breakfast or a snack, this one’s for you. | Sweet, spicy, fruity | Perfect for breakfast or snacks. |
| Cranberry Walnut Sourdough | This variation is great if you like a nutty and tart flavor in your bread. | Tart, nutty, slightly sweet | Ideal for breakfast or holiday spreads. |
I highly recommend trying these variations to find your favorite flavor. They can be easily adapted to suit your taste and add variety to your baking routine.
Tips for the Best Sourdough Loaf
Over the years, I’ve learned that a few key practices can make all the difference between good sourdough and truly exceptional bread. Here are my top tips for baking success:
- Maintain a Healthy Starter – Regularly feed and discard your starter for consistent results, and learn how to store it long-term for future batches.
- Perfect Your Technique – Use a thermometer to check dough and oven temperatures, and remember that patience is key when it comes to sourdough’s long fermentation times.
- Invest in Quality Equipment – Tools like a Dutch oven, banneton proofing baskets, and bread scoring tools can significantly improve your results.
- Experiment and Adjust – Every kitchen environment is different, so don’t be afraid to adjust timing and hydration levels based on your specific conditions.
I always remind myself that sourdough baking is as much an art as it is a science. With practice and attention to these details, you’ll be baking beautiful loaves in no time!
Troubleshooting Common Sourdough Problems
Even experienced bakers encounter issues from time to time, and I’ve definitely had my share of sourdough mishaps along the way. Here’s a quick guide to help you identify and fix the most common problems:
| Problem | Possible Causes | Solutions |
|---|---|---|
| Too Dense or Heavy Loaf | Under-proofing, weak starter, insufficient rise time | Allow longer fermentation (4-5 hours bulk, 8-12 hours cold proof). Use an active, bubbly starter. |
| Overly Sour Flavor | Over-fermented dough, acidic starter, warm temperatures | Feed starter more frequently. Reduce fermentation time or lower the room temperature. |
| Flat or Spread-out Loaf | Over-proofing, weak gluten, poor shaping, high hydration | Reduce proofing time. Perform more stretch-and-folds. Improve shaping technique for better surface tension. |
| Crust Too Hard or Too Soft | Incorrect oven temperature, improper steam, and baking time | For softer crust: reduce baking time/temperature. For crispier crust: increase final baking time without lid. |
Remember, every “failed” loaf is a learning opportunity that brings you closer to perfection. I always take notes on what went wrong so I can adjust my approach for the next bake.
Latest Sourdough Trends: What’s New in 2025
I noticed that sourdough bread is having a fresh surge in popularity in 2025, well beyond a pandemic trend. This new wave focuses on health and sustainability, with bakeries teaming up with farmers using soil-positive, regenerative methods.
People are drawn to sourdough for its gut-friendly qualities and natural ingredients. I read that flavored sourdough varieties, like blueberry lemon and cinnamon swirl, are becoming super trendy, inspired by stars like Taylor Swift.
The sourdough community is buzzing with events like #SourdoughSeptember, which promotes original baking and local workshops. Overall, sourdough isn’t just food; it’s a growing movement toward tasty, healthy, and sustainable eating.
Wrapping It Up
There you have it; your full sourdough loaf journey. I hope you’re ready to grab your flour and start baking something that feels truly rewarding.
Sourdough isn’t just about the bread; it’s about slowing down, getting your hands in the dough, and enjoying every step. The first loaf might not be perfect, but that’s part of learning. Each bake improves your touch and timing.
The smell alone makes the effort worth it, and slicing into a loaf you made yourself feels unbeatable. So gather your ingredients, make some time, and get started. I’d love to hear how your sourdough turns out; share your baking stories below.