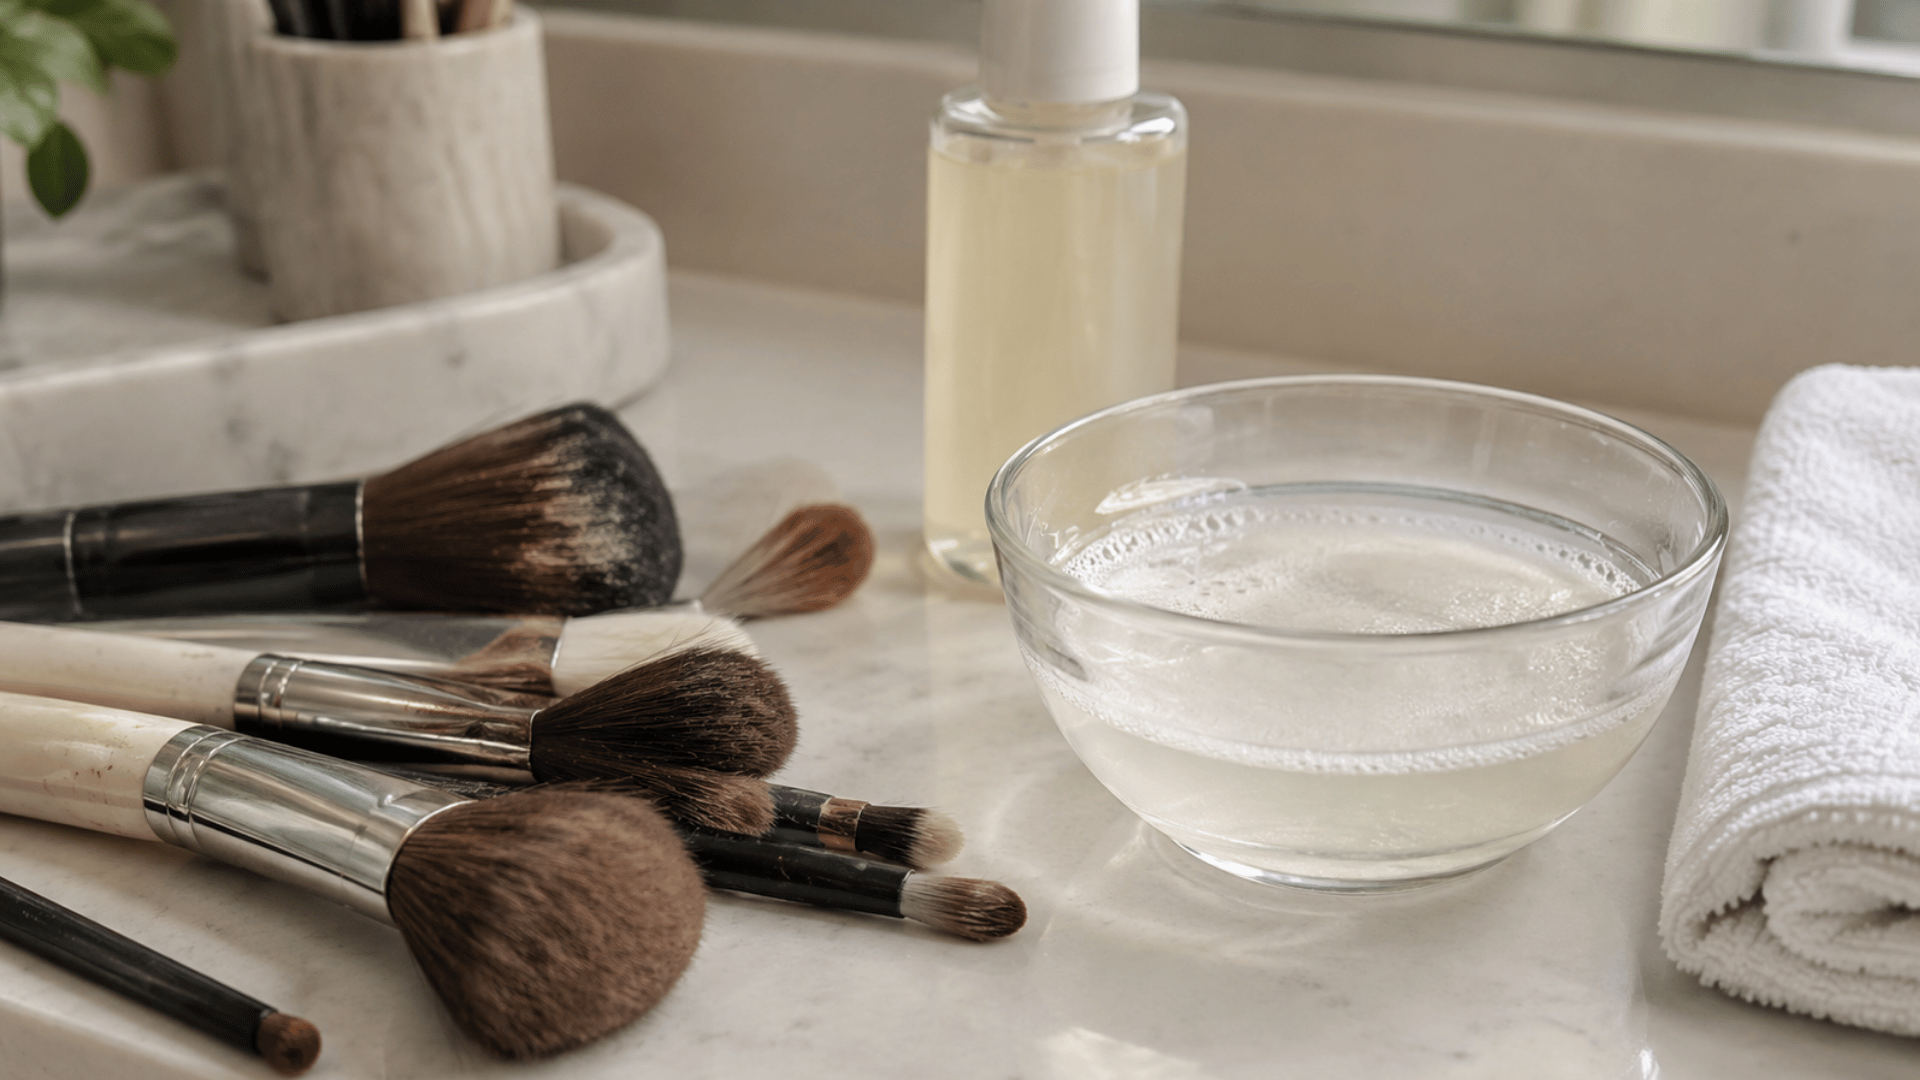
It is surprisingly easy to forget about makeup brushes until the bristles start looking a little too much like yesterday’s foundation.
I have definitely had moments when I reached for a brush and realized it was long overdue for a proper clean, or found my usual cleaner empty at exactly the wrong time. That is where a DIY makeup brush cleaner can come in handy.
Making one at home can be a practical option when you want something simple without turning brush cleaning into a complicated project.
A few everyday items may be all you need to get started, but the way you mix and use them matters too.
What You Need to Make a DIY Makeup Brush Cleaner

You only need a few basic ingredients and supplies for a simple DIY makeup brush cleaner.
- Lukewarm water: Forms the base of the cleaner.
- Gentle shampoo or mild soap: The main cleansing ingredient.
- Small bowl: Holds the cleaning mixture.
- Measuring spoon: Helps you portion the cleanser.
- Clean towel: Useful during the cleaning and drying process.
- Silicone cleaning mat (optional): Provides a textured surface for working out buildup.
Keep the ingredient list simple. Extra additions such as oils, vinegar, witch hazel, or essential oils are not necessary for the basic recipe.
How to Make DIY Makeup Brush Cleaner?

Step 1: Add Lukewarm Water
Pour about 1 cup of lukewarm water into a clean bowl. Keep the water comfortably warm, not hot. Hot water isn’t necessary for the cleaning solution and can be harder on brush materials when you move on to washing.
Step 2: Add the Cleanser
Add about 1 teaspoon of gentle shampoo or mild liquid soap to the water.
You only need a small amount for a basic batch, so resist adding extra cleanser just because the mixture doesn’t look particularly soapy.
Step 3: Mix Gently
Stir the water and cleanser slowly with a clean spoon until they are evenly combined.
Avoid vigorous stirring or whisking, which can create a bowl full of foam and make it harder to judge how much cleaning solution you actually have.
Step 4: Use the Cleaner Right Away
Prepare the mixture when you are ready to clean your brushes rather than making a large batch for later. After you finish the cleaning session, discard the remaining solution and rinse the bowl before putting it away.
DIY Makeup Brush Cleaner Alternatives

If you do not have gentle shampoo available, a few other simple cleanser combinations can work. The best option depends mainly on the type of buildup you are dealing with.
|
Cleaner |
Best Use |
Keep in Mind |
|---|---|---|
|
Gentle shampoo + water |
Regular brush cleaning |
Easy to rinse from bristles |
|
Mild soap + water |
Everyday makeup buildup |
Rinse thoroughly |
|
Castile soap + water |
Soap-based alternative |
A small amount is usually enough |
|
Soap + a little oil |
Stubborn cream or foundation residue |
Excess oil may leave bristles greasy |
Ingredients such as vinegar, witch hazel, alcohol, and essential oils also appear in homemade formulas, but they are not necessary for a basic makeup brush cleaner.
How to Clean Makeup Brushes with Your Homemade Cleaner

Once your cleaner is ready, use it carefully so you remove buildup without stressing the bristles or the parts holding the brush together.
- Wet the bristles: Hold the brush downward and rinse only the bristles with lukewarm water. Keep water away from the ferrule and handle.
- Work in the cleaner: Dip the bristles into the homemade cleaner, then gently swirl them on your palm or a silicone cleaning mat.
- Rinse thoroughly: Rinse under lukewarm water with the bristles facing downward until the water runs clear and no cleanser remains.
- Remove excess water: Gently squeeze the bristles with your fingers or a clean towel, without twisting, pulling, or tugging.
- Reshape and air-dry: Return the bristles to their original shape and lay the brush flat with the bristles extending over the counter edge.
Why Clean Makeup Brushes Regularly?
Regularly cleaning makeup brushes removes built-up makeup, oil, dirt, and other residue from the bristles. It also helps keep brushes in better condition and supports cleaner makeup application.
With repeated use, foundation, concealer, powder, and natural skin oils can collect between the bristles.
This buildup may make brushes feel stiff, affect how evenly makeup blends, and create an environment where bacteria can accumulate.
Dirty brushes may also contribute to clogged pores or skin irritation, especially with frequent use. Regular washing keeps the bristles softer, helps products apply more smoothly, and can extend the usable life of your makeup brushes.
Even a routine as simple as applying foundation for a smooth finish depends on a brush that picks up product evenly instead of dragging clumps of old residue across your skin.
Deep Cleaning vs. Quick Cleaning Makeup Brushes
Deep cleaning and quick cleaning can both keep makeup brushes fresh, but they are useful at different times.
- Deep cleaning: Washes the bristles with lukewarm water and a gentle cleanser to remove trapped makeup, oil, and buildup. It is best for routine, thorough brush cleaning.
- Quick cleaning: Targets product left on the surface of the bristles between uses. It works well when changing shades or when you need to reuse a brush before its next wash.
Quick cleaning helps between uses, but regular deep cleaning is still necessary to remove buildup throughout the bristles.
How Often Should You Clean Makeup Brushes?
A good general schedule is to wash makeup brushes every 7–10 days, especially if you use them regularly. Brushes that frequently contact liquid or cream products may show buildup sooner and can be cleaned as needed.
Between washes, avoid sharing your brushes or placing them on dirty surfaces. Once cleaned, allow them to dry completely before storing them somewhere clean and dry.
If you’re putting together a simple everyday makeup routine, pair it with a set wash day to keep your tools working as well as your products do.
Common Makeup Brush Cleaning Mistakes
- Soaking the entire brush: Water can reach the ferrule and affect the adhesive inside.
- Using very hot water: Lukewarm water is sufficient for cleaning.
- Adding too much cleanser: Excess cleanser can become difficult to rinse from dense bristles.
- Scrubbing aggressively: Rough handling can fray or distort the bristles.
- Rushing the rinse: Leftover cleanser can remain deep within the brush.
- Storing damp brushes: Allow them to dry completely before putting them away.
Conclusion
There is something satisfying about taking a makeup brush that has clearly seen better days and getting it back into good condition.
For me, having a simple DIY makeup brush cleaner option also means I am far less likely to put off the job just because I have run out of a store-bought cleaner.
Once brush cleaning becomes part of your regular beauty routine, it feels much less like another chore waiting on the bathroom counter. Give your brushes a little attention when they need it, and your future makeup routine will thank you for it.
Have a favorite brush you could never replace? Give it some well-deserved care today!
Frequently Asked Questions
Can You Use DIY Makeup Brush Cleaner on Makeup Sponges?
Yes, some gentle homemade cleaners can work on reusable makeup sponges. Rinse the sponge thoroughly afterward and allow it to dry completely.
Can You Use Face Wash to Clean Makeup Brushes?
Yes, a gentle face wash can clean makeup brushes if it rinses away easily and doesn’t leave residue on the bristles.
Can DIY Makeup Brush Cleaner Be Stored for Later?
For a simple water-based DIY cleaner, it is better to make a fresh batch as needed rather than store the mixture for later.