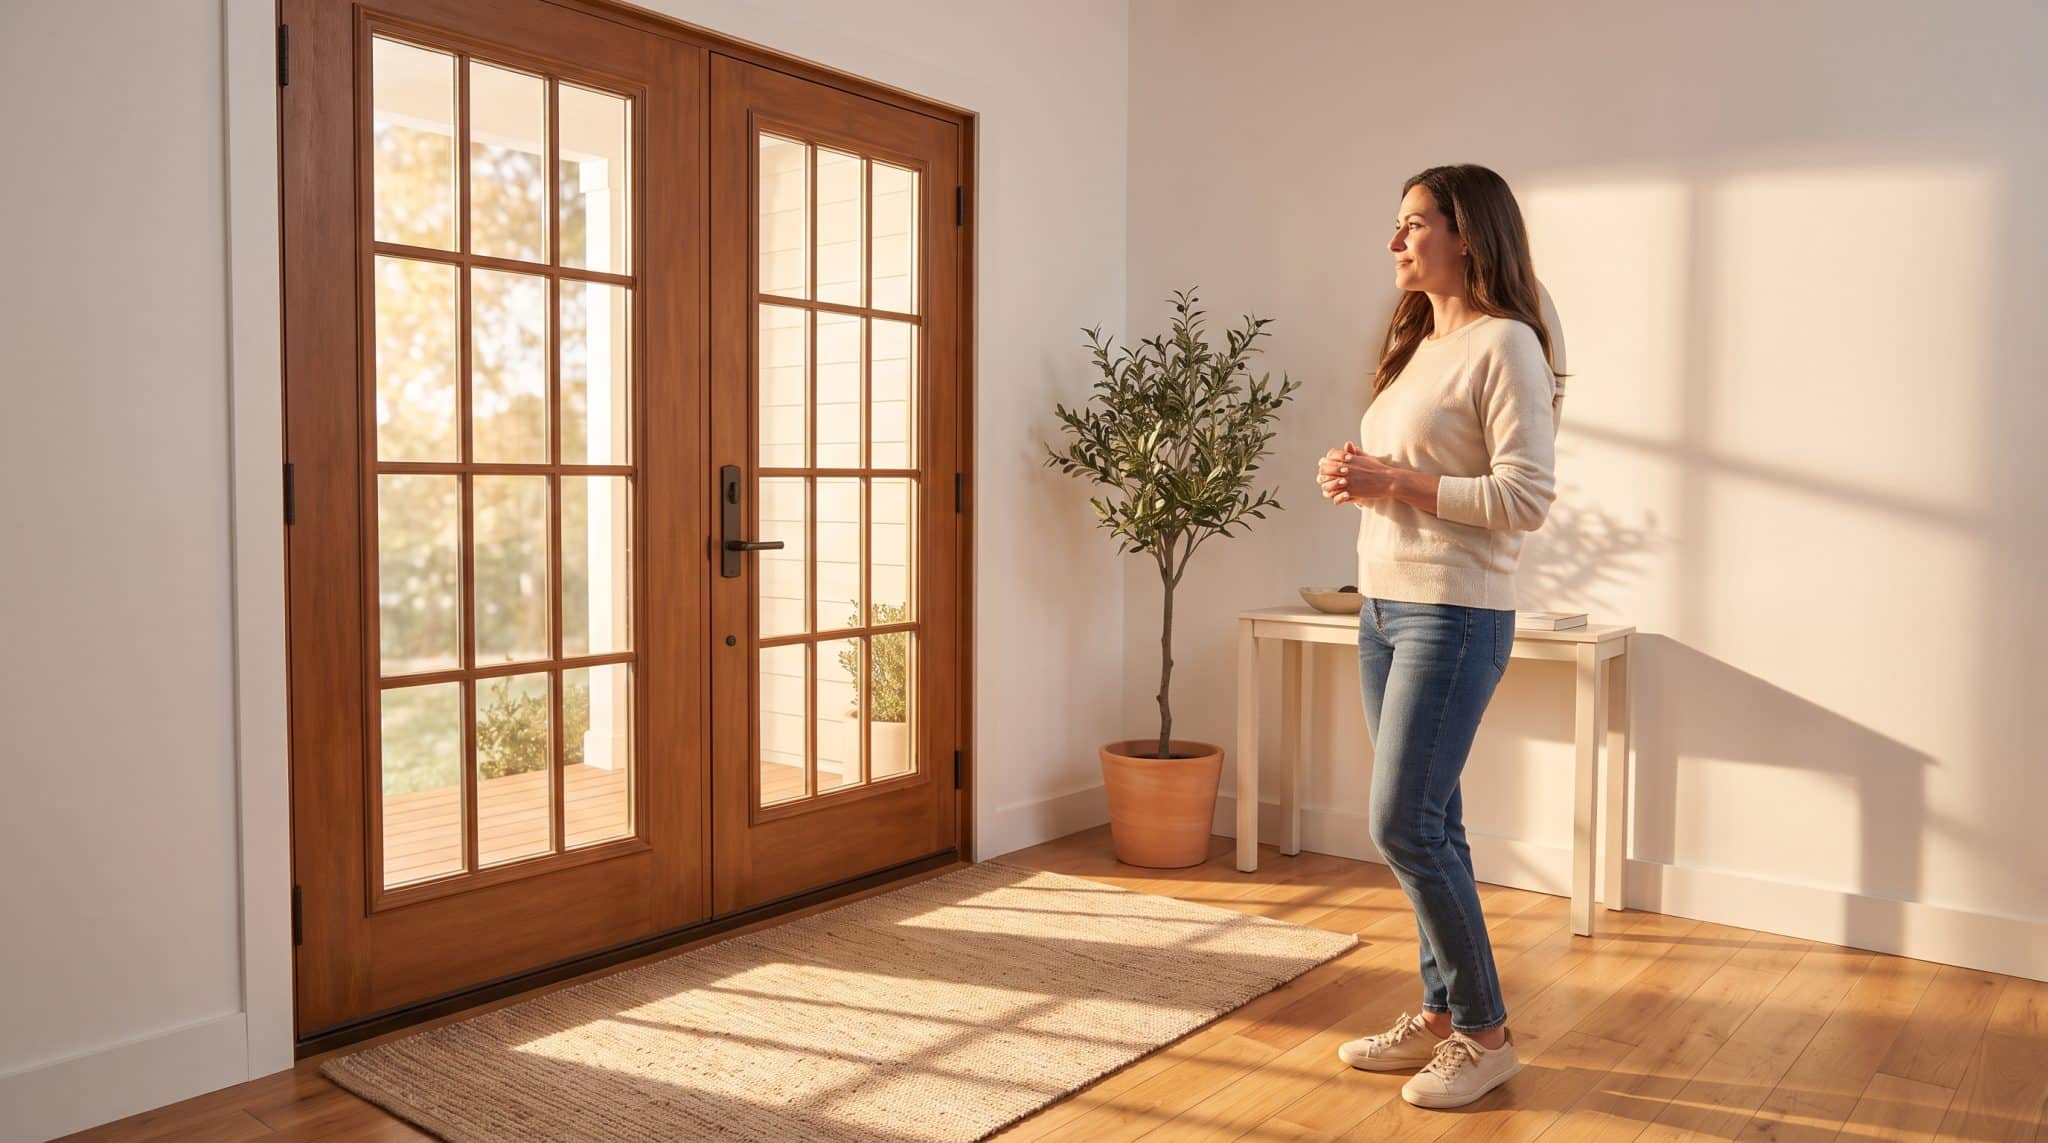
There was a time when replacing a door meant scheduling a showroom visit, waiting for a sales rep, and hoping the samples on display gave you an accurate sense of what would actually show up at your house. That process has largely been replaced by online configurators that let you build a custom door — size, material, glass, hardware, finish — and get real pricing in a matter of minutes, from your own living room.
If you’ve never done this before, the process can feel a little unfamiliar. Here’s a realistic walkthrough of what it actually involves, from the first measurement to the final order confirmation.
Step 1: Measure Your Existing Opening
Before you configure anything, you need accurate measurements of the space the new door needs to fit. This means measuring the width and height of the rough opening (not just the existing door itself), checking for square by measuring both diagonals, and noting the depth of the wall where the frame will sit. Most online tools will walk you through exactly what to measure and how, but doing this carefully upfront is the single biggest factor in whether your custom door fits correctly the first time.
If you’re at all unsure, it’s worth double-checking your numbers or asking whether the company offers guidance or a video call to confirm measurements before you finalize an order — a small amount of caution here saves a lot of hassle later.
Step 2: Choose Your Door Type and Configuration
Next comes the actual door style — a single door, a matching pair, inswing or outswing, and how it’s meant to function in the space. This is also where you’ll decide between a fully exterior-rated door (for a patio or garden entry) versus an interior configuration if you’re using it as a room divider instead. Getting this decision right early matters, since it affects nearly every other choice that follows.
Step 3: Select Your Frame Material
Most configurators let you choose between materials like vinyl, fiberglass, wood, or aluminum, each with different trade-offs in cost, maintenance, and appearance. Vinyl and fiberglass tend to be lower-maintenance and more budget-friendly; wood offers a more traditional look but requires more upkeep; aluminum tends to suit more contemporary aesthetics. This choice also affects your final price more than almost any other single decision, so it’s worth spending real time here rather than defaulting to whatever’s pre-selected.
Step 4: Pick Your Glass Type
Standard double-pane glass is the baseline, but most configurators offer upgrades like Low-E coatings (which improve energy efficiency by reflecting heat) or triple-pane options for colder climates. If energy performance is a priority, this is the step where it actually gets decided — the frame material affects durability, but the glass largely determines how efficient the finished door will be.
Step 5: Choose Hardware and Finish
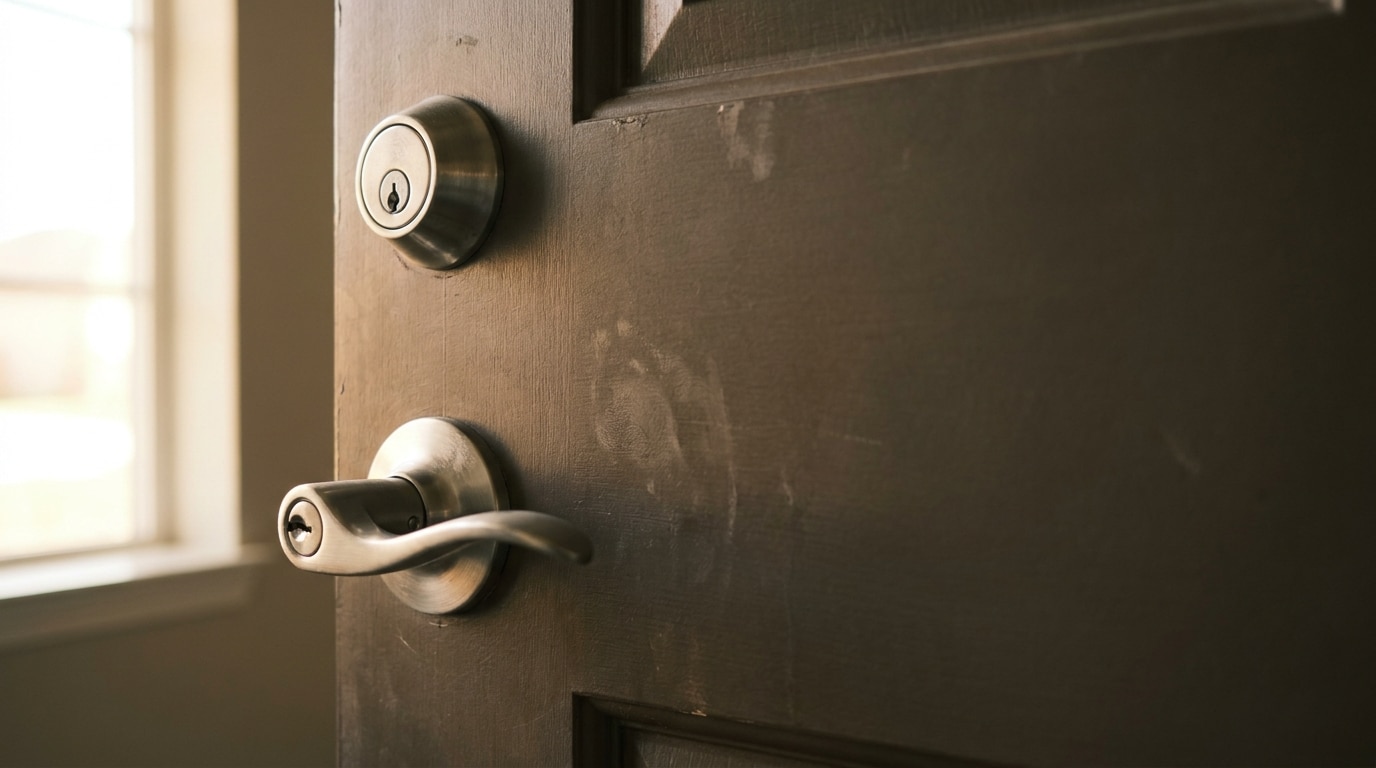
Handle style, lock type, and finish color come next. Multi-point locking systems, which secure the door at multiple points along the frame rather than a single latch, are worth considering here if security is a priority — many configurators offer this as an upgrade option. Finish color should generally coordinate with the rest of your home’s exterior or interior hardware, so it’s worth having a rough plan for that before you land on a final selection.
Step 6: Review Your Real-Time Price
This is where ordering online genuinely differs from the traditional showroom process. As you make each selection, the price typically updates in real time, so you can see exactly how each choice — a material upgrade, a glass option, an added hardware feature — affects the total. This makes it much easier to build a door that fits your actual budget, since you’re not waiting on a quote from a sales rep after the fact; you can adjust selections on the spot and watch the number change.
Step 7: Confirm Details and Place Your Order
Before finalizing, most platforms give you a full summary of your configuration to double-check — dimensions, material, glass, hardware, and finish, all in one place. This is worth reviewing carefully, since custom doors are typically built to your exact specifications and can’t be easily modified once production starts. Once everything checks out, you place the order and typically receive an estimated production and delivery timeline.
Step 8: Plan for Delivery and Installation
Custom doors generally take several weeks to manufacture, so it’s worth planning your installation timeline around that lead time rather than assuming it’ll arrive overnight. Some homeowners handle installation themselves if they have the right experience; others bring in a local installer once the door arrives. Either way, having that plan in place before the door ships keeps the project moving smoothly once it does.
Why This Process Works Well for a Lot of Homeowners
The biggest advantage of choosing to buy french door online rather than through a traditional showroom is the combination of transparency and control — you see real pricing as you build, you’re not waiting on callbacks or in-person appointments, and you can take as much time as you need comparing options without any pressure. For homeowners who already know roughly what they want, or who are comfortable measuring their own space, it’s often a faster and more straightforward path than the traditional route.
The Bottom Line
Configuring and ordering a custom door online isn’t complicated once you know the steps — measure carefully, choose your configuration and materials, watch the price update as you go, and confirm the details before submitting. The process trades a showroom visit for a bit of upfront homework, and for most homeowners, that trade is well worth the convenience and transparency it offers.