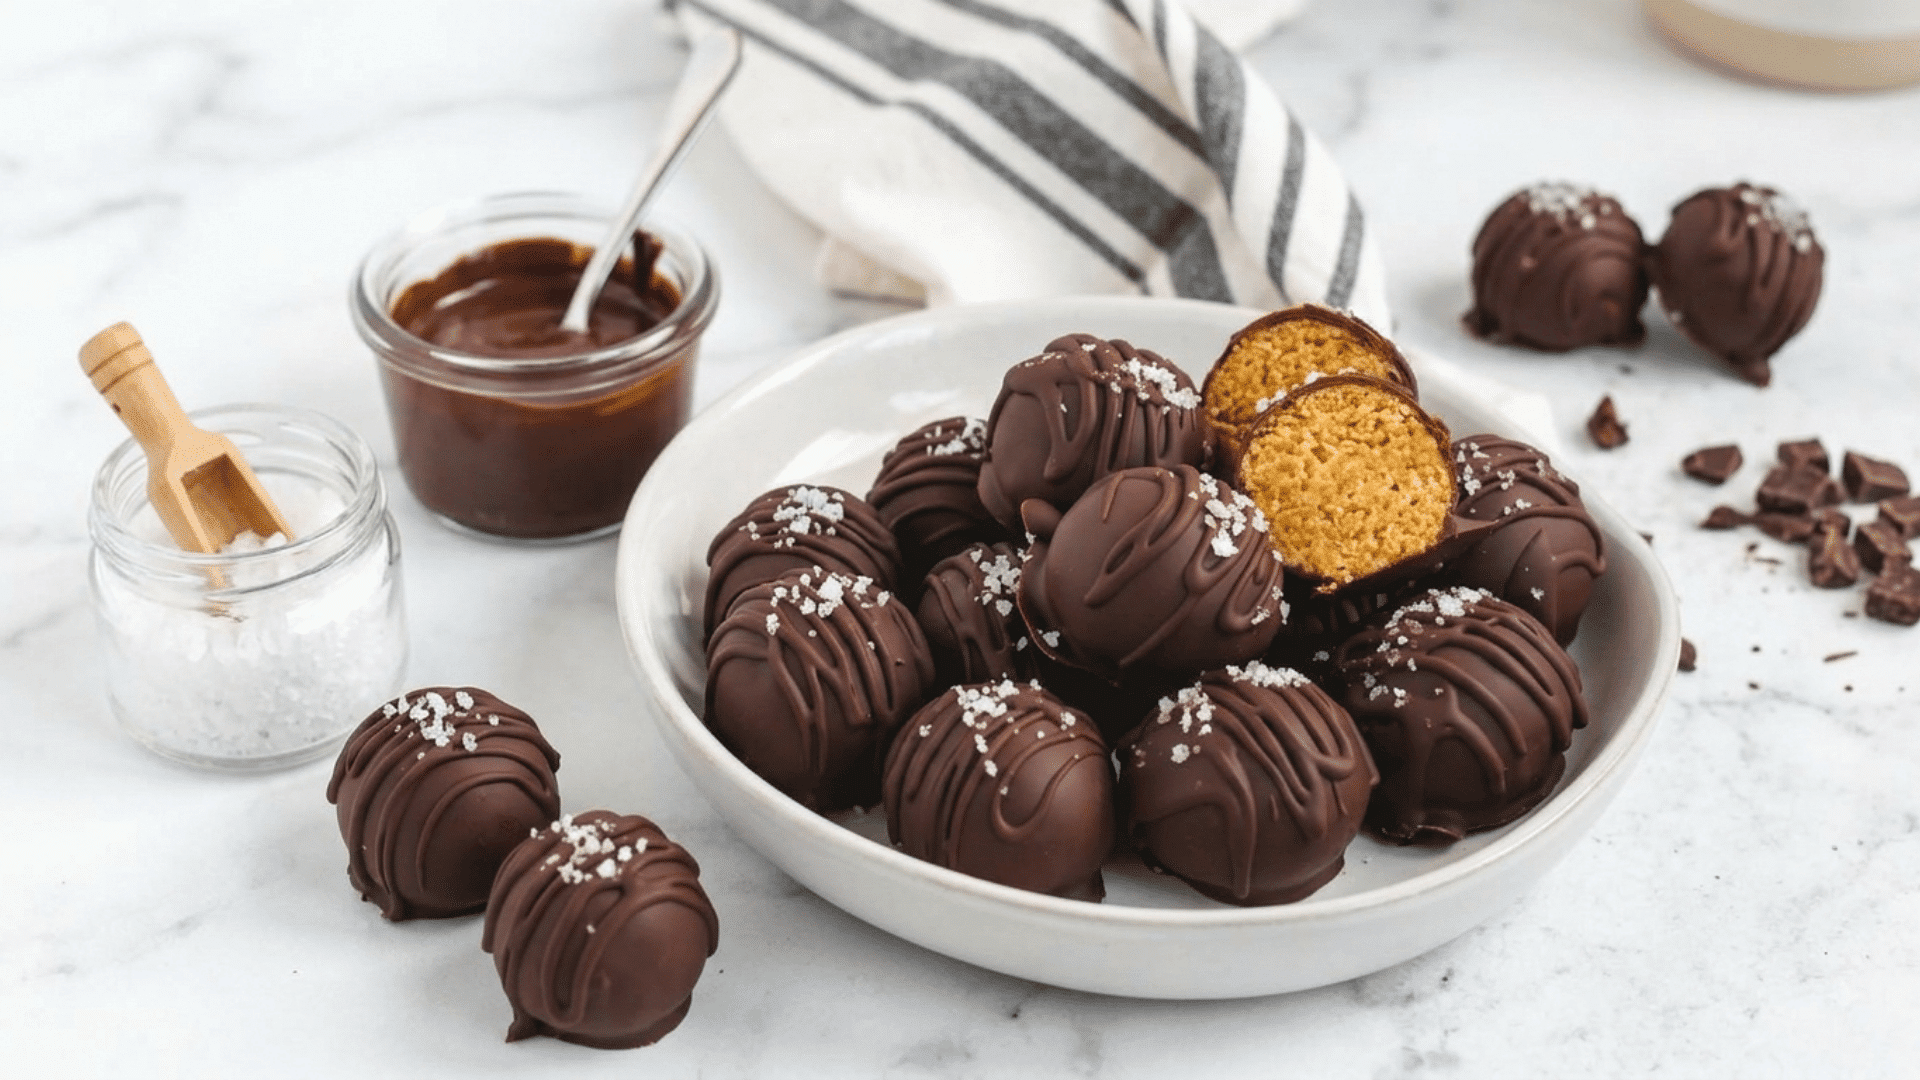
Peanut butter balls are one of those easy treats that always disappear faster than expected. I love how they come together with simple pantry staples and take little time in the kitchen.
The creamy peanut butter center, sweet coating, and satisfying bite make them a favorite for holidays, parties, or an everyday snack.
After making them a few times, I’ve found that small details, like choosing the right peanut butter and getting the texture just right, can make a big difference.
Chocolate-dipped or plain, peanut butter balls are a simple homemade treat worth adding to your recipe rotation.
Jump to recipe
Ingredients You’ll Need
- 1 cup creamy peanut butter
- ½ cup unsalted butter, softened
- 2 cups powdered sugar
- 1 teaspoon vanilla extract
- 2 cups semisweet chocolate chips
- 1 tablespoon coconut oil
Optional:
- ½ cup crushed peanuts
- ¼ cup mini chocolate chips
- ¼ teaspoon sea salt
- ¼ teaspoon ground cinnamon
The FDA Food Allergy Guidelines page highlights reliable information on common allergens, food labels, and safer ingredient choices.
Nutritional Value of Peanut Butter Balls
Approximate nutrition per peanut butter ball. Values can vary based on ingredients, chocolate type, and serving size.
| Nutrient | Amount Per Serving |
|---|---|
| Calories | 150 kcal |
| Total Fat | 10 g |
| Saturated Fat | 4 g |
| Carbohydrates | 14 g |
| Sugar | 11 g |
| Protein | 4 g |
| Fiber | 1 g |
| Sodium | 70 mg |
How to Make Peanut Butter Balls?
| Yield: 20 to 24 balls | Preparation time: About 20 minutes |Chill time: 30 to 60 minutes |
Step 1: Mix the Filling
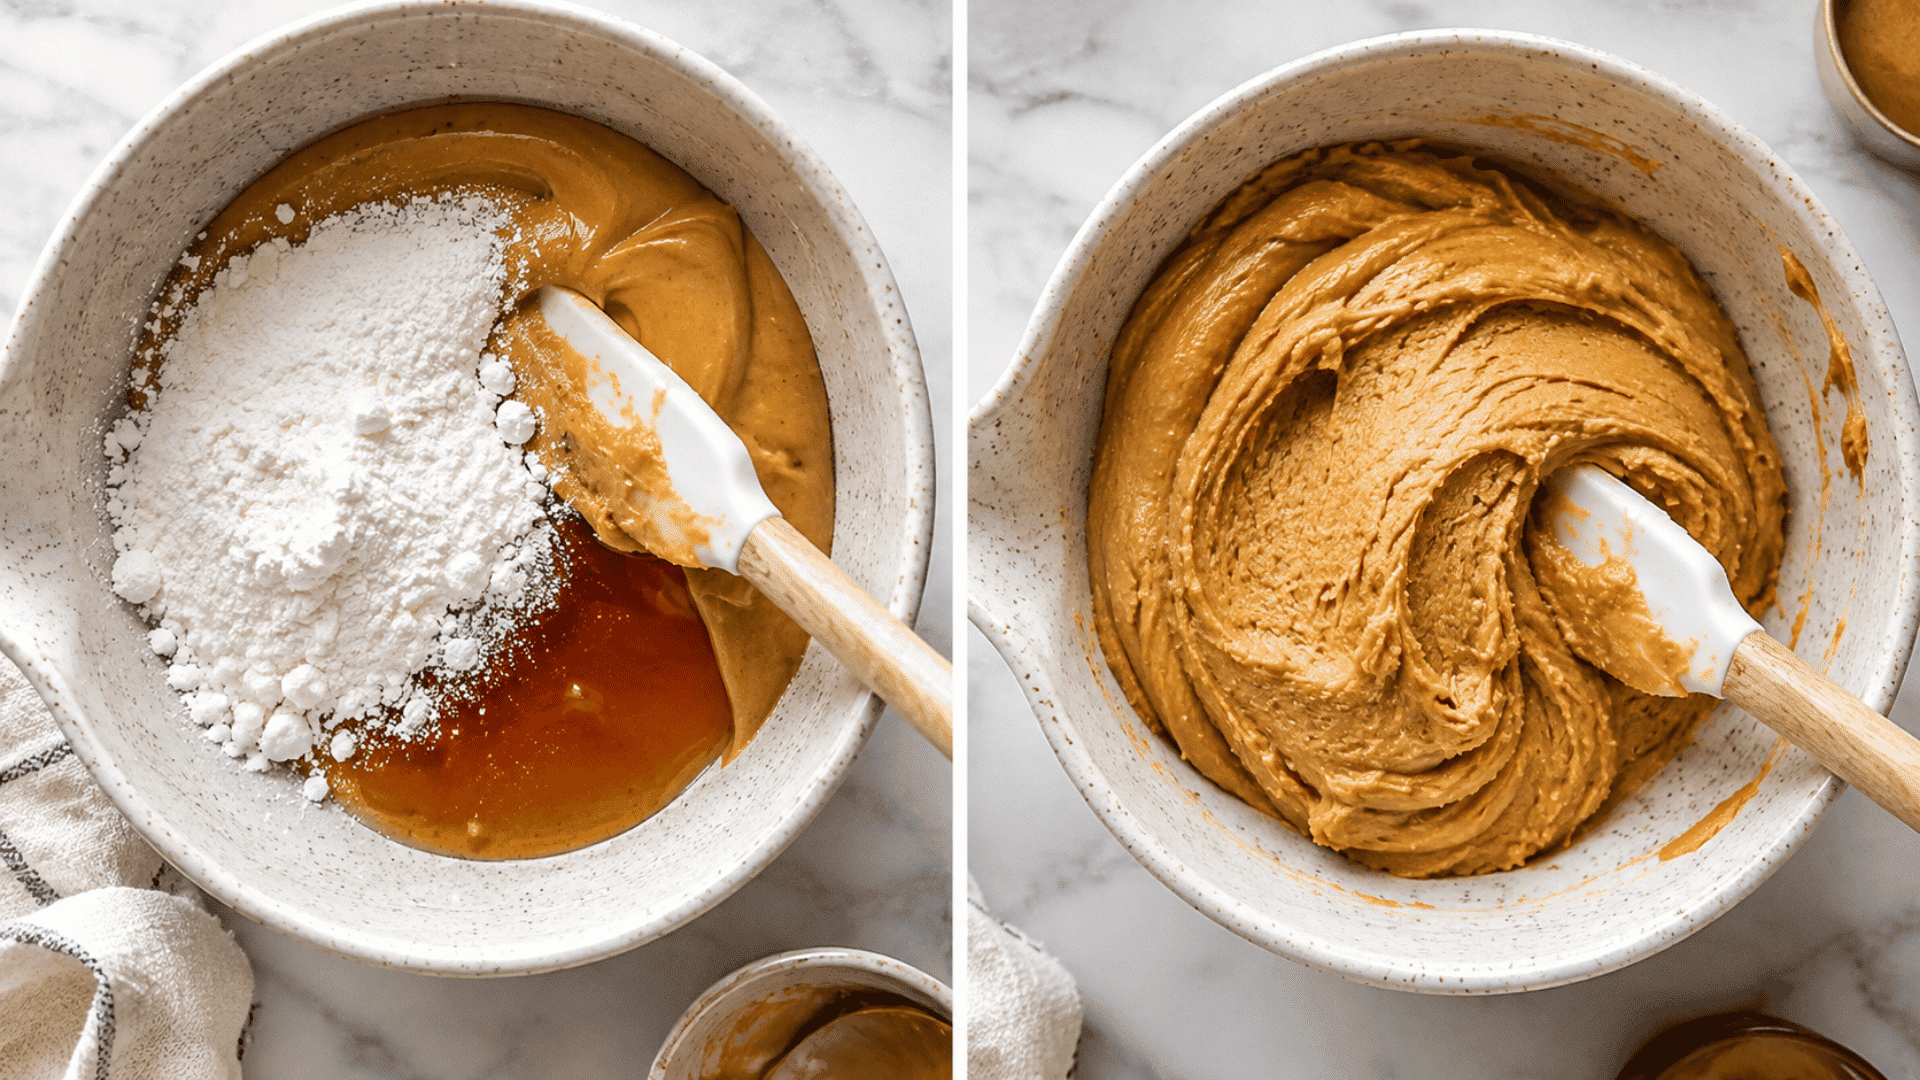
Add peanut butter and softened butter to a large mixing bowl and stir until the mixture becomes smooth and creamy. Add vanilla extract if you want that extra flavor.
Slowly mix in powdered sugar, a little at a time, until a thick dough forms that can be rolled without sticking too much to your hands.
If you are cutting back on added sugar, checkinga no-sugar diet food can help you plan meals and snacks more carefully.
Step 2: Shape the Peanut Butter Balls
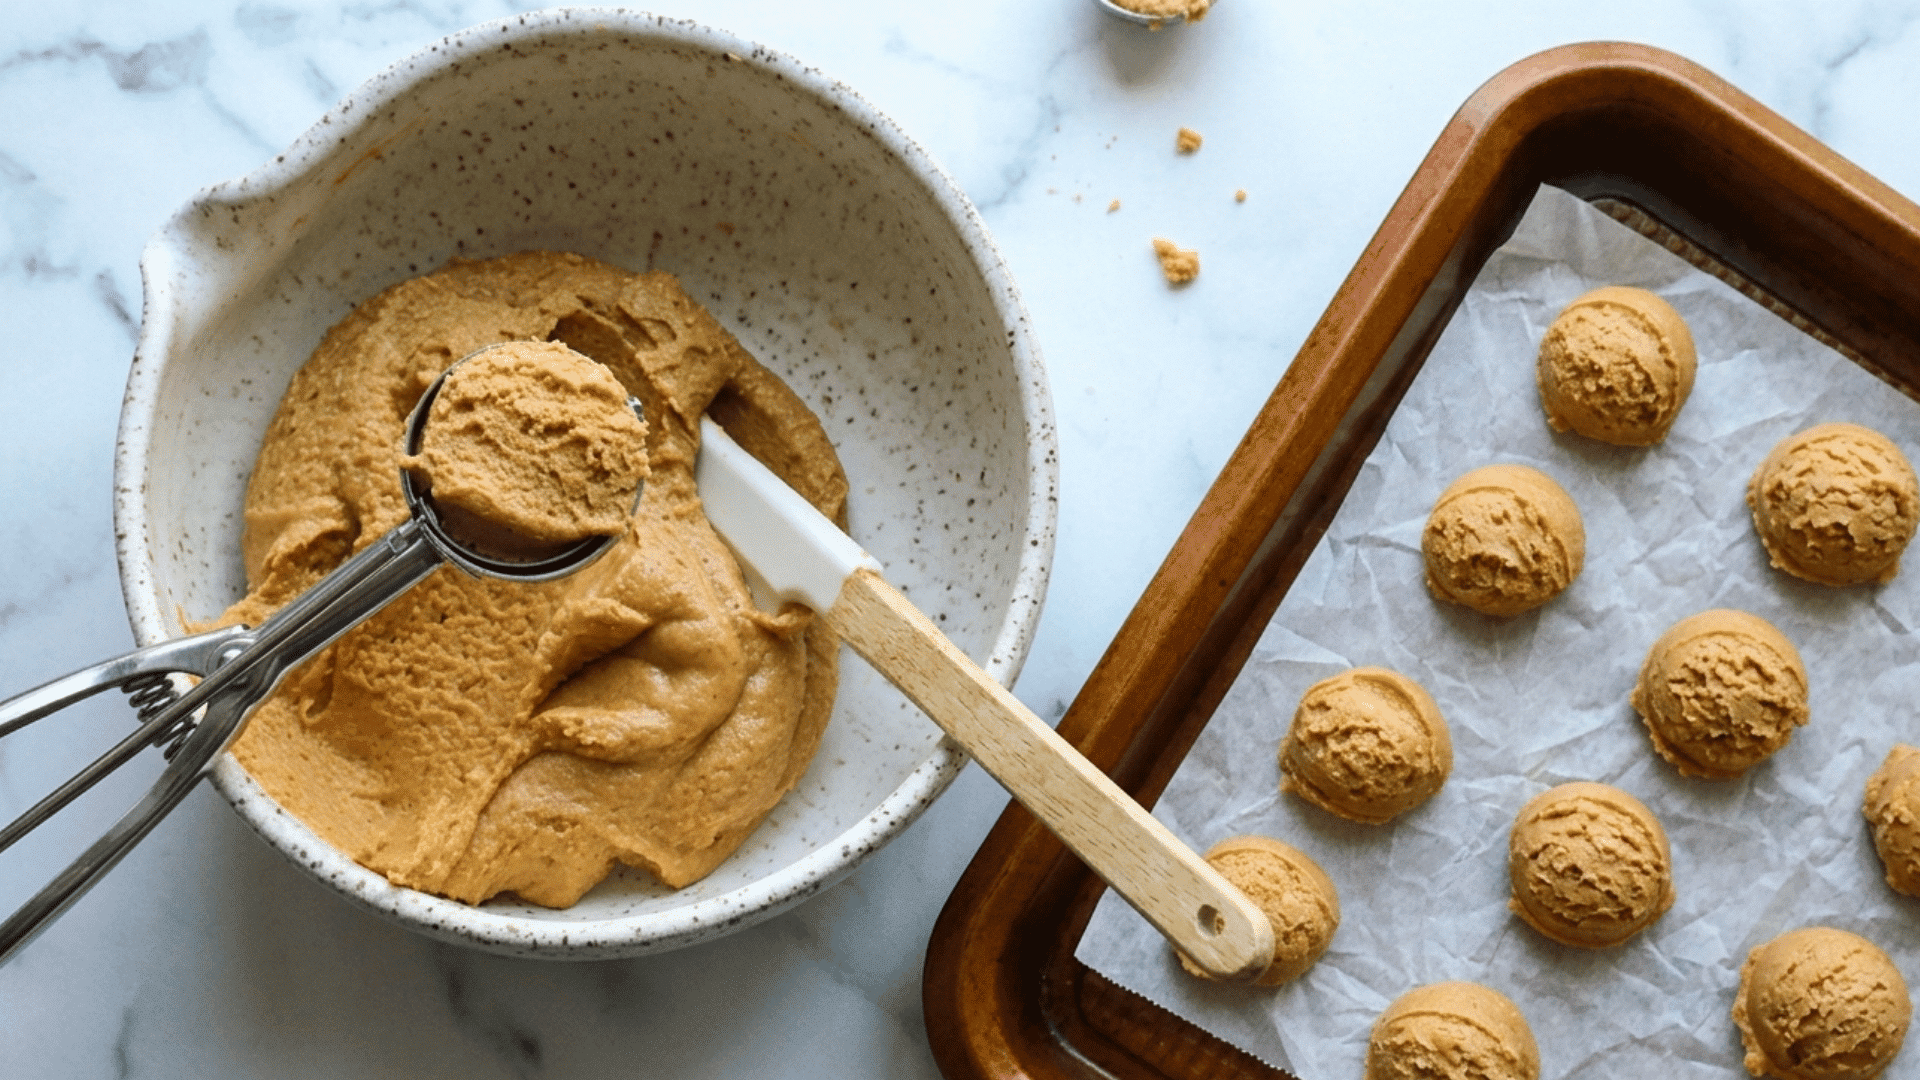
Use a spoon or small cookie scoop to portion out the mixture evenly. Roll each portion between your palms until it becomes round and smooth.
Try to keep each ball about one inch in size so they chill evenly and are easy to dip later.
Place them on a parchment-lined baking sheet. Chill in the refrigerator for 30 to 60 minutes, or freeze for 15 to 20 minutes if needed.
Step 3: Melt the Chocolate
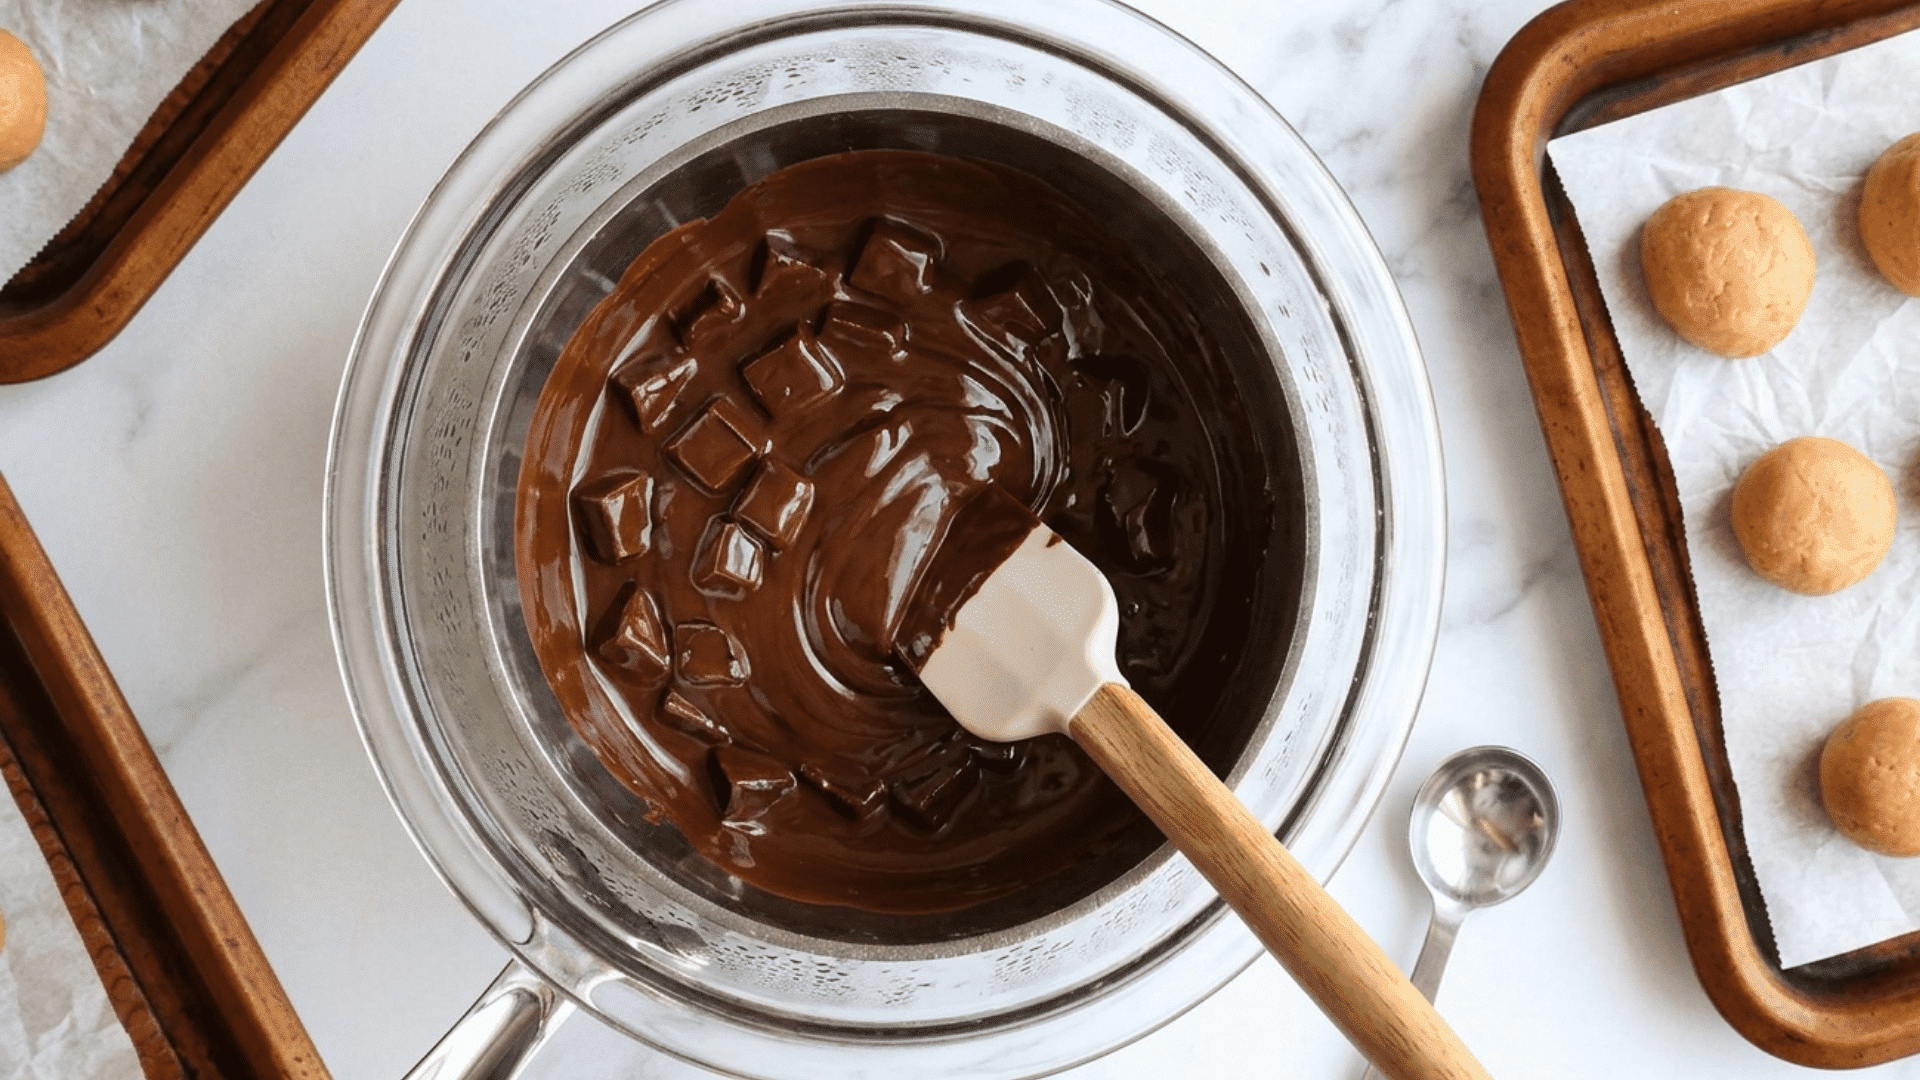
Place chocolate chips or chopped chocolate into a microwave-safe bowl.
Heat in short 20-30 second intervals, stirring well after each round until the chocolate is fully melted and smooth.
If needed, add a small amount of coconut oil to thin the chocolate and make dipping easier and more even.
Step 4: Coating the Peanut Butter Balls
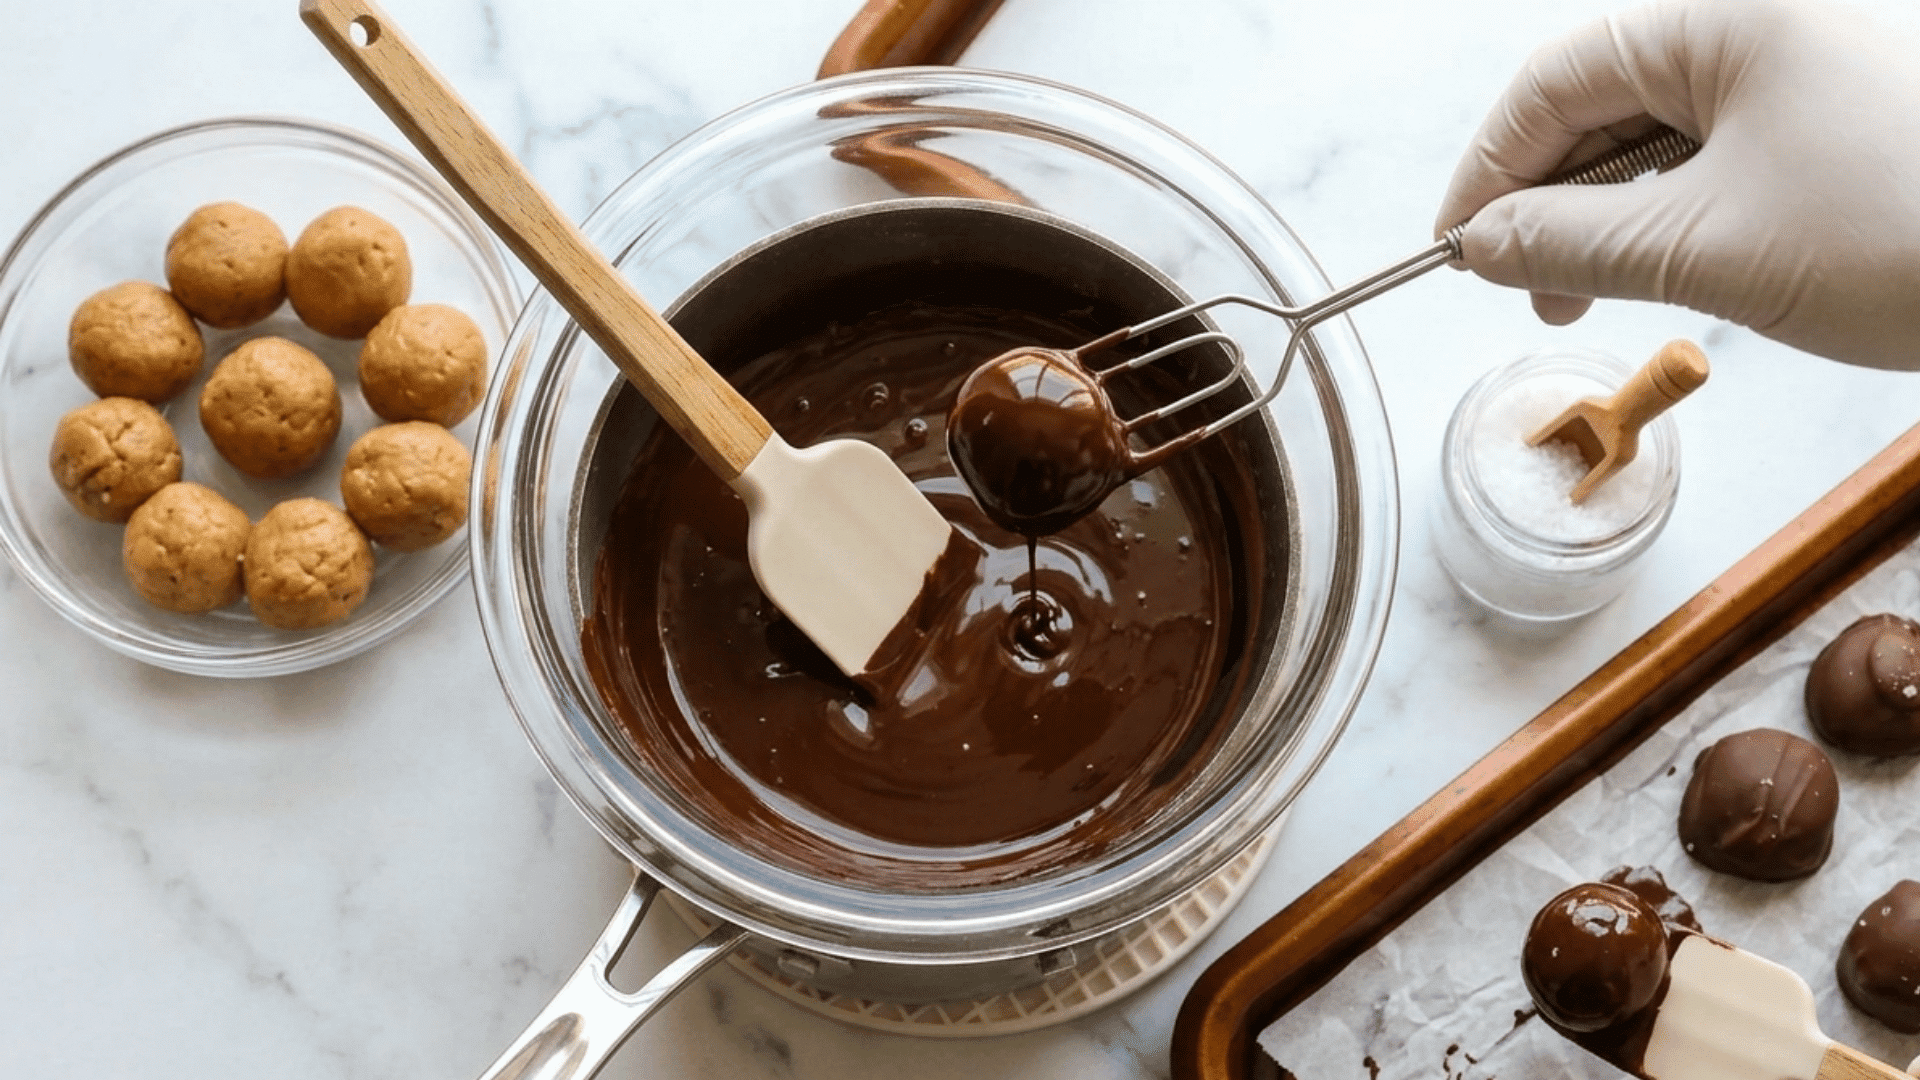
Dip each chilled peanut butter ball into the melted chocolate and use a fork to coat it evenly.
Lift it out, let the excess chocolate drip back into the bowl, and place it on a parchment-lined tray.
While the coating is still soft, add chopped nuts, sprinkles, shredded coconut, cookie crumbs, or a drizzle of another melted chocolate.
Repeat until all peanut butter balls are coated and decorated.
Step 5: Chill Until the Chocolate Sets
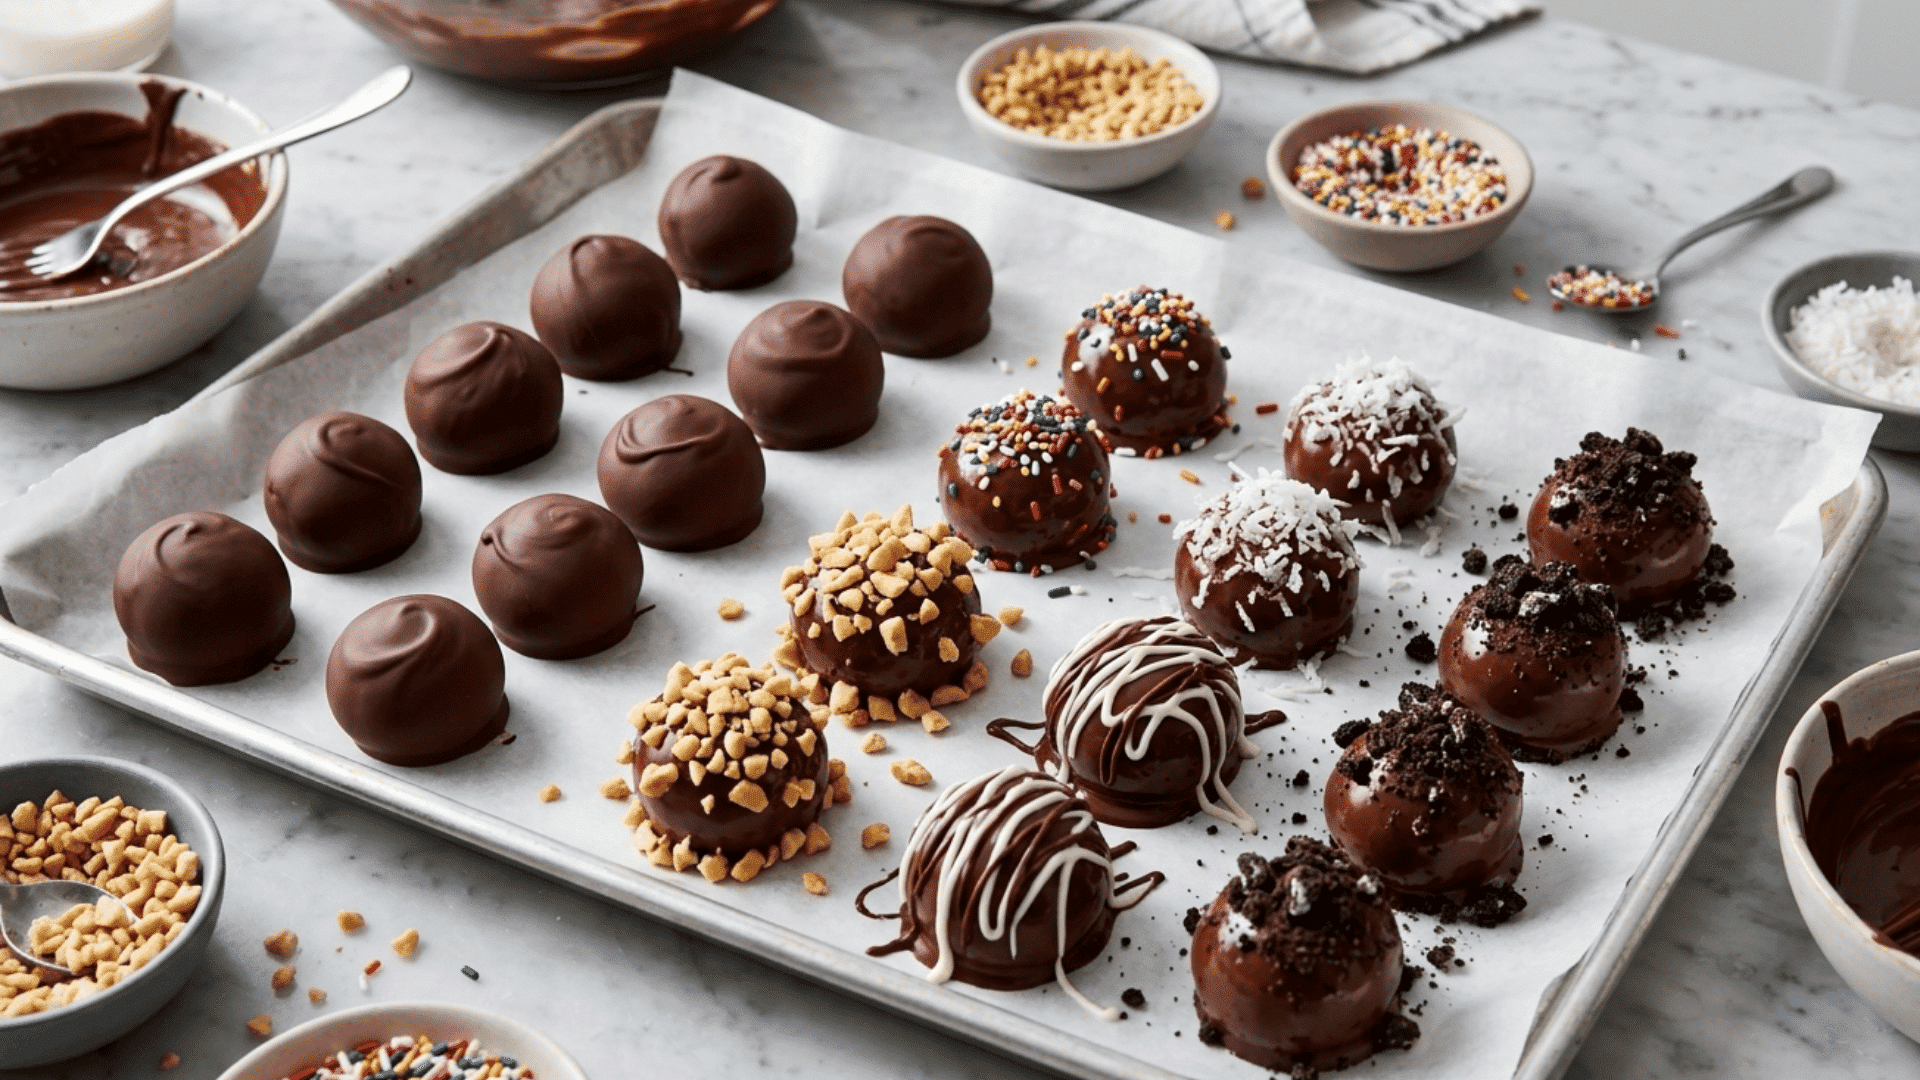
Place the coated peanut butter balls back into the refrigerator for 15 to 20 minutes until the chocolate hardens completely.
Once set, they should feel firm and easy to handle.
Serve immediately for the best texture, or store them in an airtight container in the refrigerator for later enjoyment.
Peanut Butter Balls vs. Buckeyes: What’s the Difference?
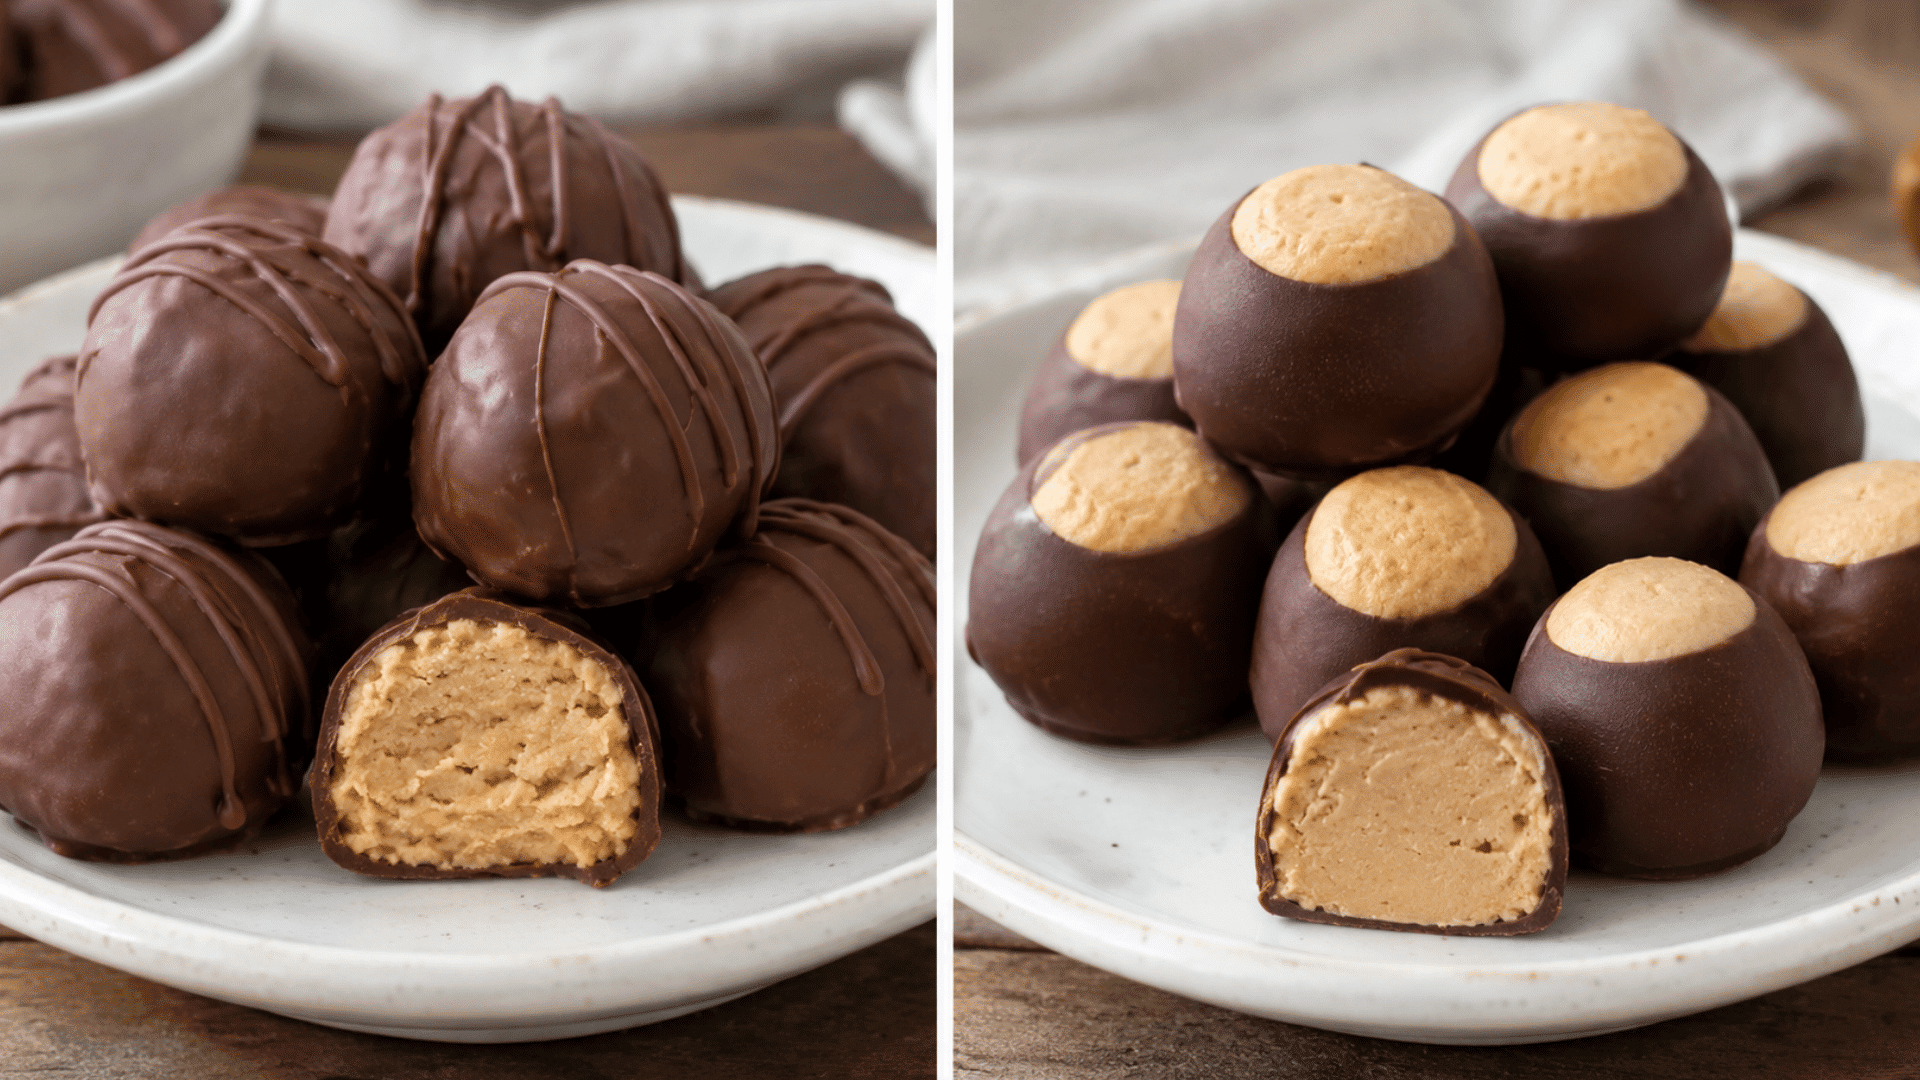
Peanut butter balls get fully dipped, so the chocolate coats every side and seals in the filling. Buckeyes get dipped only partway, leaving a small circle of peanut butter exposed on top to mimic the look of an actual buckeye nut, the seed of Ohio’s state tree.
So, the real difference comes down to the chocolate. Flavor-wise, the two taste nearly identical since the filling recipe barely changes between them.
Easy Peanut Butter Ball Variations
Try these simple peanut butter ball variations to change the flavor, texture, or chocolate coating without changing the basic recipe.
| Variation | How to Make It |
|---|---|
| Crunchy Peanut Butter Balls | Use crunchy peanut butter instead of creamy peanut butter. |
| Coconut Peanut Butter Balls | Mix shredded coconut into the filling or sprinkle it over the coating. |
| Graham Cracker Peanut Butter Balls | Add finely crushed graham crackers to the peanut butter mixture. |
| Rice Krispies Peanut Butter Balls | Gently stir crispy rice cereal into the filling before shaping. |
| Oreo Peanut Butter Balls | Mix crushed Oreo cookies into the filling or add crumbs on top. |
| Buckeye Style Peanut Butter Balls | Dip each ball partially in chocolate, leaving the top uncovered. |
Storage and Serving Tips
Peanut butter balls hold up well in the fridge or freezer, which makes them an easy make-ahead treat for parties and holiday gifting. The key is to keep them airtight and let them soften for a few minutes before anyone bites in.
- Store in an airtight container in the refrigerator to keep the chocolate firm and the filling fresh
- Place parchment paper between layers so the balls don’t stick together
- Keep them in the fridge for 1 to 2 weeks, or freeze for up to 3 months
- Thaw frozen peanut butter balls in the refrigerator before serving
Let chilled balls sit at room temperature for 10 to 15 minutes before serving so the peanut butter center softens slightly.
Mistakes to Avoid While Making Peanut Butter Balls
- Using Runny Peanut Butter: Thin peanut butter can make the filling too soft and difficult to shape.
- Adding Too Much Powdered Sugar: Excess sugar can make the center dry, crumbly, and harder to roll.
- Skipping the Chilling Step: Warm peanut butter balls may fall apart or slide off the fork during dipping.
- Overheating the Chocolate: Chocolate can become thick, grainy, or difficult to coat smoothly.
- Dipping Frozen Balls: Extremely cold centers can cause the chocolate coating to crack as it sets.
Conclusion
A recipe for peanut butter balls can be simple, quick, and completely no-bake with just a few everyday ingredients. The best results come from getting the filling texture right and chilling the balls well before dipping them in chocolate.
These small steps help each piece hold its shape and create a smooth coating.
Start with the basic recipe, then try different chocolates, toppings, or mix-ins to find a favorite version.
Have you tried making peanut butter balls at home? Share your experience, favorite variation, or go-to topping in the comments.
Frequently Asked Questions
Can You Make Peanut Butter Balls with Only Three Ingredients?
Yes, peanut butter, powdered sugar, and chocolate are enough for a simple three-ingredient version.
Why Are My Peanut Butter Balls Too Sticky?
The mixture may contain too much oil or not enough powdered sugar, so add a little more sugar and chill it.
How Do You Keep Chocolate Smooth when Dipping Peanut Butter Balls?
Melt chocolate slowly, stir often, and add a small amount of coconut oil or shortening if the coating is too thick.
Why Do Doctors Say Not to Eat Peanuts?
Doctors tell people not to eat peanuts primarily due to the risk of peanut allergies, which can trigger severe, life-threatening reactions like anaphylaxis.