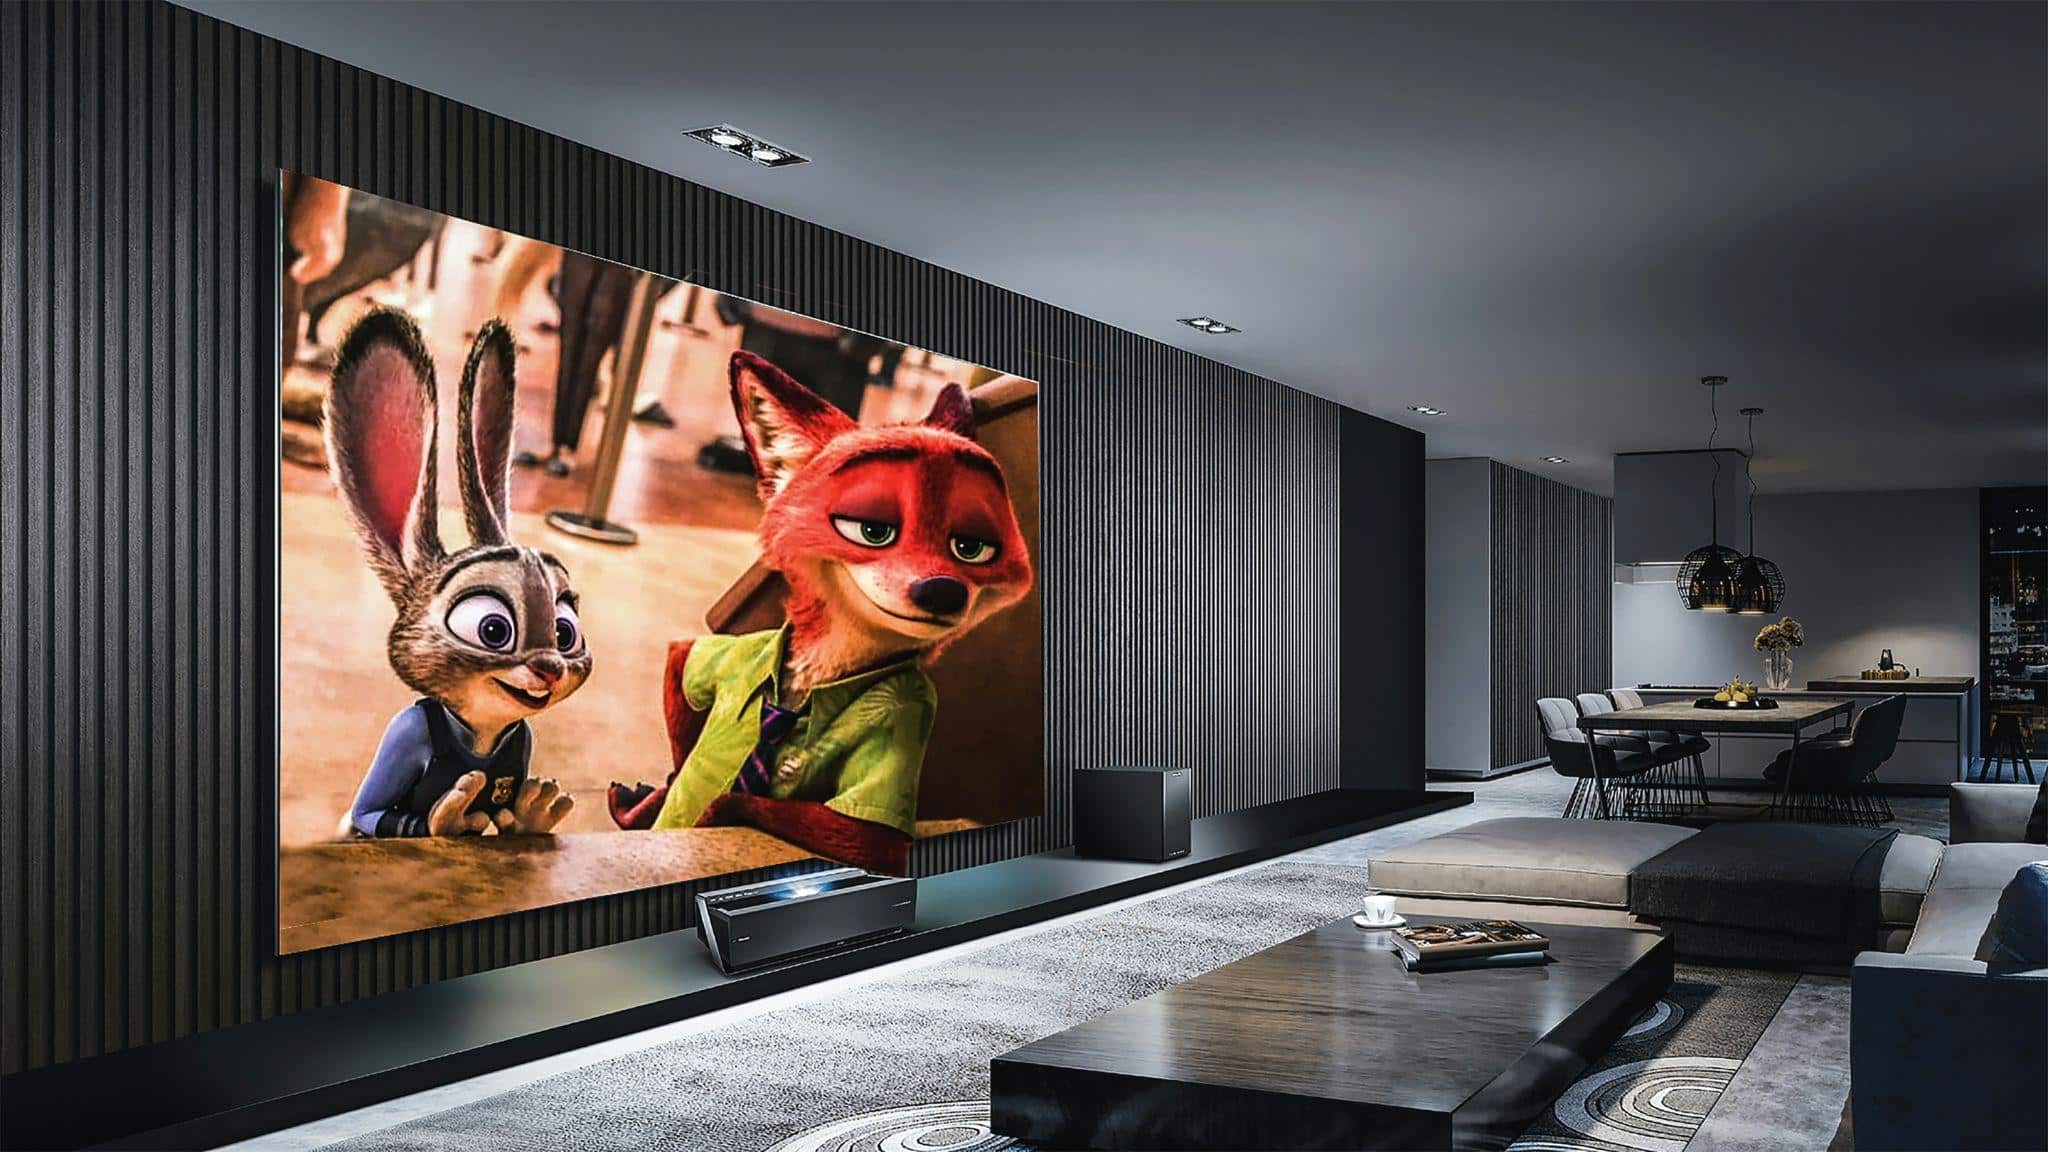
There’s something deeply satisfying about settling into your own home cinema lights dimmed, sound wrapping around you, a screen big enough to get properly lost in. The good news is you don’t need a dedicated room or a renovation budget to pull it off.
A thoughtfully designed corner can deliver a genuinely cinematic experience, and with some smart choices around deals on TVs and the right supporting gear, you can build something impressive for far less than you’d expect.
Whether you’re working with a compact living room nook or a generous lounge alcove, this guide walks you through the essentials from choosing the right screen and speakers to creating an atmosphere that actually feels like the movies.
Why a Corner Works So Well
Corners are underrated as cinema spaces. They naturally focus your attention on a single point, help contain sound so it doesn’t scatter across the whole room, and usually sit close to power outlets and wall space for mounting. They also tend to feel more immersive than a flat-wall setup because the walls wrapping around you subtly reinforce the sense of enclosure that good home cinema design is all about.
The key is working with the space rather than against it. Before you spend a cent, take some measurements: wall-to-wall width, depth from corner to where your seating will sit, and ceiling height. These three numbers will determine almost every decision you make, from screen size to speaker placement to whether a projector is even viable.
Choosing Your Screen: TV or Projector?
This is the first big fork in the road, and the right answer depends mostly on your room’s light situation and how large you want to go.
Go with a TV if…
- Your corner gets natural light during the day and you can’t fully black it out.
- You want something that’s simple to set up and looks clean on a wall.
- Your corner is compact, a 65 to 85 inch screen will feel enormous in a small space.
A well-chosen TV is the workhorse of the home cinema world. Modern QLED and OLED panels deliver stunning contrast and colour, and a larger screen in a tight corner creates an impressively immersive field of view. For most Australian homes, a 75 inch TV hits the sweet spot between wow-factor and practicality.
Go with a projector if…
- You can control the light, block out blinds, or a windowless wall make a big difference.
- You want a genuinely big image, think 100 inches or more, without paying premium TV prices.
- You’re comfortable with a little more setup complexity.
Short-throw projectors are particularly well-suited to corners because they sit close to the screen and minimise the awkward cable run across the room. They’ve come down significantly in price in recent years, and a good short-throw model can transform a medium-sized lounge corner into something that genuinely rivals a commercial cinema screen
Sound: The Element That Makes or Breaks the Experience
If you’ve ever wondered why a cinema feels so different from watching the same film at home, it’s almost always the sound. A great picture on an average screen still feels like cinema if the audio is right. The reverse isn’t true. Sound is where your money pays off most noticeably.
Fabric wall systems combined with Acoustic Fabric can significantly improve sound absorption in a home cinema by reducing echo and controlling mid-to-high frequency reflections. This helps create a more immersive viewing experience by ensuring clearer dialogue and more balanced audio performance.
Starting out: the soundbar
A quality soundbar with a wireless subwoofer is the easiest entry point and genuinely impressive for its size. Modern soundbars support Dolby Atmos and virtual surround processing, which, in a corner setup, can create a convincing sense of space without a single extra speaker. Place the soundbar below or above your TV, tuck the subwoofer into the lower corner of the room, and you’re most of the way there.
Stepping up: a proper speaker setup
When you’re ready to go further, a 2.1 or 5.1 speaker configuration with a dedicated AV receiver is where home cinema really opens up. Compact bookshelf speakers work beautifully in corners. You can mount them flush to the walls at ear height and angle them toward the listening position. Pair them with a subwoofer positioned slightly forward of the corner apex (not hard into the corner, which unnaturally exaggerates bass) and you’ll have surround sound that puts most commercial setups to shame.
You don’t need to spend a fortune here. A budget AV receiver from a reputable brand paired with entry-level bookshelf speakers will outperform almost any soundbar at the same combined price point.
Creating the Right Atmosphere
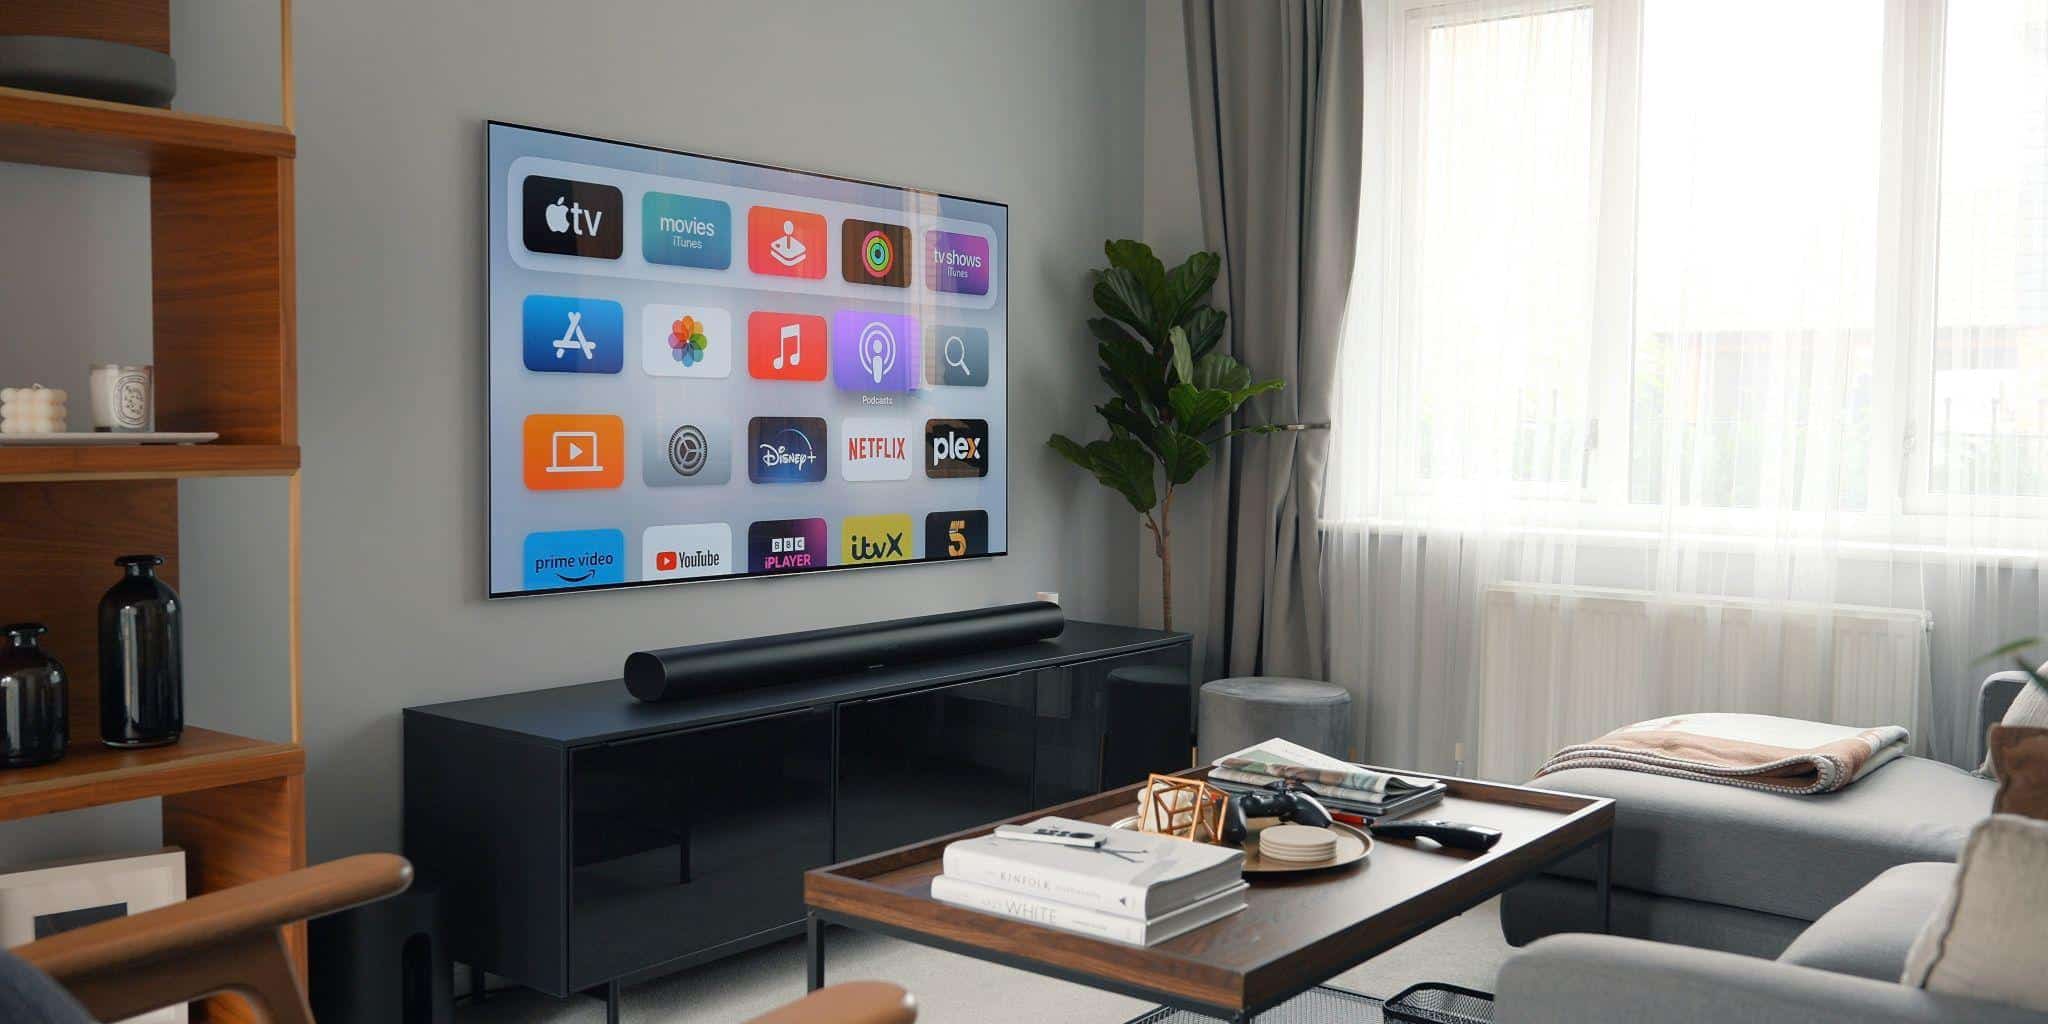
The gear matters, but the environment is what makes a home cinema feel like a home cinema rather than just a living room with a big TV. A few thoughtful additions can completely transform the mood of the space.
Light control
Blackout blinds or heavy curtains are one of the highest-impact, lowest-cost changes you can make. For renters, inside-mount blackout blinds sit within the window recess and leave no marks when you move. Even during the day, being able to drop the room into near-darkness changes how the screen looks and how immersive the whole experience feels.
Bias lighting, an LED strip fitted behind your TV, is worth adding to. It reduces eye strain in dark scenes and gives the space that characteristic ‘cinema glow’ when everything else is dimmed. These strips are inexpensive, easy to install and make a noticeable aesthetic difference.
Seating
You don’t need dedicated cinema recliners to get a good experience, though they’re obviously wonderful if budget allows. A well-placed sofa or loveseat positioned at the right distance from the screen, roughly 1.5 to 2.5 times the diagonal screen size for a TV, is all you need. In a corner setup, positioning your seating slightly angled toward the screen, rather than perfectly square to the wall, often looks and feels better.
Acoustic softness
Hard, reflective surfaces (bare walls, timber floors, glass) cause sound to bounce around the room, muddying dialogue and making bass unpredictable. Rugs, curtains, upholstered furniture and even a full bookcase act as natural acoustic treatment. If you want to go further, a handful of fabric-covered acoustic panels at the first-reflection points on your side walls will meaningfully tighten the sound without requiring a renovation.
What to Buy and When: A Staged Approach
The smartest way to build a home cinema corner is to do it in stages. Trying to do everything at once leads to compromises, whereas a staged approach lets you enjoy real improvements at each step and make smarter decisions about what to prioritise next.
Stage 1: The essentials ($600 to $1,200)
- A 55 to 65-inch TV or entry-level short-throw projector.
- A soundbar with a wireless subwoofer.
- A streaming device (Apple TV, Google TV stick or similar).
- Blackout blinds or curtains.
- A surge-protected powerboard.
This gets you a genuinely enjoyable setup for movie nights and weekend streaming. It’s also completely reversible if you’re renting, since nothing needs to be mounted permanently.
Stage 2: Stepping it up ($1,200 to $3,000)
- Upgrade to a 75 to 85-inch TV or a 100 to 120-inch projector and screen.
- Add a 2.1 or 5.1 bookshelf speaker system with an AV receiver.
- Introduce a few acoustic panels and dimmable LED lighting.
- Consider a proper TV wall mount or projector ceiling bracket.
This is where the space starts feeling genuinely cinematic. The combination of bigger picture and real surround sound creates the immersive quality that’s hard to replicate with a soundbar alone.
Stage 3: The upgrade ($3,000+)
- A premium large-format TV or high-lumen projector with a fixed or motorised screen.
- A matched speaker package with a capable AV receiver and dedicated subwoofer.
- Professional acoustic treatment and custom cabinetry or cable management.
At this stage, you’re building something that’s genuinely comparable to a dedicated home cinema installation. Plan your wiring and ventilation carefully, and consider professional installation for mounting and acoustic treatment if you want the best result.
A Few Practical Notes on Setup
Keep HDMI runs short wherever possible; longer runs can introduce signal issues with 4K content. If you need to get a signal across the room, a quality active HDMI extender is worth the small investment. Speaker cables should be sized to the run length; for most corner setups, standard gauge is perfectly adequate.
For projectors specifically, allow adequate ventilation. A ceiling-mounted projector needs clear air space above it, and enclosed cabinetry without airflow can significantly shorten its lifespan. If your setup involves running cables through walls or adding power points, engage a licensed electrician; it’s a small cost relative to the investment and ensures everything is safe and compliant with Australian wiring standards.
Basic calibration makes a real difference, too. Most modern TVs have a Cinema or Filmmaker picture mode that’s far more accurate than the default showroom settings. For projectors, minimise keystone correction and adjust based on the throw distance wherever possible. A free calibration app on your phone can help you balance speaker levels and verify the room response before you settle in for your first proper screening.
Getting Started
The most important thing is simply to begin. Measure your corner, pick a screen size that feels ambitious but fits the space, and start with the audio. It’s the element that will most change how the room feels. Build from there at whatever pace suits your budget, and enjoy the process. There’s genuine pleasure in watching a space come together over time, and a well-designed home cinema corner, even a modest one, will earn its place in the household for years to come.