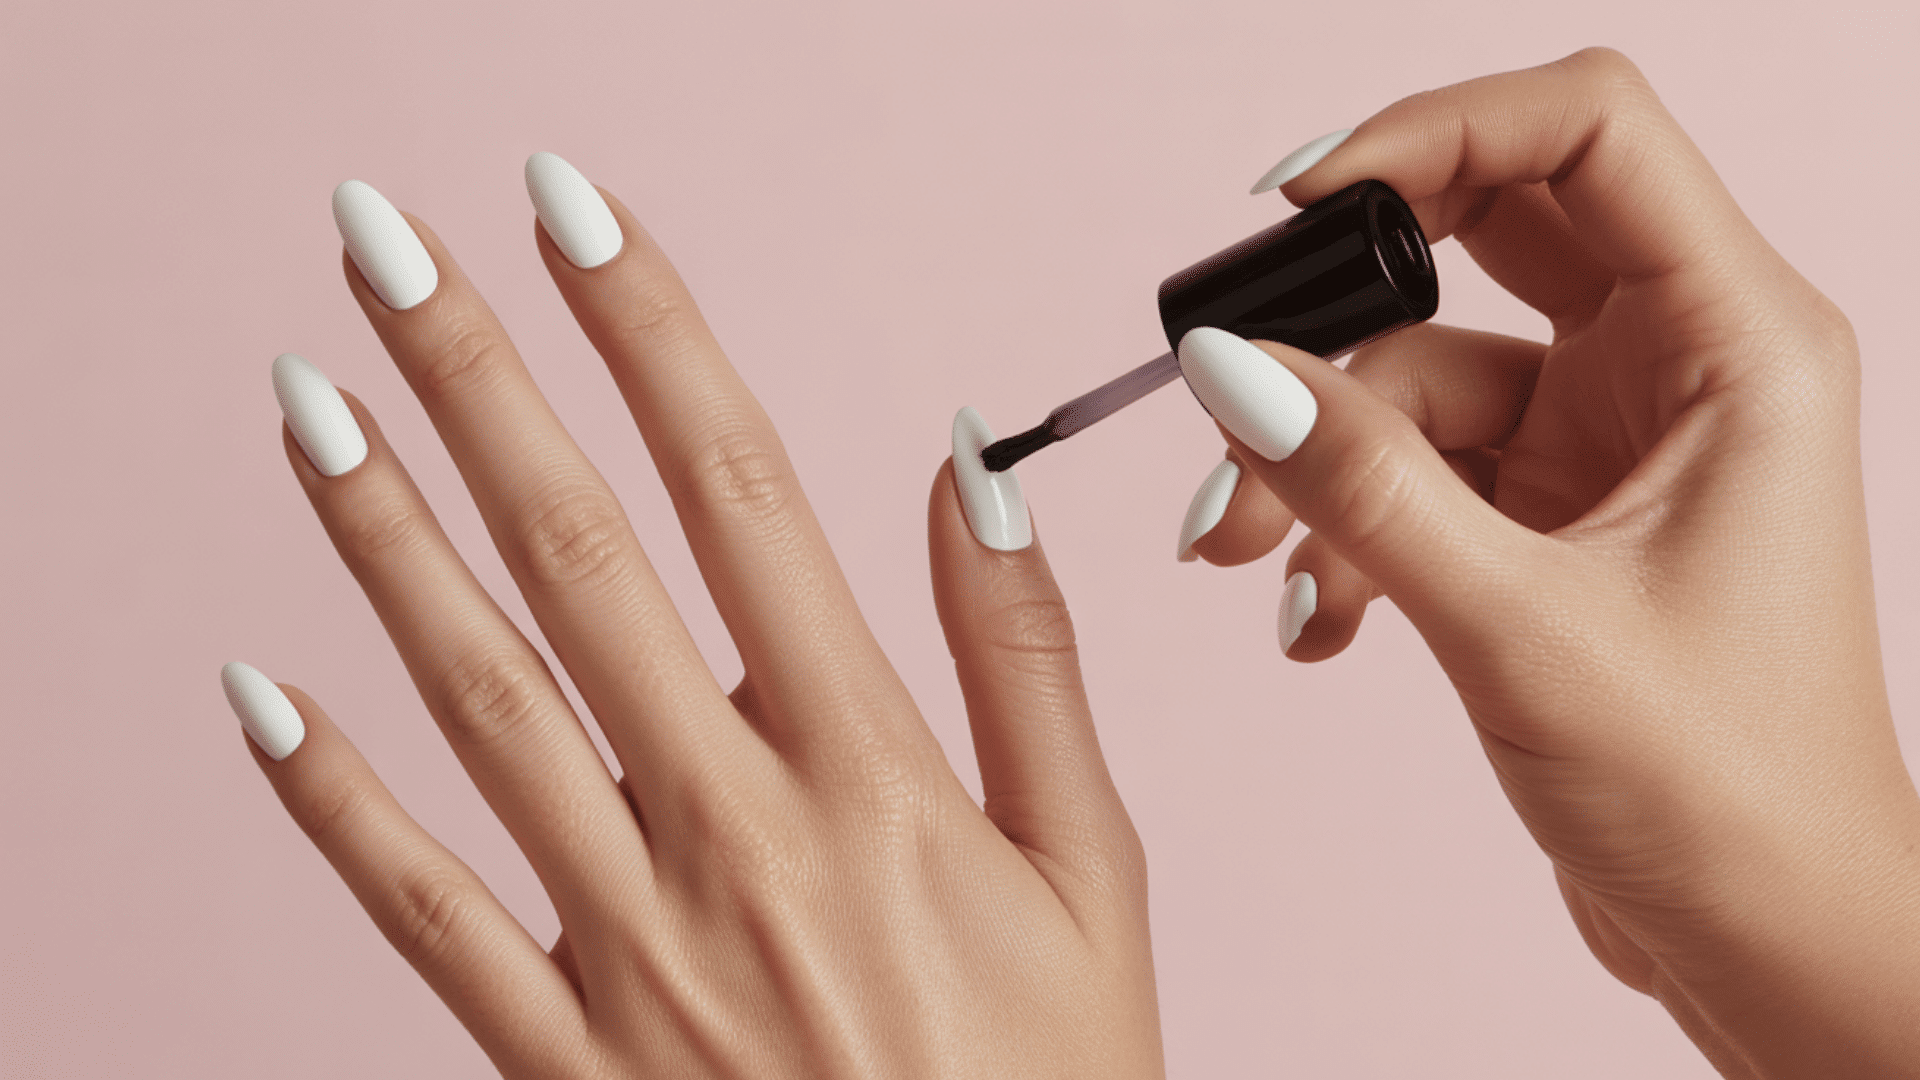
I’ll never forget the first time I paid for a gel manicure at the salon. It looked amazing, but I thought, “There has to be a way to do this myself!”
That led me to learn how to do gel nails at home, and honestly, it changed everything.
Fast-forward to today, and I’ve been learning to do gel nails at home for over two years, saving hundreds of dollars and getting compliments everywhere I go.
If you’re tired of costly salon visits or want the freedom to do your nails anytime, you’re in the right place.
I’ll help you through doing gel nails at home, covering supplies, step-by-step instructions, and the mistakes I made so you can avoid them!
How to Do Gel Nails at Home: Step-by-Step Routine
Ready to achieve a salon-quality gel manicure at home? Follow this step-by-step guide to achieve a perfect, long-lasting glossy finish using essential tools and materials.
Preparing Your Nails
Proper nail prep is key to preventing lifting issues during learning.
- Sanitize: Clean your hands and nails thoroughly before starting.
- Shape Nails: Use a nail file to shape your nails to your preferred style.
- Push Back Cuticles: Gently push back your cuticles using a cuticle pusher.
- Buff the Nails: Lightly buff the surface to remove shine and help the gel stick better.
- Clean: Make sure nails are free of oil or dust by wiping them with rubbing alcohol or using a nail dehydrator.
These simple preparation steps create a perfect foundation for a salon-quality finish that lasts for several weeks of heavy wear.
Materials Required
You only need a few high-quality essentials to achieve that perfect, glossy finish right in your living room.
- Manicure Kit: Includes a nail file, buffer, and cuticle pusher for prepping your nails.
- Gel Polishes: Get a base coat, color coat, and top coat for the perfect layers.
- UV/LED Lamp: Essential for curing each layer of gel to make sure long-lasting results.
- Nail Dehydrator/Rubbing Alcohol: To cleanse your nails and remove any oils before applying the gel.
- Lint-Free Wipes: Use them to remove excess polish without leaving fuzz behind.
- Cuticle Oil: Helps nourish your cuticles and nails after your gel manicure.
Follow this simple, step-by-step guide to achieve a durable, professional-looking manicure that leaves your hands looking stunning for weeks.
Step 1: Apply Base Coat
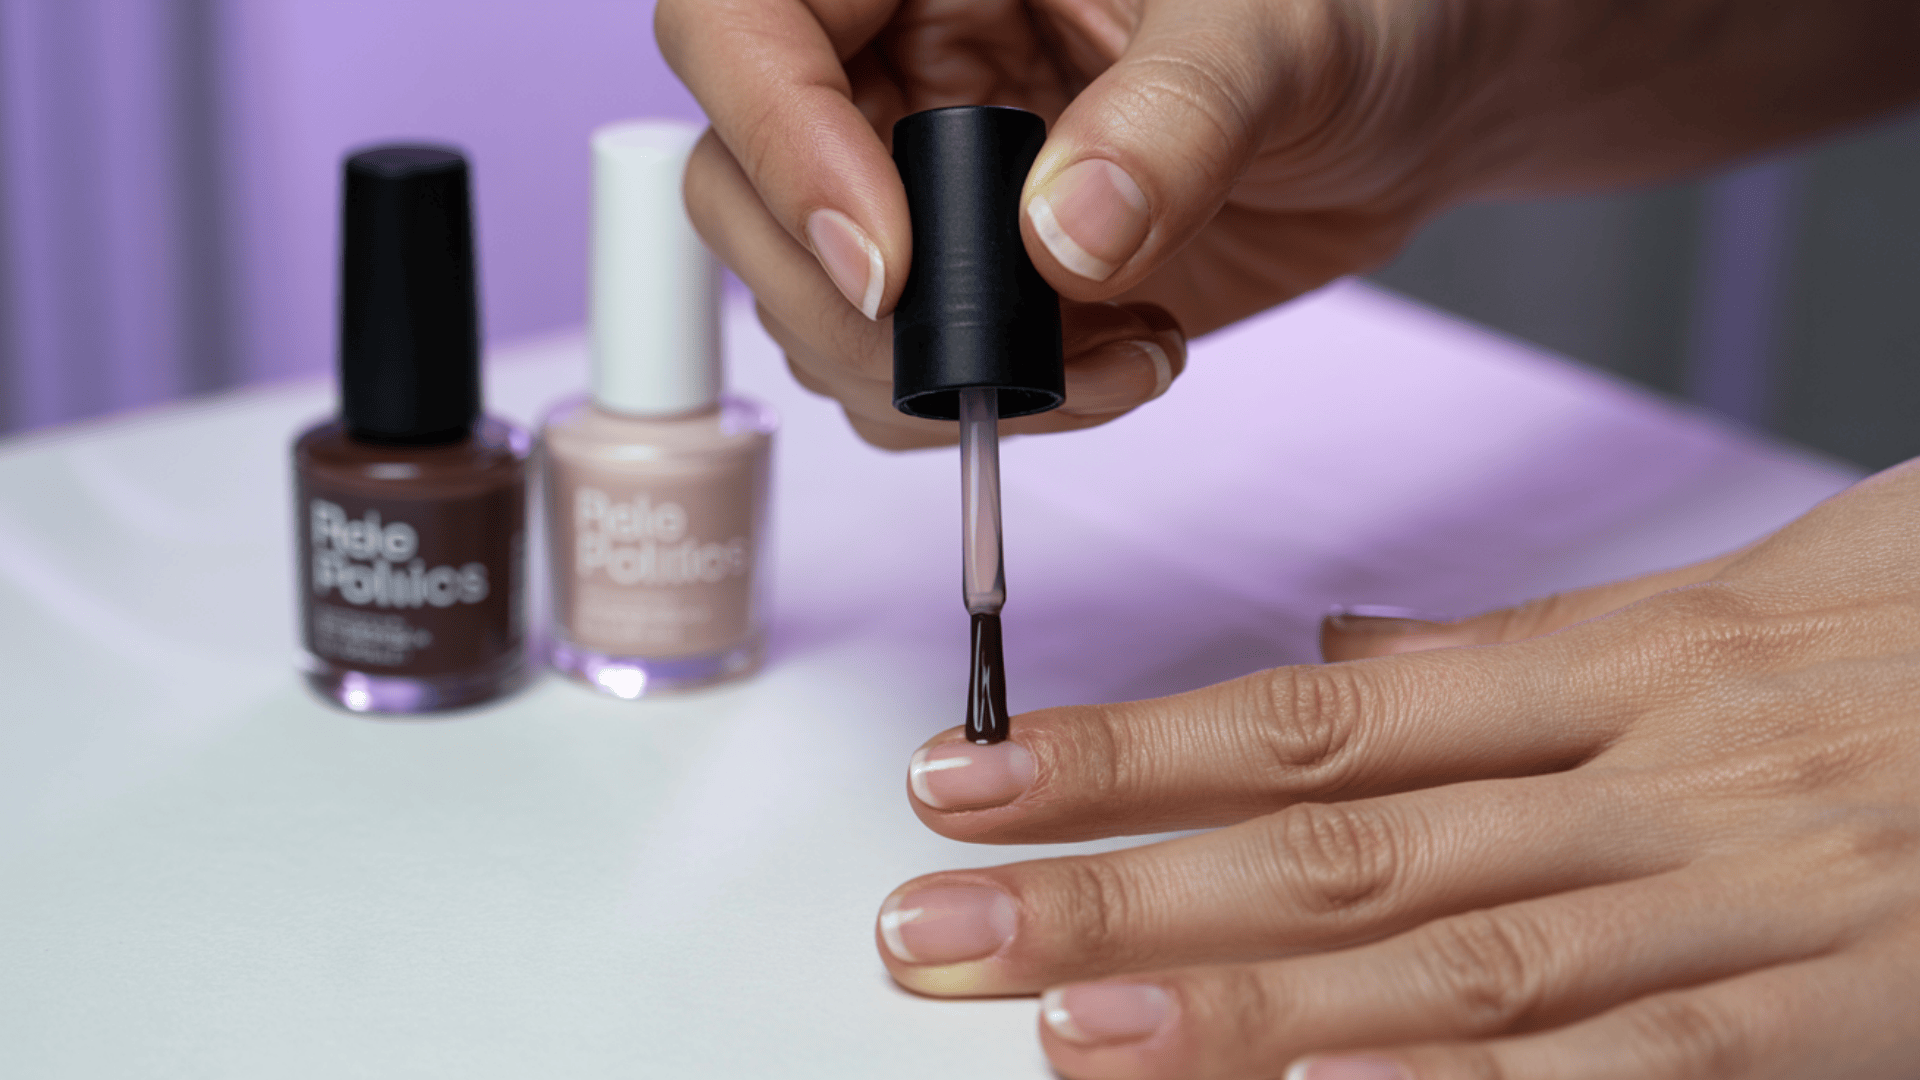
Starting with a solid base is the most important step for doing gel nails at home for lasting results.
- Apply a thin, even layer of base coat on each nail.
- Avoid getting the base coat on the skin or cuticles.
- Cure under the UV/LED lamp for 30-60 seconds.
Step 2: Apply Color Coat
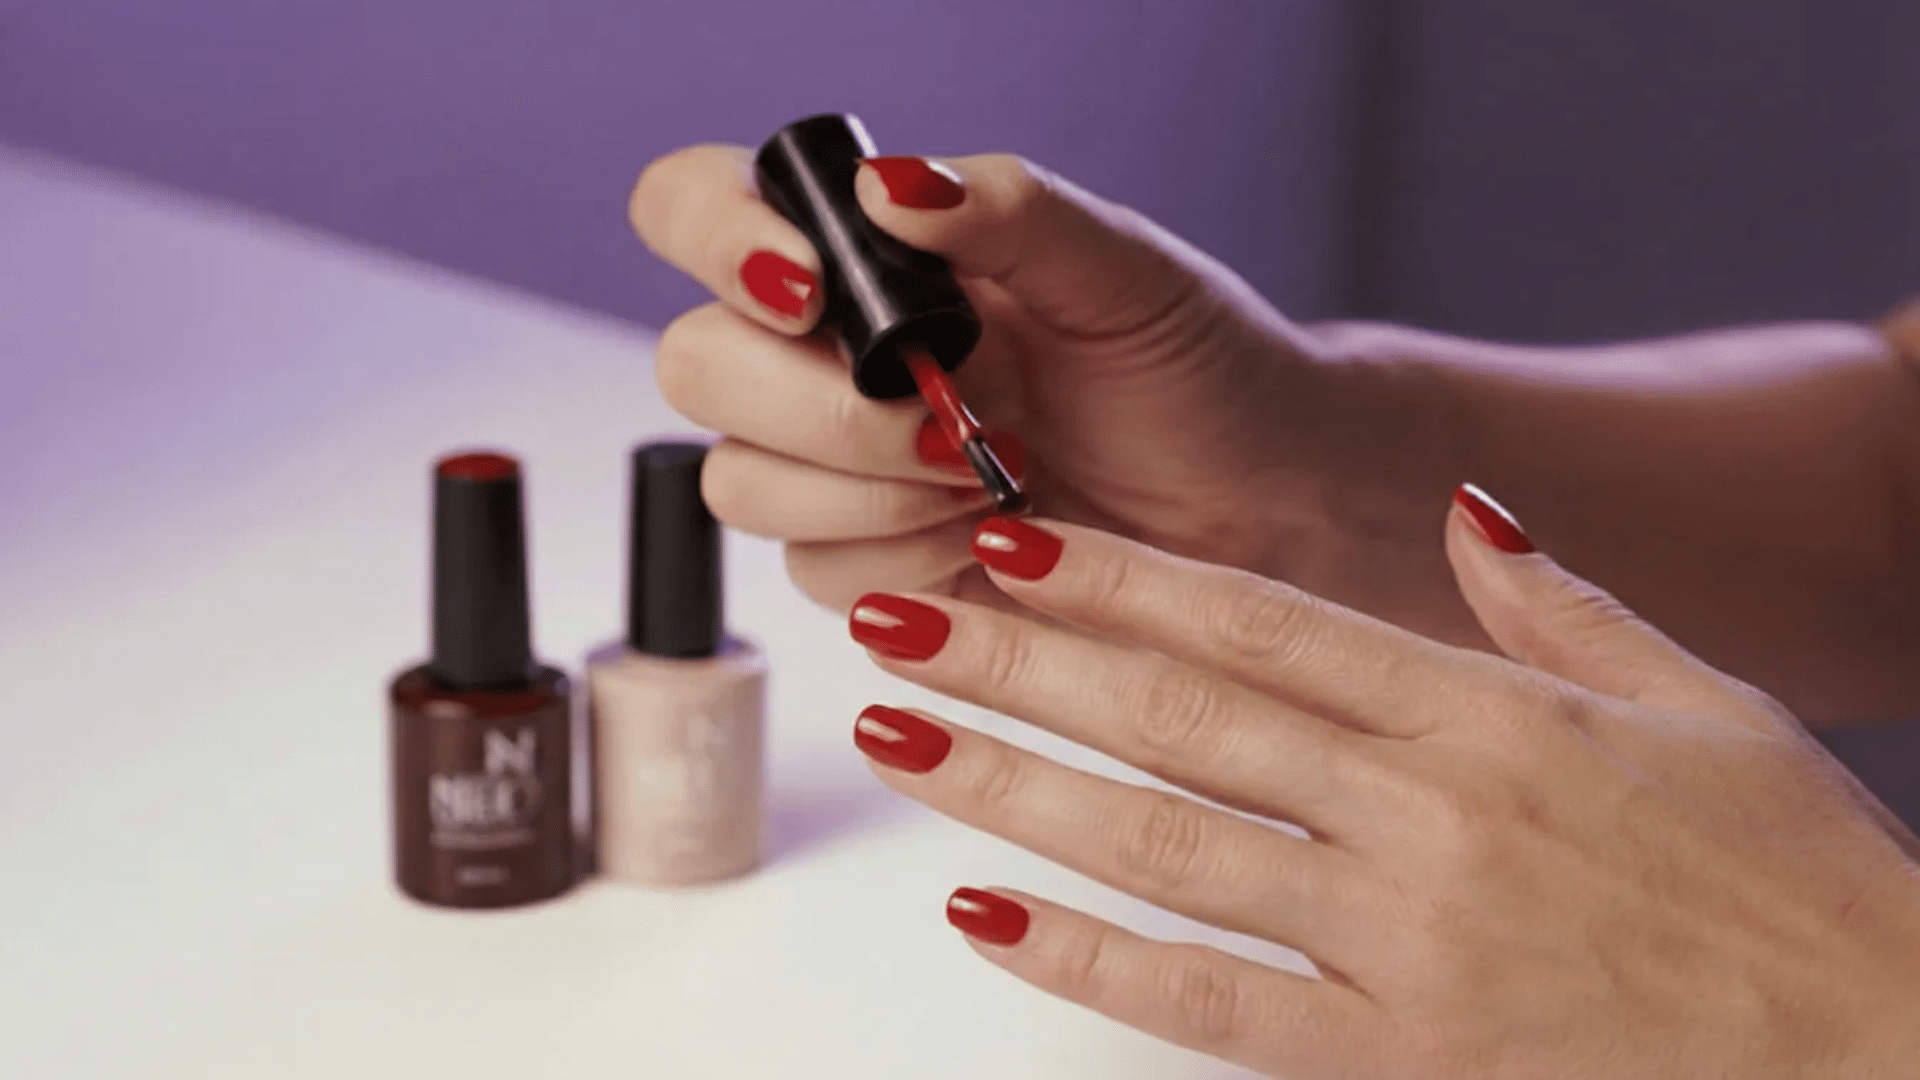
Now we get to the fun part of learning gel nails by adding some beautiful color. This is where your personal style shines through
- Choose your desired gel color.
- Apply a thin, even layer of the gel color on each nail.
- Be sure to cap the nail edges to prevent lifting.
- Cure under the UV/LED lamp for 30-60 seconds.
Step 3: Apply Top Coat
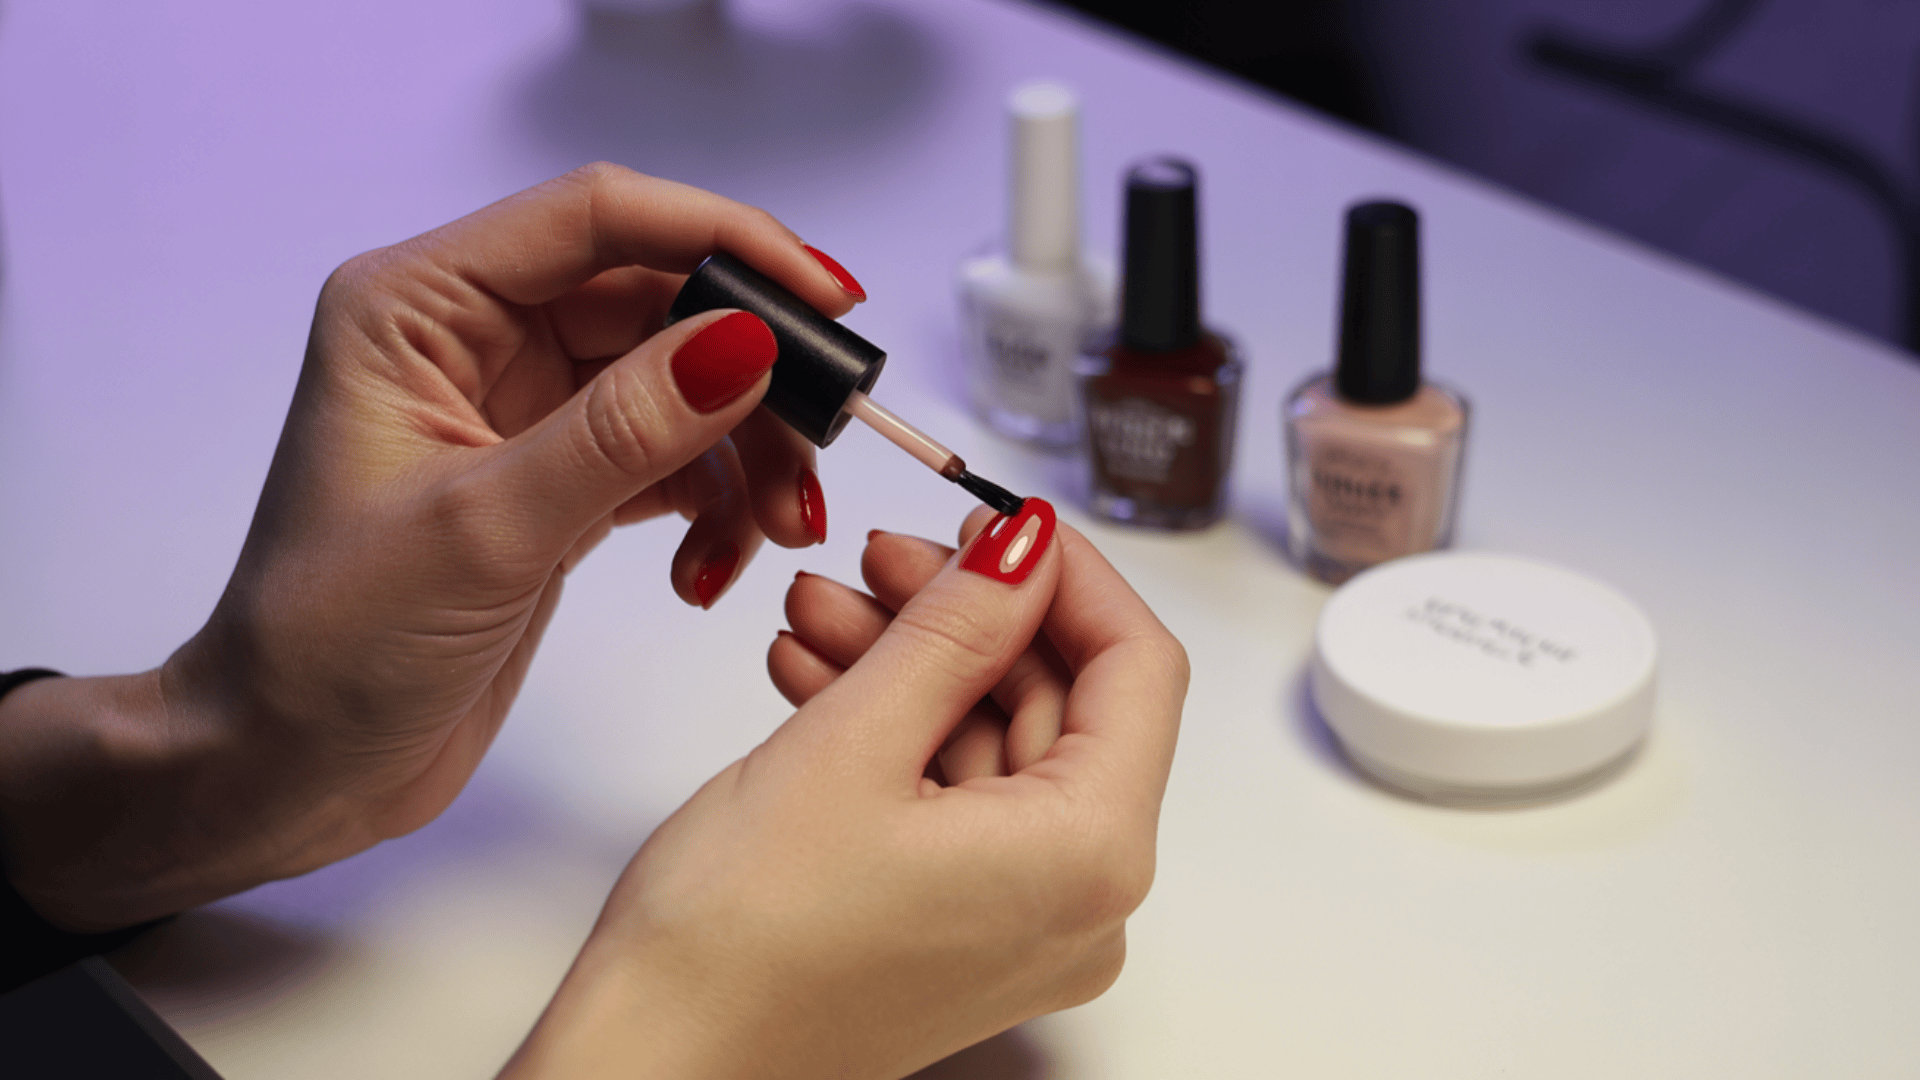
We are reaching the final stretch of learning to do gel nails at home for a long-lasting and glossy finish.
- Apply a thin layer of top coat to seal the color.
- Be sure to cover the entire nail, including the edges.
- Cure under the UV/LED lamp for 30-60 seconds.
Step 4: Wipe Off Tacky Layer (if needed)
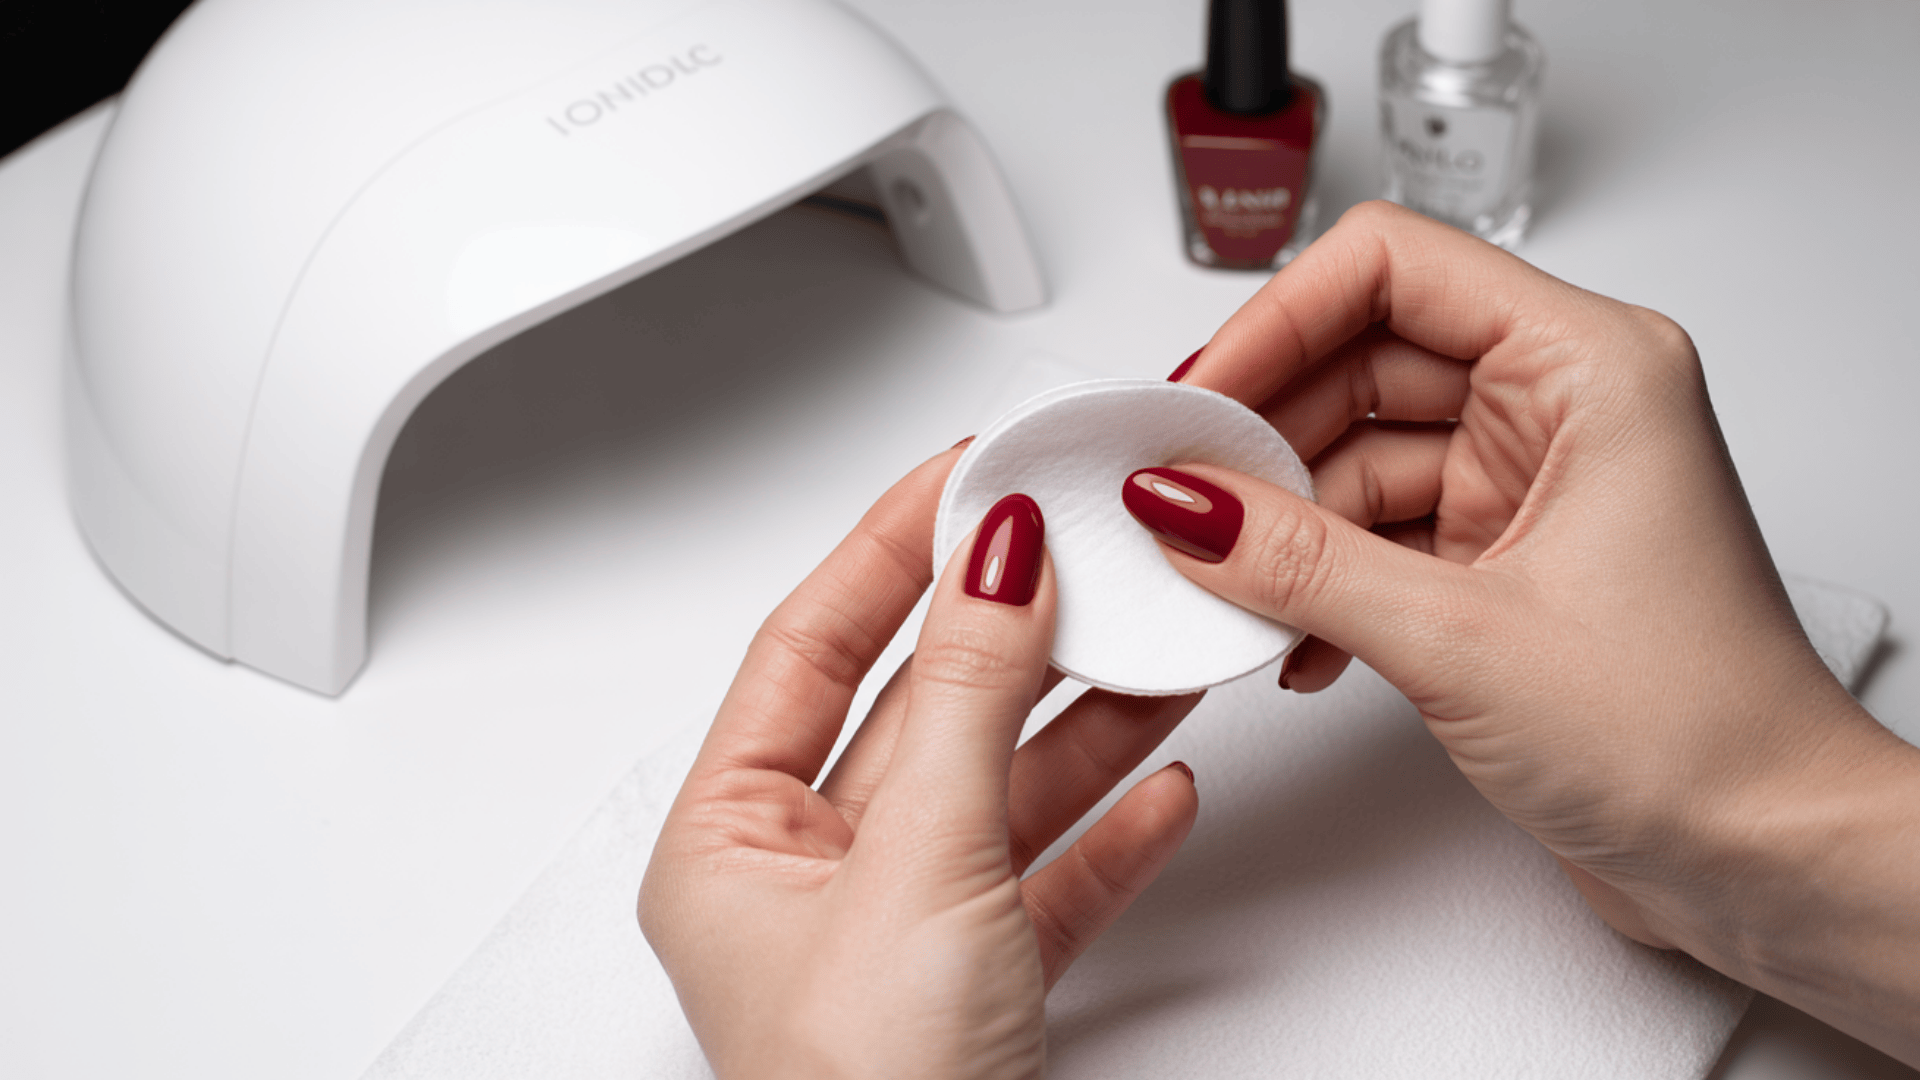
Clearing the residue is vital for a smooth, glass-like finish.
- If using a regular top coat, wipe off the sticky residue with rubbing alcohol.
- Use a lint-free wipe to avoid fuzz on your nails.
Step 5: Finish with Cuticle Oil
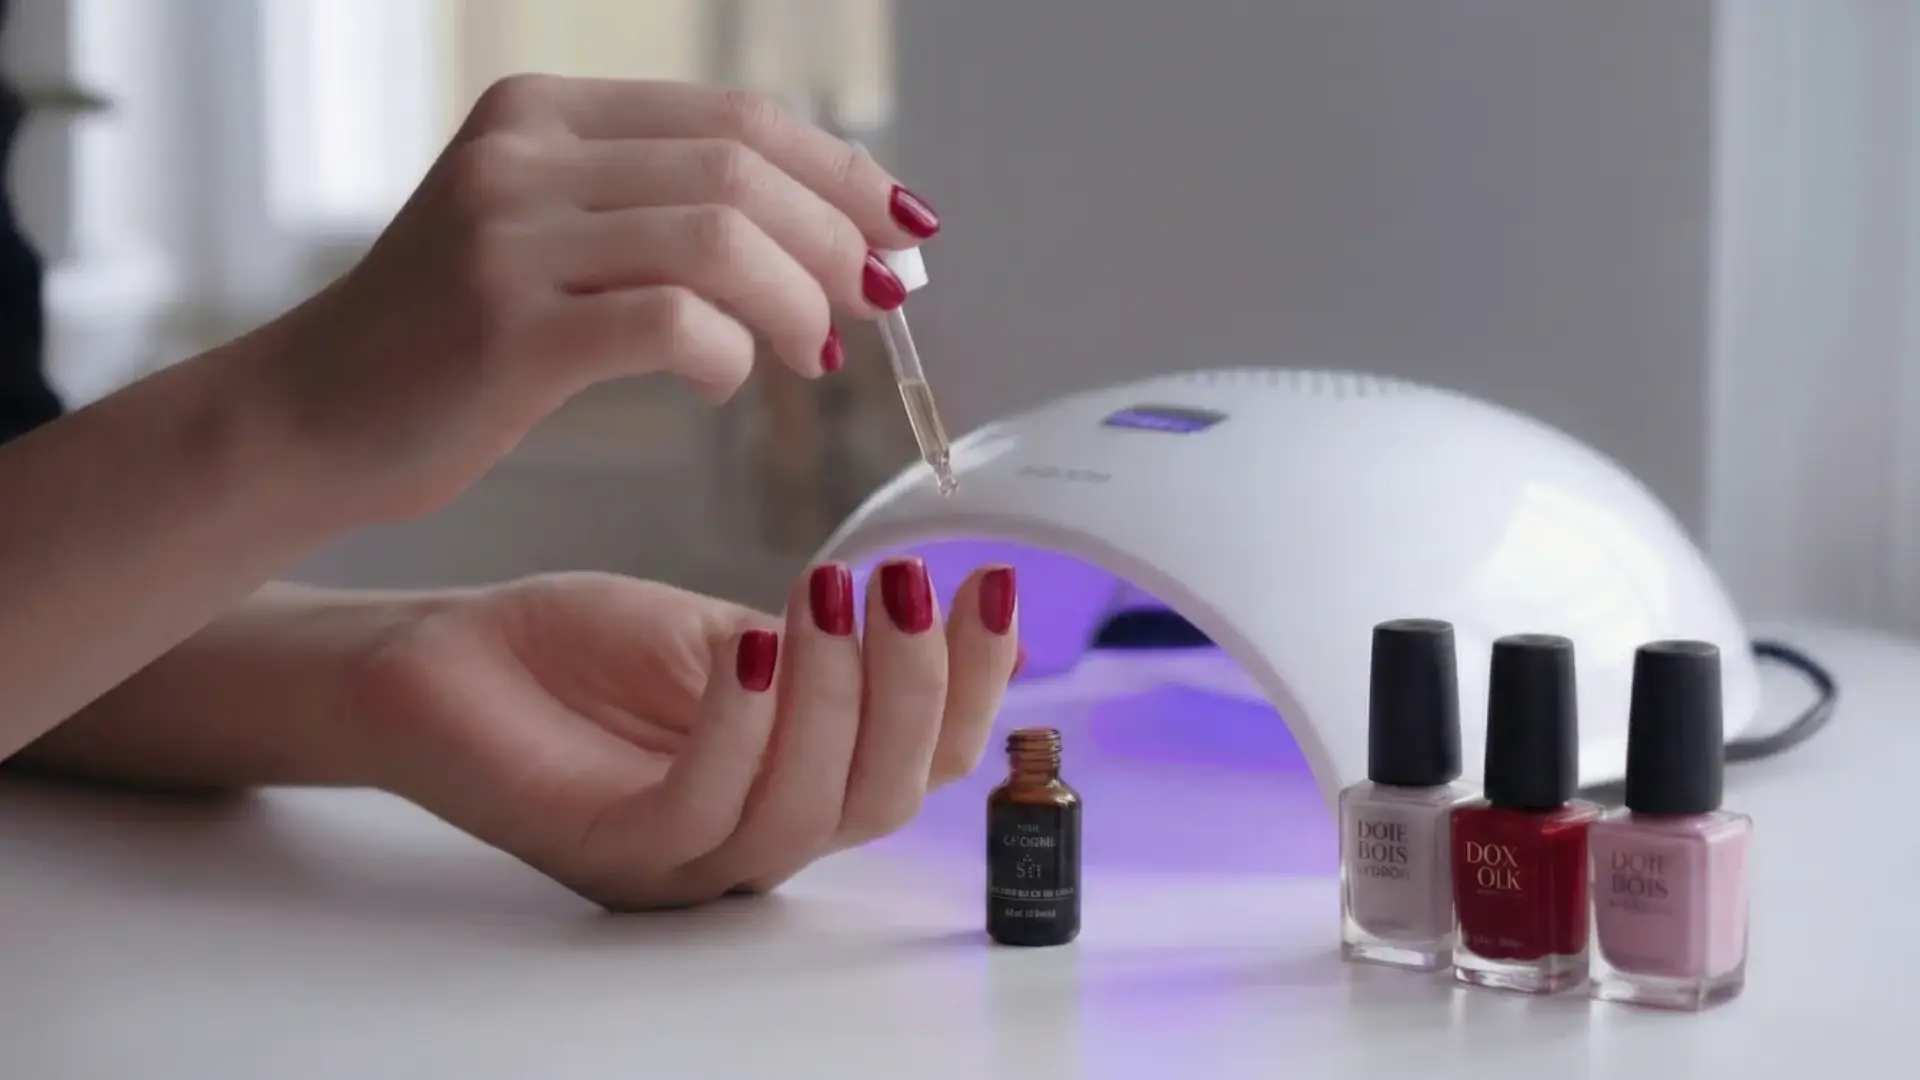
The final secret to keeping your skin hydrated for a truly professional look.
- Apply cuticle oil around your nails and massage it in.
- This helps hydrate and nourish the nails and surrounding skin.
You now possess the skills to do gel nails like a pro whenever you need a refresh. I hope this simple routine helps you save time and money while keeping your beautiful nails looking consistently healthy and shiny.
Community Discussion: First-Time At-Home Gel Manicure Success
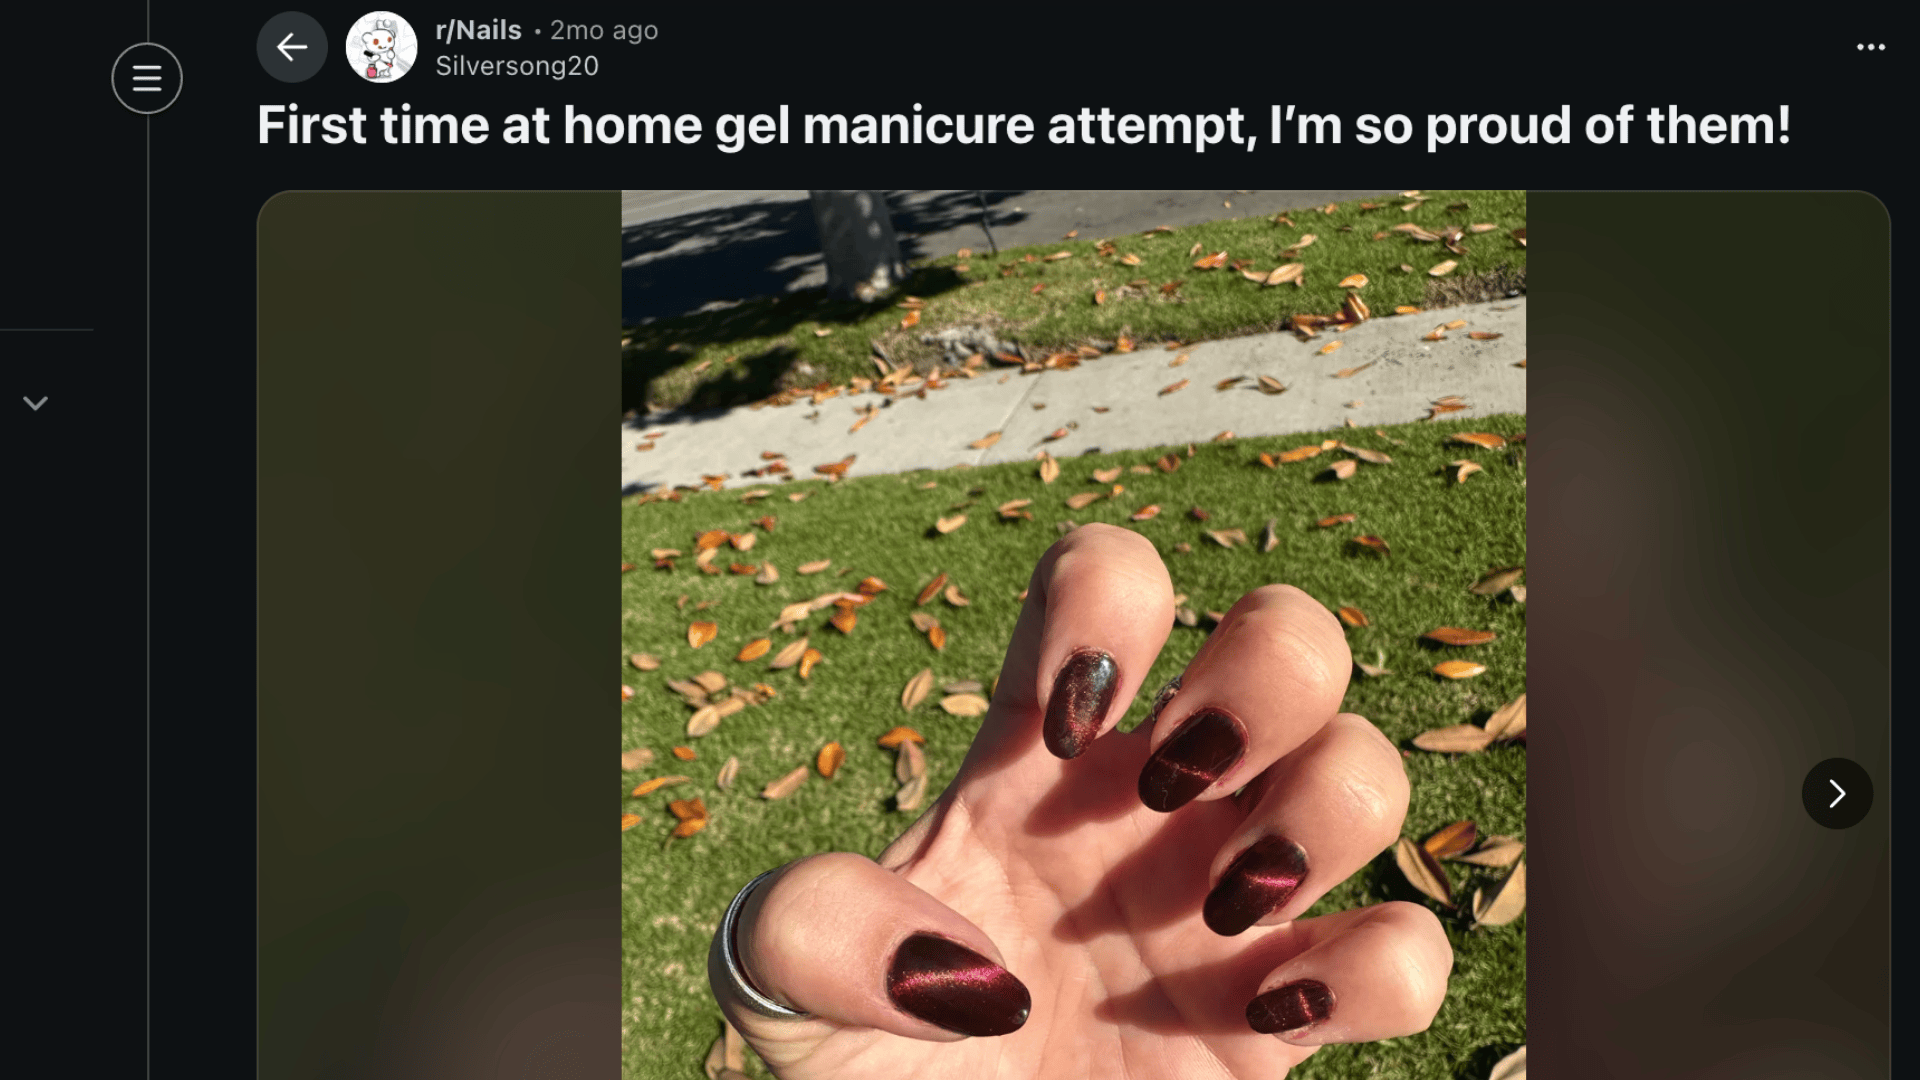
In a Reddit post titled “First time at home gel manicure attempt, I’m so happy with the results!” a user shared their excitement about successfully doing their first DIY gel nails.
The post received supportive replies, with many users praising the beginner’s effort. Some shared tips, like using thin layers and capping the nail edges to avoid peeling, while others suggested using better tools for longer-lasting results.
Many commenters emphasized the importance of good nail prep, like pushing back cuticles and buffing the nails before application.
Personally, I think it’s great that more people are embracing at-home gel manicures. The freedom and satisfaction are definitely worth the effort, but as the Reddit thread suggests, perfecting your technique takes time and practice!
Benefits of Gel Nail
Gel nails come with a few standout perks that make them a go-to choice for many people:
- Long-lasting wear: Can stay fresh for up to three weeks without chipping or peeling.
- Extra durability: More resistant to everyday wear and tear than regular polish, great for busy routines.
- Glossy finish: Keeps that shiny, salon-like look without constant touch-ups.
- Flexible feel: Bends slightly with your nails to help prevent cracking.
- Quick drying: Cures instantly under UV or LED light, so there’s less waiting and fewer smudges.
Gel nails are a simple way to achieve a polished, professional look that requires less maintenance.
Removing Gel Nails Safely at Home
Knowing the right removal process is just as important as learning how to do gel nails for healthy nails. Use these gentle tips without causing any unnecessary damage to your natural nail beds.
- Soak a cotton ball in acetone and place it on your nails.
- Wrap your nails in foil and leave for 10-15 minutes to soften the gel.
- Avoid peeling or forcing the gel off to prevent nail damage.
- Don’t use sharp tools to scrape off the gel; let acetone do the work.
Safe removal is the final lesson on doing gel nails at home as part of a complete beauty routine.
Why Gel Nails Are So Popular?
Gel nails have quickly become my go-to for long-lasting, flawless nails. I love how durable they are; they stay shiny and chip-free for weeks.
The best part? I can easily do them at home without rushing to a salon. Gel nails offer endless design options, so I can always match them to my mood or outfit.
Plus, they dry quickly under UV or LED light, so I don’t have to worry about smudging. Over time, I’ve noticed that my natural nails feel stronger, too.
Final Thoughts
Learning how to do gel nails at home has honestly been one of the best skills I’ve picked up.
Not only have I saved so much money, but I also love the freedom of doing my nails whenever I want; no appointments, no waiting, just me and my favorite colors.
The first few times might feel a little tricky, but trust me, you’ll get the hang of it quickly. Remember, thin coats and proper prep are your best friends when learning how to do gel nails!
I hope this guide gives you the confidence to try gel nails at home. You’ve got this! If you found this helpful, I’d love to hear about your gel nail experience.
Drop a comment below and let me know how your first DIY gel manicure turns out. I can’t wait to hear from you!
Frequently Asked Questions
Do I need a UV lamp, or can I use an LED lamp?
Either works, but LED lamps are faster and more practical for home use. They cure gel polish in 30–60 seconds versus the 2–3 minutes a UV lamp can require, and the bulbs last much longer. Most gel polishes sold today are compatible with both. Just check your Polish brand’s instructions; a few older formulas are UV-only. If you’re buying a lamp from scratch, a 36W–48W LED lamp is a solid choice for a beginner.
Can I do gel nails at home without experience?
Yes. Gel polish is actually more forgiving than most beginners expect. The curing process means you don’t have to rush, and any smudges or skin contact can be cleaned up with a small brush dipped in acetone before you cure. The two things that trip up first-timers the most are applying coats too thick (which causes bubbling and uneven curing) and skipping nail prep. Get those two right and your first attempt will probably surprise you.
What is Shellac, and is it the same as gel?
Shellac is a brand name by CND, it’s a hybrid gel-polish formula, but it’s still cured under a lamp and applied the same way as standard gel polish. In everyday use, most people (and a lot of salons) use “Shellac” and “gel nails” interchangeably. If you’re doing your nails at home, you don’t need a Shellac-specific kit. Any good gel polish system works the same way.
How do I remove gel nails at home without damaging my nails?
The foil-wrap method is the safest approach:
- Lightly buff the shiny top coat so acetone can penetrate.
- Soak a cotton ball in acetone and place it directly on the nail.
- Wrap each finger tightly in a small square of aluminum foil.
- Wait 10–15 minutes, then gently push off the softened gel with a cuticle pusher.
- Never force or scrape anything still stuck — re-soak for another five minutes instead.
After removal, apply cuticle oil and give your nails a day or two to breathe before your next application.