Learning how to plant lavender seeds isn’t the fastest route to a fragrant garden, but it’s one of the most rewarding.
While most gardeners start with nursery plants, growing from seed offers access to rare varieties, keeps costs low, and teaches patience in the best way possible.
This guide walks through the entire process, from cold stratification to outdoor transplanting, with realistic timelines and clear steps.
I’ll cover what determines success, how to avoid common mistakes, and what to do when seedlings don’t behave as expected.
You’ll learn the exact conditions lavender needs to break dormancy, when to start seeds for your climate, and how to troubleshoot problems by symptom.
If starting lavender from scratch sounds intimidating, I promise this breakdown will make it manageable and less mysterious than it seems.
What to Know Before Planting Lavender Seeds
Lavender seeds need cold, light, and time, three things that catch new growers off guard. Unlike tomatoes or basil, lavender won’t sprout in a week, and skipping stratification usually means zero germination.
Success depends on mimicking the plant’s natural dormancy cycle, providing light at the soil surface, and maintaining consistent moisture without drowning the seeds.
Rushing the process or improvising conditions leads to frustration. This section outlines the commitment required, the conditions that matter most, and what I recommend gathering before starting.
Understanding these factors upfront prevents wasted effort and sets realistic expectations for how long each stage actually takes when planting lavender seeds.
Step-by-Step Instructions on How to Plant Lavender Seeds
Growing lavender from seed follows a specific sequence; each step builds on the last, and skipping ahead causes problems later. I’ve broken down the process into eight clear steps.
Tools and Materials
Gathering the right supplies before starting prevents mid-process delays and ensures each growth stage has what it needs to succeed.
| Item | Purpose |
|---|---|
| Lavender seeds | Choose fresh seeds from a reliable source |
| Seed starting mix | Sterile, fine-textured medium for germination |
| Small containers with drainage | 2-3 inch depth minimum |
| Clear plastic bag or dome | Maintains humidity during stratification |
| Grow light or bright windowsill | Provides 12-16 hours of light daily |
| Spray bottle or bottom-watering tray | Controls moisture without disturbing seeds |
| Plant labels | Tracks varieties and sowing dates |
| Paper towel (optional) | Alternative stratification method |
Step 1: Decide When to Start Seeds

I start seeds indoors 10-12 weeks before the last expected frost date. This timing allows seedlings to reach transplant size when outdoor conditions stabilize.
Starting too late in spring means seedlings won’t establish before summer heat, and starting too early creates leggy plants that outgrow their containers. I check the local frost calendar first, then count backward to set my start date.
Step 2: Cold Stratify the Seeds
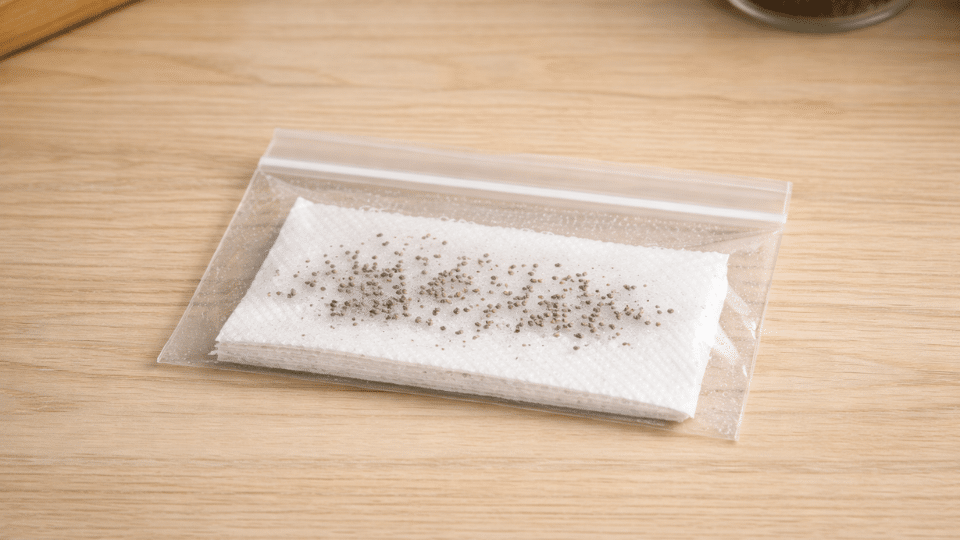
I place seeds between damp (not soaking) paper towels inside a sealed plastic bag, then refrigerate for 3-4 weeks. This cold exposure breaks dormancy and signals the seed that winter has passed.
I check weekly to ensure the towel stays moist but not wet, excess moisture causes mold. Seeds are ready when the stratification period ends, even if I see no visible changes.
Step 3: Prepare Containers and Soil
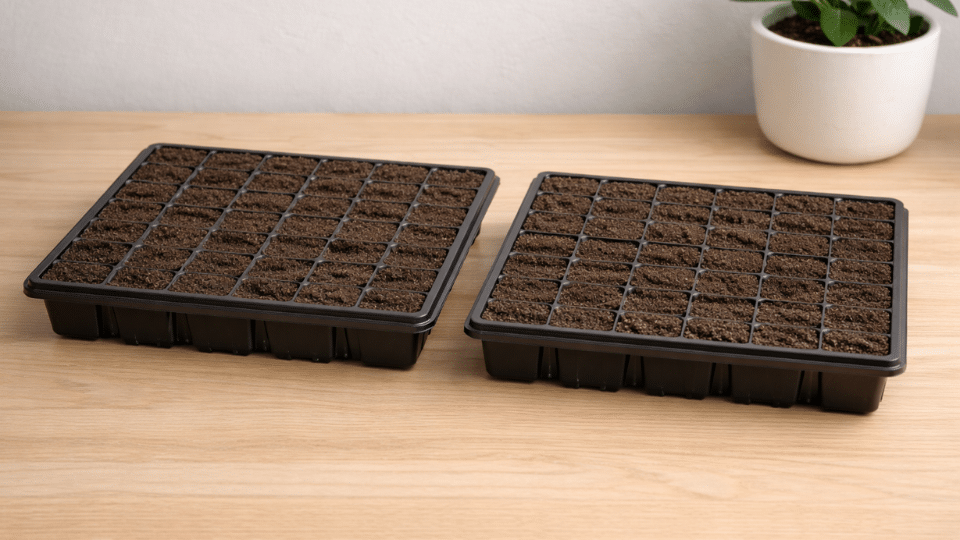
I fill containers with seed starting mix, not garden soil or potting mix, because lavender needs fine texture and sterile conditions at germination.
I pre-moisten the mix until it feels like a wrung-out sponge, damp but not dripping. I use containers at least 2 inches deep with drainage holes and firm the surface gently to create an even plane for seed placement without compacting the mix.
Step 4: Sow the Seeds Correctly
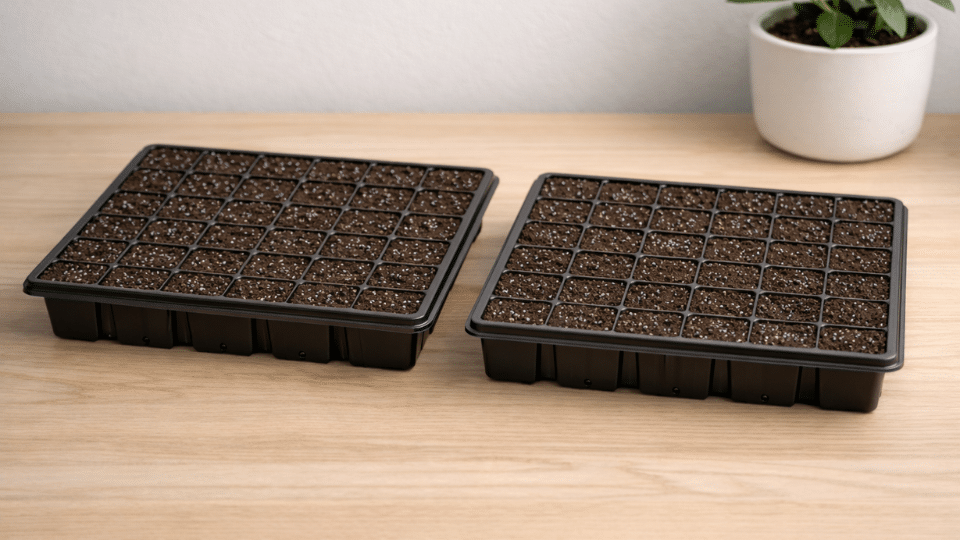
I scatter seeds on the soil surface or press them in barely, no more than 1/8 inch deep. Lavender requires light to germinate, so burying seeds blocks the signal they need.
I space seeds about 1 inch apart to allow air circulation and reduce competition. I mist lightly after sowing to settle seeds against the soil without washing them into clumps or crevices.
Step 5: Set Up the Germination Environment
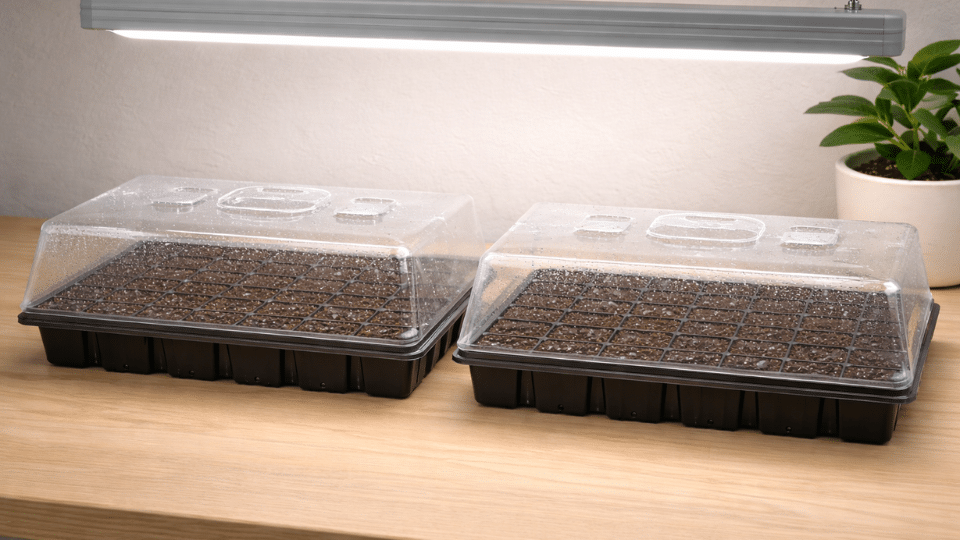
I cover containers with a clear lid or plastic wrap to hold humidity, then place them under grow lights or on a bright windowsill. I maintain temperatures between 65-70°F, warmer speeds mold, cooler slows germination.
I provide 12-16 hours of light daily, keeping the light source 2-3 inches above the soil. I check daily and mist only when the surface starts to dry.
Step 6: Care for Seedlings After Sprouting
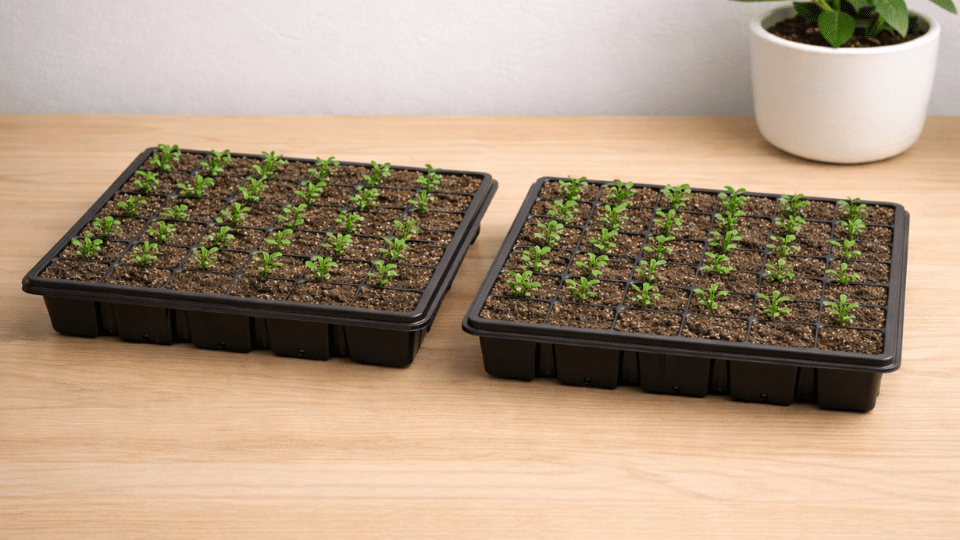
I remove humidity covers once sprouts appear, usually within 14-21 days. I keep lights close to prevent tall, weak stems, if seedlings stretch or lean, I lower the light source immediately.
I water from below by setting containers in a shallow tray, letting soil absorb moisture through drainage holes. I thin crowded seedlings to 2 inches apart if they compete for space.
Step 7: Pot Up Seedlings
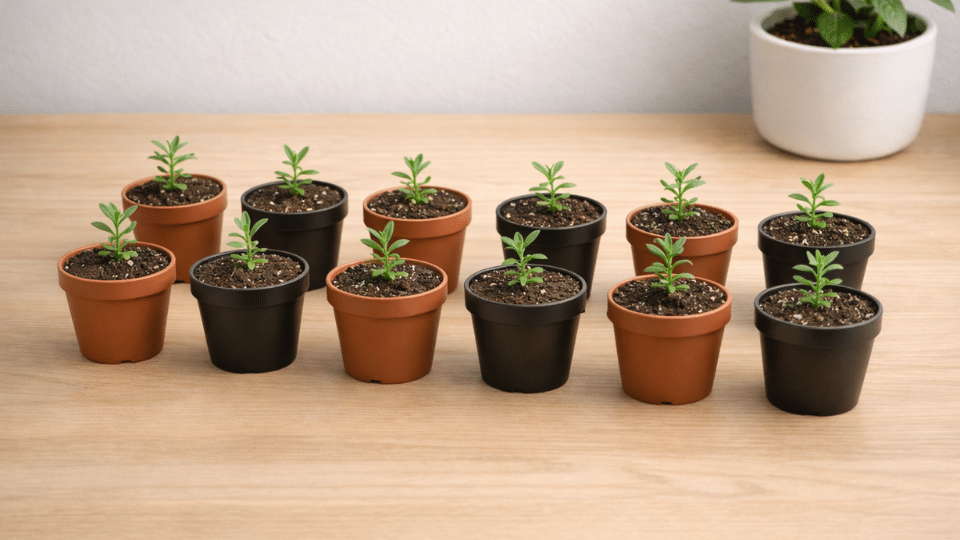
I transplant seedlings into individual 3-4 inch pots once they develop two sets of true leaves (the second set after the initial sprout leaves).
I use standard potting mix at this stage, seedlings can handle richer soil now. I handle by the leaves, never the stem, and bury up to the first set of leaves. I water gently and return to bright light immediately.
Step 8: Harden Off and Transplant Outdoors
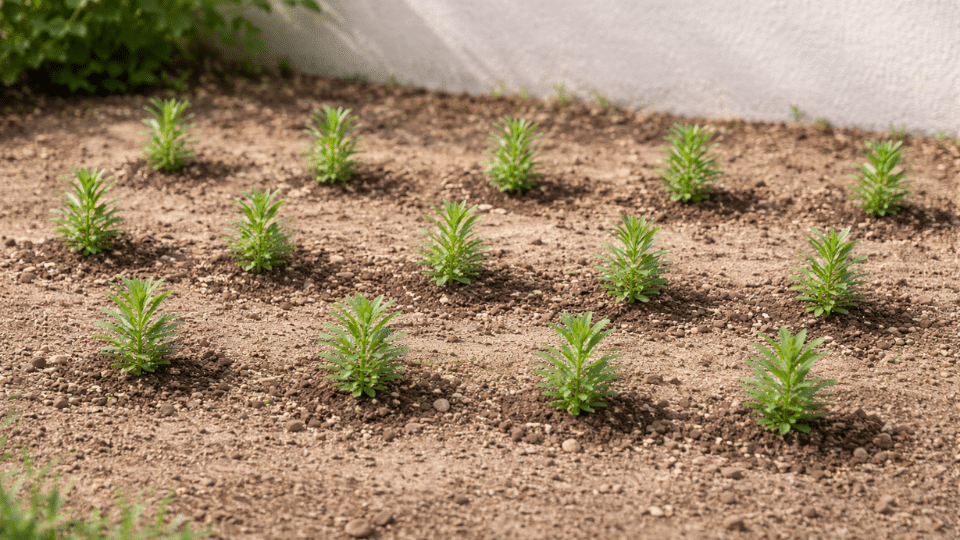
I begin hardening off 7-10 days before the final transplant date by placing seedlings outdoors in shade for 1-2 hours, gradually increasing exposure to sun and wind daily. I choose a planting site with full sun and excellent drainage—lavender rots in damp soil. I space plants 12-18 inches apart, water immediately after planting, then reduce frequency to encourage deep root growth.
Growing and Maintenance Tips
Once lavender establishes outdoors, shifting from intensive seedling care to long-term maintenance prevents common problems and encourages healthy growth over multiple seasons.
- Water deeply but infrequently: I water established lavender only when the top 2 inches of soil dry out completely. Overwatering causes root rot faster than any other issue. Deep watering encourages roots to grow downward rather than staying shallow.
- Avoid fertilizer in the first year: Lavender thrives in lean soil. I skip feeding entirely during the first growing season, excess nitrogen produces weak, floppy growth with fewer flowers and reduced fragrance.
- Prune after flowering, not before winter: I trim spent flower stalks immediately after blooming ends but avoid heavy pruning in fall. Cutting into woody stems in late season reduces winter hardiness and can kill young plants.
Consistent care in the first year determines whether lavender survives long-term, small adjustments now prevent major problems later in the plant’s life.
Common Mistakes That Stop Lavender Seeds from Germinating
Most germination failures trace back to five preventable mistakes, each of which blocks the signal lavender needs to sprout or survive. I’ve seen these errors stop countless germination attempts.
| Mistake | Why It Fails | Quick Fix |
|---|---|---|
| Burying seeds too deep | Lavender needs light to germinate. Cover no more than 1/8 inch. | Surface sow only. |
| Overwatering | Wet soil drowns seeds and causes mold. Keep mix damp, not soggy. | Mist lightly or water from below. |
| Insufficient light | Weak light prevents sprouting. Windowsills don’t work. | Use grow lights 2-3 inches above for 12-16 hours daily. |
| Skipping stratification | Seeds without cold exposure stay dormant. | Refrigerate 3-4 weeks before sowing. |
| Giving up early | Lavender takes 14-21 days to sprout. | Wait the full window. |
Correct these in the first 48 hours and germination rates improve significantly across all seed batches.
The Bottom Line
Planting lavender seeds demands more patience than most garden projects, but I’ve found the process itself is straightforward when broken into stages.
Cold stratification prepares seeds for germination, surface sowing gives them the light they need, and consistent care through the seedling phase builds strong plants.
Mistakes happen, seeds get buried too deep, moisture swings too wide, or light stays too weak, but most problems have simple fixes tied back to a specific step.
The timeline stretches longer than expected, and that’s normal. Following the sequence matters more than speeding through it.
What matters most is consistency, not perfection, and trusting that slow growth doesn’t mean failure. If this guide helped clarify how to plant lavender seeds successfully, leave a comment with your variety choice or where you got stuck.