Have you ever hung a picture, stepped back, and just couldn’t figure out why it felt off? I’ve done that more times than I’d like to admit. It’s funny how just a few inches can make a wall feel awkward — or perfectly balanced.
I started paying attention to how designers decide how high to hang pictures, and that’s when it finally clicked: there’s a simple height rule that changes everything.
In this guide, I’ll walk you through that rule, how to adjust it for your ceiling height and furniture, and a few tricks I’ve learned for keeping walls looking pulled together and easy on the eyes, without a single extra nail hole.
How High to Hang Pictures: The Basics
The sweet spot is where your eyes naturally land, right around the middle of your view.
If you’ve ever wondered what height to hang pictures, most designers rely on a simple range that works in nearly every home.
Here’s what I always keep in mind:
- Keep the center of the artwork at eye level, usually 57 to 60 inches from the floor.
- Always measure to the center of the frame, not the top or bottom; this is called the “on-center” method.
- If your ceilings are high or your family is taller, raise it slightly closer to 60 inches on center.
- When hanging multiple pieces, make sure their centers align rather than their tops or bottoms.
This on-center trick keeps walls feeling calm and connected from room to room, no matter the frame size.
I like to use painter’s tape to test a few heights before making a single nail hole. It’s the easiest way to see what feels right in your space.
Once you’ve found the spot that looks natural, stick with it throughout your home. That little bit of consistency makes everything look pulled together without trying too hard.
Understanding the Eye-Level Rule
The eye-level rule helps you find a height that feels natural in any room. When the center of your picture sits close to average eye height, the space feels balanced, calm, and easy to look at.
Most designers and galleries use the same guideline: keep the center of the artwork between 57 and 60 inches from the floor. This range lines up with most people’s natural eye level and keeps your walls visually consistent throughout the home.
Why the Eye-Level Range Works
Eye level gives your artwork a shared visual line that connects rooms together. If you’re in the hallway, living room, or dining area, keeping pictures at the same height creates a sense of flow.
This range also keeps the artwork easy to view. You shouldn’t have to look up or down to enjoy it; it should meet your eyes comfortably when standing.
When to Adjust the Height
Not every space is the same, so small changes help.
- For standard ceilings, keep the center close to 57 inches.
- For taller ceilings or taller family members, raise it toward 60 inches.
- For smaller rooms or lower ceilings, stay near 57 inches so the art doesn’t feel heavy.
- For seated areas like dining rooms, drop the height slightly to match your seated eye level.
These minor adjustments keep each wall in proportion without breaking the visual rhythm.
How to Keep It Consistent
Consistency is what ties your home together. When all artwork shares the same center height, every wall feels intentional and balanced. Even if frame sizes or styles change, your eye follows a smooth, even line through the space.
Before you finalize placement, mark the height with painter’s tape and step back. Look from across the room and from the side.
If your eyes meet the center comfortably, you’ve found the right level. Use that same reference height for the rest of your artwork to keep everything in harmony.
How High to Hang Art Above Furniture
Once you understand eye-level height, the next step is adjusting for furniture. The goal is to connect the artwork to what’s below it so the wall feels balanced and complete.
The right spacing makes each piece look planned rather than floating or disconnected.
1. Above Sofas and Sectionals
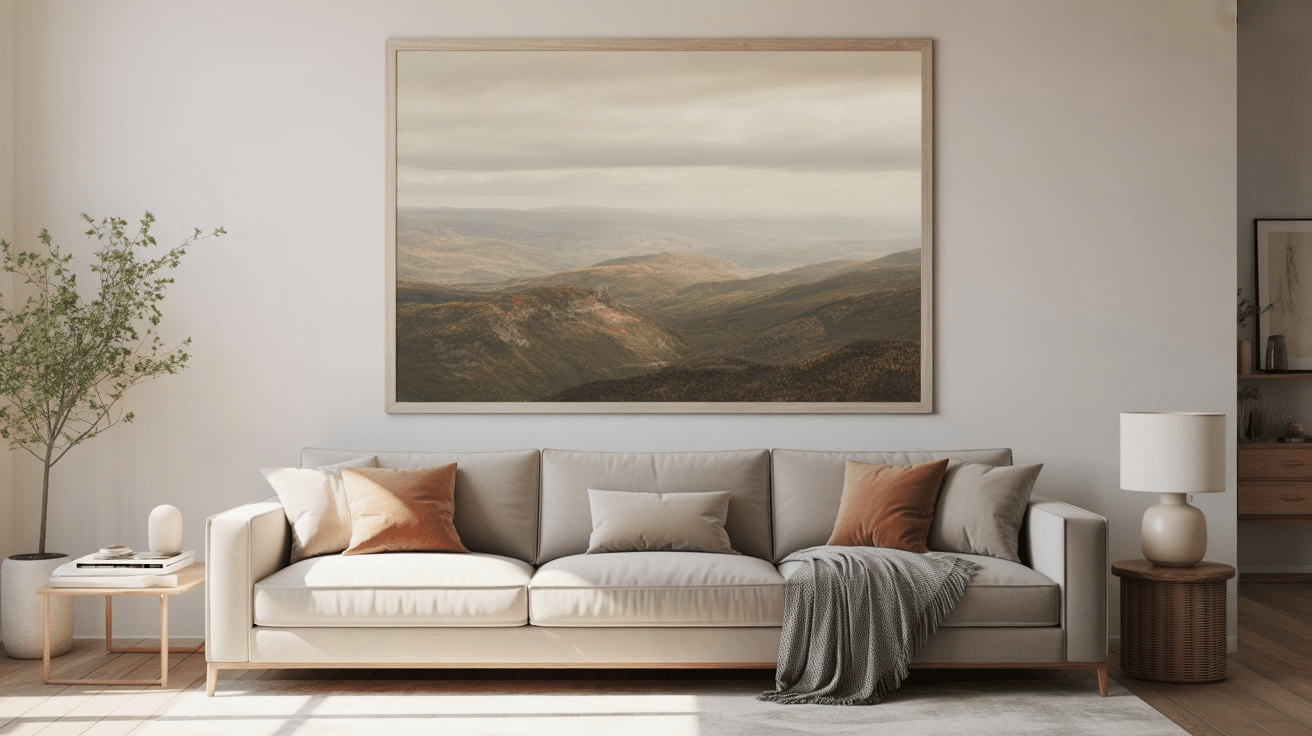
Keep the bottom of your picture about 6 to 10 inches above the top of your sofa. The width of the artwork should be about two-thirds the length of the furniture. This keeps the piece visually tied to the sofa instead of floating on its own.
Why it works: This placement creates a smooth connection between your sofa and the art, helping the wall feel finished and welcoming.
2. Above a Bed or Headboard
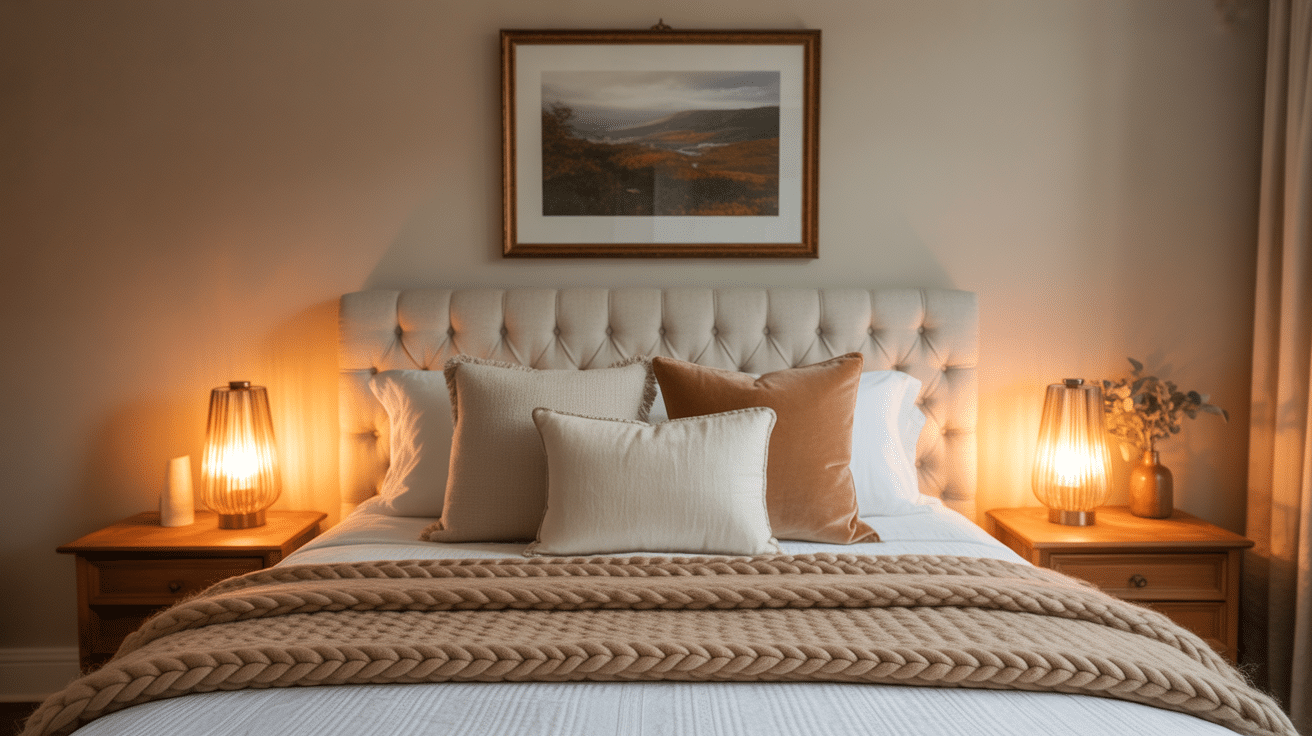
Hang your picture 8 to 10 inches above the headboard. Choose art that’s roughly two-thirds the width of the bed to keep the layout balanced.
Why it works: The spacing adds height to the headboard area while keeping the art grounded, giving your bedroom a calm, cohesive look.
3. Above a Fireplace Mantel
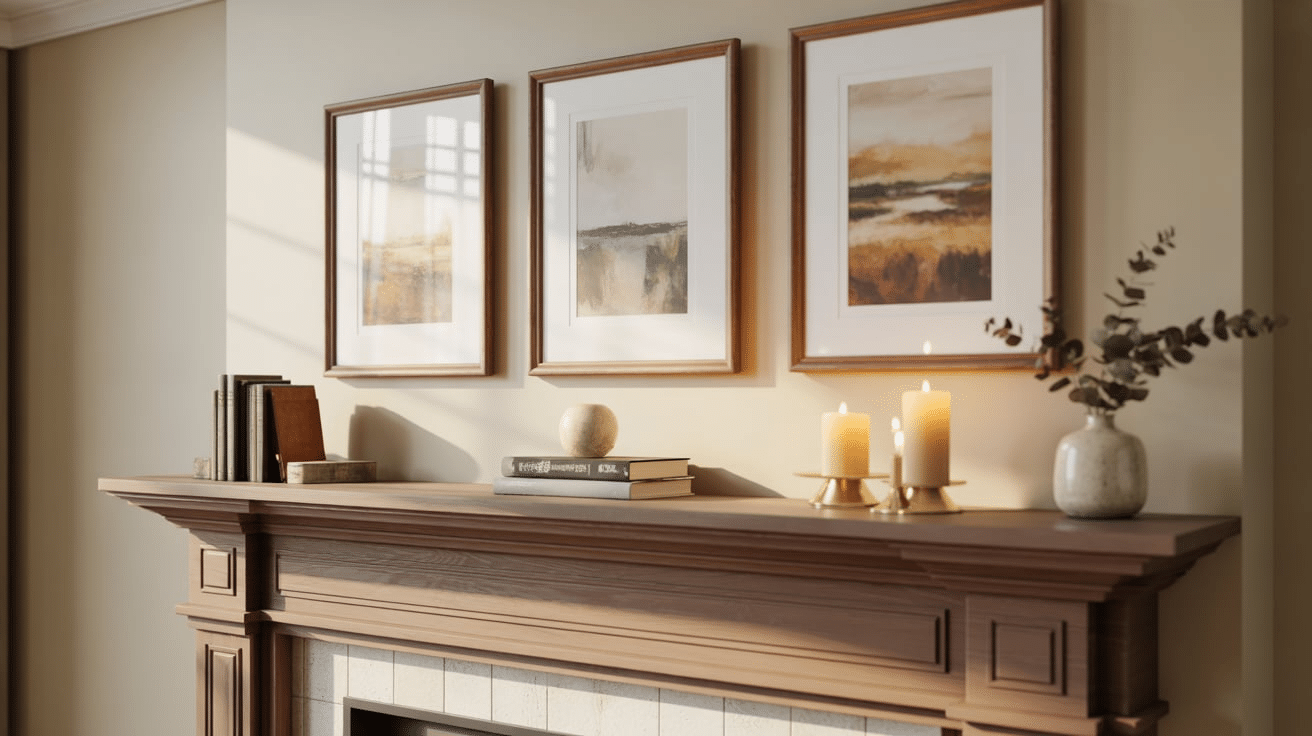
When hanging art above a mantel, keep the bottom edge around 4 to 8 inches above the mantel surface. This gap allows the artwork to breathe while staying connected to the fireplace.
Why it works: The small space draws your eyes naturally to the fireplace, turning it into a visual centerpiece without overwhelming the mantel.
4. Over a Console or Dresser
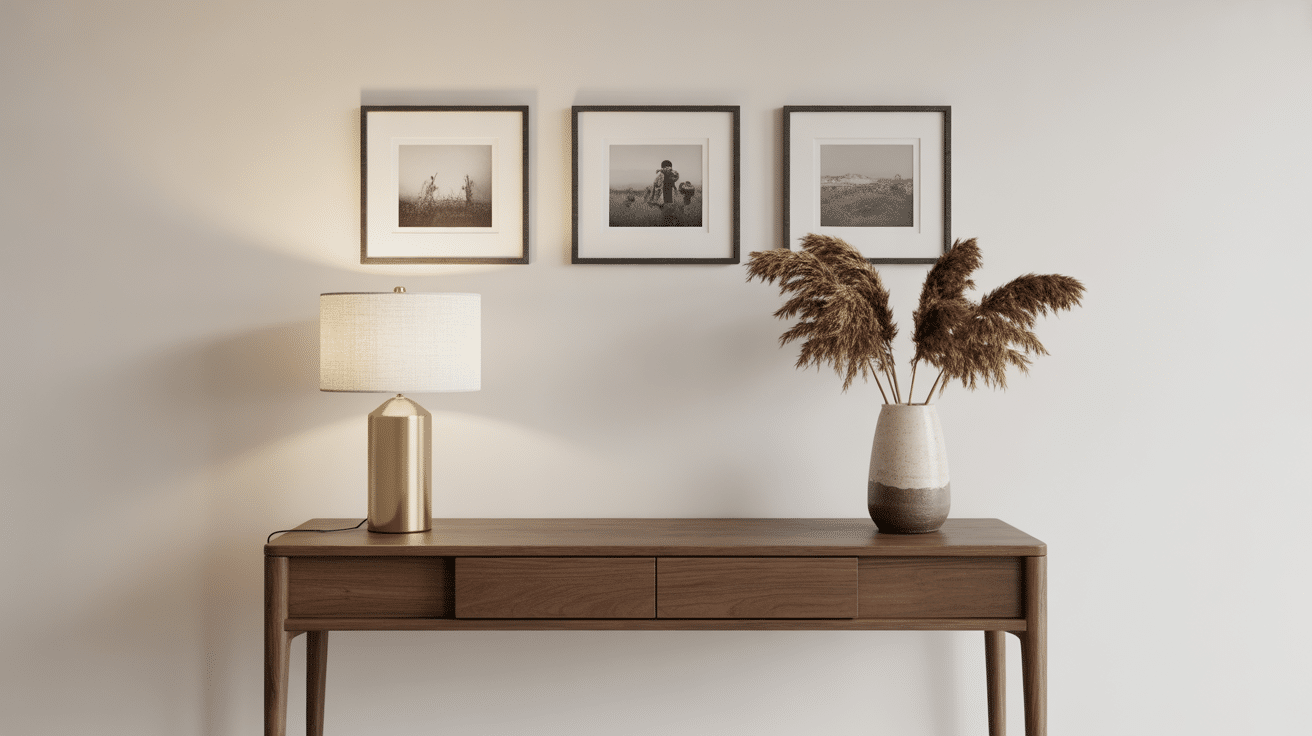
Position the art so the bottom sits about 6 inches above the furniture top. Make sure it’s centered with the furniture below or aligned with any décor on the surface.
Why it works: Centering art above a console brings balance and structure to the wall, making even simple furniture arrangements look well-styled.
How High to Hang Pictures in Different Rooms
Each room has its own purpose and viewing height. What looks perfect in your living room might feel off in a hallway or dining area.
Adjusting picture height slightly in each space helps your artwork feel more natural and connected to its surroundings.
1. Living Room
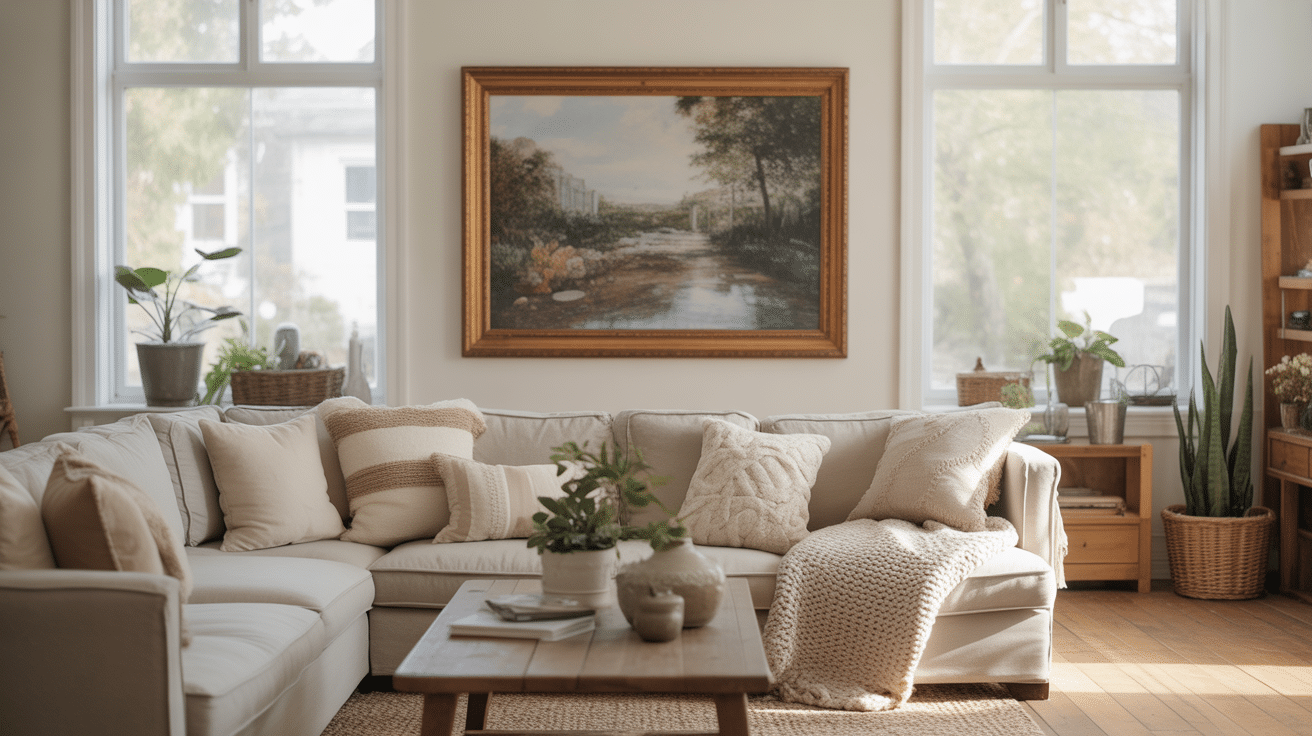
Keep your art close to eye level so it aligns with your main furniture pieces. The center should fall between 57 and 60 inches from the floor, depending on the ceiling height. Make sure the bottom edge connects visually with the sofa, console, or nearby accents.
Design tip: Hanging art where you can see it from both seated and standing positions helps the room feel balanced and inviting.
2. Hallways or Entryways
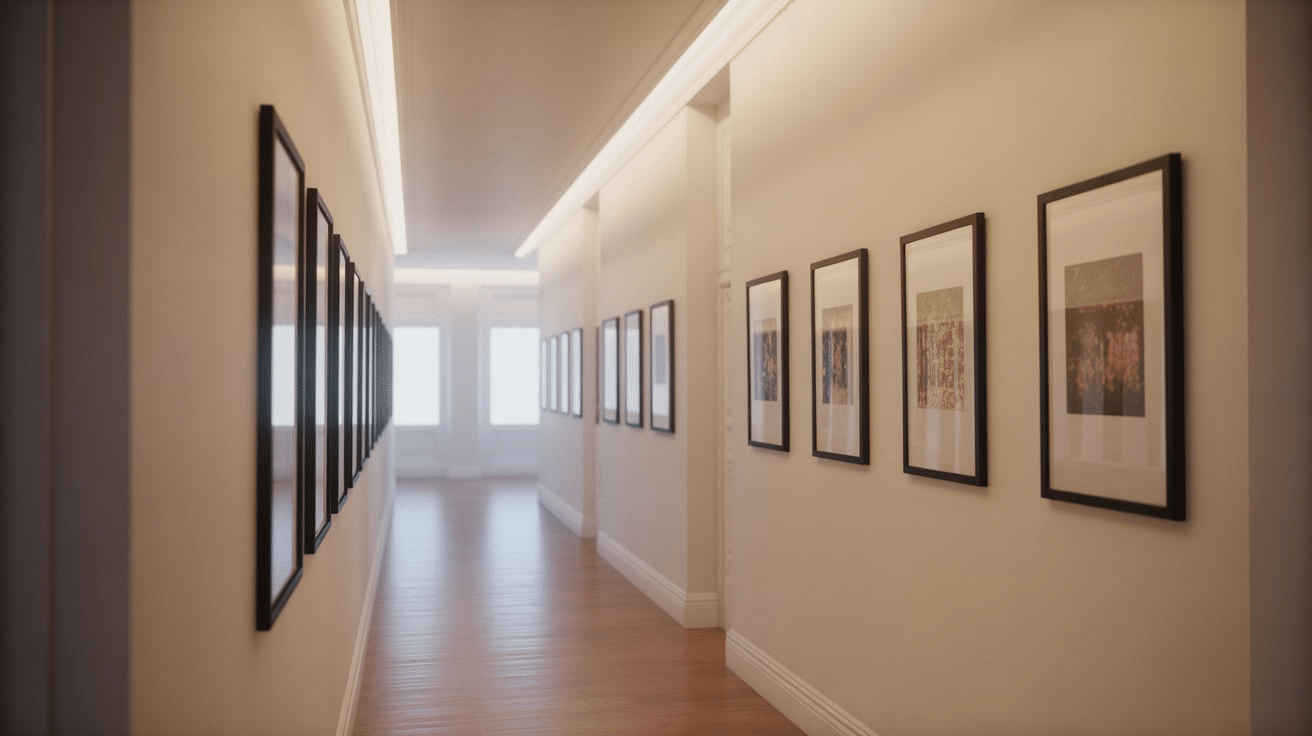
Maintain a consistent center height along the wall to keep every frame aligned. For multiple pieces, space them 2 to 3 inches apart for clean separation without crowding.
Design tip: A steady visual line makes narrow areas feel organized and continuous, guiding the eye naturally through the space.
3. Dining Area
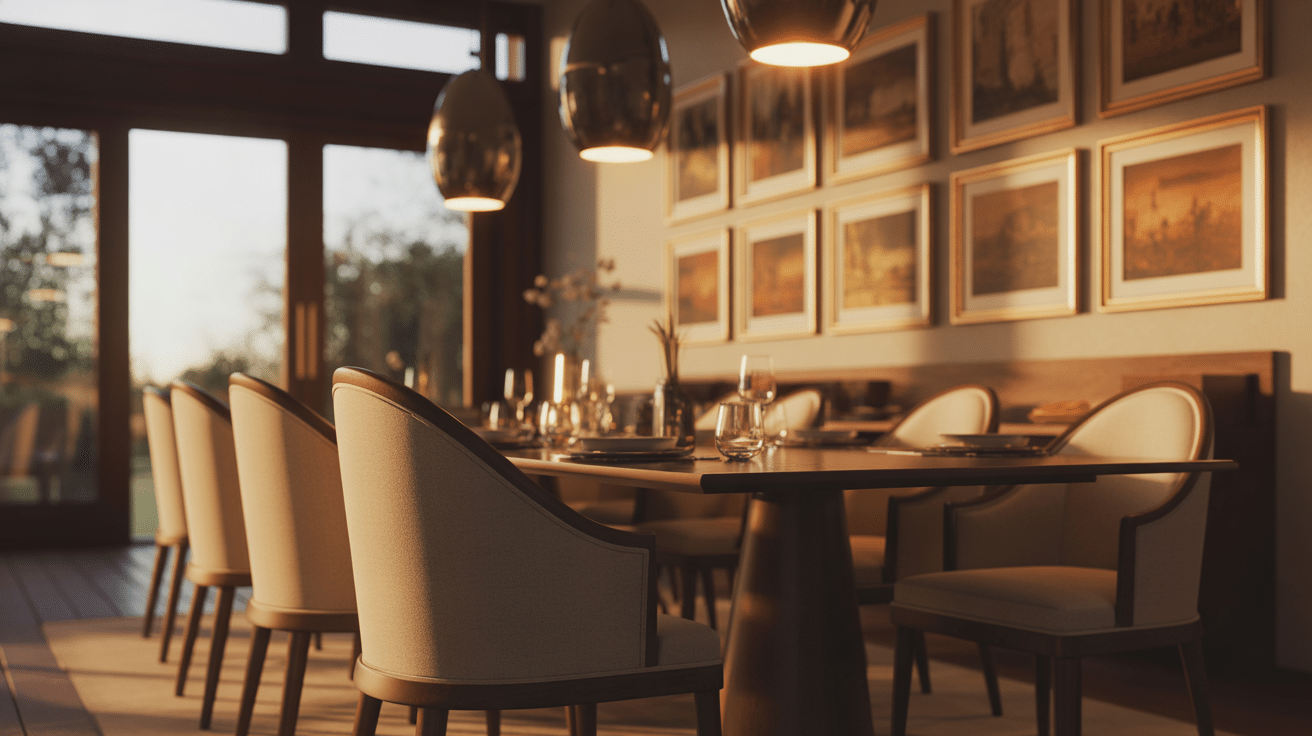
Hang artwork slightly lower than standard eye level, around 55–57 inches on center. Since people spend most of their time seated here, this adjustment keeps the artwork within view.
Design tip: Lower placement creates a comfortable, relaxed feel, making the dining area more welcoming and personal.
4. Staircases
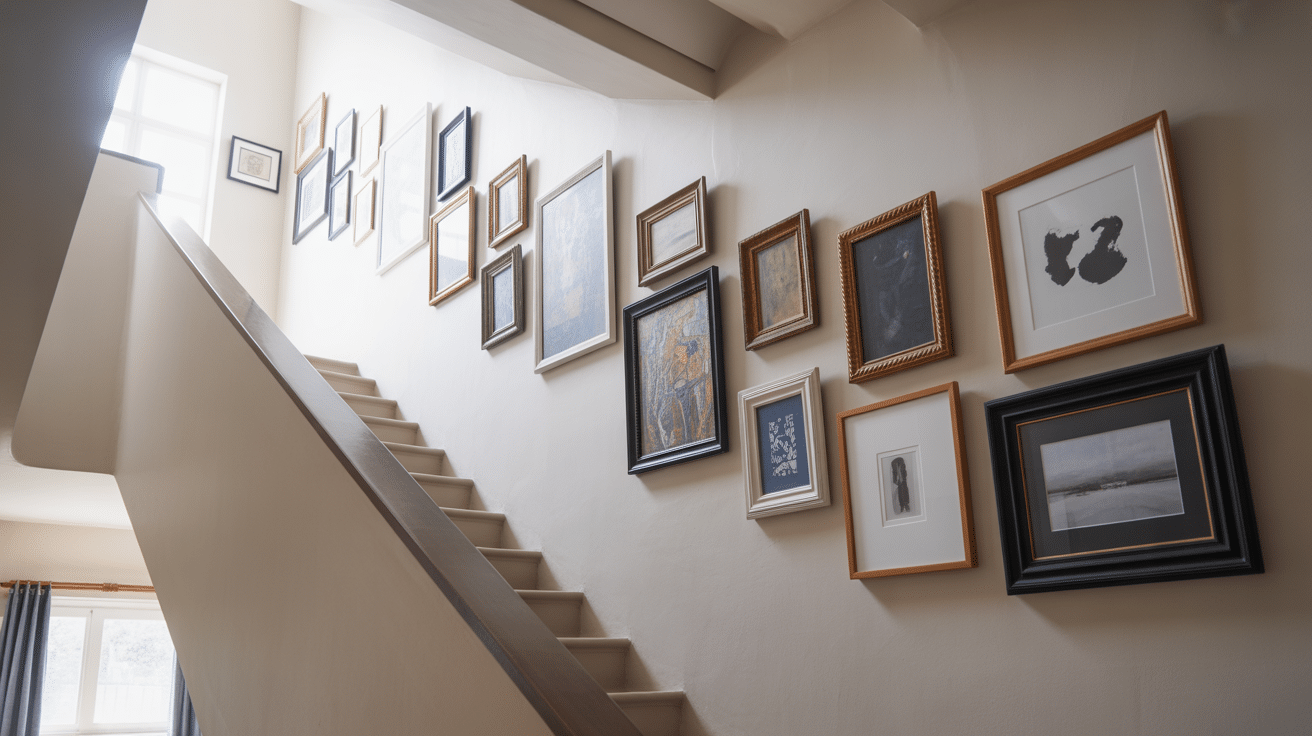
Arrange the artwork so it follows the rise of the stairs. Each piece should move up gradually, staying level with the one before it when viewed from the same angle.
Design tip: Matching the slope of the staircase creates flow and movement, turning an ordinary stairway wall into a smooth, connected gallery.
Adjusting Height for Ceiling Height and Room Scale
Ceiling height affects how your artwork feels within a room. I’ve learned that hanging every piece at the same level doesn’t always feel right; what works in a cozy hallway might look lost in a tall living room.
Adjusting the placement slightly ensures that your artwork always looks balanced, connected, and natural.
8-Foot Ceilings
For standard 8-foot ceilings, keep the center of your artwork around 57 to 58 inches from the floor. This height keeps the piece near eye level and fits comfortably within the wall space.
It also prevents the art from feeling cramped between the furniture and the ceiling. Keeping a consistent center height across rooms with 8-foot ceilings creates a smooth, cohesive look throughout your home.
9–10-Foot Ceilings
If your ceilings are 9 or 10 feet high, you can raise the art slightly to 59 to 60 inches on center. The extra height helps fill the wall and keeps the artwork in proportion with the taller space.
Even a small adjustment of one or two inches can make a big difference visually. This slight rise draws the eye upward and keeps your walls from feeling too empty or stretched.
Taller Ceilings or Large Furniture
For very tall ceilings or oversized furniture, let the furniture line guide where you place the artwork. In these cases, a fixed number matters less than how the art connects to what’s below it.
The bottom of the piece should relate to the top of the furniture so the wall feels grounded and balanced.
Aligning art with visual anchors like bookcases, headboards, or cabinets keeps the room cohesive and prevents the artwork from floating awkwardly in open space.
Stepwise Guide: How to Hang Art
1. Choose the Right Center Height
Start by deciding where the center of your artwork should land. The ideal range is between 57 and 60 inches from the floor.
Use 57 inches for standard ceilings and 60 inches if your room has tall ceilings. This height matches the average person’s eye level, helping the art feel comfortable and connected to the space around it.
2. Measure from the Center to the Hook
Find the exact center of your artwork, then measure the distance from that point to the top of the hanging wire or hook. Add that number to your chosen height,
for example, 57 inches, to figure out where to place the nail. This ensures the artwork’s center ends up at the right spot once it’s hung.
3. Mark and Prepare the Wall
Use a pencil to lightly mark the wall at the spot where you’ll place the nail or hook. Check the alignment with nearby furniture or other pieces to make sure everything flows together visually.
If you’re creating a cluster or gallery wall, mark multiple positions so that all pieces share the same center height and spacing.
4. Hang the Artwork
Install the hook and hang your piece carefully. Use a level to make sure it’s straight, then step back and look at it from different angles.
The center of the picture should fall near that 57–60 inch sweet spot. If it feels slightly off, adjust it by a fraction until it looks right to your eye.
5. Plan for Gallery Walls or Groupings
When hanging several pieces together, treat the entire layout as one large piece. Keep the center of the full group around 57–60 inches from the floor, and space frames evenly about 2 to 3 inches apart.
Try laying them out on the floor or using paper templates on the wall before you start hammering. This helps you visualize balance and flow before committing to placement.
Watch the detailed video by Nick Lewis:
Wrap Up
When I finally learned how high to hang pictures, it changed everything about how my walls looked. What used to feel random suddenly felt calm and connected, all from a few small adjustments.
Now, when I hang something new, I measure once, step back, and trust the process. The right height brings this quiet balance to every wall, no matter the room.
If this helped you figure out your own picture-perfect spot, you might enjoy my other home notes, too.
I’ve shared the same kind of small, practical tricks that make decorating feel simple, cozy, and a little more personal.