




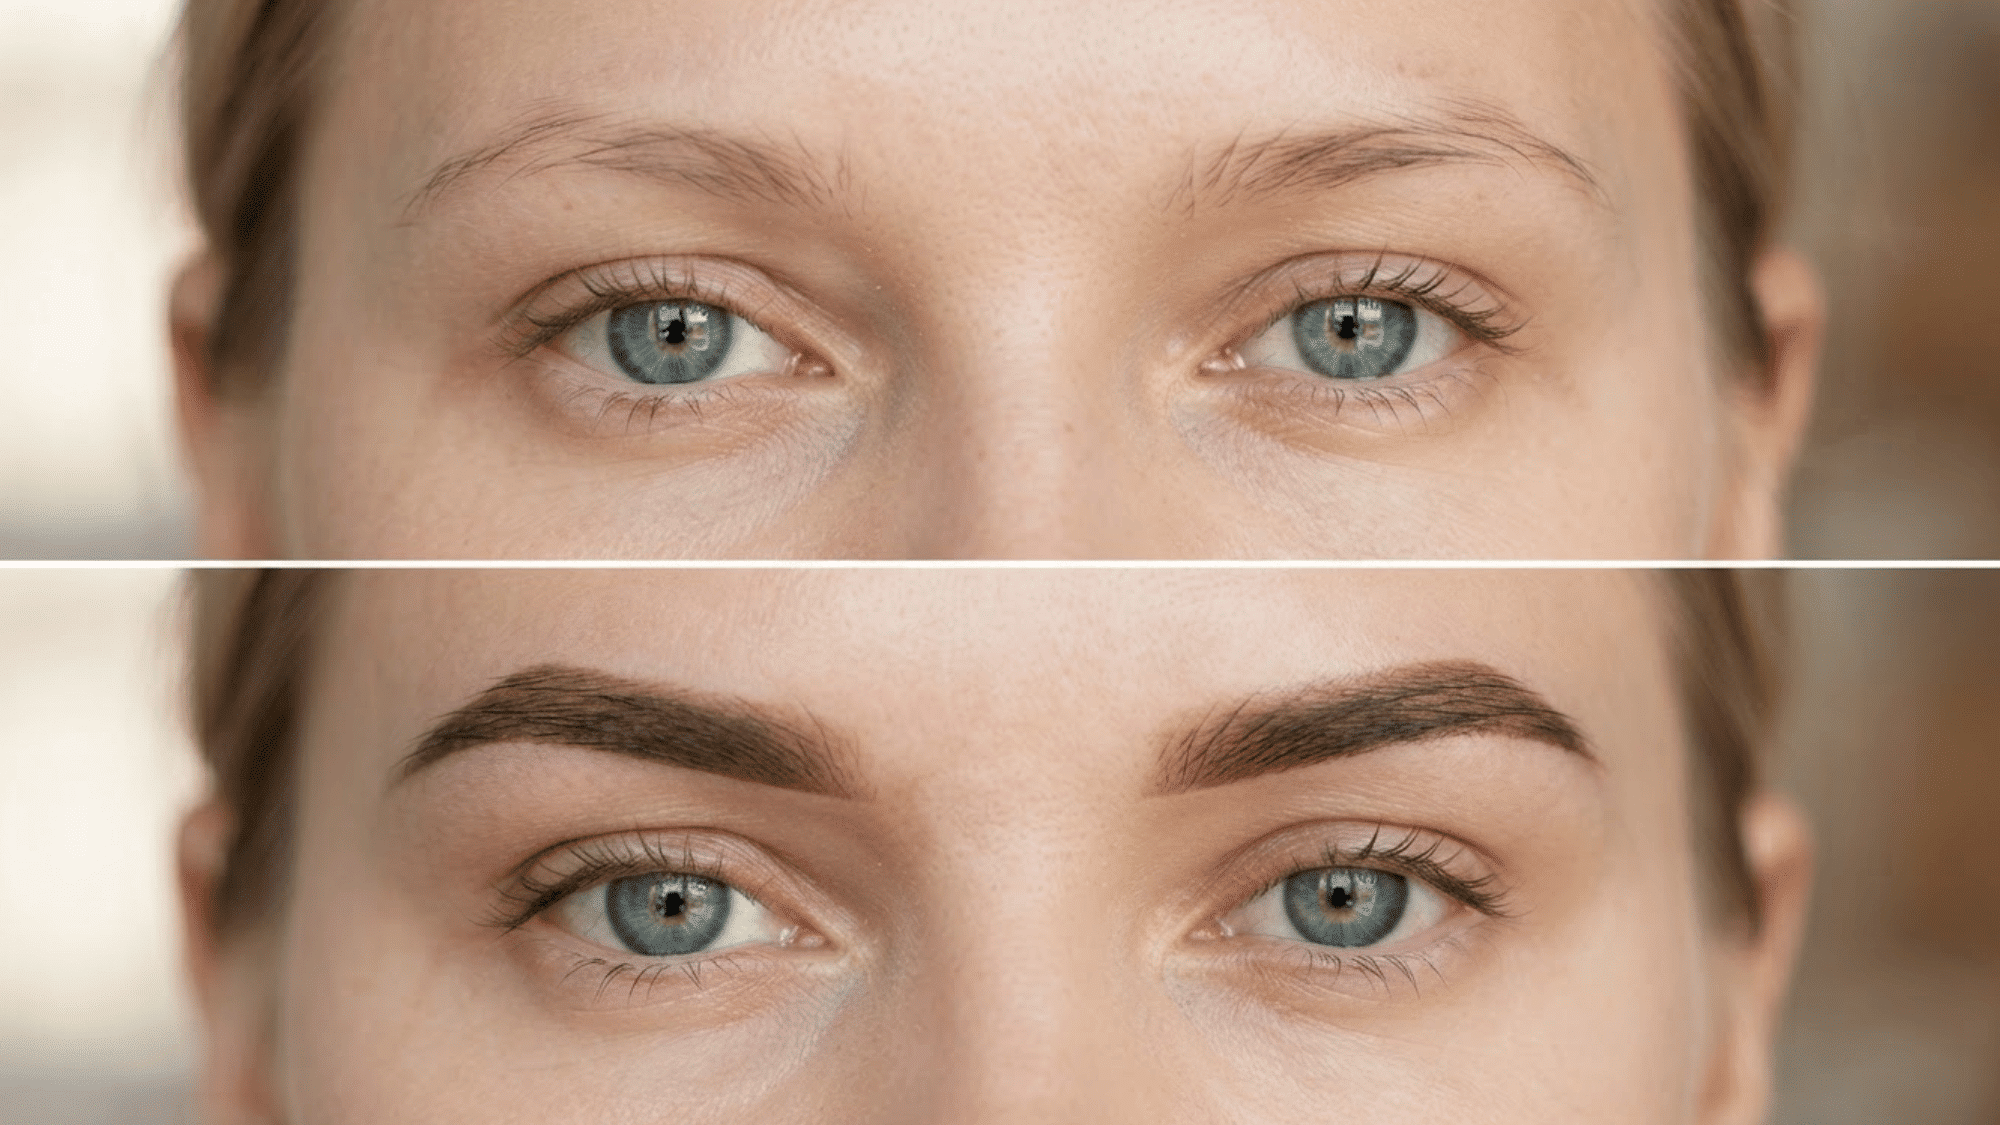
Ever looked in the mirror and wished your brows had just a little more oomph? I know the feeling.
A bit of extra color can make brows look more defined and highlight their natural shape without adding another step to my everyday makeup routine.
If you’re thinking about how to dye your eyebrows at home, there’s more to think about than simply picking a color and brushing it on. From choosing the right shade to getting the timing right, every step matters.
What Is Eyebrow Tinting?
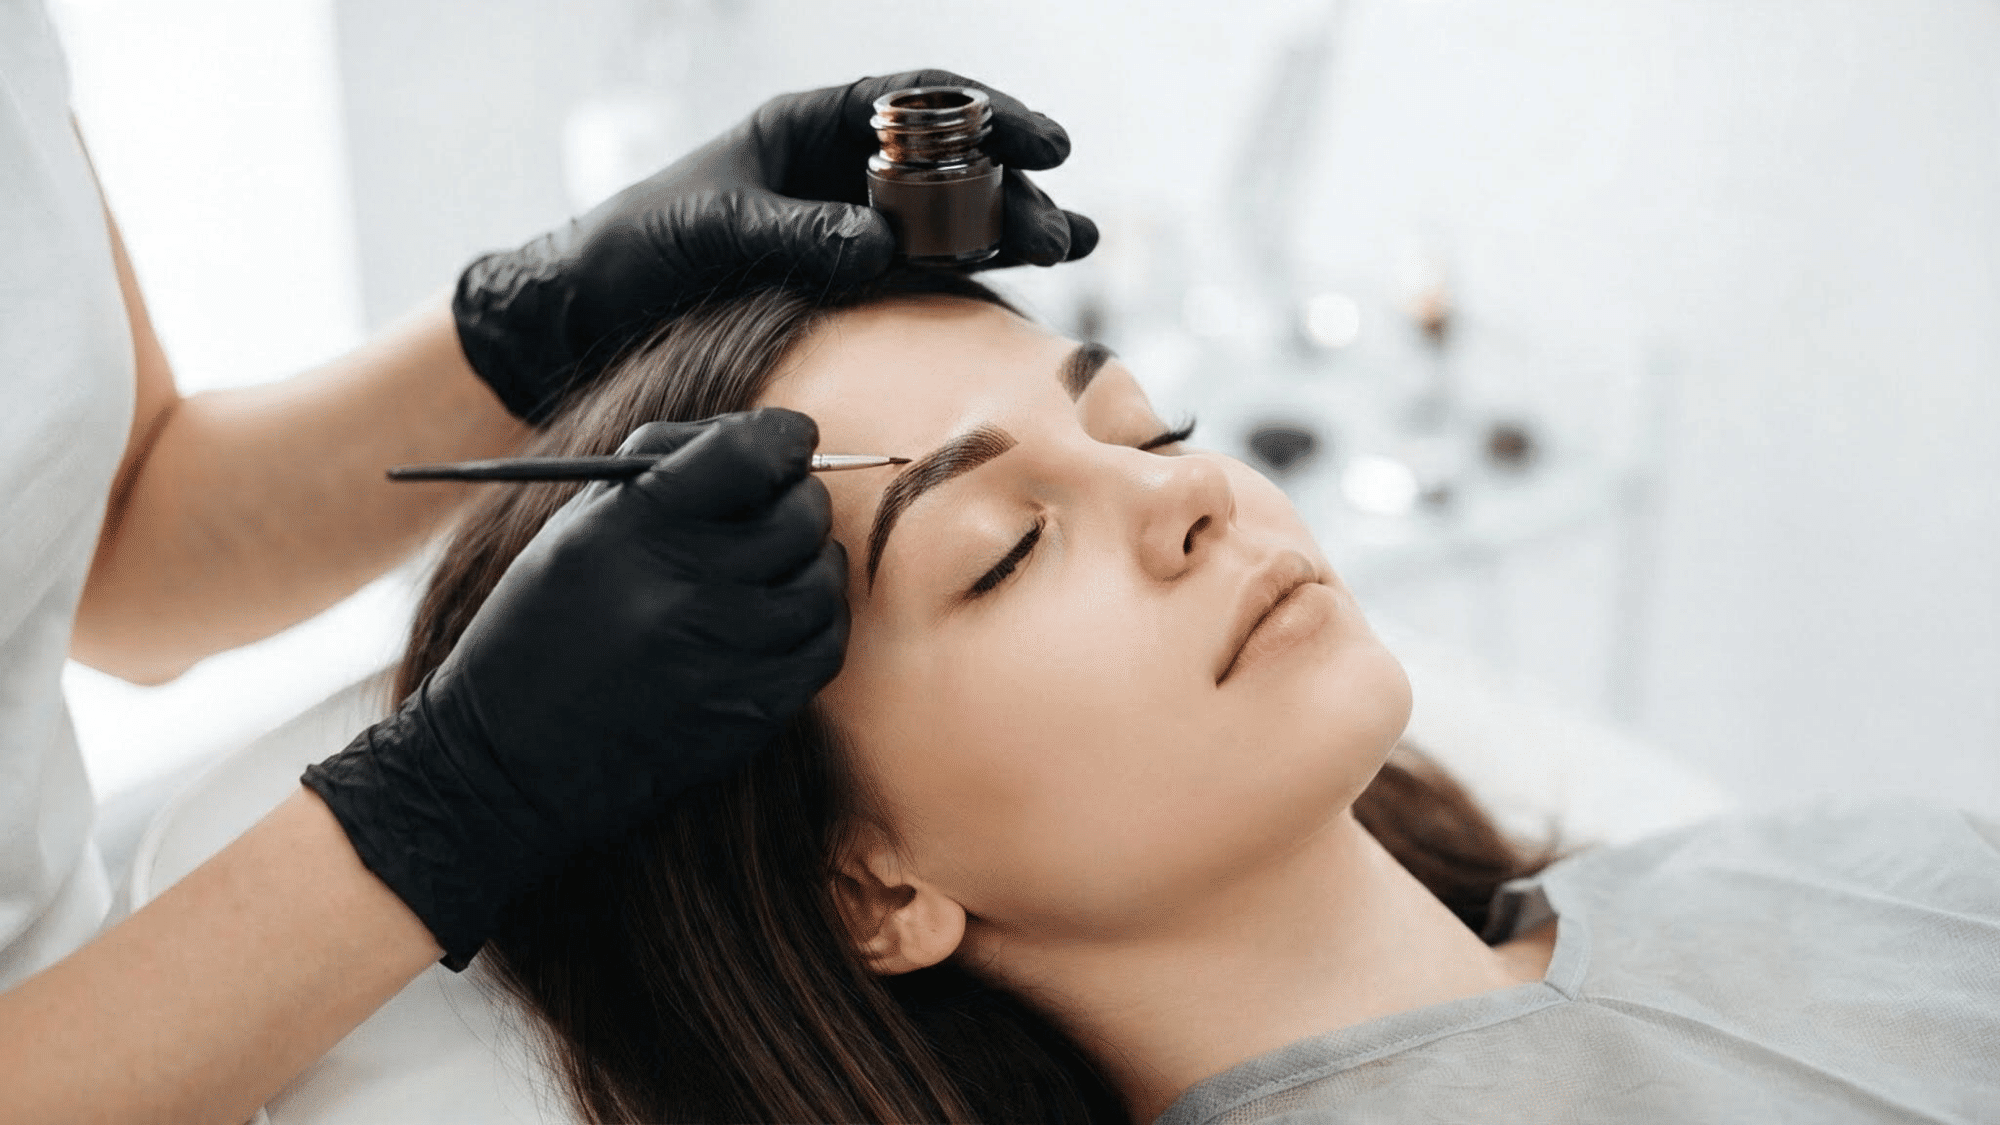
Eyebrow tinting involves applying a semi-permanent color to the brow hairs to enhance their natural shade and definition.
It can make fine, light, or less noticeable hairs stand out, creating the appearance of fuller, more defined brows.
Unlike daily brow makeup, the color gradually fades over time, making it a convenient option for a low-maintenance beauty routine.
Tinting can also add subtle depth to unevenly colored brows while maintaining a natural-looking shape.
The result depends on the tint used, your existing brow color, and how long you leave the product on.
Tools Required to Dye Your Eyebrows
Gather the right tools before you begin to make eyebrow tinting easier, cleaner, and more precise.
- Eyebrow tint or dye
- Appropriate developer or activator
- Small mixing dish and applicator brush
- Petroleum jelly or protective barrier cream
- Cotton swabs
- Timer and clean water
How to Prepare Your Eyebrows Before Dyeing?
Start with clean, dry eyebrows and gently remove any makeup, oil, moisturizer, or skincare residue from the brow area; if you are refining your skincare routine, learn what toner does for your skin and how it fits into daily care.
Brush the hairs into their natural shape so you can see the areas that need coverage and apply the product more precisely.
If your tint instructions recommend it, apply a thin layer of petroleum jelly or another protective barrier around the brows, keeping it off the hairs you want to color.
Most importantly, complete the required patch test before application and wait for the recommended time to check for a reaction.
How to Dye Eyebrows at Home?
Follow these simple steps to prepare, apply, process, and remove eyebrow tint at home. Take your time with each step for an even, natural-looking result.
1. Choose the Right Eyebrow Tint
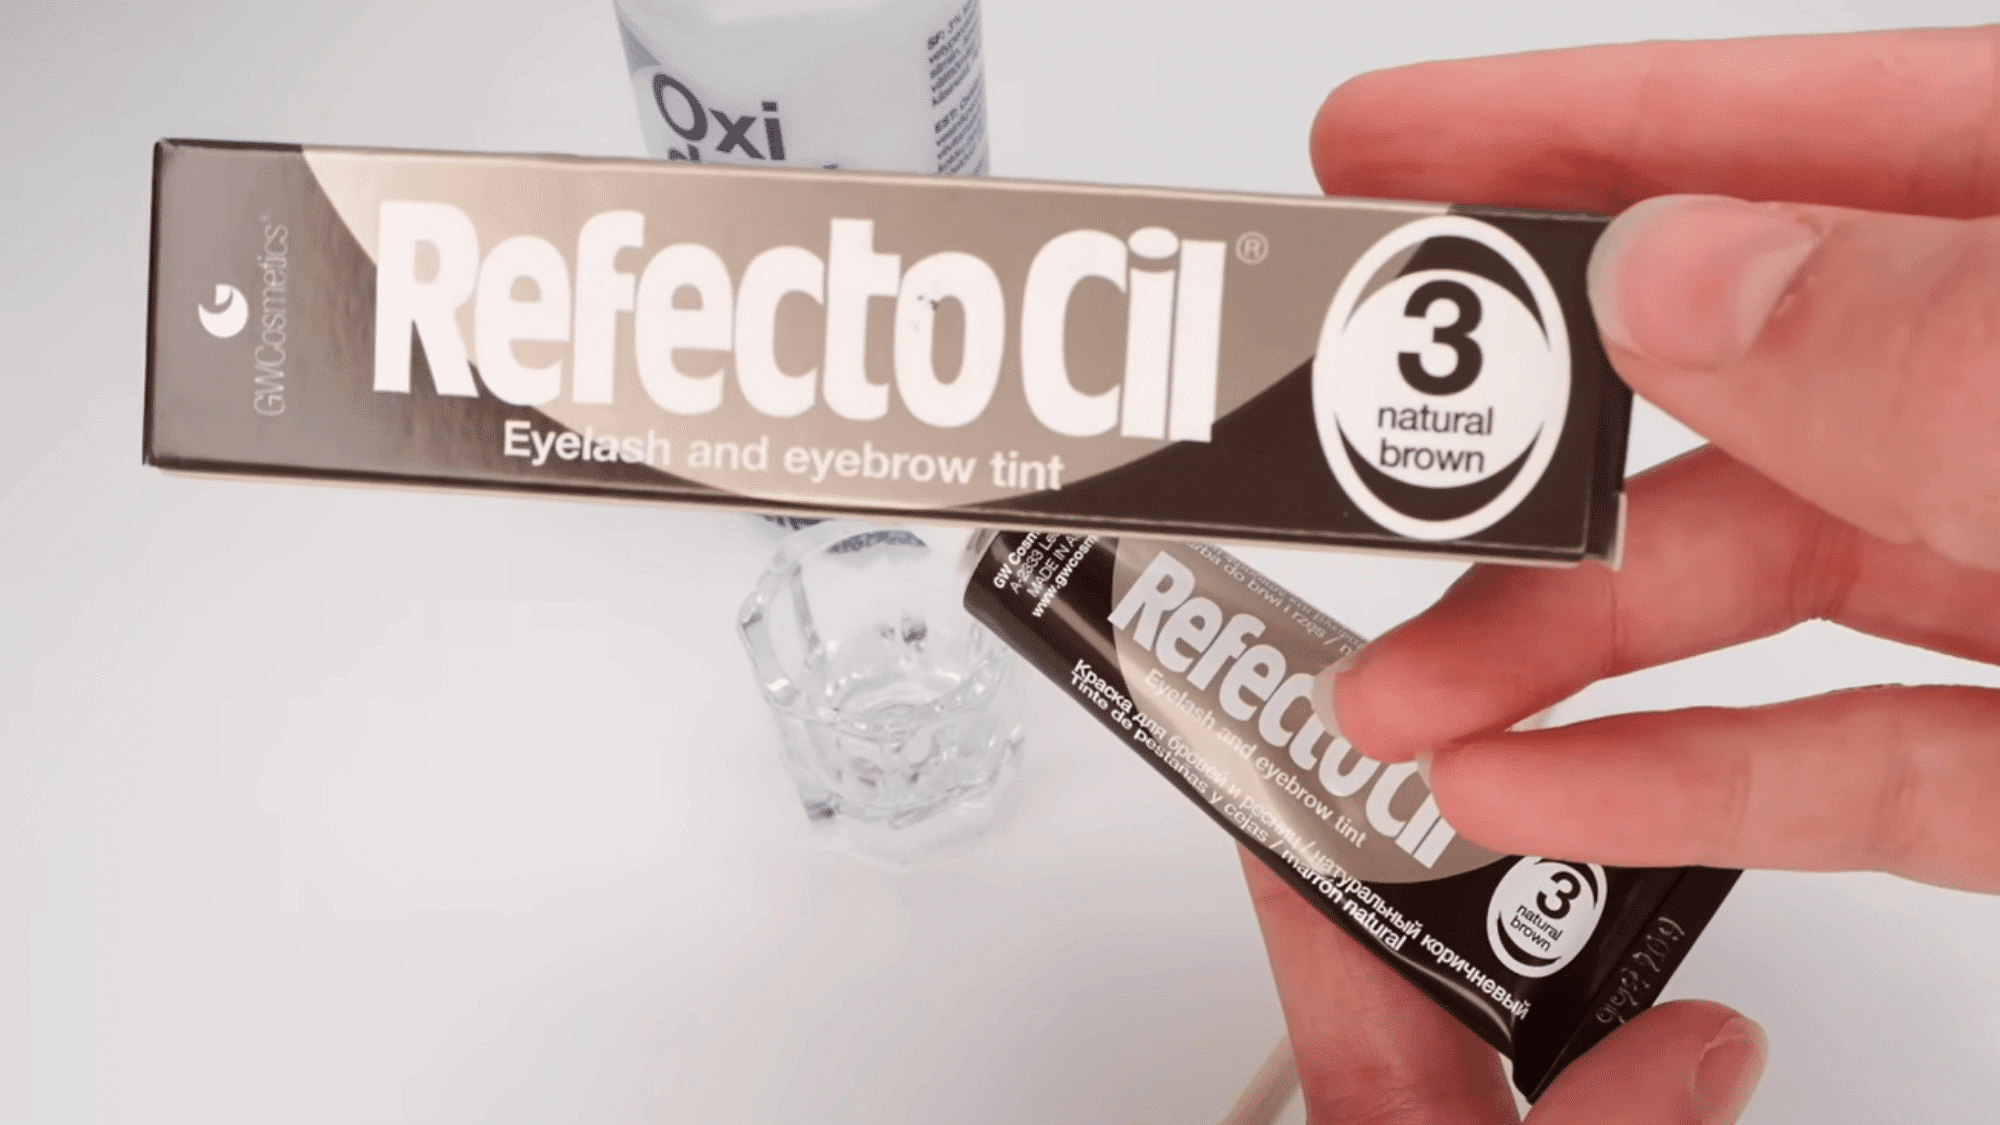
Choose an eyebrow tint shade that complements your natural brow and hair color, not just the color you’re picturing in your head.
If you’re not sure which direction suits you, it can help to figure out your undertone first, since warm and cool tones read differently once the tint develops.
Note: Choose brow gels, pencils, pens, or powders in a shade close to your natural or tinted brow color for a seamless look.
2. Prepare the Tint and Developer
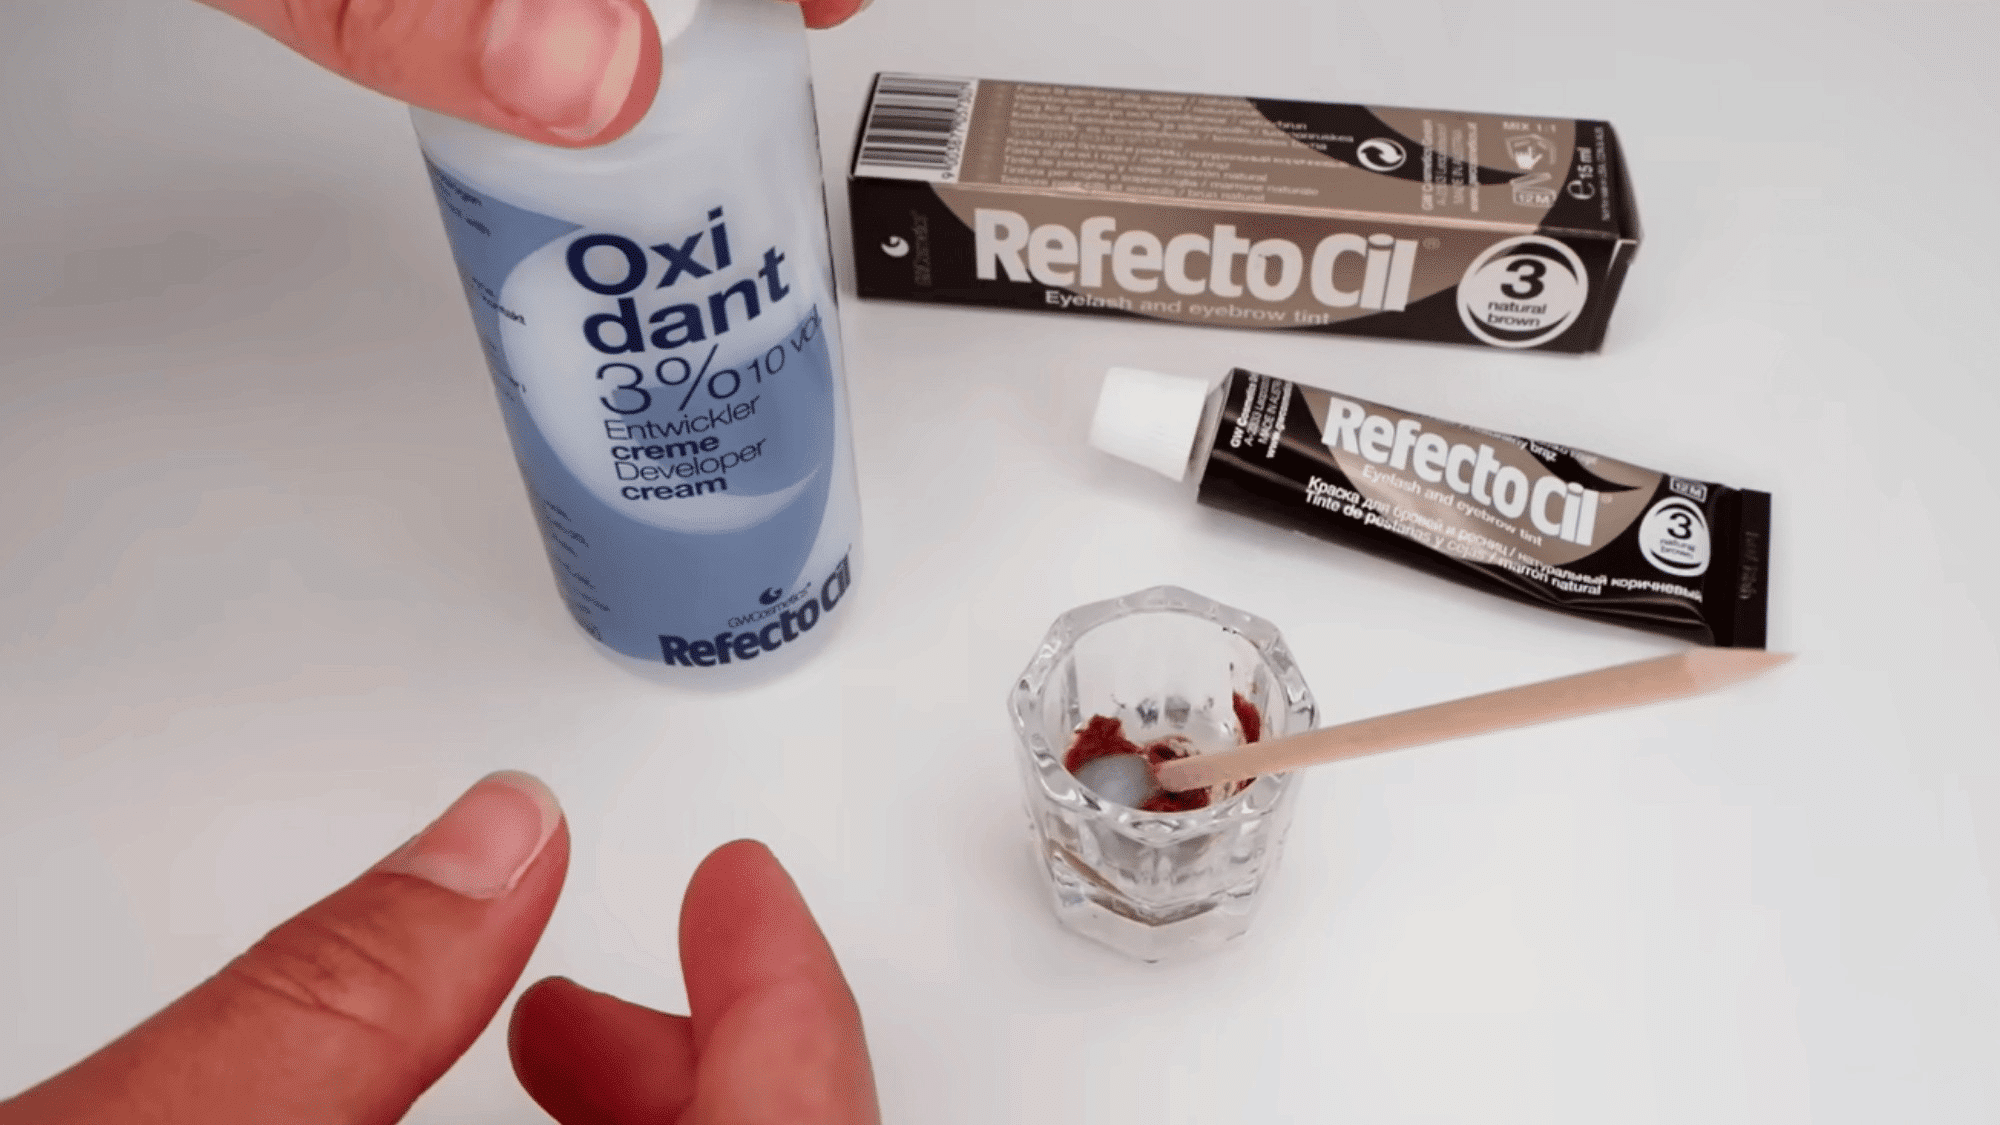
Measure the recommended amount of eyebrow tint into a small mixing dish. Add the developer according to the product instructions, then mix thoroughly until the consistency is smooth and even.
Keep the proportions accurate, as changing the ratio can affect how the tint develops.
3. Perform a Patch Test First
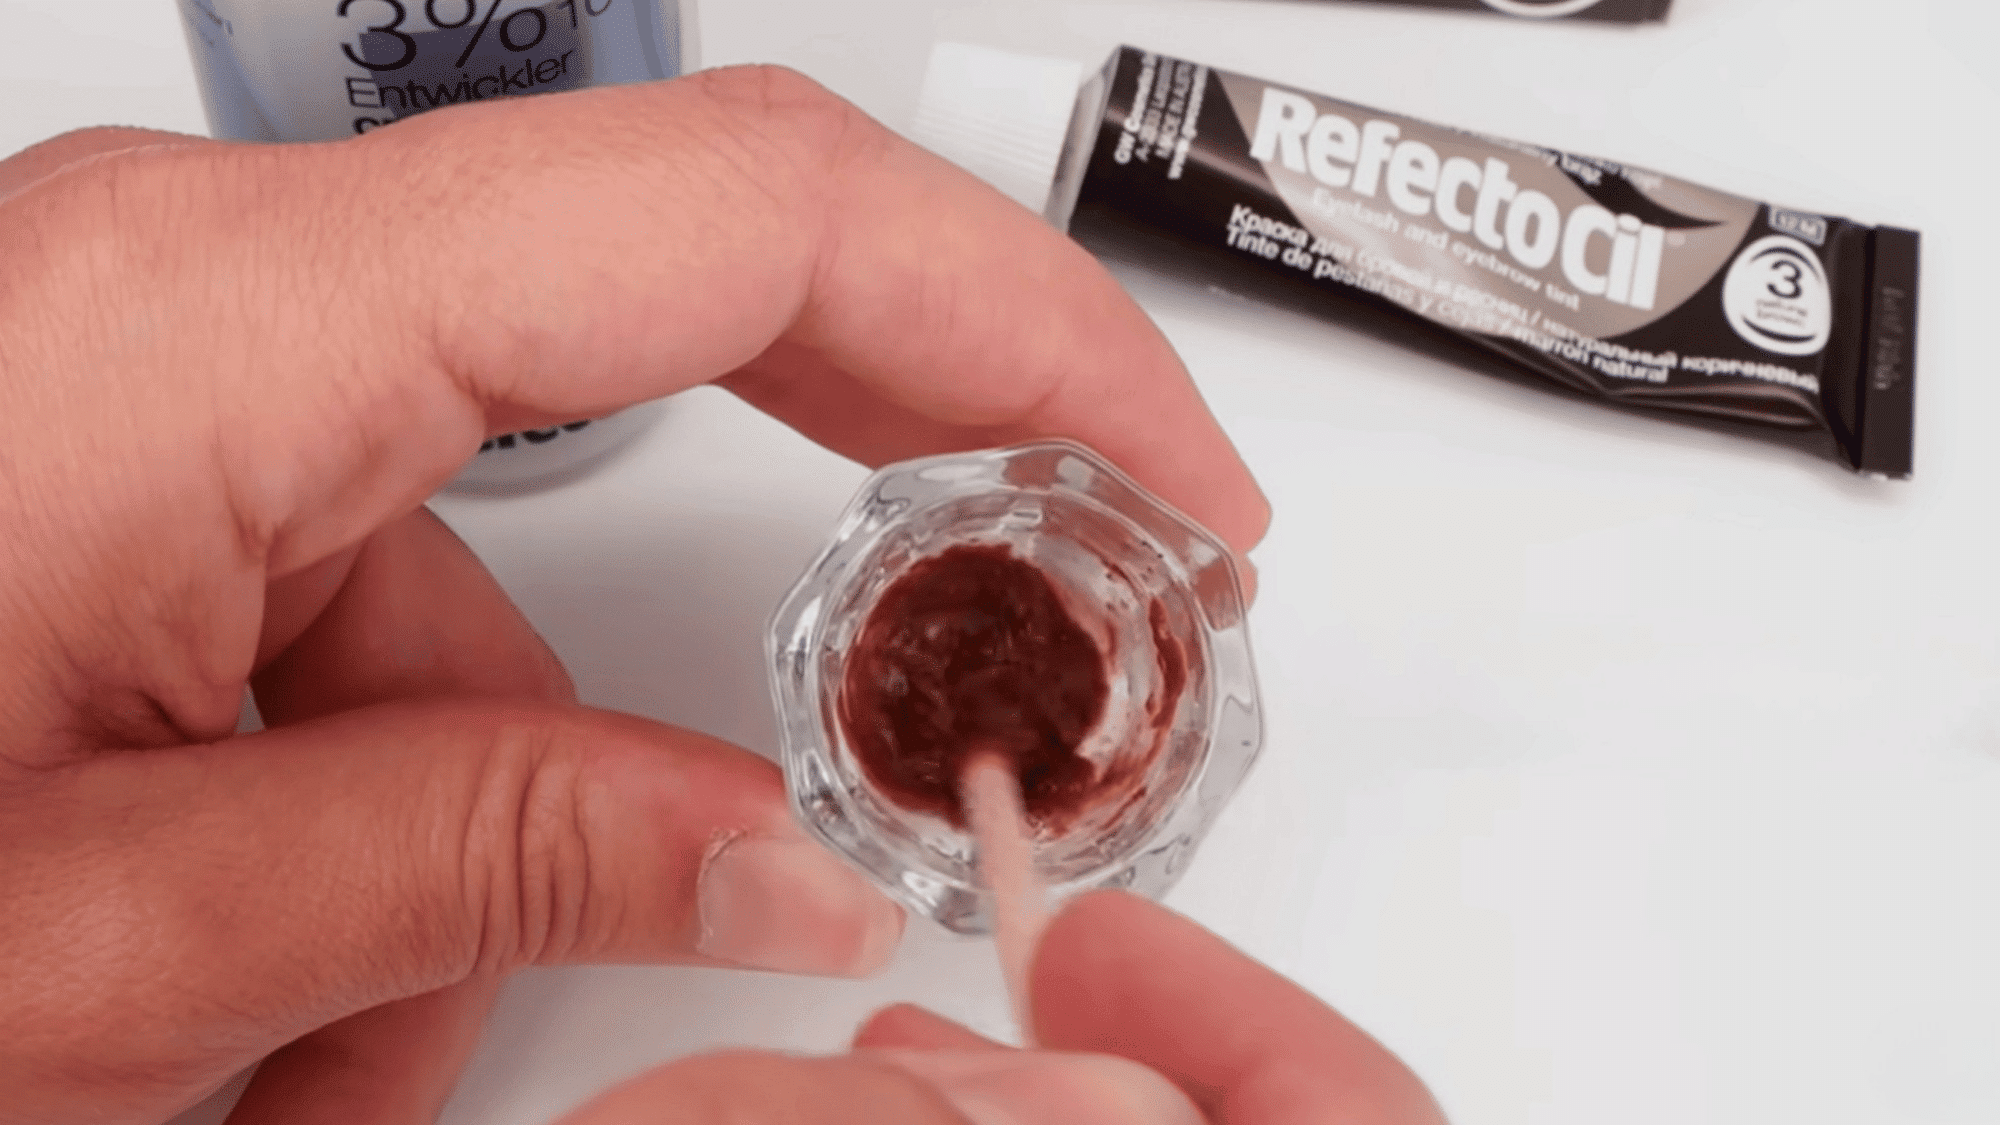
Before tinting your eyebrows, perform a patch test according to the product manufacturer’s instructions.
Apply a small amount to the recommended test area and wait for the specified time, commonly 48 hours. If you notice redness, itching, swelling, or irritation, do not use the tint.
4. Apply the Tint to Your Brows
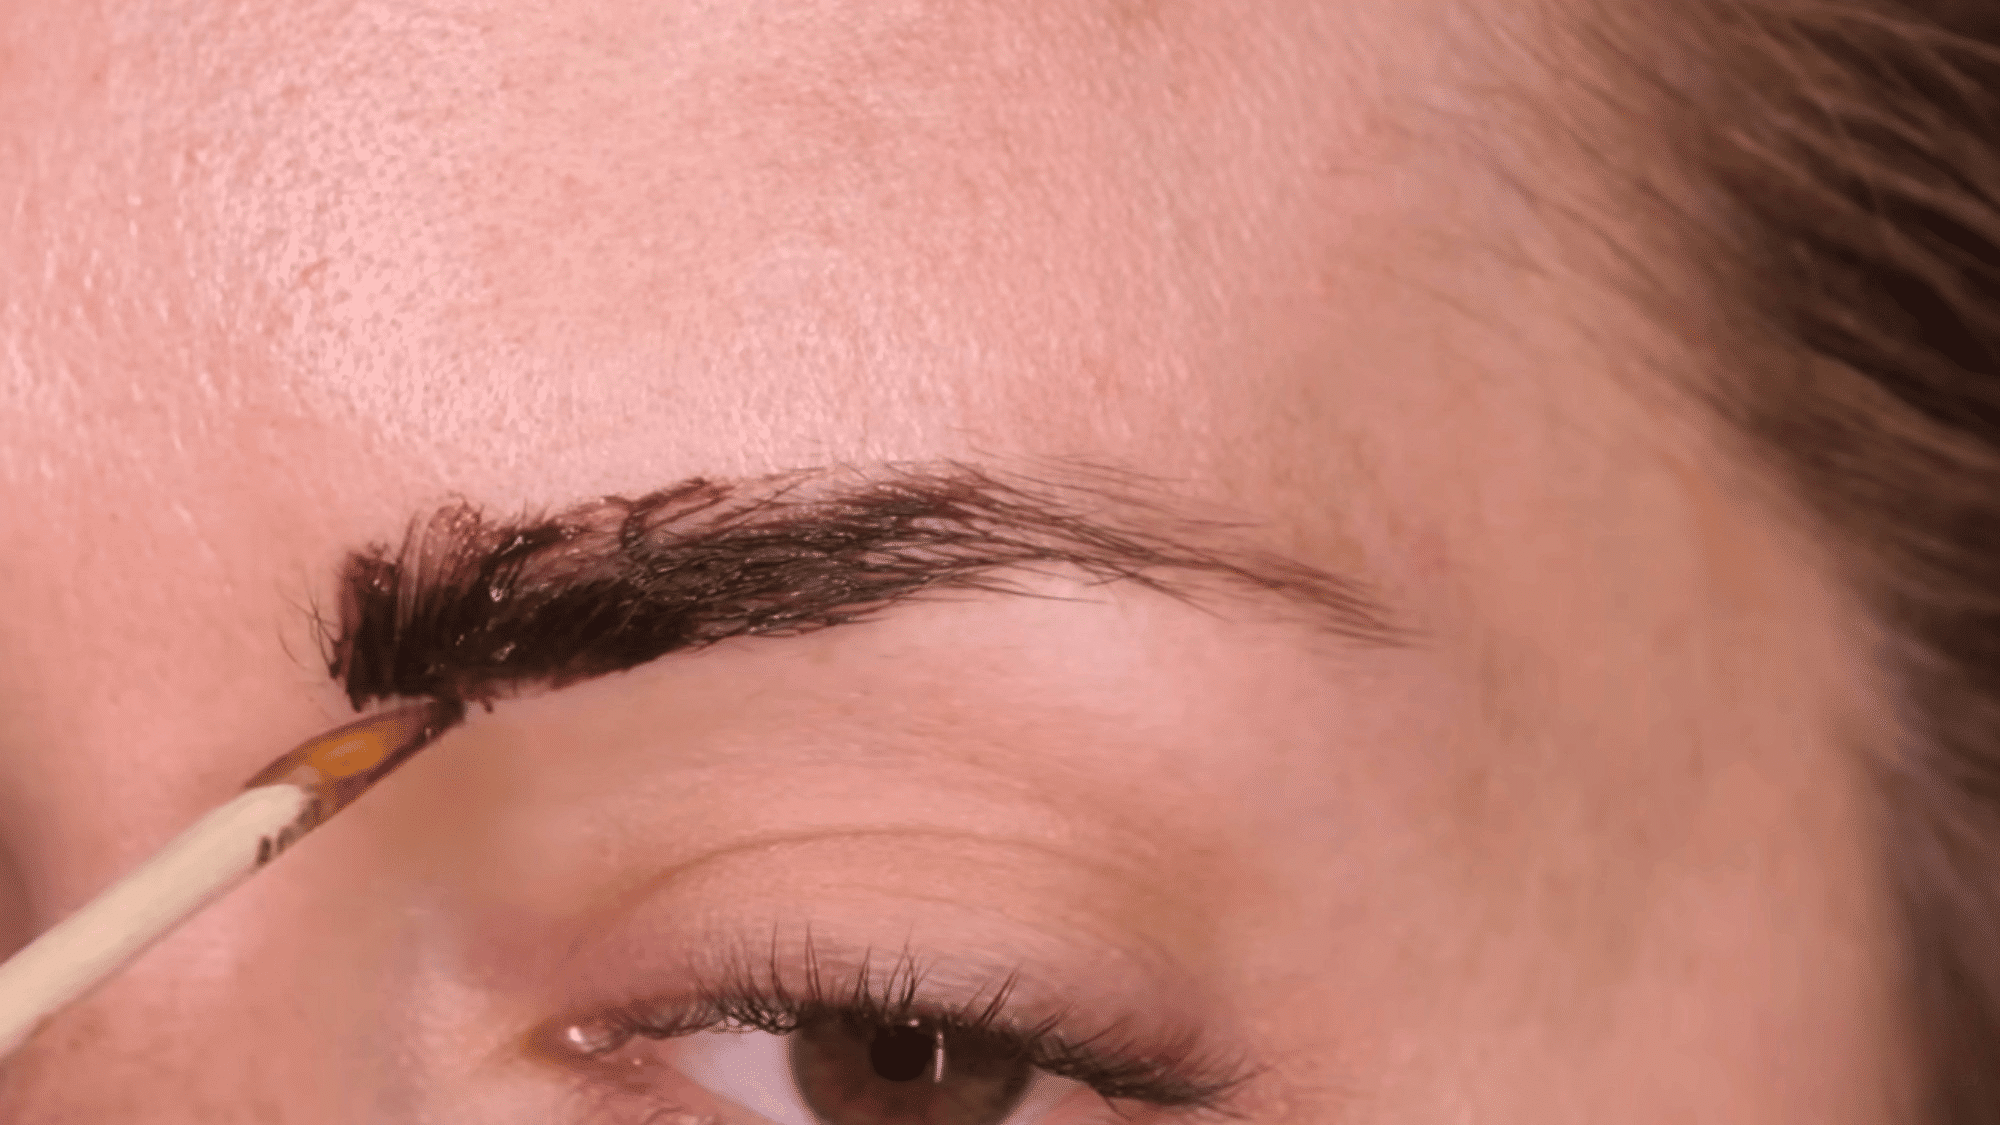
Using a clean applicator, carefully work the mixed tint through your brow hairs. Make sure the product coats the hairs evenly and reaches the areas you want to tint.
Apply slowly and carefully, keeping the product away from your eyes and surrounding areas.
5. Clean up The Brow Edges
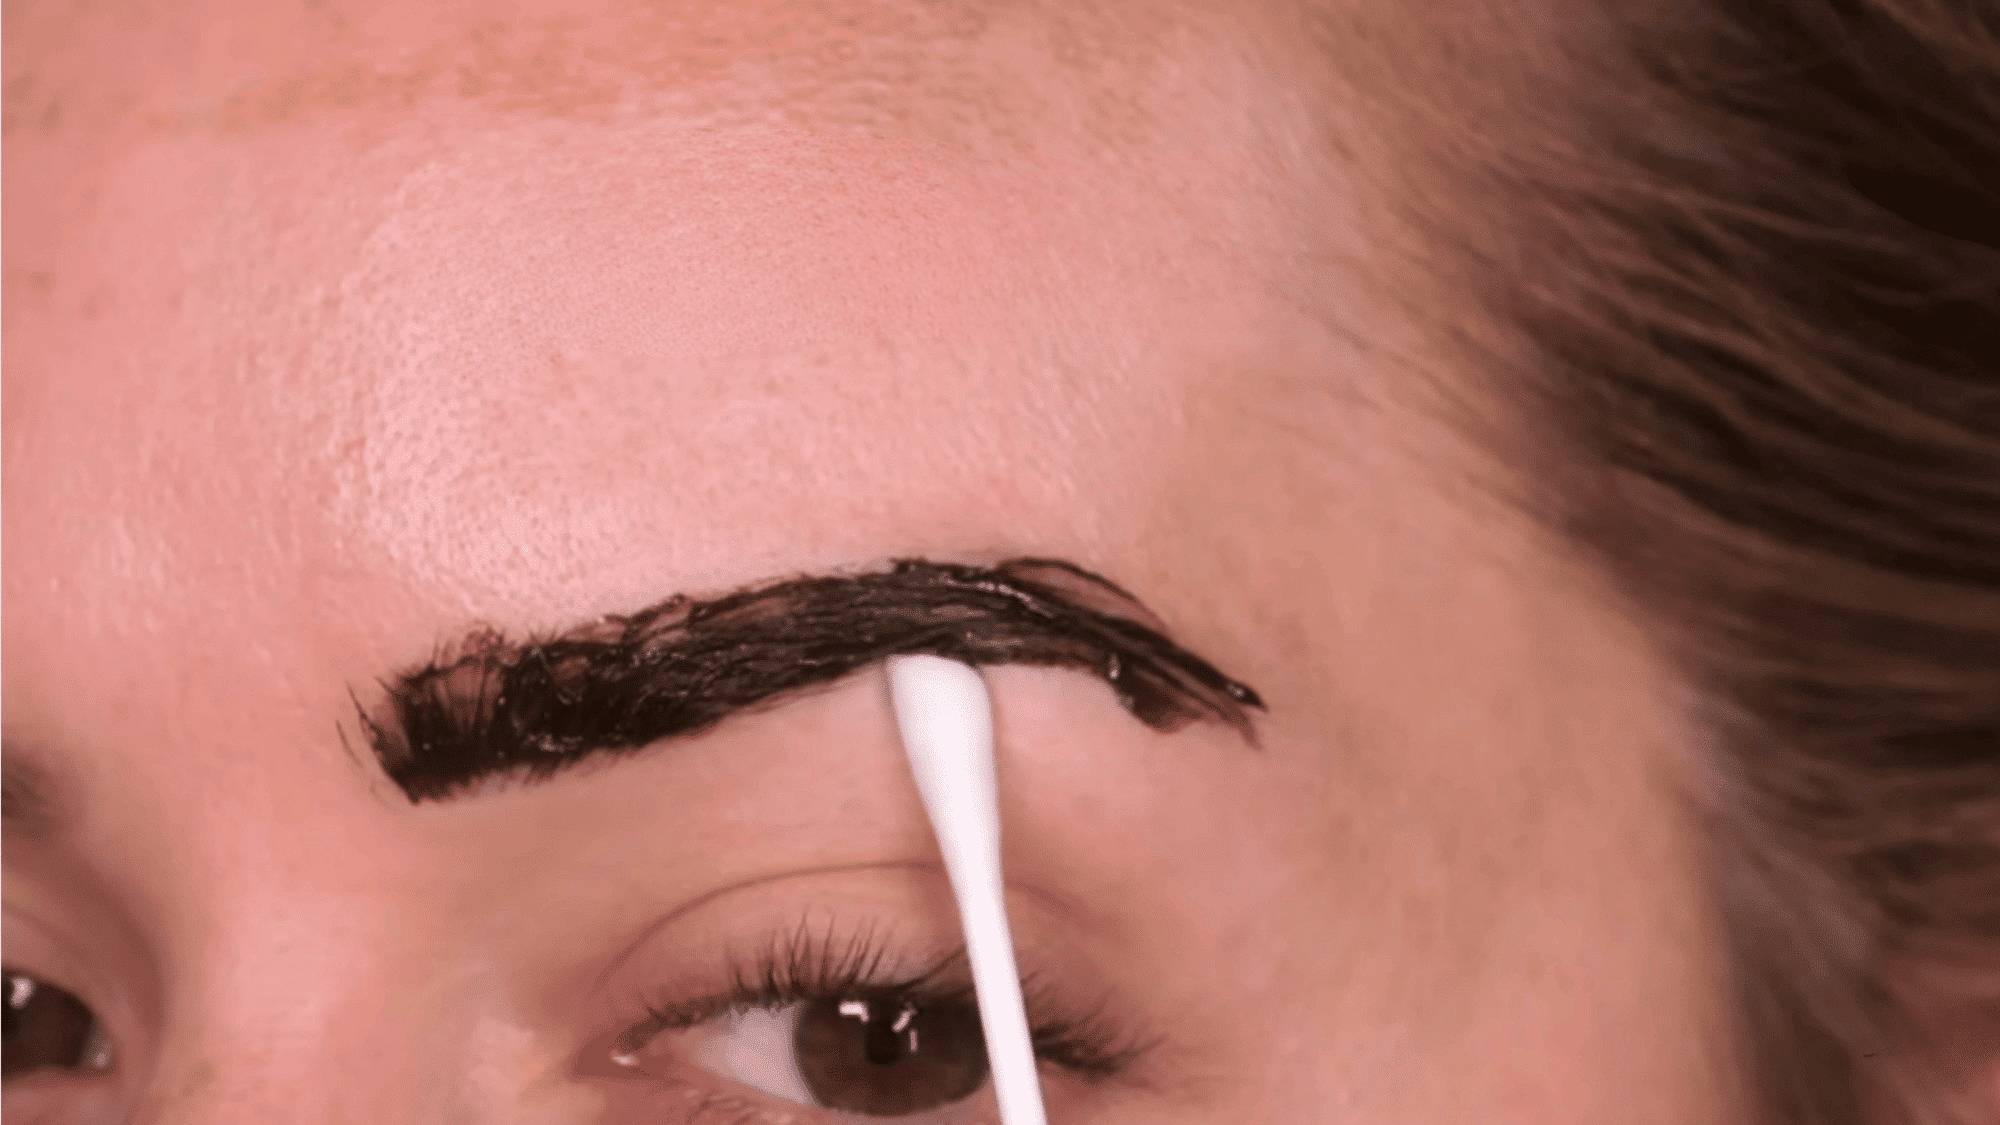
After applying the tint, use a damp cotton swab to remove excess product around your eyebrows. Carefully clean beneath the brow, along the top edge, arch, and tail.
This helps define the shape and reduces the chance of staining skin outside the intended brow area.
6. Leave the Tint on For the Recommended Time
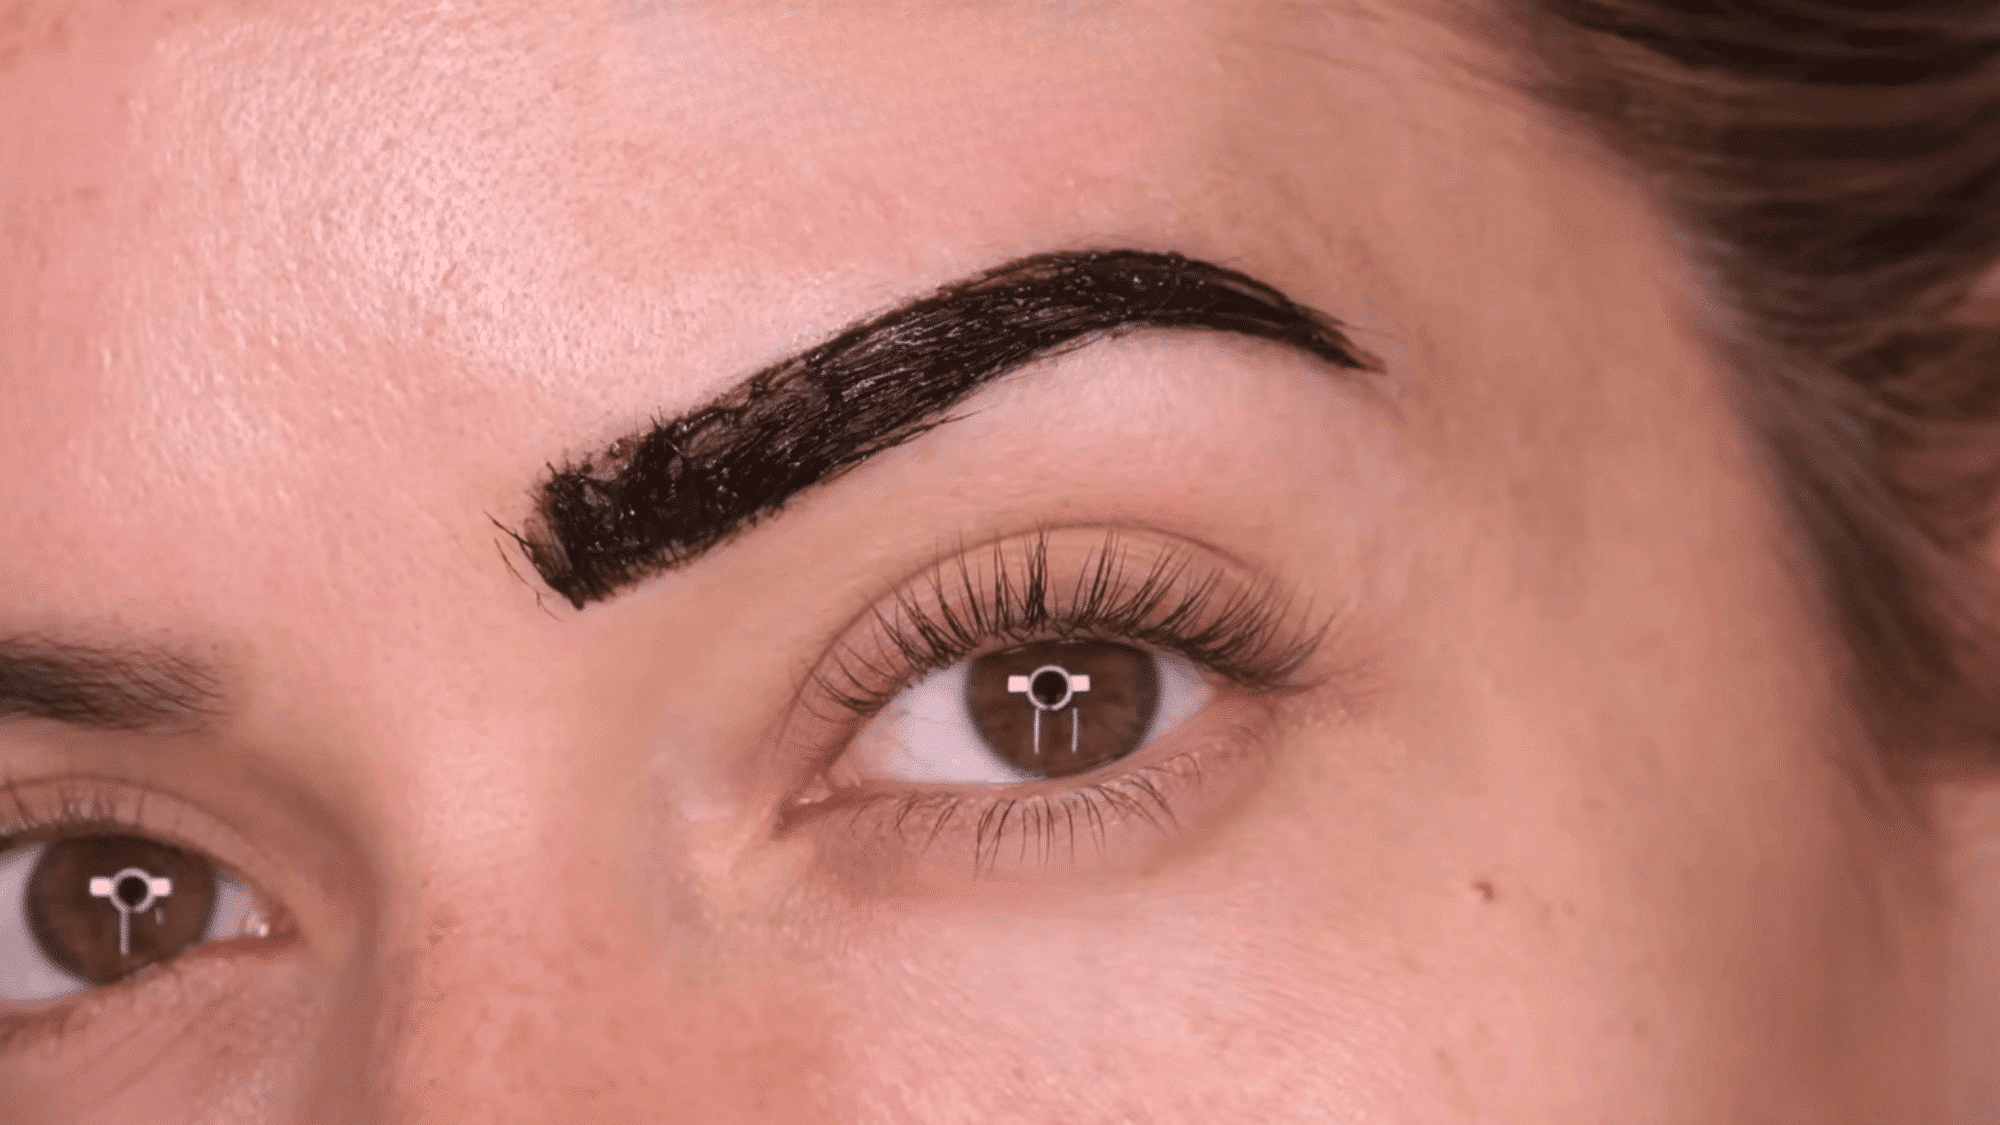
Follow the processing time provided with your specific eyebrow tint. Check your brows during the recommended timeframe if the instructions allow.
Avoid leaving the product on longer than directed, as this can result in a darker color or increase the risk of irritation.
7. Remove the Eyebrow Tint
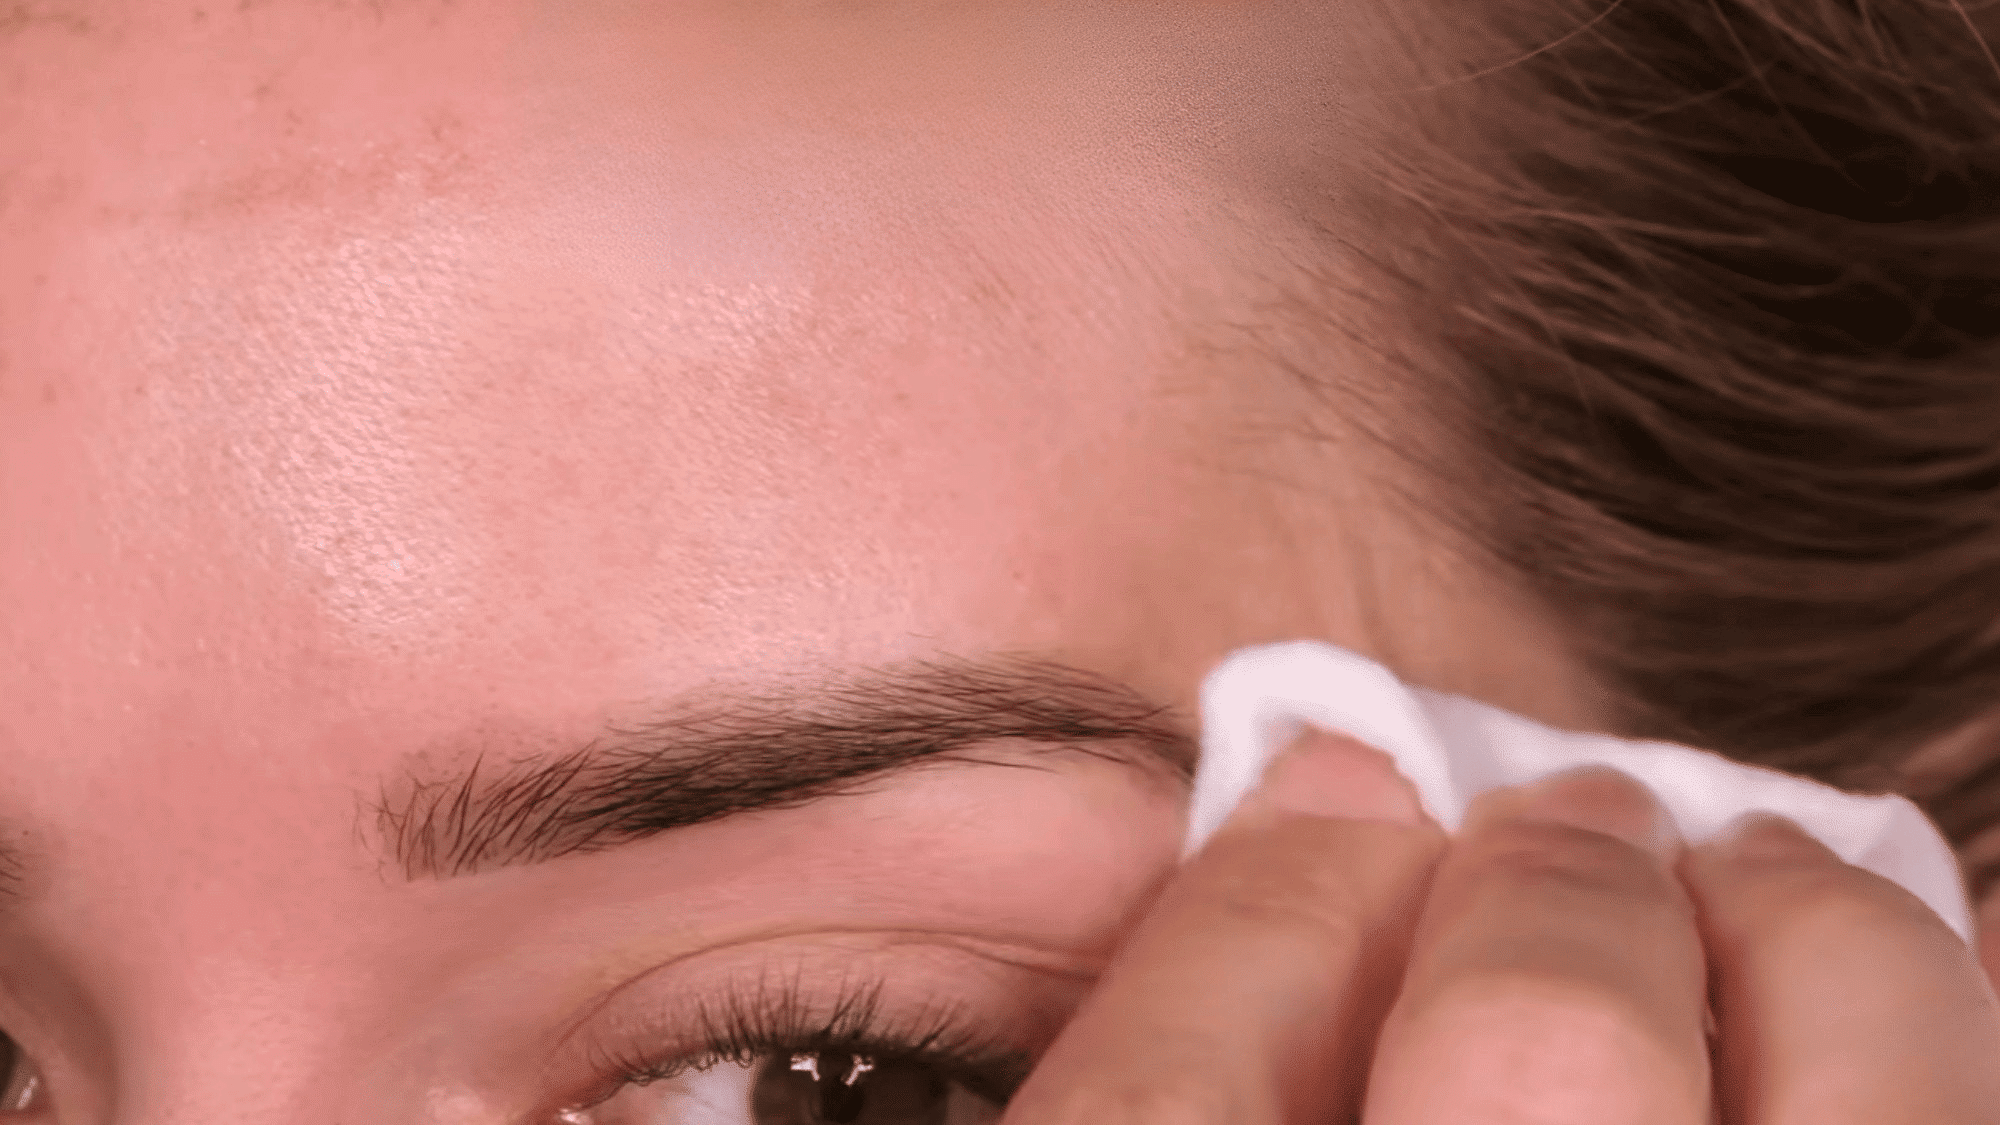
Once the recommended processing time has passed, gently remove the tint with a damp cotton pad. Work carefully through the brow hairs to clear away all product.
Avoid vigorous rubbing around the eyes, as the surrounding skin is delicate and can easily become irritated.
8. If You Want to Darken Your Eyebrows
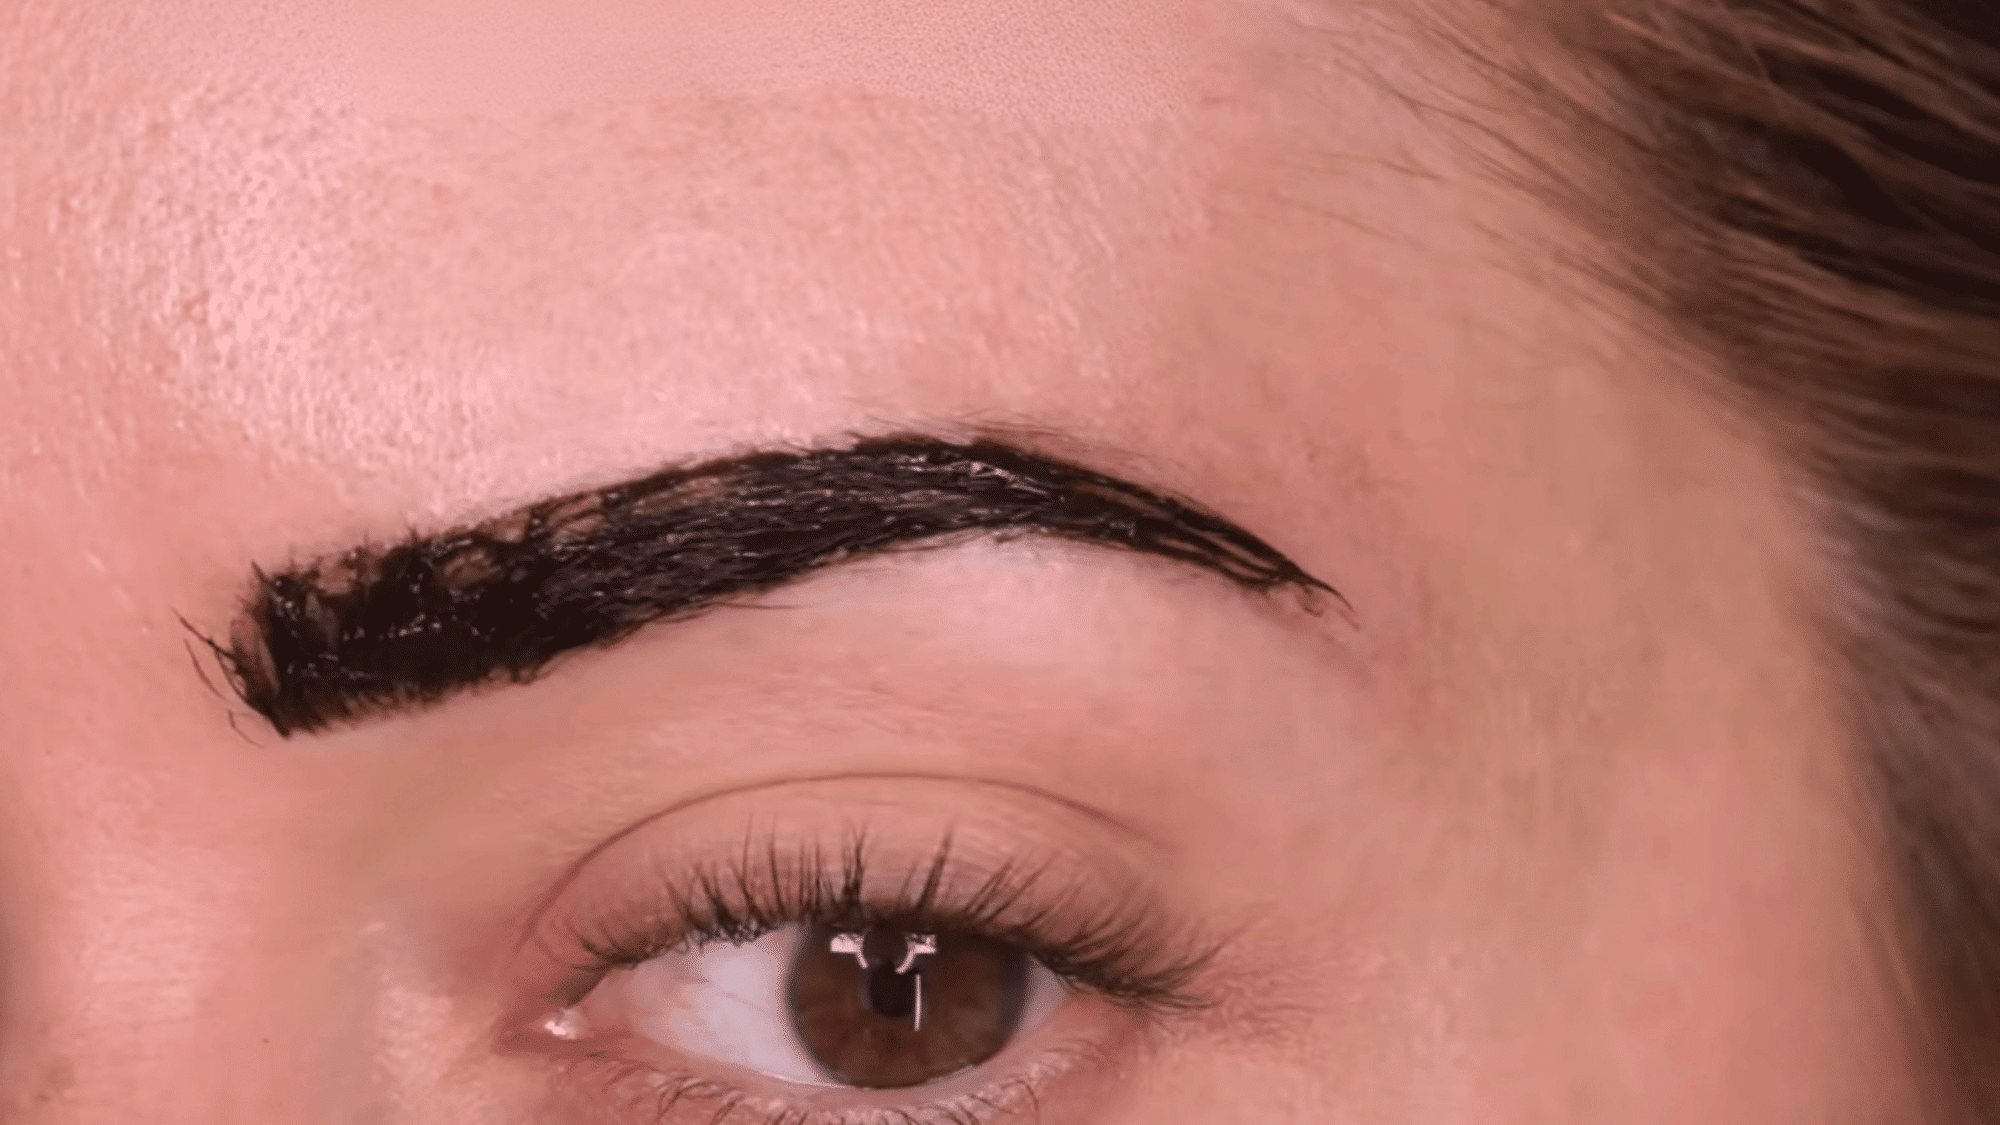
After removing the tint, check your brows in good lighting. If your brows still look lighter than desired, you can repeat the tinting process for a short additional interval to gradually build a deeper shade.
Avoid leaving the tint on much longer at once, as gradual application gives you better control over the final shade.
This tutorial is based on a helpful video by Shonagh Scott. You can check out the original video on their YouTube channel here or watch it below.
How Long Does Eyebrow Dye or Tint Last?
Eyebrow dye or tint generally lasts about four to six weeks. How long the color stays noticeable can vary based on your natural brow growth, the product used, and your daily skincare routine.
If you’re tinting white or gray brow hairs, new growth may become noticeable sooner. In this case, you might want a touch-up after three to four weeks.
If you’re simply darkening brows that have faded or lightened from sun exposure, the results may remain visible for closer to six weeks.
Frequent cleansing, sun exposure, and certain skincare products used around the eyebrows can also make the color fade faster.
Aftercare Tips for Dyed Eyebrows
A few simple aftercare habits can help preserve your brow color and keep the hairs looking healthy. Follow these tips after tinting:
- Avoid rubbing, scrubbing, or exfoliating your brows for 24 to 48 hours.
- Keep oil-based cleansers and skincare products away from the brow area.
- Avoid excessive heat, steam, and prolonged sun exposure after tinting.
- Use gentle, fragrance-free products around the brows when possible.
- Brush your brows gently and avoid unnecessary pulling or friction.
If you tint your lashes too, the same gentle aftercare applies, and it’s worth knowing whether it’s safe to wear mascara after a lash lift if you’re doing both treatments close together.
Conclusion
Dyeing your eyebrows at home can be a small change that makes a noticeable difference, especially if you want fuller, more defined brows without reaching for makeup every day.
I find the best results come from keeping things simple: choose a suitable brow tint, follow the instructions carefully, and build the color gradually instead of going too dark too quickly.
A patch test, careful timing, and gentle aftercare can also make the process feel much more manageable.
We all have different brow shades, hair textures, and preferences, so finding what works for you may take a little trial and adjustment.
Have you tried tinting your brows at home? Share your experience, tips, or results in the comments below.
Frequently Asked Questions
Can I Tint My Eyebrows if I Have Sensitive Skin?
If you have sensitive skin, be especially cautious with brow tinting. Always follow the product’s patch testing instructions and avoid use if irritation develops.
Can I Tint My Eyebrows if They Are Very Sparse?
Yes, tint can make fine and lighter hairs more visible, but it cannot create new hair. Brow makeup can add extra fullness where hair is missing.
Can I Wash My Face After Tinting My Eyebrows?
Follow your tint manufacturer’s aftercare instructions before washing the area. Avoid unnecessary rubbing and harsh cleansers around freshly tinted brows.
What Happens if Eyebrow Tint Gets Into Your Eyes?
Rinse your eyes immediately with plenty of clean water and seek medical attention if irritation, pain, or vision changes persist.
Can I Tint My Eyebrows if I Have Microblading?
It is best to check with your brow professional first, as tinting over recently microbladed skin may cause irritation or affect the healing process.














